All 39 GIMP Tools Explained
All 39 GIMP Tools Explained https://logosbynick.com/wp-content/uploads/2020/07/gimp-tools-explained.png 800 470 Nick Saporito Nick Saporito https://secure.gravatar.com/avatar/8e31bf392f0ba8850f29a1a2e833cdd020909bfd44613c7e222072c40e031c34?s=96&d=mm&r=g- Nick Saporito
- no comments
In this tutorial I’ll be giving you a rundown of all 39 tools found in GIMP, along with a brief explanation of what they do. I’ve put together a 15-minute video demonstration below if you want to check that out. Otherwise you can continue on to the written format. Enjoy!
GIMP Tools
In this post I’ll be offering explanations for all of the following GIMP tools. You can click the link to jump to that particular tool.
- Move
- Alignment
- Rectangle Select
- Ellipse Select
- Free Select
- Scissors Select
- Foreground Select
- Fuzzy Select
- Select By Color
- Cropping
- Rotate
- Scale
- Shear
- Flip
- Perspective
- Unified Transform
- 3D Transform
- Handle Transform
- Warp Transform
- Cage Transform
- Bucket Fill
- Gradient
- Paintbrush
- Pencil
- Airbrush
- Ink Tool
- MyPaint Brush
- Eraser
- Clone
- Perspective Clone
- Healing
- Smudge
- Blur & Sharpen
- Dodge & Burn
- Paths
- Text
- Color Picker
- Measure
- Zoom
GIMP Tools Explained
1. Move
![]()
The Move Tool, as the name suggests, allows you to move individual layers and objects around your canvas. You can choose to move by layers, selections, or paths. It’s a pretty common tool that you’ll use a lot when creating designs, but maybe not as much if you’re just touching up photos.
2. Alignment
![]()
The Alignment Tool allows you to arrange and reposition different layers in your workspace. You can line them up according to their edges or center points on either axis, and you can do all of this relative to the image, the active layer, the selection, or any other number presets.
3. Rectangle Select
![]()
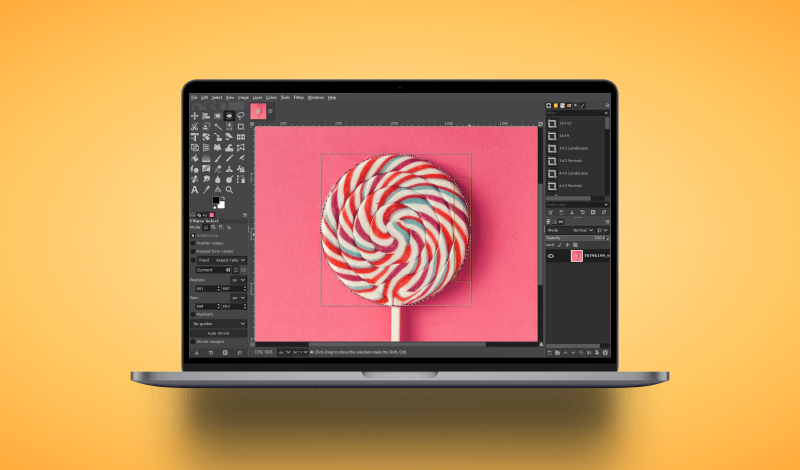
The Rectangle Select Tool is used to create selections on your canvas in the shape of a 4-sided object, or a rectangle. The tool has a lot of useful settings built in, like having the ability to create rectangular selections with rounded corners, feathered edges, and even with guide lines for more precision. Your selection can then be used for a variety of different tasks, like filling with color, deleting areas, and cropping sections of an image.
4. Ellipse Select
![]()
The Ellipse Select Tool works much like the Rectangle Select Tool does, only it allows you to create selections that are rounded, or an ellipse. It also has the same useful features built in, like being able to feather the edges of your selection and choose a fixed aspect ration if you’d like.
5. Free Select
![]()
The Free Select Tool allows you to make selections on your image based on your own hand movement. You can click to create individual points that are connected by straight lines, or simply click and drag to draw your own selection.
The tool works great when used in a very casual context, like filling in a tilted box or drawing a rough selection around a well-defined subject, but the downside is that is lacks the precision that you get from some of the other tools.
6. Scissors Select
![]()
The Scissors Select Tool works kind of like the Free Select Tool does, only it’s a little more intuitive. As you click to create your points, it will try to guess where the edges of your subject are. Once you’re finished creating your selection, you can go back and manually adjust the position of your points for more precision.
As you could imagine, the tool isn’t always perfect when it comes to estimating the boundaries of your subject, but it’s great if you just need a rudimentary selection really quick.
7. Foreground Select
![]()
The Foreground Select Tool is a really advanced and intuitive way to create a selection around a subject in your photo that isn’t easily defined by hard edges and contrasting colors. A good example of this would be cropping strands of hair. The tool allows you to paint a very rudimentary outline around your subject, and then it will work its magic in estimating where the selection should be generated.
The algorithm it uses isn’t always perfect, but you can get a near perfect selection by tweaking the tool settings according to your image and being a little more precise in the areas that you fill in.
8. Fuzzy Select
![]()
The Fuzzy Select Tool allows you to create a selection on localized areas of your canvas based on how similar the nearby pixels may be. Clicking on your canvas will indicate the selection to be created. You can increase the threshold by dragging down, or decrease it by dragging up.
The Draw Mask feature in the tool settings allows a colored mask to be displayed within your selection so you can get a better idea of what will be created.
I’ve found the tool be really useful in cropping subjects from photos where they’re on a background that has a gradient, like a sunset for example.
9. Select By Color
![]()
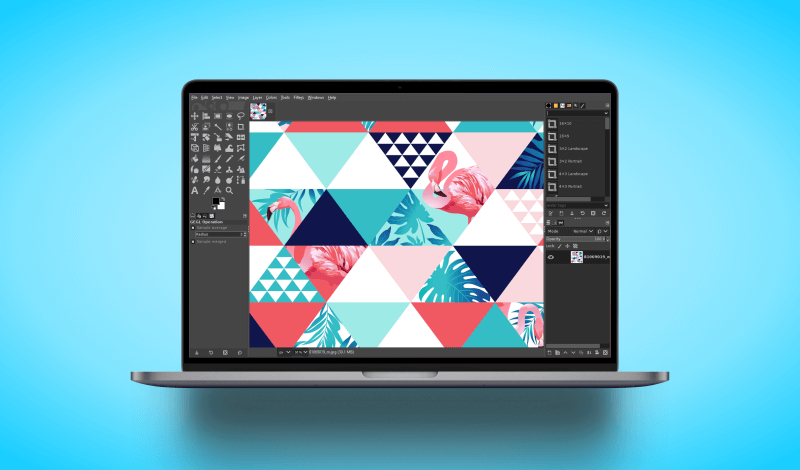
The Select By Color Tool is similar to the Fuzzy Select Tool, only it allows you to create selections based on a specific color. You can also increase the threshold to include different shares of that color.
The tool could be really useful if you wanted to change the colors of specific areas of your photos, while leaving the rest unchanged.
10. Cropping
![]()
The Crop Tool can be used to change the boundaries of your image. It doesn’t necessarily change or transform the image itself though, it just allows you to redefine the edges of your document. The tool can be used to crop the entire image, or just an individual layer of your choosing.
The tool has various settings built in that allow you to crop your image based on a specific size or aspect ratio, if that’s what you need.
11. Rotate
![]()
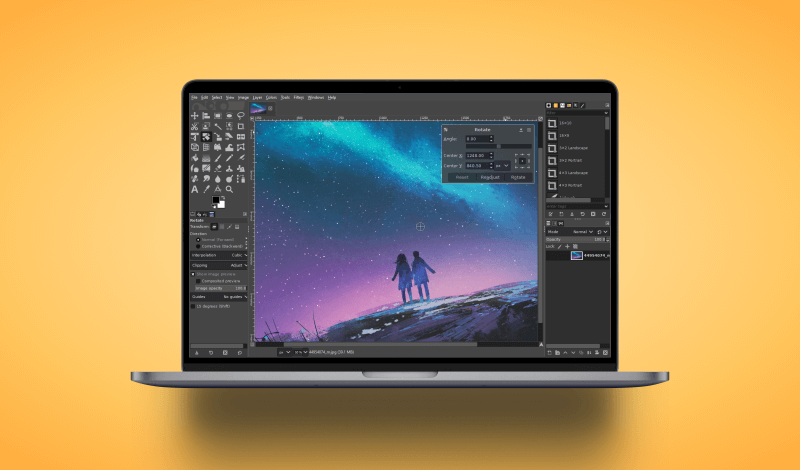
The Rotate Tool allows you to rotate images and objects on a single layer, around an axis that you can place wherever you want. Simply click and drag on your layer in order to rotate it. Holding Shift will lock it into 15 degree increments in case you need a more precise rotation. You can also change the position of the rotation point by moving the rounded cross hair wherever you’d like. If at any point you’d like to place the cross hair back in the center, just click the reset button in the tool settings.
12. Scale
![]()
The Scale Tool allows you to resize your images on a layer by layer basis. Simply click and drag your image to either scale it down or up. The tool settings will allow you to lock the aspect ratio in case you’d like to scale your image without distorting the dimensions.
The tool doesn’t just work on layers. It also works on selections, paths, and the entire image itself.
13. Shear
![]()
The Shear Tool allows you to distort your images by shearing them either vertically or horizontally. To shear vertically, click and drag in an up and down motion. To shear horizontally, click and drag in a left and right motion. You can also shear by a specific degree using the input values in the tool settings box.
14. Flip
![]()
The Flip Tool is a simple tool that allows you to flip your images on either the vertical or horizontal axis. To flip your images, simply click on it. Whether it flips vertically or horizontally is determined by the setting you choose in the tool settings menu.
This is different from rotating your images in that it mirrors them instead of changing their orientation.
15. Perspective
![]()
The Perspective Tool allows you to change the perspective of a given layer by repositioning any of the 4 nodes located in each corner. You can change each corner individually or as an entire unit by enabling the “Around Center” option in the tool settings. You don’t have to use the nodes in the corners though. You can click anywhere on the layer and it will change the perspective of the image relative to your selection point.
16. Unified Transform
![]()
The Unified Transform Tool offers tons of usefulness and versatility because it essentially combines a variety of tools into one. You can use it to move, scale, shear, rotate, and change the perspective of images on a specific layer.
You can make all of these adjustments at once on a single preview layer, then finalize it once you’re finished. You can also reset it back to its previous settings if there’s anything you need to tweak.
17. 3D Transform
![]()
The 3D Transform Tool produces a similar effect to the Perspective Tool, only it locks onto an aspect ratio that helps it maintain a realistic 3D look. When using the tool, you can enable the Z Axis setting at any point to change the rotation of the layer as you’re working on it.
18. Handle Transform
![]()
The Handle Transform Tool allows you to transform your image with a bit more free hand control than the other tools do. Simply click on your image to add a point. Now you can scale and rotate your image around that point. Adding a second point will allow you to shear your image based on the locations of those two points, and adding a third and fourth point will allow you to change the perspective of your image based on the location of those points.
You can reposition your access points at any time by holding Shift and clicking and dragging them, or you can delete them by holding Control and clicking on them.
19. Warp Transform
![]()
The Warp Transform Tool works sort of like a brush, only you’re moving the pixels of your image instead of adding to them. As you can see, it allows you to warp your image by displacing those pixels.
There’s various different methods for warping your image. The move feature is the default, but there’s also settings that allow you to warp by growing, shrinking, and swirling.
20. Cage Transform
![]()
The Cage Transform Tool allows you to warp and distort an image based on individual points that you manually place around that image. Clicking and dragging those points will distort the image so that it fits into the bounding box as you alter it.
21. Bucket Fill
![]()
The Bucket Fill Tool is used for filling specific areas of your image with a fill or pattern of your choosing. You can choose to fill entire layers, selections, or just areas that contain the same color that you clicked on. You can also adjust the threshold so that it includes nearby colors that may use a similar but slightly different shade.
22. Gradient
![]()
The Gradient Tool allows you to fill a selection with a gradient, or a transition between two different colors of your choosing. You can base your gradient off of your selected foreground and background colors or choose from a variety of presets. The tool allows you to create linear gradients that follow a straight path, radial gradients that follow a rounded path, and more.
23. Paintbrush
![]()
The Paintbrush is used for painting smooth strokes on your images in a color or pattern of your choosing. There’s a variety of brushes in different shapes to choose from, along with a plethora of settings that dictate how the brush behaves when you’re painting with it. You can also adjust the hardness, opacity, spacing, and even the force, along with various other settings.
24. Pencil
![]()
The Pencil Tool works much like the Paintbrush. It allows you to manually draw on your image using a variety of shapes and behaviors. It also has a lot of the same settings. The only difference is that it doesn’t utilize anti aliasing, meaning you get solid, hard edges without any softness or feathering, regardless of your chosen brush or settings.
25. Airbrush
![]()
The Airbrush Tool also works much like the Paintbrush, but the main difference is in the way that it applies the color to your image. The airbrush functions more like an actual airbrush in that the longer you hold it over a given area, the darker the paint becomes.
The Airbrush Tool also comes packed with most of the settings and features that the Paintbrush and Pencil tools come with.
26. Ink Tool
![]()
The idea behind the Ink Tool is that it’s meant to simulate the behavior of an actual dip pen or calligraphy pen in that it draws based on the speed and direction of your hand movement. Faster motions make thinner strokes, whereas slower motions make thicker strokes.
The Ink Tool has much of the same settings as the Paintbrush, Pencil, and Airbrush.
27. MyPaint Brush
![]()
MyPaint is an open source application with a focus on painting as opposed to image manipulation, and it comes built into GIMP via this tool.
MyPaint brushes are a bit more advanced in their textures and behaviors than the standard brushes found in GIMP. They can be used to create realistic-looking pencil sketches, smudges, acrylic, and more.
28. Eraser
![]()
The Eraser is used to delete pixels from your images. It functions like a brush where you can choose different shapes, sizes, and behaviors. The only different is that it removes pixels from your images as opposed to adding them.
If you have an alpha channel added to the layer you’re working on, the Eraser will erase to transparency, or the layer beneath it. If you don’t have an alpha channel added then it will erase to white.
At any point you can reverse the eraser by holding Alt on your keyboard. This will allow you to fill the erased areas back in with whatever was there previously.
29. Clone
![]()
The Clone Tool allows you to use a specified area of your image as somewhat of a brush for painting in other areas of your image. You can use any of your brush presets for creating your sample selection, then, as you create brush strokes, the sample selection will move according to your hand movement.
30. Perspective Clone
![]()
The Perspective Clone Tool works a lot like the Clone Tool does. It has most of the same features and settings, but the main difference is that it allows you clone your objects based on a simulation of the perspective in your image that you can define. This can be really useful for moving objects around in your photos while maintaining a realistic look.
31. Healing
![]()
The Healing Tool allows you to correct minor imperfections in photographs. Its behavior is very similar to that of the Clone tool, only the effect is much less pronounced, and it does a better job of blending your sample selection seamlessly into the stamped areas. Just hold Control and click on an area to create your selection, then paint over the areas where you’d like it applied.
32. Smudge
![]()
The Smudge Tool can be used to displace the pixels in an image relative to the properties of the brush shape and settings you use. As you can see by the demonstration, it’s not adding or removing pixels. It’s just moving them around to create a smudge effect, which could be useful when painting.
33. Blur & Sharpen
![]()
The Blur and Sharpen tool works much like the filter effects that allow you to blur and sharpen your images, only you can apply it to localized areas using brush settings of your choosing. You can choose to either blur or sharpen from the tool settings, then you can control the intensity of the effect with the Rate slider.
34. Dodge & Burn
![]()
The Dodge & Burn Tool is used for lightening and darkening specific areas of your image based on the brush you choose and its settings.
Dodge can be used to lighten shadows, whereas burn and be used to darken shadows. You can adjust the intensity of the effect be changing the exposure in the tool settings, and you can also choose to apply the effect only to the shadows, mid tones, or highlights.
35. Paths
![]()
The Paths Tool is used for manually drawing a series of points that are connected together by a line, or a “path”. The lines can be straight or curved, and the anchor points of the path can be adjusted individually to get the exactly shape you’d like.
The Paths Tool is ideal for creating selections because it allows you to create the most fluid and precise drawings.
36. Text
![]()
The Text Tool is used for generating text and wording on your canvas. Your text can be used in whatever fonts you have installed on your operating system, and can be manipulated using the other tools as if it were any other image. You can also flow your text along paths if you’d like.
37. Color Picker
![]()
The Color Picker Tool allows you to sample a color from anywhere in your image to use as your foreground color. Clicking on the color will set it as your foreground color, whereas holding Control and clicking it will set it as your background color. Clicking and dragging will allow you to scan through the entire image to find the color you’d like.
38. Measure
![]()
The Measure Tool is used for taking simple measurements on your image. You can click and drag to create a line, then the status bar at the bottom of the page will indicate the length of that line in pixels, Inches, Centimetres, or any other increment you’d like.
The status bar also displays the degree of your line relative to either the horizontal or vertical axis. You can change which one it references in the tool settings menu.
39. Zoom
![]()
Finally, the Zoom Tool is used for zooming in and out of your image. You can zoom in to see fine details, or zoom out to see how your design would look in a scaled down context. At any point you can press 1 on the keyboard to zoom back out to 100%.
Conclusion
And that should do it for all 39 tools in GIMP as of version 2.10.20. If you have any questions simply leave a comment below, and as always, thanks for watching!
Learn To Master The SoftwareGain a complete understanding of your favorite design apps with my comprehensive collection of video courses. Each course grants access to our private community where you can ask questions and get help when needed.
|
||||||||||||||||||||||||||||||||
- Post Tags:
- GIMP
- Posted In:
- GIMP
- Open Source
- Tutorials
Nick Saporito
Hi, I'm Nick— a Philadelphia-based graphic designer with over 10 years of experience. Each year millions of users learn how to use design software to express their creativity using my tutorials here and on YouTube.
All stories by: Nick Saporito


Leave a Reply