How To Make A Clipping Mask with Text in Illustrator
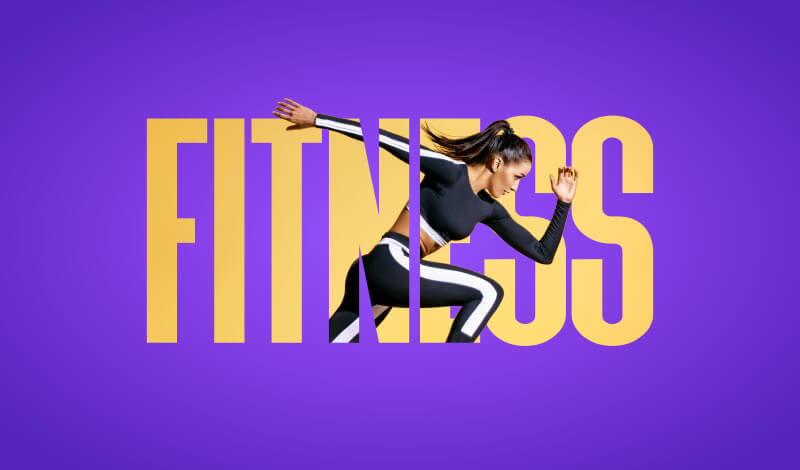
How To Make A Clipping Mask with Text in Illustrator https://logosbynick.com/wp-content/uploads/2020/04/clipping-mask-with-in-illustrator.jpg 800 470 Nick Saporito https://secure.gravatar.com/avatar/8e31bf392f0ba8850f29a1a2e833cdd020909bfd44613c7e222072c40e031c34?s=96&d=mm&r=gIn this tutorial I’ll be demonstrating how you can use a photo to make a clipping mask with text in Illustrator. It will create the appearance that your text is made of a photo. We’ll also be utilizing a simple trick to make a pop-out effect where it appears as if certain areas of the subject/photo are popping out from the text.
The following is a brief overview of the steps we’ll be taking to make a clipping mask with text in Illustrator. For a more in-depth learning experience with step-by-step instructions I would recommend watching the video tutorial below:
Make A Clipping Mask with Text in Illustrator
The first thing we’ll need to do is create a new document and place your desired photo into it by navigating to File > Place and selecting your photo. For this tutorial I’ll be using the following photo for the demonstration.

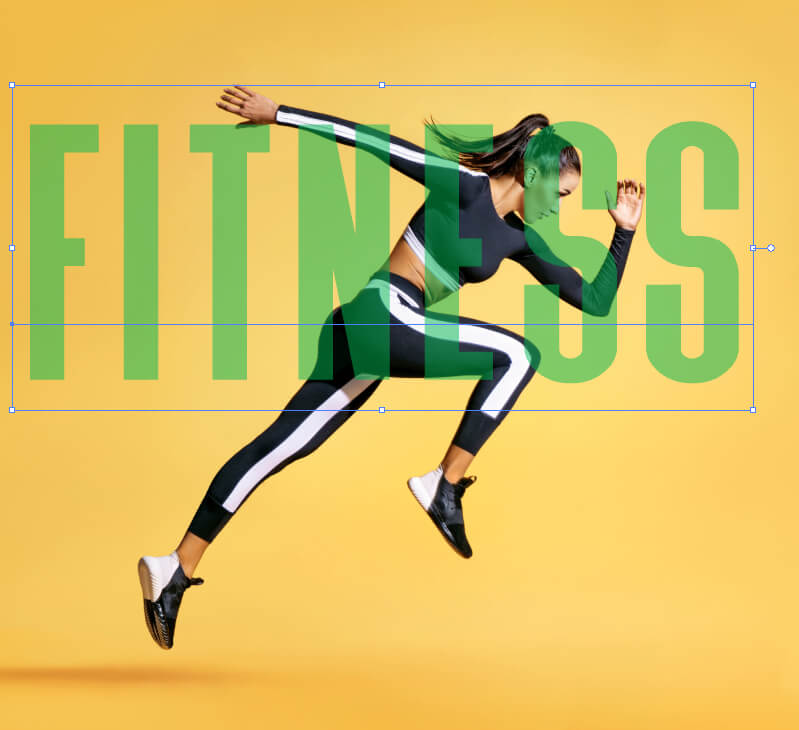
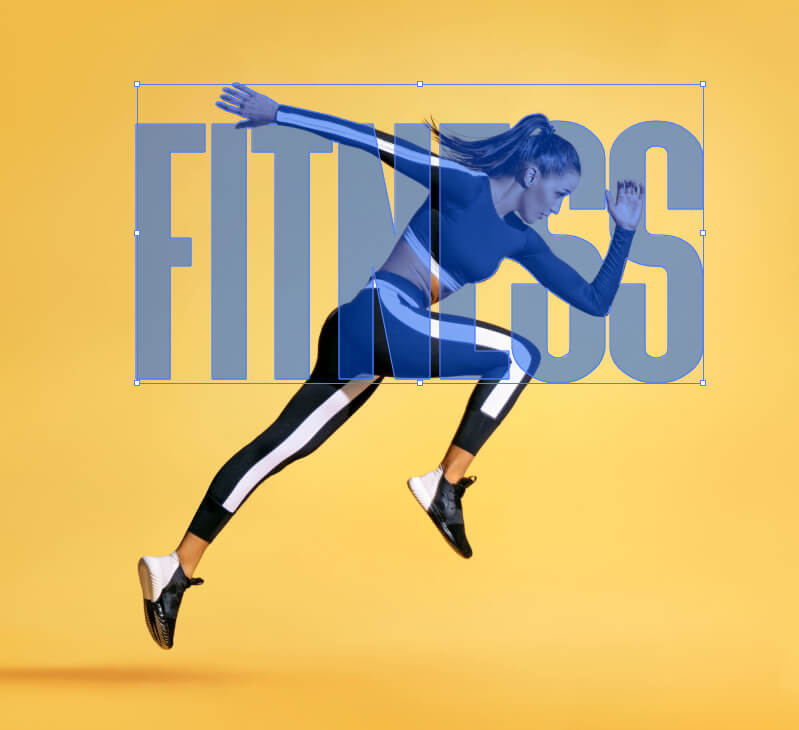
Now it’s time to create some text with the Type Tool and place it over your subject/photo. For this sort of effect I recommend using a bold or heavy weight font so that you’re utilizing more of the photo once it’s clipped into a mask. If you use a thin font then the photo will barely be visible once clipped.
For this tutorial I used the Serrona font, but you can use whatever font you’d like.
Make sure to position your text over the areas of the photo where you’d like the photo to show through once we’ve created our clipping mask. To make it easier, I made my text a color that contrasts well with the photo (green for this example) and brought the opacity down to 50% so I could see where the photo lines up with the text.
Now convert the text to outlines by selecting it and navigating to Type > Create Outlines, then ungroup the letters by going to Object > Ungroup.
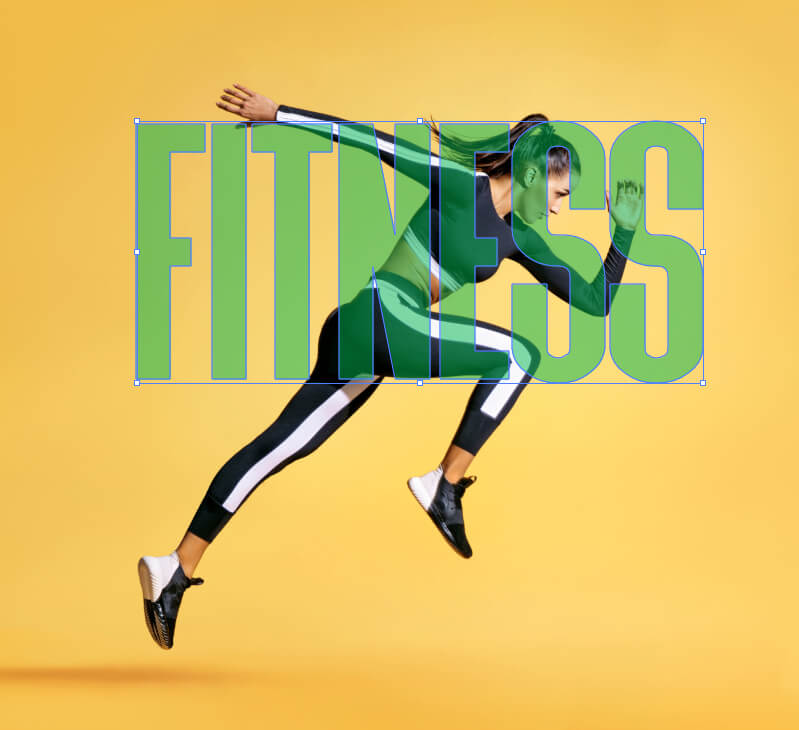
In order for this effect to work well, the letters will need to be closer together. Click and drag each of the letters individually to bring them closer together. Make sure to hold Shift while moving them so that it locks them onto the horizontal axis.
At this point it’s time to determine what areas of the subject/photo we’d like to pop out from the text once it’s clipped. Grab the Pen Tool and manually draw some shapes over those areas. For this example I’ll be using the subject’s hand (on the left side) and her head/arm.
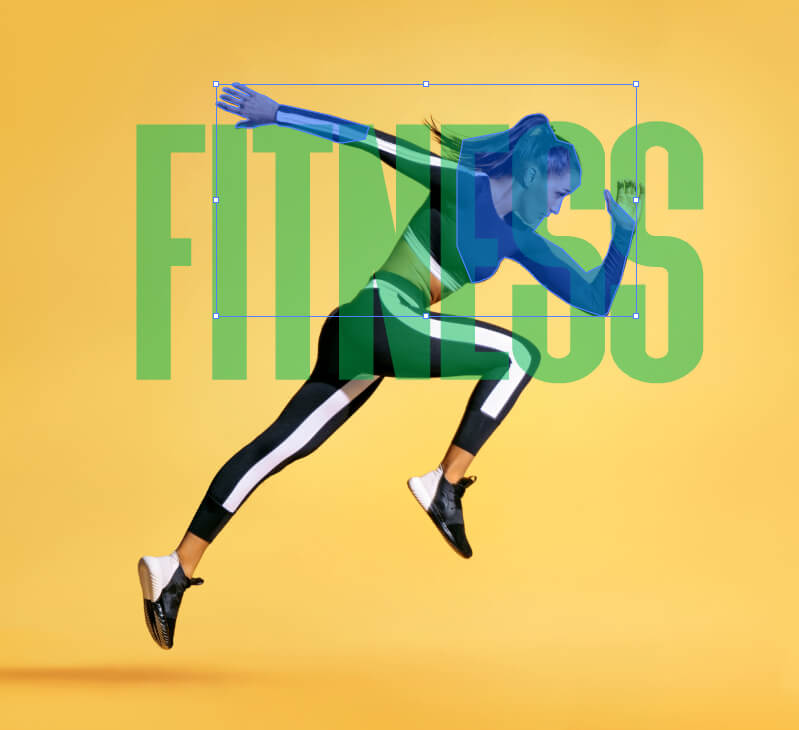
The blue shapes are the added areas that I’d like to pop out from the text.
Next, select all of the letters of the text as well as the individual shapes you just drew and unify them together in the Pathfinder menu. If you don’t have the Pathfinder menu active on your screen you can navigate to Window > Pathfinder to bring it up.
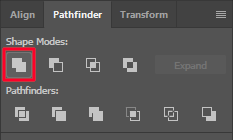
With all of the aforementioned objects selected, click on the icon to the top left that reads Union (outlined in red above.) This will unify all of the objects into one shape.
Now let’s make the shape into a compound path by navigating to Object > Compound Path.
Then, you can select both the object and the photo and make a clipping mask out of them by right-clicking and selecting Make Clipping Mask.
Clipping masks allow you to make one object take the shape of another object.
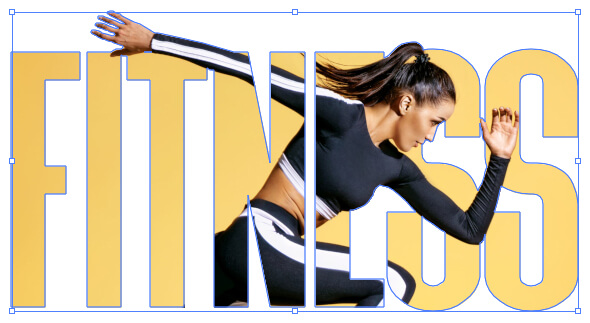
And with that you are finished! That is how you can make a clipping mask with text in Illustrator. If you have any questions simply leave a comment below, and be sure to check out some of my other Illustrator tutorials. As always, thanks for watching!
Learn To Master The SoftwareGain a complete understanding of your favorite design apps with my comprehensive collection of video courses. Each course grants access to our private community where you can ask questions and get help when needed.
|
||||||||||||||||||||||||||||||||


Hi, I love your youtube Videos so much. In some days I will buy a course from you. Greetings from Germany. Sabine
Thank you Sabine!