Kerning In Illustrator Tutorial | Manually and Automatically
Kerning In Illustrator Tutorial | Manually and Automatically https://logosbynick.com/wp-content/uploads/2023/06/kerning-in-illustrator.webp 1000 587 Nick Saporito https://secure.gravatar.com/avatar/8e31bf392f0ba8850f29a1a2e833cdd020909bfd44613c7e222072c40e031c34?s=96&d=mm&r=gIn typography, kerning refers to the spacing between letters. Sometimes that spacing needs to be adjusted to accommodate the spacing gaps created by the contours of various letters. Fortunately, this is a simple task for Adobe Illustrator users. In this tutorial we’ll be going over kerning in Illustrator and the various ways that it can be applied.
In short, kerning in Illustrator can be accomplished manually, numerically, or by clicking and dragging. There’s also a feature in the Character panel in the Type menu that lets you auto-kern your letters. Let’s have a closer look at these options.
Kerning In Illustrator
The following video tutorial will briefly walk you through the various ways in which you can kern text in Illustrator:
Continue on for a thorough breakdown of 4 ways in which you can adjust the spacing between letters by kerning your text:
How To Kern In Illustrator
|
Option 1: Using Keyboard Shortcuts
The quickest way to kern your text in Illustrator would be to use the keyboard shortcuts associated with the Type Tool (keyboard shortcut: T).
With the Type Tool selected, click to place the cursor between the two letters you’d like to kern. Once placed, use the following keyboard commands:
- For Windows users: Alt + Left and Right arrow keys
- For Mac users: Option + Left and Right arrow keys
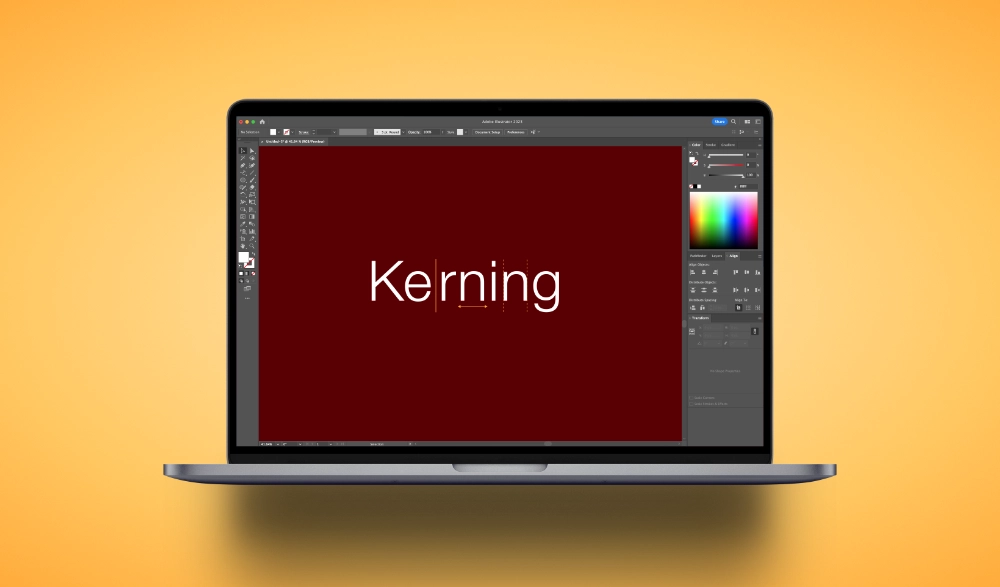
The left arrow key decreases the spacing between the two letters whereas the right arrow key increases the spacing:

Pressing Alt/Option + the Left and Right arrow keys.
If you want to adjust the spacing between all of the letters — otherwise known as Tracking — you can do so by highlighting all of the letters and using the same keystroke commands:
These changes can be applied to multiple letters by highlighting them.
Tip: you can kern in greater increments by holding the Control key (or Command for Mac users) in addition to the Alt key.
Option 2: By Inputting Numerical Values
Let’s say you need to kern your text based on a specific measurement or numerical value. This can be accomplished using the Character panel in the Type menu.
To access it, navigate to:
Window > Type > Character
The menu should look like this:

Click to enlarge.
Simply use the Type Tool to place the cursor between the two letters you want to kern and type your numerical value into the kerning input box (highlighted in red in the above screenshot.) You can also use the dropdown menu to choose from a list of preset sizes.
Option 3: By Clicking and Dragging
Now let’s go over how you can kern your text by clicking and dragging individual letters. This approach allows you to kern with the fewest restrictions.
To do this we will be using the Touch Type Tool, which can be accessed in the tools menu or by pressing Shift + T on your keyboard.
The Touch Type Tool allows you to make freehand transformations to individual letters without having to convert them to curves. One such transformation would be moving letters around the canvas.
To do so, click on one of the letters with the Touch Type Tool to select it, then click and drag the letter as you prefer:

It should be noted though that this approach could cause the selected letter to lose its vertical alignment with the rest of the letters, so be sure to enable Smart Guides (View > Smart Guides) while doing this to lock the letters onto their horizontal axis.
Option 4: Auto Kerning
The final option we’ll be looking at is auto-kerning, which is a way of letting Illustrator automatically kern your letters for you based on its own internal algorithm.
This option may not produce as good of results as manual kerning does, but it can be useful if you’re working with large bodies of text and a font that isn’t kerned well.
To use auto-kerning, open the Character panel in the Type menu, located at:
Window > Type > Character
Make sure you have your text selected and, within the menu, click the Kerning dropdown menu and select Optical:

Selecting Optical from the menu will auto-adjust the kerning of your letters.
Once selected, the spacing between your letters will adjust according to the software’s own interpretation of how it should look. The result can be tweaked further by using the tracing method from option 1 (earlier in the tutorial) or using the Tracking input to the right of the Kerning input in the Character panel.
In Conclusion
Although there may be various ways to work with kerning in Illustrator, the method you should choose will depend entirely on what you’re working on and what exactly you’re trying to accomplish.
Using the keyboard commands is usually the best option in most instances, but thankfully there are other options if you require more refined controls.
Learn To Master The SoftwareGain a complete understanding of your favorite design apps with my comprehensive collection of video courses. Each course grants access to our private community where you can ask questions and get help when needed.
|
||||||||||||||||||||||||||||||||


