How Layers Work In Inkscape | Everything You Need To Know
How Layers Work In Inkscape | Everything You Need To Know https://logosbynick.com/wp-content/uploads/2022/01/inkscape-layers.png 800 470 Nick Saporito https://secure.gravatar.com/avatar/8e31bf392f0ba8850f29a1a2e833cdd020909bfd44613c7e222072c40e031c34?s=96&d=mm&r=gToday we’ll be going over an important function in Inkscape — layers. Layers are a way of organizing and compartmentalizing your artwork, and in this tutorial we’ll be going over how layers work in Inkscape.
In short, layers allow you to organize elements of your artwork into sections. These sections can then be rearranged and positioned above and below each other by changing the stacking orders. This makes it easier to manage complex designs and artwork that contains lots of moving parts.
Layers also allow you to toggle the visibility of layers and lock them so that you cannot alter them. You can also change the opacity and blur of an entire layer, as well as the layer’s blend mode. Let’s go over what all of that means in detail.
Inkscape Layers Explained
The following video tutorial will walk you through the entire process of using layers in Inkscape:
Continue on for the written lesson.
Table of ContentsInkscape Layers Explained
Layers Menu Features |
Inkscape Layers Explained
Let’s first go over how layers work in Inkscape, then we’ll go over all of the features and details.
To access the Layers menu in Inkscape, navigate to:
Layers > Layers
Alternatively, you can access it using the keyboard shortcut: Control + Shift + L
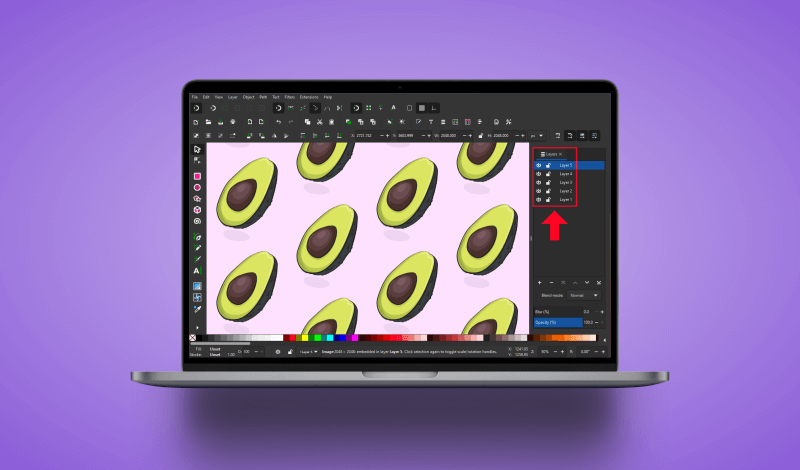
The Layers menu will be opened as a dockable menu on the right-hand side of your screen:
Outlined in red above.
As previously mentioned, layers are a way of segmenting and organizing your artwork.
By default, every new document that you create in Inkscape consists of 1 layer, usually named “Layer 1” by default. All of the elements that you generate will be placed on that layer unless specified otherwise.
Working Example
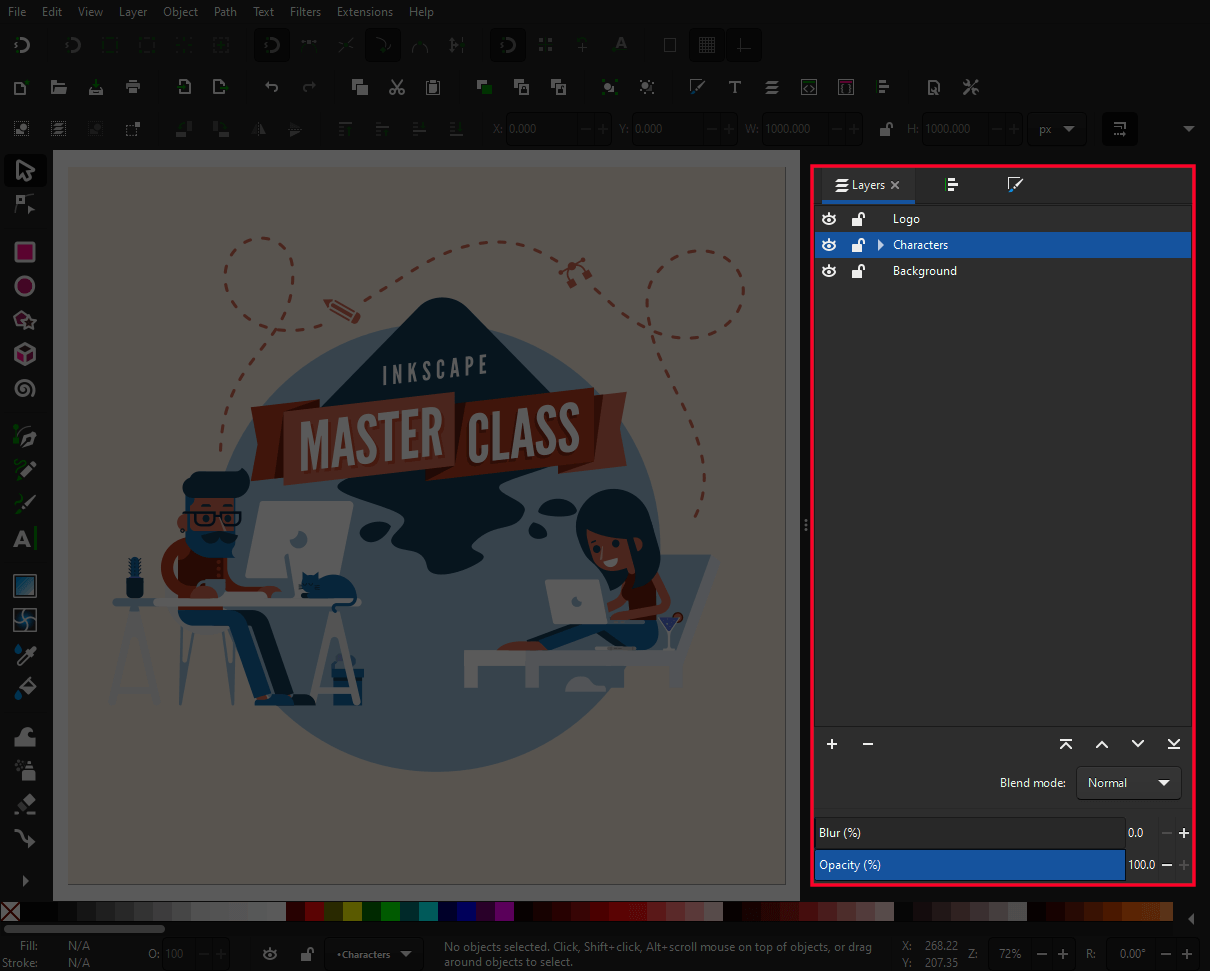
The following is a working example of how layers function and why they can be beneficial. Layers were used to construct the following design:

Click to enlarge.
As depicted above, the design consists of three primary segments:
- Logo
- Characters
- Background
Each of these three segments contain various design elements within them.
The stacking order of the layers dictates the order of the elements on your canvas.
For example, the “Logo” layer is at the top of the order in the Layers menu, therefore all of the elements in that layer will be positioned above all of the elements in the layers beneath it.
Let’s go over some of the ways in which you can work with layers in Inkscape.
How To Add New Layers
To add a new layer in Inkscape, simply click the plus (+) icon towards the bottom-left of the Layers menu:
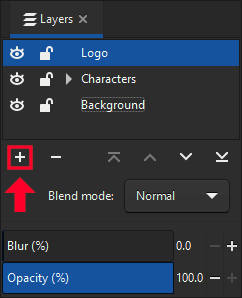
Clicking this button allows you to create a new layer.
This will open a new dialog that asks you to choose a name for your layer:

From here you can choose the name and location of your new layer.
The name you choose is for your own reference and has no impact on how the software functions, so feel free to name it whatever you’d like. You can also leave the default name for now and go back to rename it later.
You will also be prompted to choose a Position for your new layer. There are three choices:
- Above current: this will place the new layer above whatever layer you currently have selected.
- Below current: this will place the new layer below whatever layer you currently have selected.
- As a sublayer of current: this will make the new layer into a sublayer of the layer you currently have selected.
Sublayers are essentially layers within layers. We will be going over that momentarily.
Once you click the Add button you should notice the new layer added to the Layers menu index.
With that layer selected, all objects you create will now be placed onto it. You can also move objects from one layer to another by simply copy and pasting them.
If you want to continue working on the original layer, simply click on it to select it.
How To Remove Layers
If at any point you’d like to remove your layer, you can do so by selecting it and clicking the minus (–) icon near the bottom-left of the screen:
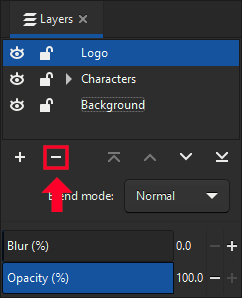
This button allows you to delete the selected layer.
This will delete the layer entirely. It should also be noted that whenever you delete layers in Inkscape you will also be deleting the contents of that layer. So make sure that there’s no important elements on that layer that you’d like to keep.
How To Rearrange Layers
Let’s go over how to change the stacking order of your layers.
One way in which you can rearrange a layer is by simply clicking and dragging it above or beneath another layer.
The problem with using this technique though is that if you place the layer directly on top of another layer, you will be adding it as a sublayer instead of simply moving its position in the stacking order. This happens by accident quite often, which is why it is recommended that you use the menu interface to rearrange your layers.
Towards the bottom of the Layers menu you will see a series of arrow buttons:
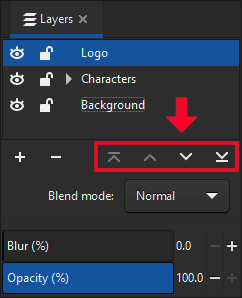
These buttons allow you to rearrange your layers.
You can use these buttons to rearrange a layer that you have selected.
The up arrow moves the layer up one position in the order, and the up arrow with a line above moves the layer to the very top of the order.
Likewise, the down arrows do the same thing. The down arrow will move the layer down one step, whereas the down arrow with a line under it will move the layer to the very bottom.
How To Rename Layers
If at any point you’d like to rename a layer, all you have to do is double-click the name/label of the layer. You will then be prompted to input a new name.
Alternatively, you can also right-click the layer and select Rename Layer.
Layer Visibility
Next to each layer you will see an eyeball icon to the far left:
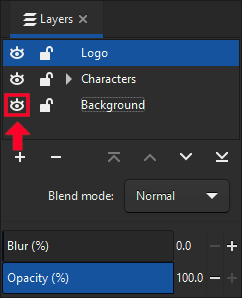
The eyeball icon next to the layer’s name allows you to toggle the visibility of that layer.
This icon represents the visibility of a layer. Clicking it will temporarily turn off the visibility of your layer. Clicking it again will turn the visibility back on.
It should be noted that this is temporary. Although the elements may disappear from your screen, you haven’t actually deleted them. You’ve just made them temporarily invisible.
This can be really useful when working with complex designs with lots of layered elements. Temporarily turning off the visibility of a layer will allow you to work on other layers without it getting in your way.
Layer Locks
To the right of the visibility switch you will see a little lock icon:
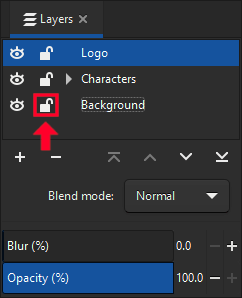
The lock icon allows you to temporarily lock the selected layer.
This icon represents the layer lock. Enabling it will lock the layer so that you cannot select, edit, move, or add to any of the contents of that layer. Disabling it will make the elements editable again.
It should be noted that, much like the layer visibility feature, this is only temporary. The lock feature can be useful when you want to focus on other areas of your artwork while making sure that you don’t accidentally alter other layers while doing so. Locking the layer(s) in question makes this possible.
Sublayers
Sublayers are layers within layers, and they allow you to organize your work even further.
In the following example you can see that I used a sublayer for the “Characters” layer, which is indicated by an arrow icon:
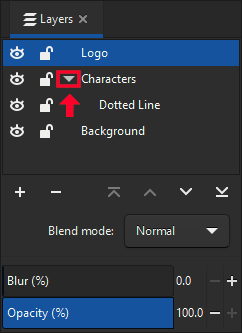
In this context the sublayer was used to segment the contents of the Characters layer. This layer consists of the two characters, but it also consists of the squiggly line going above the two characters.
The squiggly line was placed on a sublayer as a way of keeping that one layer more organized.
To add a new sublayer to an existing layer, simply select it and click the plus (+) icon to add a new layer. Choose “As a sublayer of current” from the Position prompt.
To make an already existing layer a sublayer of another layer, simply click and drag it on top of the layer you’d like to nestle it within.
Layer Features
Now that we’ve gone over the core functionality of Inkscape layers, let’s have a look at some of the additional features this menu has to offer.
Blur
Towards the bottom of the Layers menu you will see a Blur option.
This allows you to apply a Gaussian blur to the entirety of whatever layer you have selected.
This is similar to how the blur function works in the Fill & Stroke menu. The only difference is that this option applies the blur to all of the objects within a layer rather than an individual object.
Opacity
Just beneath the Blur feature you should see another option for controlling the Opacity of a layer.
This slider allows you to make an entire layer (and all of its contents) partially transparent. Simply click and drag it to change the layer’s opacity.
Much like the Blur feature, the Opacity feature applies the changes to the entire layer; as opposed to the Fill & Stroke menu, which only applied it to a select object.
Blend Modes
Blend Modes (sometimes known as “layer modes”) are a way of changing the appearance of a layer based on how its composition reacts with that of another layer.
Towards the bottom of the Layers menu you will see a dropdown for changing the Blend Mode of a layer.
The available blend modes in Inkscape are:
- Normal (no change)
- Multiply
- Screen
- Darken
- Overlay
- Color Dodge
- Color Burn
- Hard Light
- Soft Light
- Difference
- Exclusion
- Hue
- Saturation
- Color
- Luminosity
Each of these blend modes produce different results based on the composition of the layers affected. Cycle through some of them to see how they work, or refer to the video tutorial at the beginning of this post to see a demonstration.
It should be noted that blend modes are typically reserved for photo editing and pixel-based environments. It is certainly useful to have them available in Inkscape, but they serve a much smaller purpose in a vector environment.
Conclusion
Although the Layers menu may seem complicated upon first impression, working with layers in Inkscape is simple enough to understand, and knowing how to use them properly can really help you organize your artwork and make for a more efficient workflow. Layers may not be important in vector design as they are in a pixel-based environment, but they still serve an important purpose.
If you have any questions or need clarification on any of the steps taken in this lesson, simply leave a comment below.
Learn To Master The SoftwareGain a complete understanding of your favorite design apps with my comprehensive collection of video courses. Each course grants access to our private community where you can ask questions and get help when needed.
|
||||||||||||||||||||||||||||||||


I’m asking for help.
I have lost the “arrow” that opens the list of objects in the layer.
How do I get it back?
Here’s a screenshot
Hi Alex, do you have any objects added to your canvas? This usually happens when there’s no objects.
Hi Nick, you are doing great work. Just wanted to know if the file size becomes heavier using more layers or is it becoming more heavy using one layer with many different paths. What is better working: more layers or more paths.
Hi Bharat, I don’t think it makes a difference in file size either way. Try testing it out though. Save two files — one with multiple layers and the other with just one — and see if one is larger than the other.
1st of all, using Inkscape 1.2. In the layers and objects panel, I do not see the blend options. Those only appear in the Fill and Stoke panel. Am I missing a setting or something? Or just misunderstand where it is supposed to appear?
It looks like blend modes were removed from the layers menu as of version 1.2.
hi there, nice explanation, I’ll be sure to consult your other videos…
the question I am left with is how this system compares to layers in illustrator, which allows you to access all the objects within the layer in a catalog of the layers’ contents in the layer menu. I’ve been using inkscape for only a couple hours, trying to resolve this difference. Is there a setting or preference somewhere that I can change the layer menu display to include all the objects within the layer? Having to access them with the pointer right on the canvas all the time is less ideal.
thx
Try using the Objects menu instead. Location: Object > Objects
Thank you for all of your Inkscape tutorials!
Question: how can I feather/fade out just the edges of a picture or object? Like a vignette.
Hi Sharon, I would make a black and white radial gradient and use it as a mask. Check this tutorial: https://logosbynick.com/opacity-mask-with-inkscape/
Wonderfully explained. Thanks
Thanks Madhab