How To Use The Clone Brush In Affinity Photo | Complete Overview
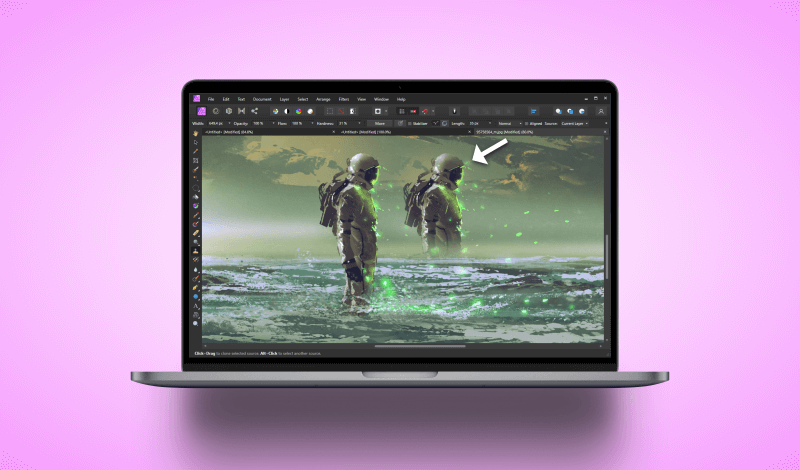
How To Use The Clone Brush In Affinity Photo | Complete Overview https://logosbynick.com/wp-content/uploads/2022/01/clone-brush-in-affinity-photo.png 800 470 Nick Saporito https://secure.gravatar.com/avatar/8e31bf392f0ba8850f29a1a2e833cdd020909bfd44613c7e222072c40e031c34?s=96&d=mm&r=gIn today’s tutorial we’ll be going over how to use a core feature of any raster image editor — the clone brush. Knowing how to use the clone brush in Affinity Photo will allow you to select subjects in your image an duplicate them elsewhere in the image.
Using a tool like the Clone Brush can be a bit a tricky if you don’t understand what its purpose is and exactly how it works, so the mission of this lesson is to familiarize you with this tool and all of its workings. Let’s dig in!
How To Use The Clone Brush In Affinity Photo
The following video tutorial will walk you through the entire process of using the Clone Brush step-by-step, including all of the tool settings:
Continue on for the written tutorial.
Table of ContentsHow To Use The Clone Brush Tool
Clone Brush Tool Settings |
How To Use The Clone Brush Tool
In this first part of the lesson we will be going over the basics of using the Clone Brush in terms of its functionality. Then, we will comb over all of the details and tool settings so that you can tweak your selection until it’s just right.
Step 1: Select the tool from the tool menu
First, grab the Clone Brush tool from your toolbox on the left-hand side of the screen:
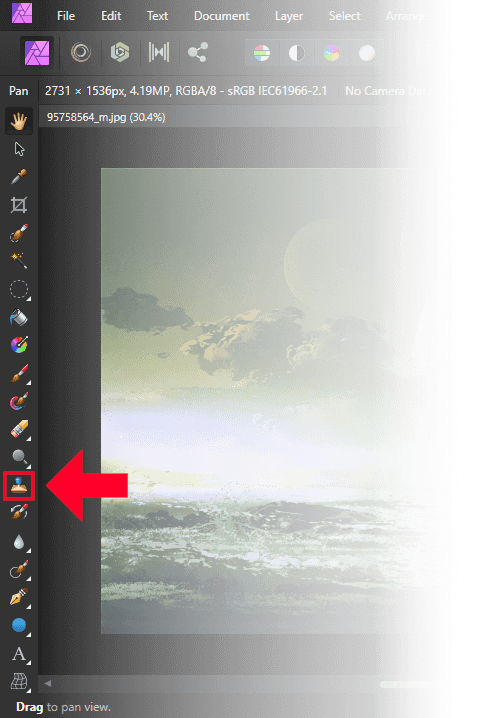
The Clone Brush is located towards the bottom of the toolbar. You can also access it by pressing S on your keyboard.
Alternatively, you can access it by using the keyboard shortcut, which is the letter S.
Step 2: Adjust the size of the brush using the bracket keys
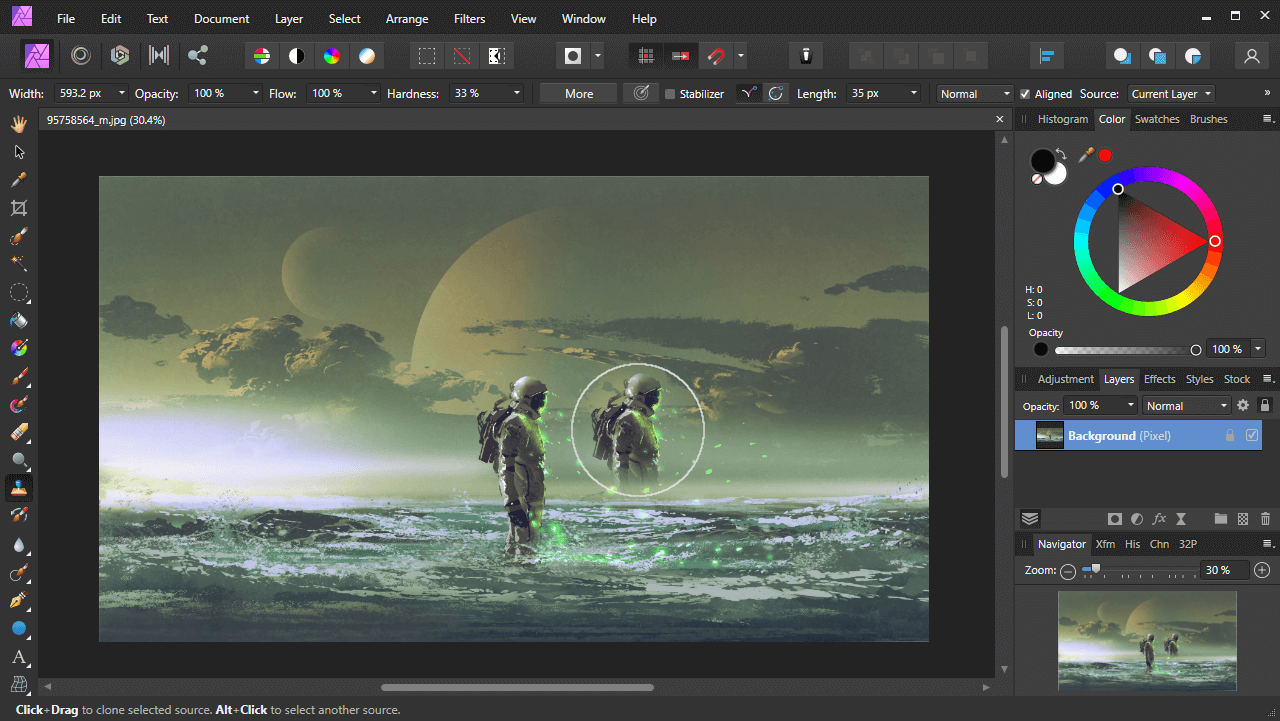
Once you have the Clone Brush enabled, you will notice a circular selection on your canvas that follows your cursor.
This circle represents the size of the brush and will determine exactly what is cloned, so you will have to adjust the brush size to fit entirely over your subject.
To change the size of your clone brush, use the bracket keys on your keyboard. The left bracket key ([) will make the brush smaller, whereas the right bracket key (]) will make the brush larger:
The left and right bracket keys on your keyboard allow you to decrease and increase the size of your brush respectively.
Step 3: Place the brush over your subject and click once while holding Alt
Once you’ve sized up your brush to fit nicely around your subject, hover your cursor over the subject and click on it once while holding the Alt key.
Doing so will grab a sample of the selection your brush is placed over. When done correctly you should notice that the selection has been copied to the brush:
The copied selection should populate within your cursor.
Step 4: Click and drag elsewhere on your image to paint with the clone selection
To clone your selection, all you have to do now is simply click and drag anywhere on your canvas to paint with the selection:
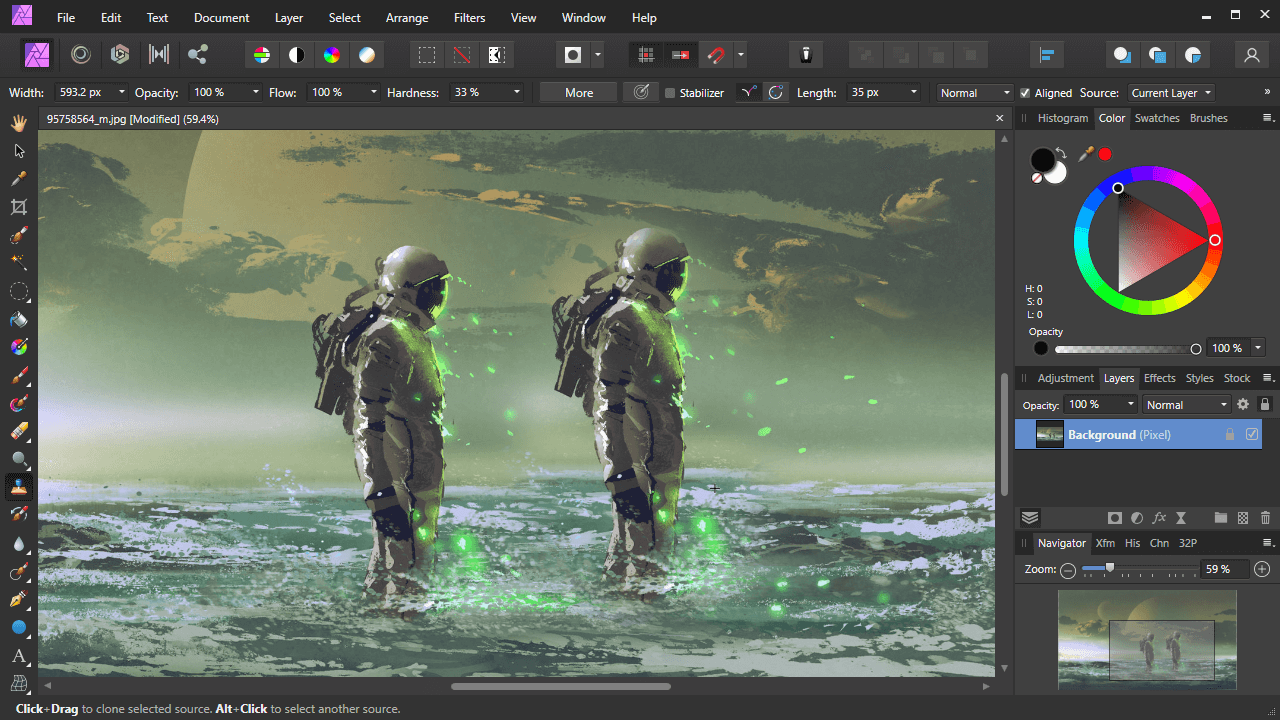
The subject on the right is cloned from the original subject on the left.
This will effectively “clone” your subject and place it in your chosen location.
If at any point you’d like to undo the clone, simply press Control + Z on your keyboard and you can try it again if need be.
Clone Brush Tool Settings
Now that we’ve gone over how to use the Clone Brush in Affinity Photo, let’s go over some of the tool options, which are located in the toolbar towards the top of your screen:

The Clone Brush tool settings are located near the top of the screen.
It’s important to familiarize yourself with these settings as they will allow you to tweak and refine your selections further so that you can make the most precise clone possible.
Continue on to see what each of these settings do.
Width
Much like the bracket keys, the Width setting allows you to change the size of your brush. The only difference is that it gives you a slider to manually size up the brush, and it has a numerical input box as well in case you need your brush to be a specific size.
Using the width setting is an inefficient way of sizing up your brush though. This is because there’s no way to see exactly how big the brush is while making this changes. This is why it is recommended that you use the bracket keys instead. This method makes it much easier to size up your brush on the canvas.
Opacity
The Opacity setting allows you to change the opacity of the clones you’re creating.
By default the opacity should be set at 100%, meaning that the clones you create will be just as opaque as the original source that you sampled it from. However, you can reduce the opacity to make your clones partially transparent if need be.
Flow
The Flow setting represents the speed (or intensity) at which your clones are drawn.
By default this setting should be 100%, meaning you can paint with your clones in a single brush stroke. Lowering this value will make it so that it requires several brush strokes to fully paint in your clone.
This setting can be useful depending on your image and what exactly it is you’re trying to do.
Hardness
Hardness is possibly the most important tool setting to familiarize yourself with when it comes to knowing how to properly use the Clone Brush in Affinity Photo. It represents how hard or soft the edges of your selection are.
Increasing the hardness will make it so that your clones have hard edges, whereas lowering it will make the edges softer and blend in easier:
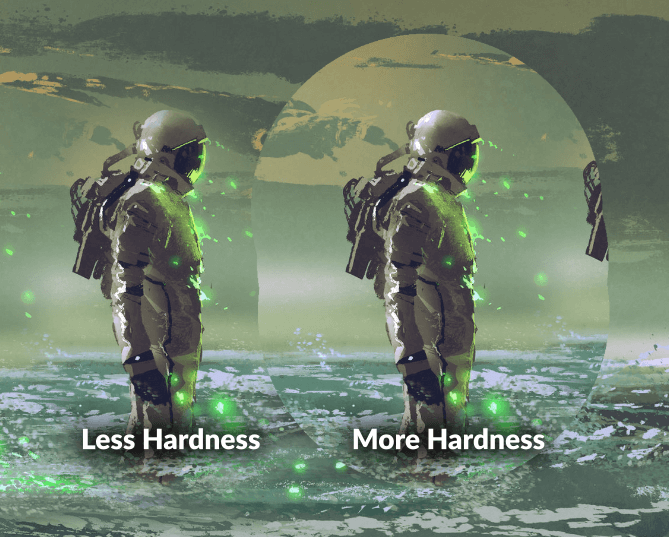
Notice the differences in the edges around the subject based on the hardness value.
This setting can be used to help blend your clones in to the rest of the image better, but this is something that should be applied on an image-by-image basis. Certain compositions will require more or less hardness depending on the image and what exactly it is you’re trying to accomplish.
Blend modes
Within the tool settings menu you should notice a dropdown that will allow you to change the blend mode of your clones. By default it is labeled as Normal, which is the default blend mode.
Changing this will change the appearance of your clones as you draw them, which can be useful depending on what you’re trying to clone.
All of the standard blend modes you would typically expect can be found here, including:
- Darken
- Multiply
- Color burn
- Screen
- Overlay
- Soft light
- Hard light
- Difference
- And more
Aligned
The Align setting, when enabled, makes it so that your clone is fixed to its original position relative to the pointer. This means that once you start drawing your clone, you won’t be able to draw another clone elsewhere until you clear your brush.
Disabling this setting is recommended as it allows you to draw multiple copies of your clone throughout the canvas,
Source
Source represents the layer you’d like to sample from with your clone brush. Sources include:
- Current Layer: With this setting chosen you will only be able to draw clones on the layer you’ve selected them on.
- Layer Below: Enabling this setting will allow you to draw clones based on the layer beneath your current layer.
- Current Layer & Below: Enabling this setting will allow you to draw your clones on virtually any layer you’d like.
For ease of use, it is recommended that you use Current Layer & Below option as it will allow you more freedom when drawing.
Tip: painting your clones on separate layers will allow you to refine the cloned selection further once it’s painted, eg. using the Eraser to remove unwanted pixels from the edges of your clone.
Rotation
The Rotation setting allows you to rotate your clone brush if need be.
You can rotate your brush using the pop-out slider or by manually inputting a numerical value.
Scale
Scale represents the size of your clone (not to be confused with the size of your brush.)
Width changes the size of the brush independent of the subject, whereas Scale changes not just the brush size but the size of the clone/sample selection within the brush as well.
Flip
Finally, there is Flip, which allows you to change the orientation of your clones if need be.
This setting allows you to:
- Flip horizontally
- Flip vertically
- Flip horizontally and vertically
If you do not wish to flip your clones then you can leave the default option in place, which is None.
Conclusion
Knowing how to use the Clone Brush in Affinity Photo will open up a world of possibilities when it comes to image manipulation. You can use it to remove subjects from photos, remove blemishes from skin, or even fill in sparse areas with other sample selections from your image.
What’s really useful about the way Affinity Photo handles clone brushing, compared to other raster editors, is that it displays a preview of the cloned selection in the cursor once enabled. This is really helpful, and it’s something I’d love to see other applications implement as well.
If you have any question or need clarification on any of the steps taken in this lesson, simply leave a comment below.
|
Become A Master of Affinity Designer!Want to learn more about how Affinity Designer works? Check out my Affinity Designer Master Class – a comprehensive series of over 60 videos where I go over every tool, feature and function and explain what it is, how it works, and why it’s useful. |
Learn To Master The SoftwareGain a complete understanding of your favorite design apps with my comprehensive collection of video courses. Each course grants access to our private community where you can ask questions and get help when needed.
|
||||||||||||||||||||||||||||||||


