How To Remove A Background From An Image With Inkscape
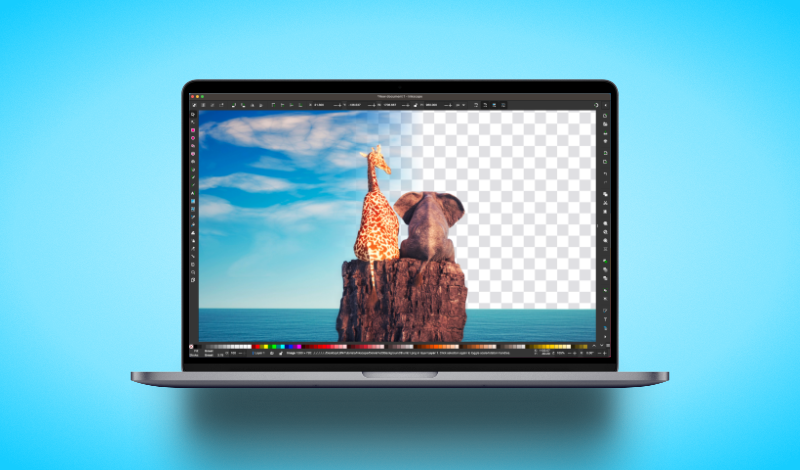
How To Remove A Background From An Image With Inkscape https://logosbynick.com/wp-content/uploads/2023/03/remove-background-inkscape.png 800 470 Nick Saporito https://secure.gravatar.com/avatar/8e31bf392f0ba8850f29a1a2e833cdd020909bfd44613c7e222072c40e031c34?s=96&d=mm&r=gIn this tutorial we’ll be going over how to remove a background with Inkscape. Although Inkscape is a vector-based tool, that doesn’t mean it can’t handle simple image-editing tasks. And if all you need to do is delete a background from an image then Inkscape should be a sufficient enough tool in most instances.
Inkscape may not be the best tool for removing backgrounds from images, but if you’re working with a simple enough image with a well-defined subject and background then it can be accomplished by drawing a path over your subject then using then path as a clipping mask. Best of all, clipping masks are non-destructive, meaning your background can be restored at any point if you desire.
Remove A Background With Inkscape
Due to the nature of working with paths in Inkscape, it is recommended that you watch the video tutorial for this lesson. It will walk you through the entire process step-by-step:
Continue on for a written outline.
Table of Contents |
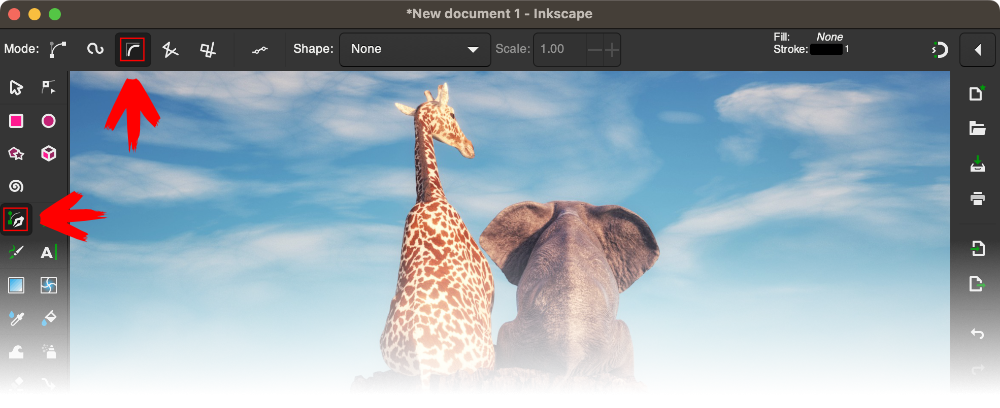
Step 1: Grab the Bezier Pen and enable the “BSpline” setting
Once you’ve opened or imported your image into Inkscape, grab the Bezier Pen from the toolbar on the left-hand side of the screen. It can also be accessed using the keyboard shortcut: B.
Locate the tool settings menu towards the top of the screen. On the left-hand side of the menu where it says Mode you will see three different settings for the Bezier Pen:
- Create regular Bezier path
- Create Spiro Path
- Create BSpline path
Select the BSpline option, which is the option furthest to the right:
Click to enlarge.
This setting makes it easiest to draw basic paths. It is sort of like training wheels for the Bezier Pen.
Step 2: Click to add points around the subject of the image
Now it’s time to draw a path that outlines the subject of your image.
With the Bezier Pen selected, begin clicking to add points around the subject of your image. As you add points, a line will be drawn connecting them. This is known as a path.
The lines you draw will automatically be smooth. If at any point you need the path to be straight, or you need to create a point that is a corner, simply hold the Shift key while clicking to add your point.
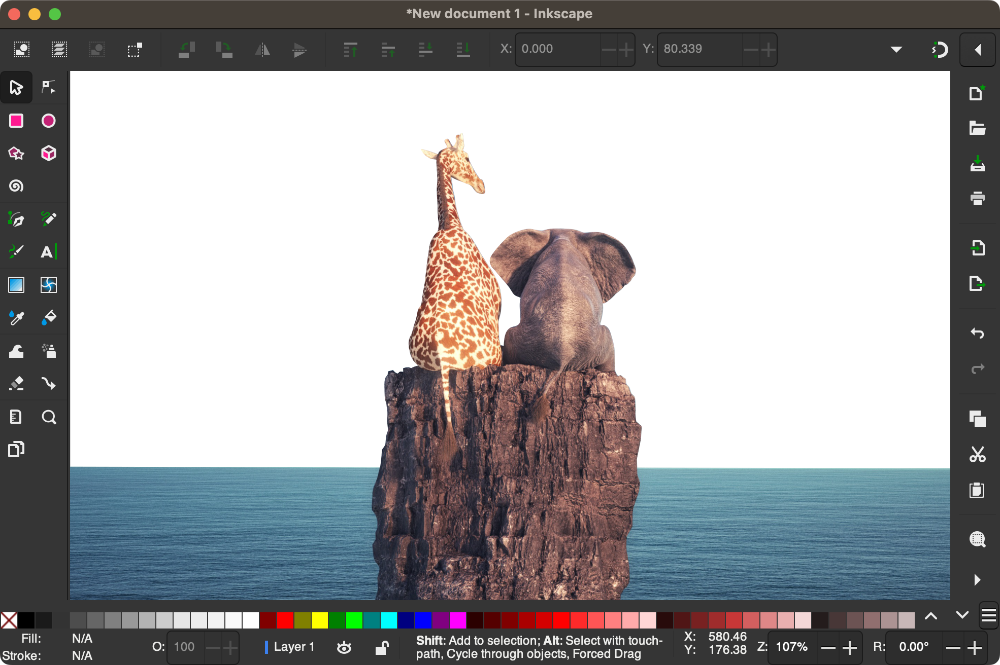
Finish drawing your path around the subject and close the path by clicking on the original point. You should now have a vector path outlining your subject:

Tip: reducing the opacity of the image will help you see the path more clearly.
This is the most difficult step in the lesson, so if you’re struggling to catch the hang of it then it is recommended that you watch the video tutorial above.
Step 3: Use the path you’ve drawn as a clipping mask for the image
Now that your path is drawn you can use it as a clipping mask to remove the background from the image.
To do so, select both the path and the image at the same time. This can be done by clicking and dragging a bounding box around each or by clicking on each while holding the Shift key.
With both selected, navigate to:
Object > Clip > Set Clip
Once selected, your image will only be visible in the area where the path is, meaning the background will effectively be gone:
You can now export it as a PNG image with a transparent background. Exporting as JPEG will cause the background to be white as it does not support transparency.
Clipping masks are non-destructive, so if you want to restore the background at any point, all you have to do is select the image and go to:
Object > Clip > Release Clip
What If This Doesn’t Work?
Although Inkscape can be used to delete backgrounds from images that are simple or well-defined, Inkscape won’t always be the best tool to use based on the image. For deleting images with finer details where the subject isn’t as well-defined, such as hair, then you’d be better off using something like GIMP to remove your background.
Learn To Master The SoftwareGain a complete understanding of your favorite design apps with my comprehensive collection of video courses. Each course grants access to our private community where you can ask questions and get help when needed.
|
||||||||||||||||||||||||||||||||


Great tutorial! I didn’t realize Inkscape could be used for background removal—this is super handy for quick edits without jumping into a full-blown image editor. Love the non-destructive clipping mask approach too. Looking forward to trying this out with some simple graphics!
Thanks for the Info.
Thank You!!!
Glad to help!
This is a fantastic tutorial for anyone who wants to learn how to remove backgrounds in Inkscape! The step-by-step guide with clear visuals makes it easy to follow, even for beginners.
Thanks for sharing this helpful resource!
I haven’t been able to use Inkscape for background removal, but I find it familiar and efficient for my workflow. I’ll give it another try. Thanks for the info!
It’s not always the best tool depending on the image but it can work regardless.