How To Create A Gold Effect with Inkscape
How To Create A Gold Effect with Inkscape https://logosbynick.com/wp-content/uploads/2021/02/inkscape-gold-text.png 800 470 Nick Saporito https://secure.gravatar.com/avatar/8e31bf392f0ba8850f29a1a2e833cdd020909bfd44613c7e222072c40e031c34?s=96&d=mm&r=gIn this tutorial I’ll be demonstrating how you can use Inkscape to create a gold effect. More specifically, I’ll be showing you how to create gold text.
To create this gold effect with Inkscape, we’ll be using linear gradients and applying five specific colors that, when combined, create the illusion of shining gold.
Create A Gold Effect with Inkscape
For this demonstration I will be applying the gold effect to some text. If you’d like to create gold text with Inkscape as well, I would recommend using the Ayres font. For whatever reason, this gold effect seems to look best with this particular font. I tried it on some other fonts but it didn’t quite look right.
For complete step-by-step instructions, please watch the video tutorial I’ve put together:
The following is just a brief overview of the steps taken to create our gold effect.
Step 1: Generate Some Text
The first step is to create some text on the canvas.
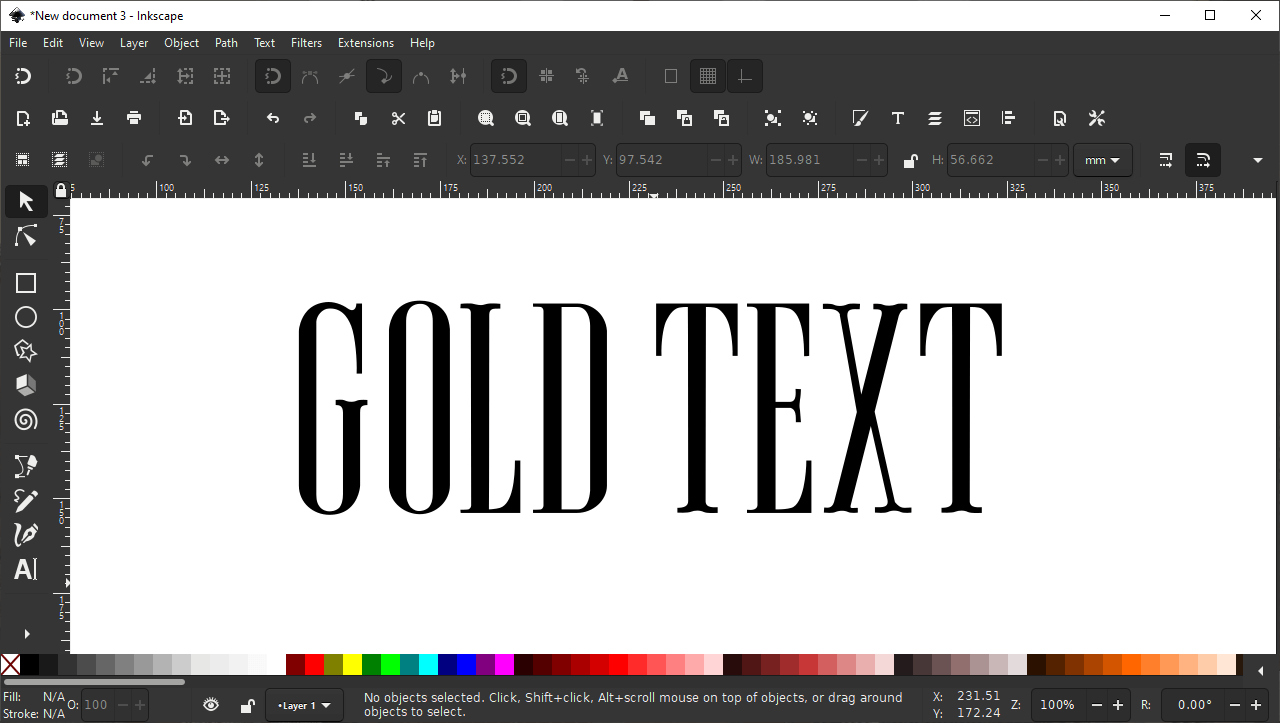
You can apply this gold effect to another object if you’d like though. It doesn’t need to be text.
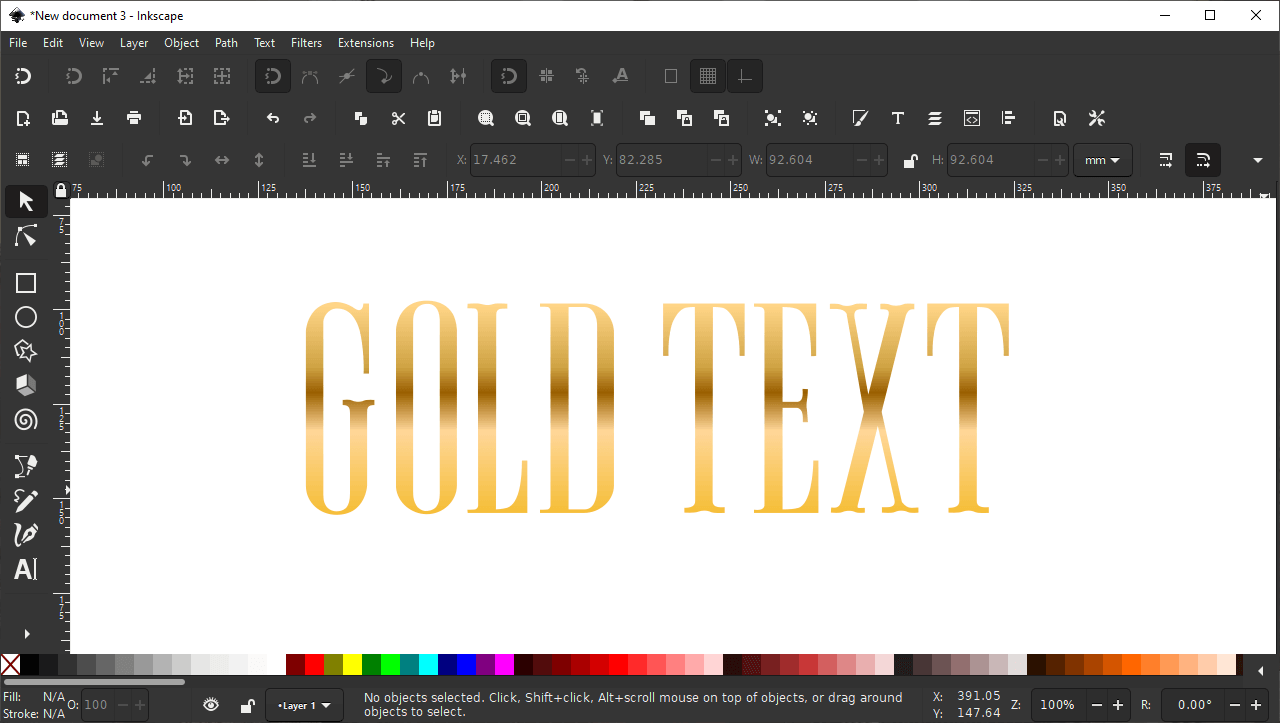
Step 2: Apply A Linear Gradient
Next, we’ll apply a linear gradient with 5 stops.
In order for this gold effect to look right it’s important that we use the following five shades in our gradient:
- ffd587ff
- cfa344ff
- 9a5f00ff
- ffd699ff
- f5be39ff
These five colors, when used in order (from top to bottom) in a linear gradient, create the illusion of gold:

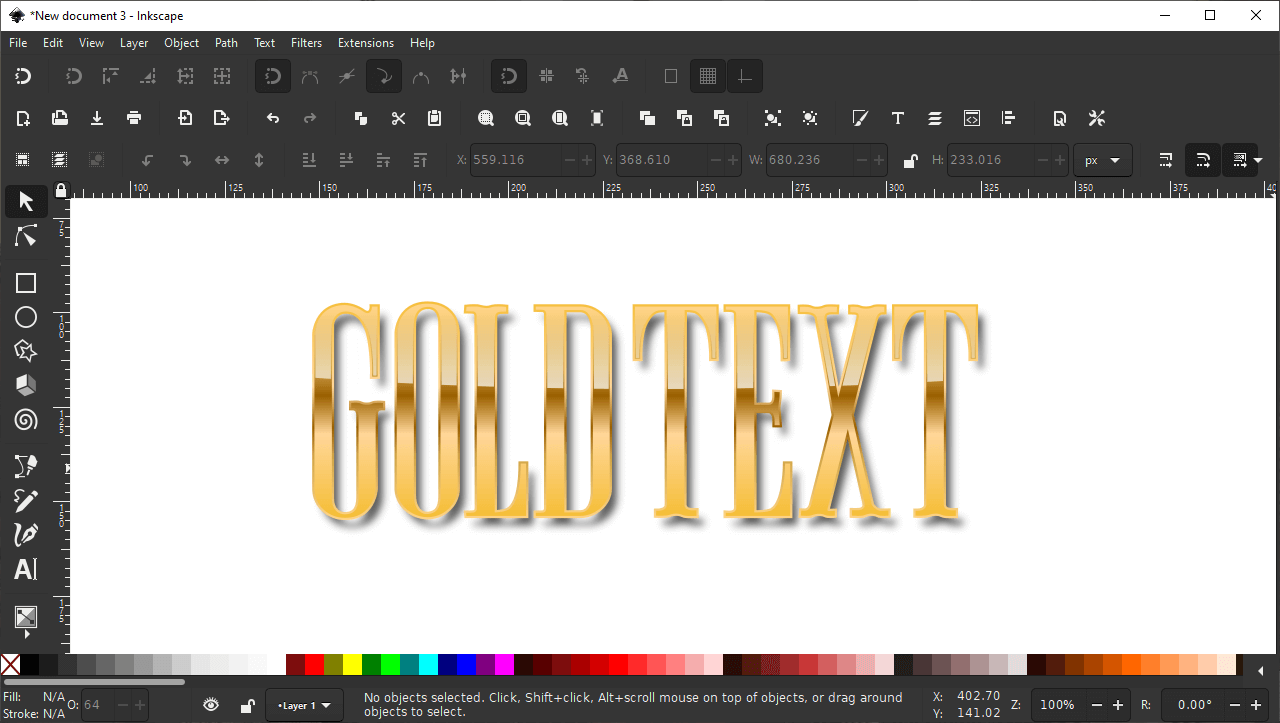
Here’s how the text looks with the gold gradient applied:
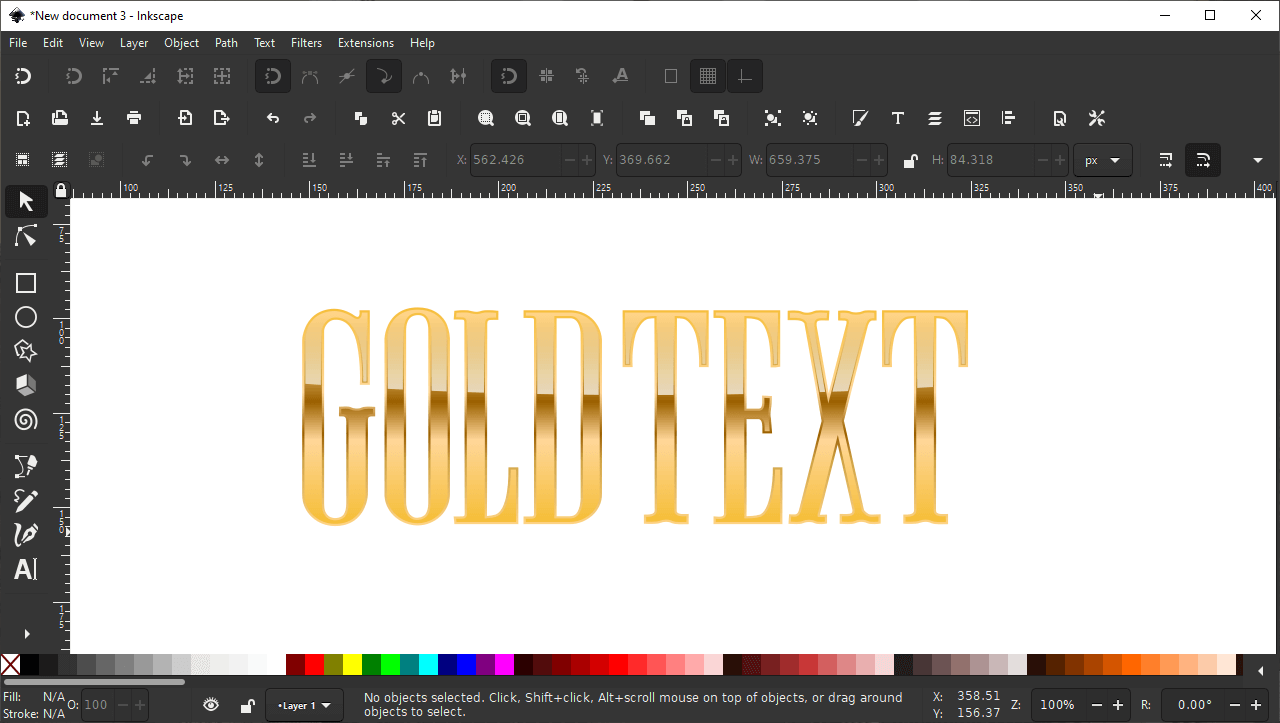
Step 3: Create An Offset
In order to make this look more like gold material, we’re going to create a duplicate of the text and apply a stroke that will act as somewhat of an offset.
The duplicate copy will be placed beneath the original text, and it will be given the same gradient that was given to the original text, only in reverse:

This acts as somewhat of a bevel and helps sell the gold effect.
Step 4: Add A Shine
Next, we’ll be adding a shine — or reflective light effect.
To do this, we’ll create a copy of the gold text, inset it, and then intersect it with an ellipse placed over the top third of the text. This process is too complicated to explain through written text so you’ll have to check out the video tutorial above.
It’ll be given a gradient from white to transparent to make it look like reflective light.
Step 5: Add A Drop Shadow
The final step in making our gold text with Inkscape is to add a drop shadow beneath the text.
This is done by create a duplicate copy of the text, making it black, positioning it beneath the original text, and giving it a blur:
This really makes the gold text pop off the page, making for a great final touch.
Go ahead and place your finished gold text on top of a dark backdrop to make it pop even more:

And that should do it for this lesson. That is how you can create a gold effect with Inkscape!
Conclusion
Creating a gold effect with Inkscape is simply a matter of applying the right gradients, offsets, and a drop shadow. This techinique can be applied to virtually any vector object. And what makes Inkscape such a great tool for creating something like this is that it’s easier to work with gradients in Inkscape than it is in any other application. This is something I touch on a bit in my comparison of Inkscape vs Illustrator.
If you have any questions just leave a comment below. As always, thanks for watching!
Learn To Master The SoftwareGain a complete understanding of your favorite design apps with my comprehensive collection of video courses. Each course grants access to our private community where you can ask questions and get help when needed.
|
||||||||||||||||||||||||||||||||


You might also like


11 comments
-
-
Nick Saporito
It sounds like a bug in the software. Try converting the text to a path before applying the gradients.
-
-
Jessica
Hello, how do you do this over a vector? I was able to make the gradient lines, but the effect did not display over the image.
Thanks!
-
Logos By Nick
Hi Jessica, this only works on individual vector objects. It won’t work on pixel-based images or groups of objects.
-
-
-
-
Schumbz
Hi Nick,
first of all Great tutorials dude, they help me a lot.
But I want to create a trophy and there are rounded, how did I do it there?
Could u make a tutorial for that, rounded metal things like a curvy trophy, that’s were I struggleMfg Schumbz
-
Owais
I’m not into graphics designing but for some projects requirement I have to customize some graphics. Your tutorial is a breeze for me. Thanks for sharing your knowledge.
-
-
Erika
Hi Nick, this tutorial was great!
I’m a inkscape begginer, but i wanted to know if is it possible to make custom dashes because, i can make custom markers for the strokes, but not for dashes-
Nick
Hi Erika, there’s no way to make custom dashes, but there is a workaround using the Pattern Along Path feature in the Path Effects menu. I have a tutorial on that here: https://logosbynick.com/inkscape-pattern-along-path/
-
Boyd River
I have hit a problem.
After the first series of gradients and when going to Path> Object to Path the fill turns to black, alsmost like a mask tevealing the bottom black layer.
Any ideas please Nick?