How To Make Halftones In Inkscape
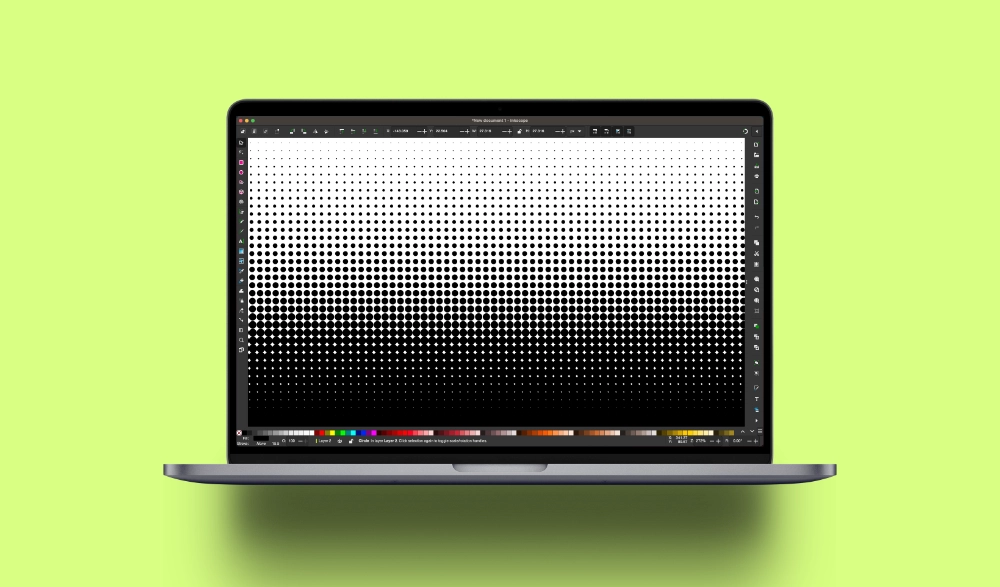
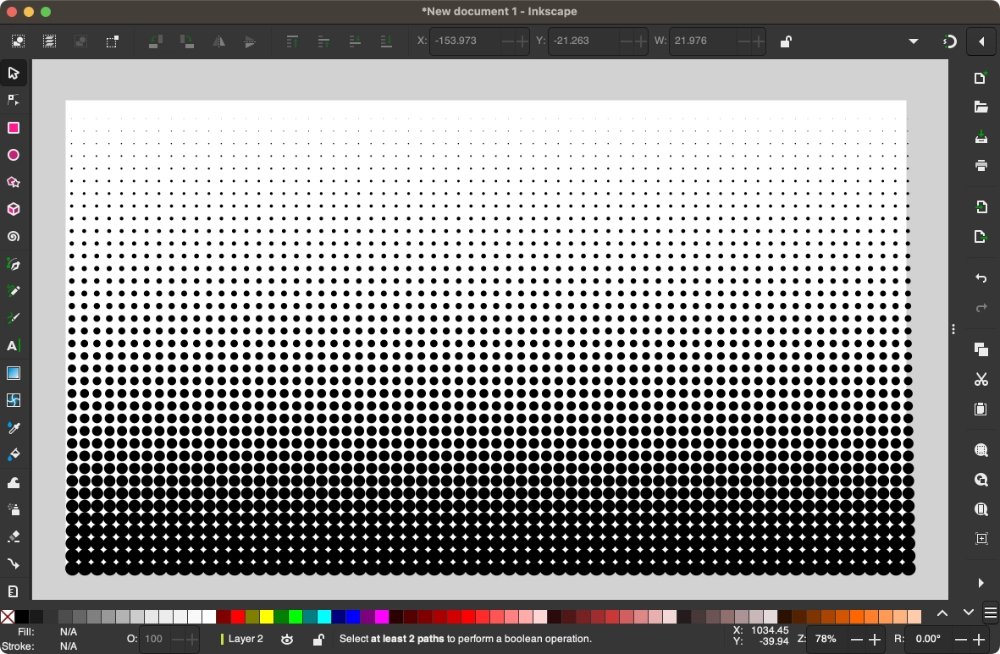
How To Make Halftones In Inkscape https://logosbynick.com/wp-content/uploads/2023/06/halftone-gradients-inkscape.webp 1000 587 Nick Saporito https://secure.gravatar.com/avatar/8e31bf392f0ba8850f29a1a2e833cdd020909bfd44613c7e222072c40e031c34?s=96&d=mm&r=gIn this tutorial we’ll be going over how to make a simple halftone gradient in Inkscape. The result depicts lots of tiny dots that gradually increase in size based on the sample area that they are traced over.
As it turns out, there is no feature for directly creating halftones in Inkscape, so we will have to create them manually using the Tiled Clones feature to trace a circle over a standard linear gradient. Let’s delve in.
Create Halftones In Inkscape
The following video tutorial will walk you through the entire process:
Continue on for a step-by-step breakdown.
Table of Contents |
Step 1: Create a new document
First, create a new document in the size of the area that you’d like your halftone gradient to cover.
For this demonstration I have sized my document at 1,280 x 720 pixels:

We’ll be creating our halftone in a new document. It can be copy & pasted elsewhere later on if need be.
Step 2: Generate a rectangle and apply a gradient
Now let’s grab the Squares & Rectangles Tool (keyboard shortcut: R) and draw a rectangle that covers the size of the canvas. Then, apply a linear gradient to the rectangle that transitions from black to white:
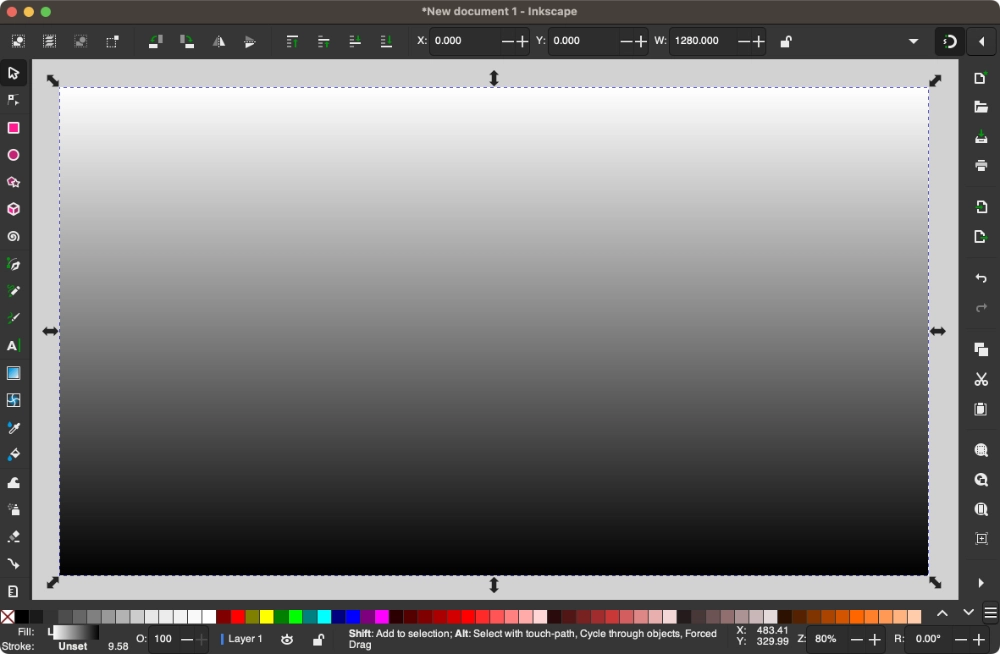
The black area will represent the denser area of the halftone where the dots are the largest, and the white area will represent the smaller dots. So place your gradient handles according to the direction you’d like your halftones to go.
If you do not know how to apply gradients then refer to the video tutorial at the top of the page.
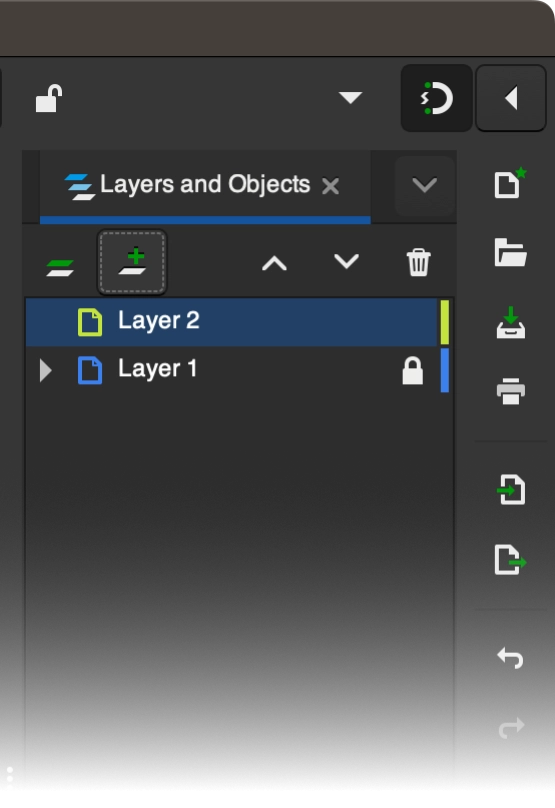
Step 3: Lock the layer and add a new layer
Once your gradient is complete, open the Layers menu by navigating to:
Layer > Layers & Objects
It can also be accessed with the following keyboard command: Control + Shift + L
Click the lock icon on Layer 1 (where the gradient is currently located) to lock the layer in place and add a new layer above it:
The halftone will be generated on its own layer.
Step 4: Place a small black dot on the new layer
Now we’re going to use the Circles & Ellipses Tool (keyboard shortcut: E) to draw a small black dot in the top-left corner of the document:

Make sure that the dot is created on Layer 2 and not Layer 1.
This dot will be duplicated and traced over the gradient area many times to create the halftone.
Step 5: Use the Tiled Clones tool to trace the gradient
Now it’s time to trace over the gradient with the black dot using the Tiled Clones feature.
Select the black dot and navigate to:
Edit > Clones > Created Tiled Clones
Within the menu, click the Trace tab and it should look something like this:
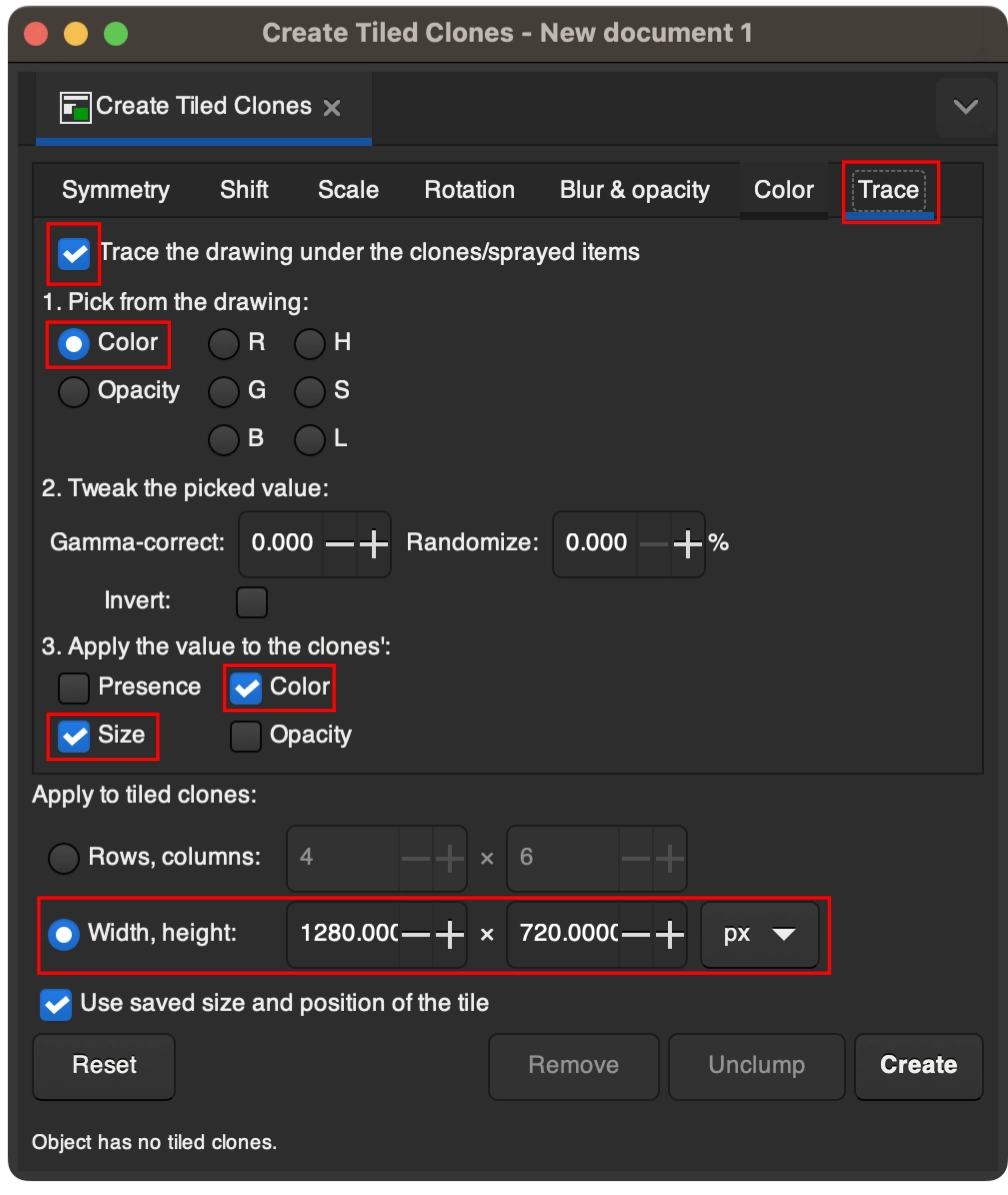
Match your settings to the settings outlined in red above.
The settings to be applied are as follows:
- Tick the box that reads Trace drawing under clones
- Choose Color over Opacity
- Apply the value only to Color and Size
- Choose the Width, height option and input the size of your document/rectangle
- Tick the box that reads Use saved size and position
Once applied, click the Create button and the dot will be traced over the gradient, resulting in a halftone pattern:

The original circle is linked to the rest of the dots in the halftone, so whatever alterations you make to it will also be applied to the rest of them.
This is useful to know because you can increase and decrease the size of the original circle to adjust the size of the dots in your halftone.
Step 6: Turn off the visibility of the gradient layer
Finally, navigate back to the Layers menu and toggle off the visibility of Layer 1 so that only the halftone is visible:
And we’re done!
Precautions
It should be noted that the Tiled Clones feature can be very resource-intensive depending on the size of area you’re tracing, so try to trace as small of an area as possible if you’re using an older or outdated machine.
Learn To Master The SoftwareGain a complete understanding of your favorite design apps with my comprehensive collection of video courses. Each course grants access to our private community where you can ask questions and get help when needed.
|
||||||||||||||||||||||||||||||||


You might also like


4 comments
-
-
Nick Saporito
Hi Erner, they’ve simplified the process in 1.4. Now you just have to click and drag the layers to change their position in the stacking order.
-
-
-
Erner Werkhardt
Hi Nick, I’m really enjoying your tutorials – they’ve helped me create several shapes and patterns that I didn’t know how to make.
However, I’m not sure which version of Inkscape you’re using to Create Halftones, and I’ve run into a problem. I’m using the latest version (1.4) and when I get to the step (1:22 in the tutorial) where you add a layer, there is no pop-up menu which offers the option to place the new layer “above current layer” and I can’t finish the job because I suppose I’m not putting Layer 2 above Layer 1. I think I can figure it out, but perhaps you could indicate which version of Inkscape you’re using in this tutorial, because many of the command and buttons change position from one version to the next.
Thanks,
Erner