
Apply A Gradient Across Multiple Objects In Illustrator
Apply A Gradient Across Multiple Objects In Illustrator https://logosbynick.com/wp-content/uploads/2021/05/gradient-across-multiple-objects-1.png 800 470 Nick Saporito https://secure.gravatar.com/avatar/8e31bf392f0ba8850f29a1a2e833cdd020909bfd44613c7e222072c40e031c34?s=96&d=mm&r=gOne of the most common problems you may run into when working with gradients in Adobe Illustrator is the inability to apply a gradient across multiple objects at a time. If you select all of the objects at once, or even group them together, you’ll probably notice that the gradient is applied to each individual object rather than the entire group of objects. This can be frustrating, but today we’ll be solving this problem. In this tutorial we’ll be going over how to apply a gradient across multiple objects in Illustrator.
In short, the way that you apply a gradient across multiple objects in Illustrator is to make your objects into a Compound Path first, and then apply the gradient. However, there is one important consideration to keep in mind, and that is in the way that compound paths work. Let’s dig in.
How To Apply A Gradient Across Multiple Objects In Illustrator
| To apply a gradient across multiple objects in Illustrator, make the objects into a Compound Path first by selecting them and navigating to Object, Compound Path, and Make. Gradients applied to the compound path will then span across your objects. |
The following video tutorial will walk you through the entire process in less than 2 minutes:
Continue on for a more in-depth explanation.
Table of Contents |
For this demonstration I will be applying my gradient across the following collection of objects:

As you can see, each part of this design is its own object and is in no way unified together.
The problem with trying to apply a gradient across multiple objects in Illustrator is that by default, Illustrator applies the gradient to each individual object, rather than the grouping of objects as a whole:
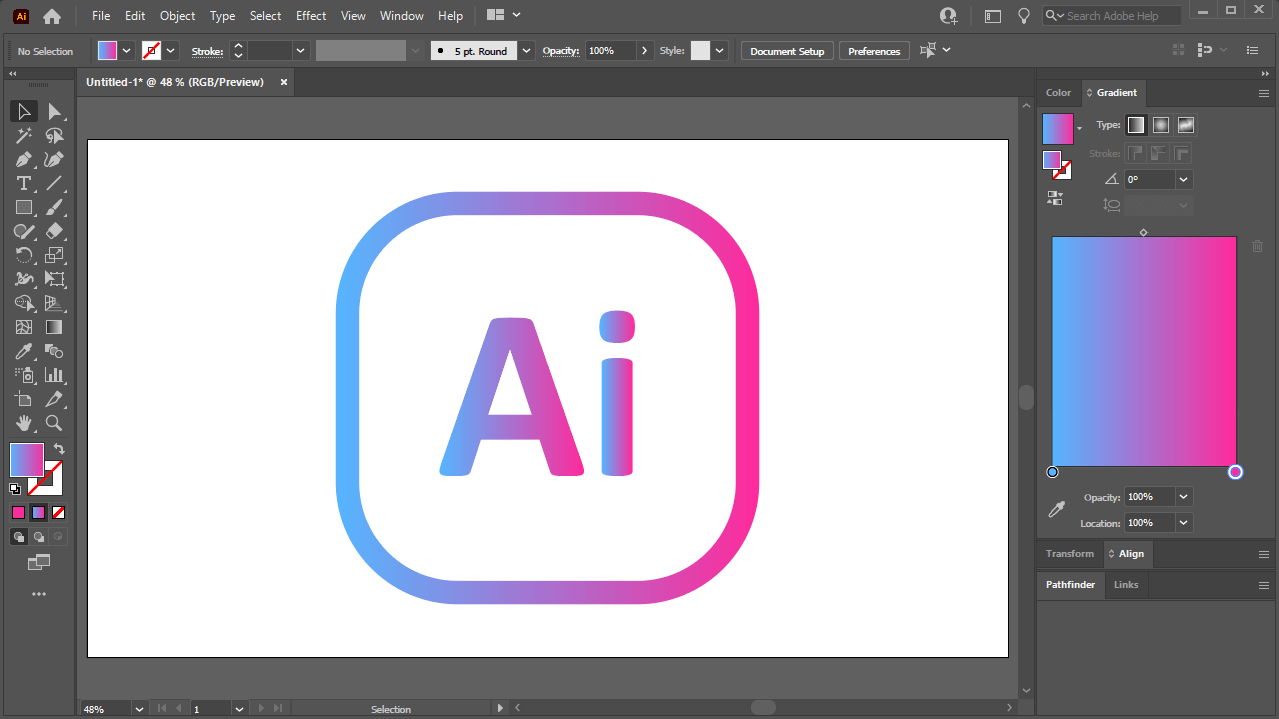
Instead of applying a single gradient across all of the objects, Illustrator create individual gradients for each object.
The same thing also happens if you Group your objects together or Unify them using the Pathfinder.
What if we just want a single gradient that spans across the entirety of objects though, as if it were a single object? This is where Compound Paths come into play.
Make Your Objects Into A Compound Path
In short, a Compound Path is the result of taking multiple objects and unifying them together into a single object.
This differs from grouping and Pathfinder operations in that this method is more final, whereas groups and unified objects are non-destructive and can be separated at any time.
In order to make Illustrator apply a single gradient across multiple objects, as if it were a single object, you’ll have to make them into a compound path first.
To do this, select all of your objects and navigate to Object > Compound Path > Make.
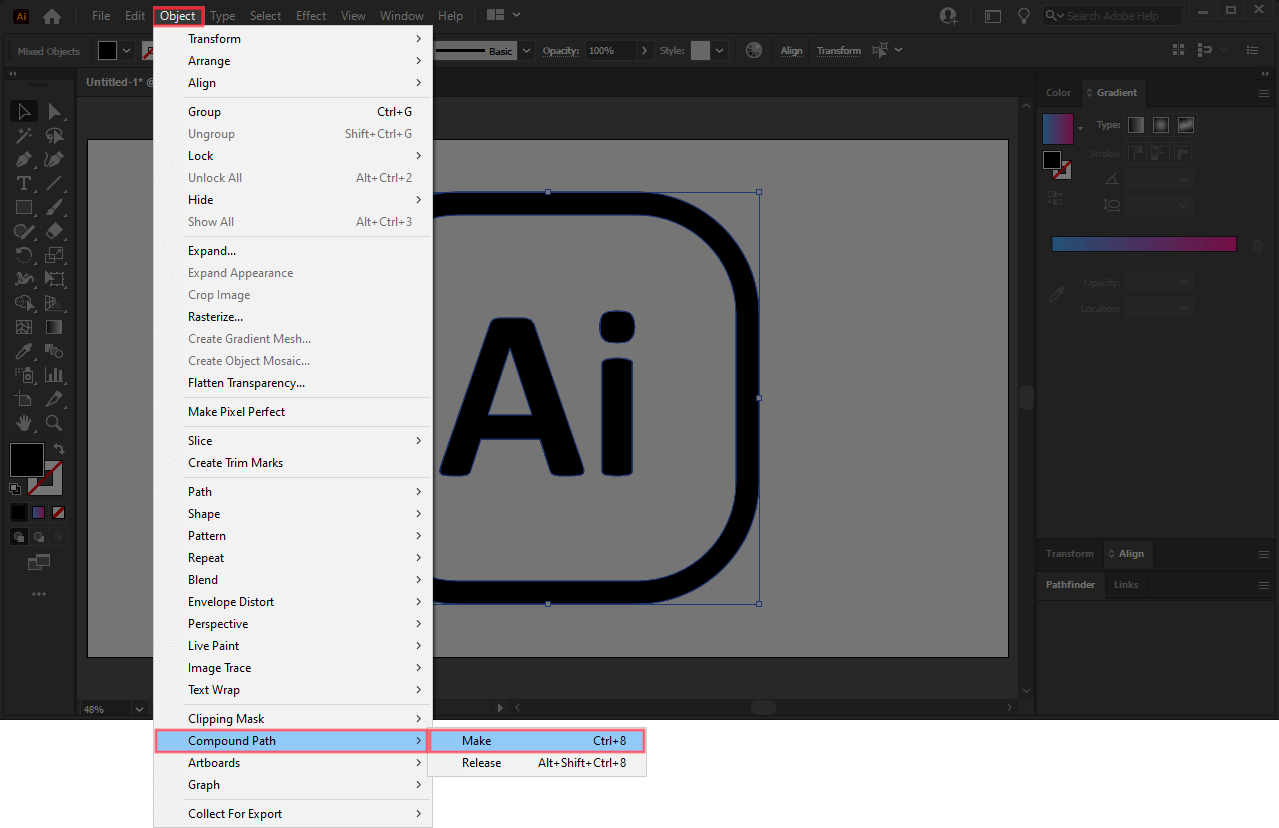
Click to enlarge
Once applied, nothing will visibly change on your screen. However, the objects will now be unified together as if they were a single object, which will allow us to apply a single gradient to them.
Apply Your Chosen Gradient
Now that you’ve created a compound path, you can apply your gradient across multiple objects in Illustrator as if it were a single object. Simply add your gradient as you normally would:
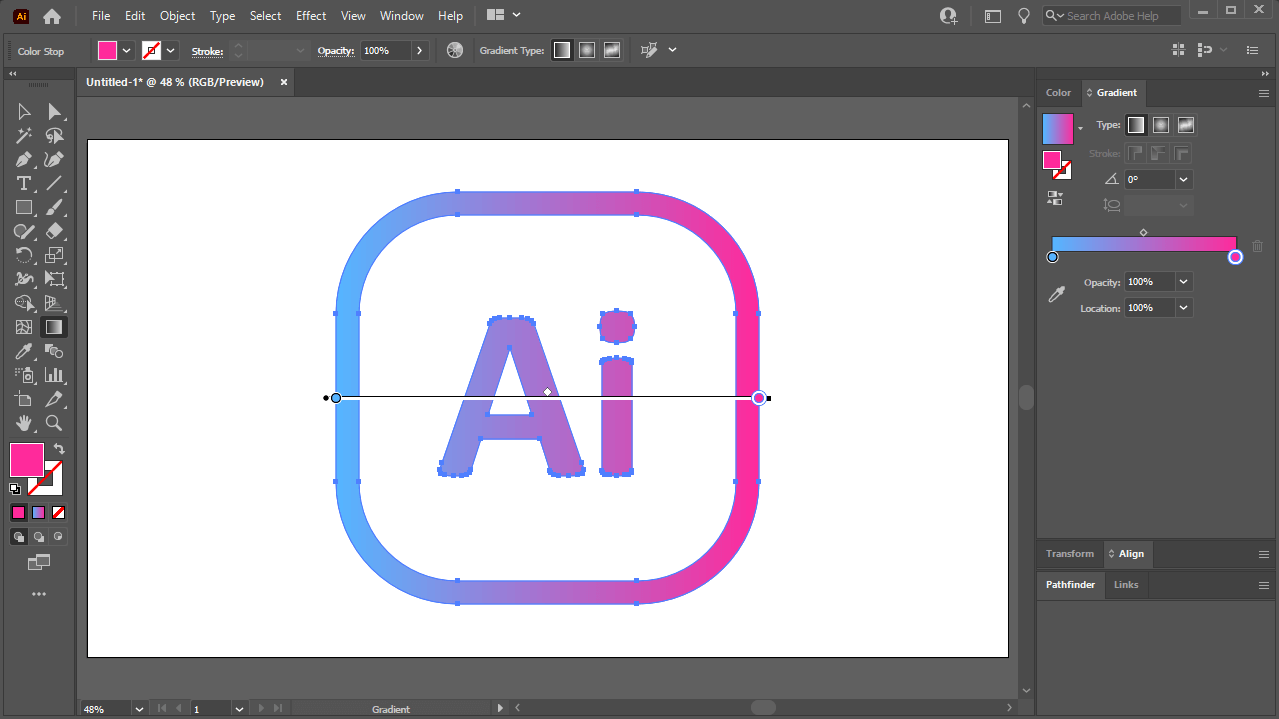
For this example, I applied a linear gradient. As indicated by the single gradient handle, it is spanning the entirety of every object.
As you can see, there is now a single gradient that spans across all of the objects. And we’re done! It’s that simple.
Precautions
One important consideration to keep in mind whenever you create compound paths is that this is a process that’s difficult to undo. Unlike grouped objects and objects that have been unified together via the Pathfinder menu, this action is permanent. Compound paths can be released, but depending on the structure of your objects, they may not look the same.
If you’d like to break apart your compound path, you can do so by selecting it and navigating to Object > Compound Path > Release.
In my example, the appearance of my objects changes drastically:

How my compound path looks once released.
This is because Illustrator treats the interior negative space of the object as if it were its own object.
This can be easily fixed using the Shape Builder Tool, but it’s an added step, making it an inconvenience. That is why I recommend making duplicate copies of your objects first before you make them into a compound path. This way you’ll have a backup copy of the objects as they were individually, in case you end up needing them down the line.
Conclusion
Unfortunately, applying a gradient across multiple objects in Illustrator isn’t as simple as it is in other applications, like Inkscape. Unlike Illustrator, Inkscape allows you to apply a single gradient across multiple selected objects at a time, without having to unify them together (it even works on grouped objects as well!) In fact, working with gradients is one area in particular where I feel that Inkscape outshines Illustrator. Hopefully Adobe will adapt a similar approach in future updates.
If you have any questions or need clarification for any of the steps in this tutorial, simply leave a comment below.
Learn To Master The SoftwareGain a complete understanding of your favorite design apps with my comprehensive collection of video courses. Each course grants access to our private community where you can ask questions and get help when needed.
|
||||||||||||||||||||||||||||||||


You might also like


3 comments
-
-
Brock Hogan
I love this trick, it is so helpful! However, when I change the angle of the gradient to change the direction of it, it doesnt apply across all the objects. for example, I want the gradient to run vertically, not horizontally. Thoughts?
-
Nick
Hi Brock, the gradient will span all of the objects if they’re made into compound paths. To make the gradient run vertically you’ll have to grab the Gradient tool and rotate the gradient handles.
-
Josh
This is just what I needed! I had a very complicated shape and kept running into the gradient being applied to each path. I followed your tutorial and my gradient is now behaving as requested! Thanks for sharing 🙂