How To Create A Signature Stamp with Procreate
How To Create A Signature Stamp with Procreate https://logosbynick.com/wp-content/uploads/2021/05/signature-stamp-procreate.png 800 470 Nick Saporito https://secure.gravatar.com/avatar/8e31bf392f0ba8850f29a1a2e833cdd020909bfd44613c7e222072c40e031c34?s=96&d=mm&r=gIf you’re a Procreate user — or any kind of artist for that matter — then chances are you want to leave your mark on every piece of artwork you create. Typically, this is done with a small signature that is placed in a secluded area of the finished piece. Knowing how to create a signature stamp with Procreate can help you brand your artwork with a single tap though, and in this tutorial we’ll be going over how to do just that.
In short, the way that you create a signature stamp with Procreate is by using your signature as a custom brush. Not only will this allow you to brand your artwork, but it’ll have a more consistent look than if you were to draw it manually on every piece.
Create A Signature Stamp with Procreate
| To create a signature stamp with Procreate, open a new canvas with a transparent background and draw your signature in white. Then, copy it and paste it to your brush library as a custom brush. |
The following video tutorial will walk you through the entire process:
The following is a brief overview of the steps taken in the tutorial video. If you get stuck at any point then be sure to watch the video for complete step-by-step instructions.
Table of Contents |
Step 1: Open a new canvas and draw your signature
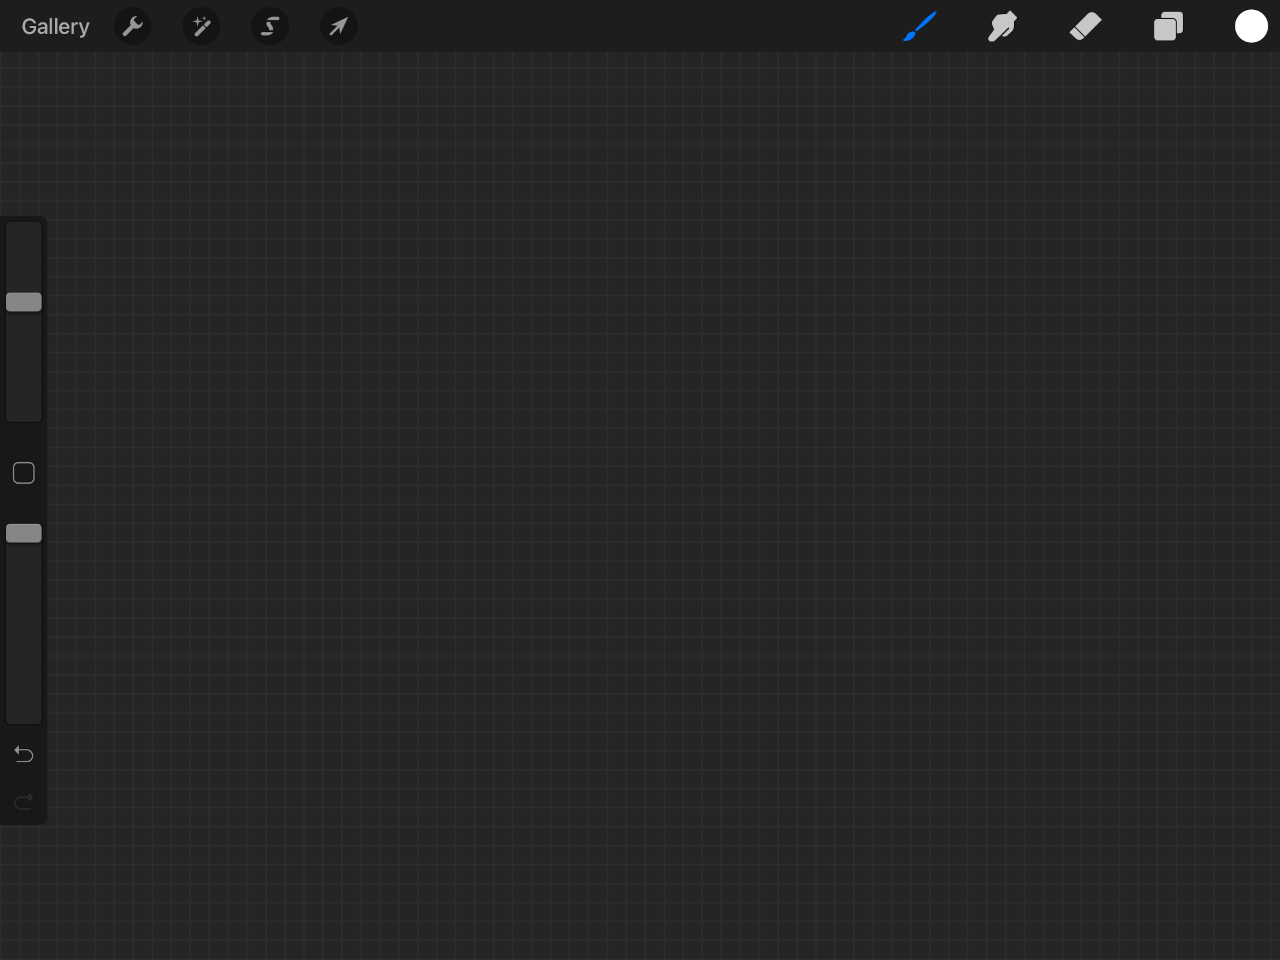
The first thing we must do is open a fresh document with nothing else on it.
Create a new canvas based on your screen size, then turn off the visibility of the background layer so that you document looks something like this:
Next, make sure that your fill color is set to white. It’s important that we draw the signature in white in order to create a custom brush from it.
Once you’ve done that, grab any brush of your choosing and draw your signature on the canvas. It should be fairly large:

Draw your signature using finger swipes or your Apple Pencil.
For this demonstration I used the Syrup brush, which is located on the Inking category.
Step 2: Copy your signature and paste it as a custom brush
In order to create a signature stamp with Procreate, we’ll have to copy the signature and paste it as a new brush.
Tap the wrench icon in the top-left corner of the screen, select Add, and click on Copy:
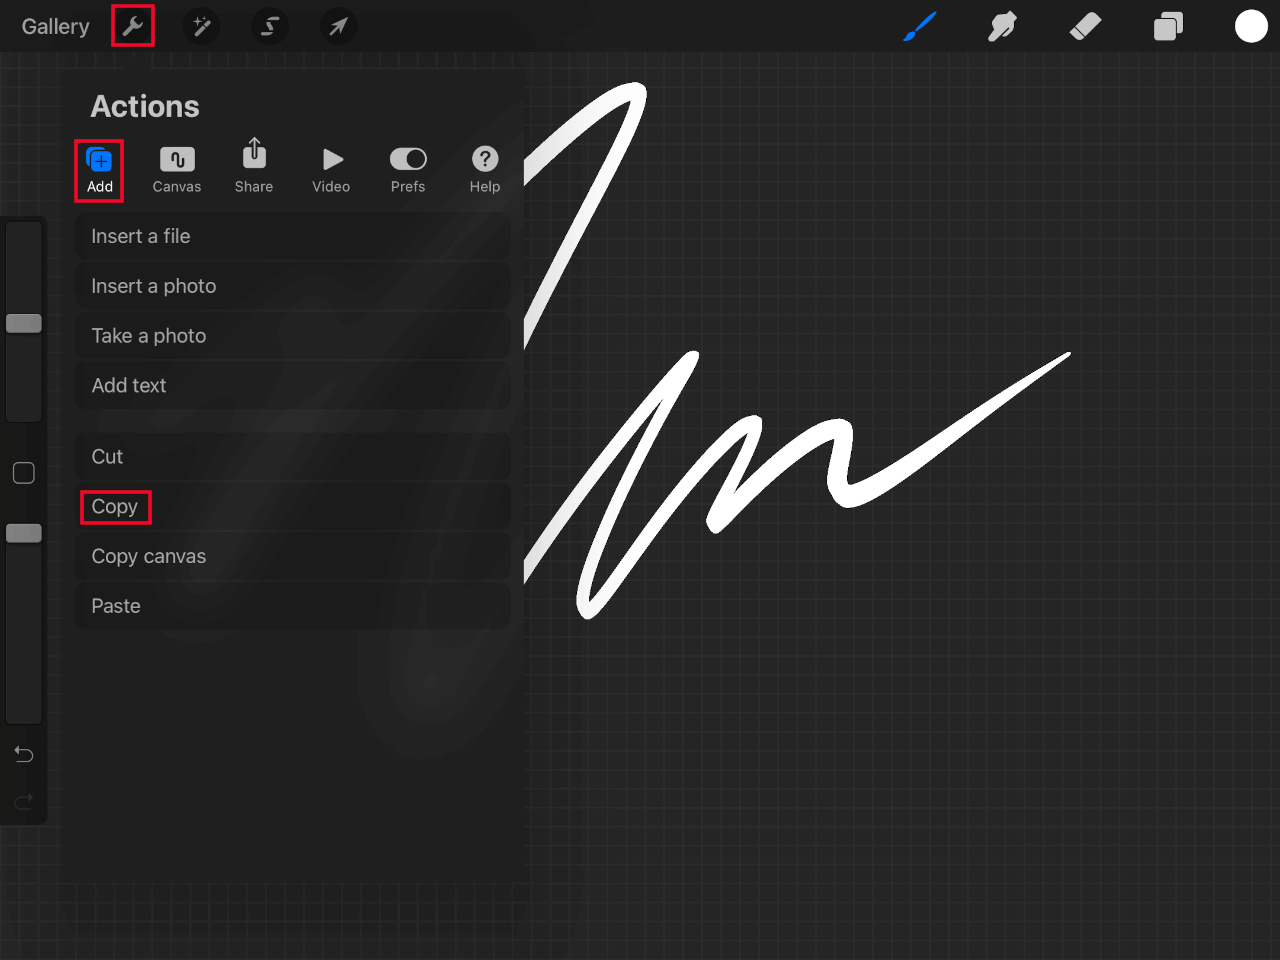
Click to enlarge
This will copy your signature to your clipboard.
Now we will add this copied selection as a new brush, but first we must create a new folder in our brushes menu to place it in.
To do that, open the Brushes menu, scroll to the top of the category list, and tap the blue button with the plus symbol (+) inside of it to add a new category. For this demonstration, I titled the category “Custom” so that I can place all of my custom brushes there in the future:

With your new category created, tap the plus icon (+) in the top-right corner of the brushes menu to add a new custom brush to your newly-created brush directory. This will bring up the Brush Studio:
The Brush Studio allows you to set the properties of your brushes.
In the Brush Studio, navigate to the Shape section using the menu on the left-hand side of the screen. By default, the shape size will be a circle. We need to change this to our signature, which is currently copied to the clipboard.
To do this, tap the Edit button at the top of the screen, then tap Import and choose Paste from the image source options.
This will paste your signature as the shape of your new brush:
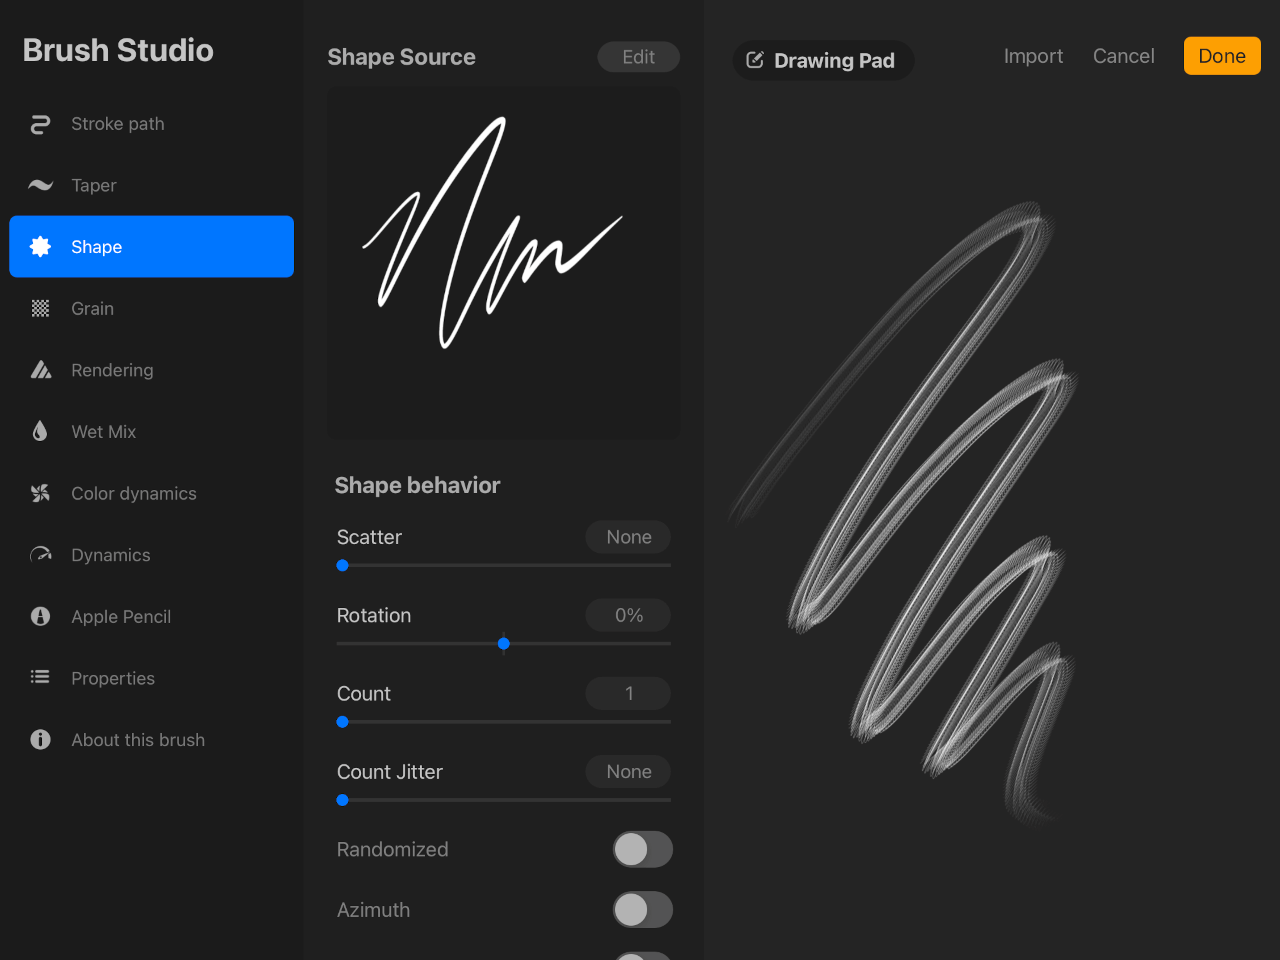
Make sure to press the yellow Done button twice to apply your signature as the shape, otherwise it will revert back to the circle shape.
Step 3: Adjust the properties of the custom brush so that it can work as a stamp
Now that you’ve created a brush using your signature as the shape, it’s time to adjust the properties of the brush so that it can be used as a stamp.
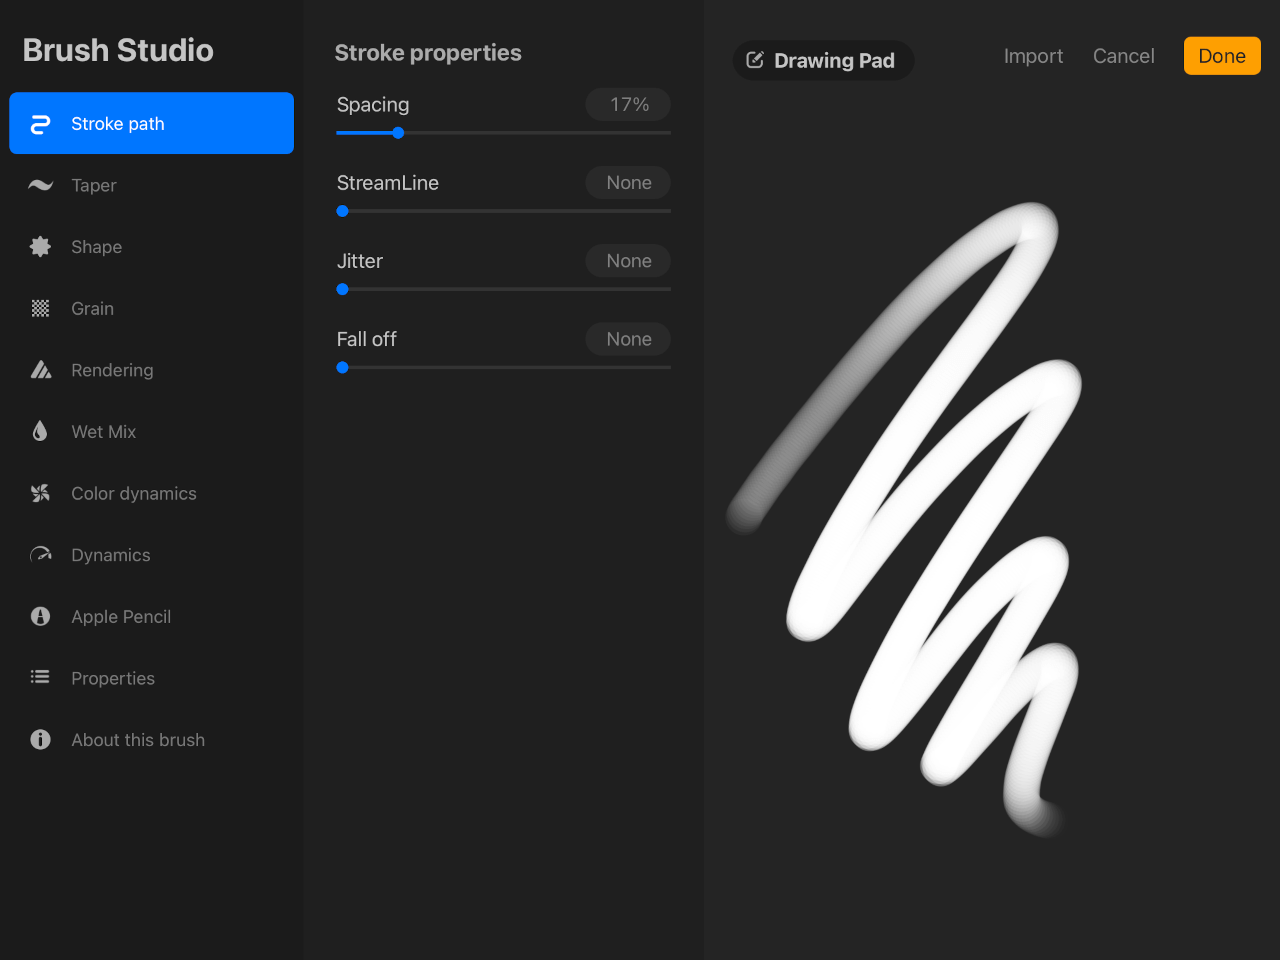
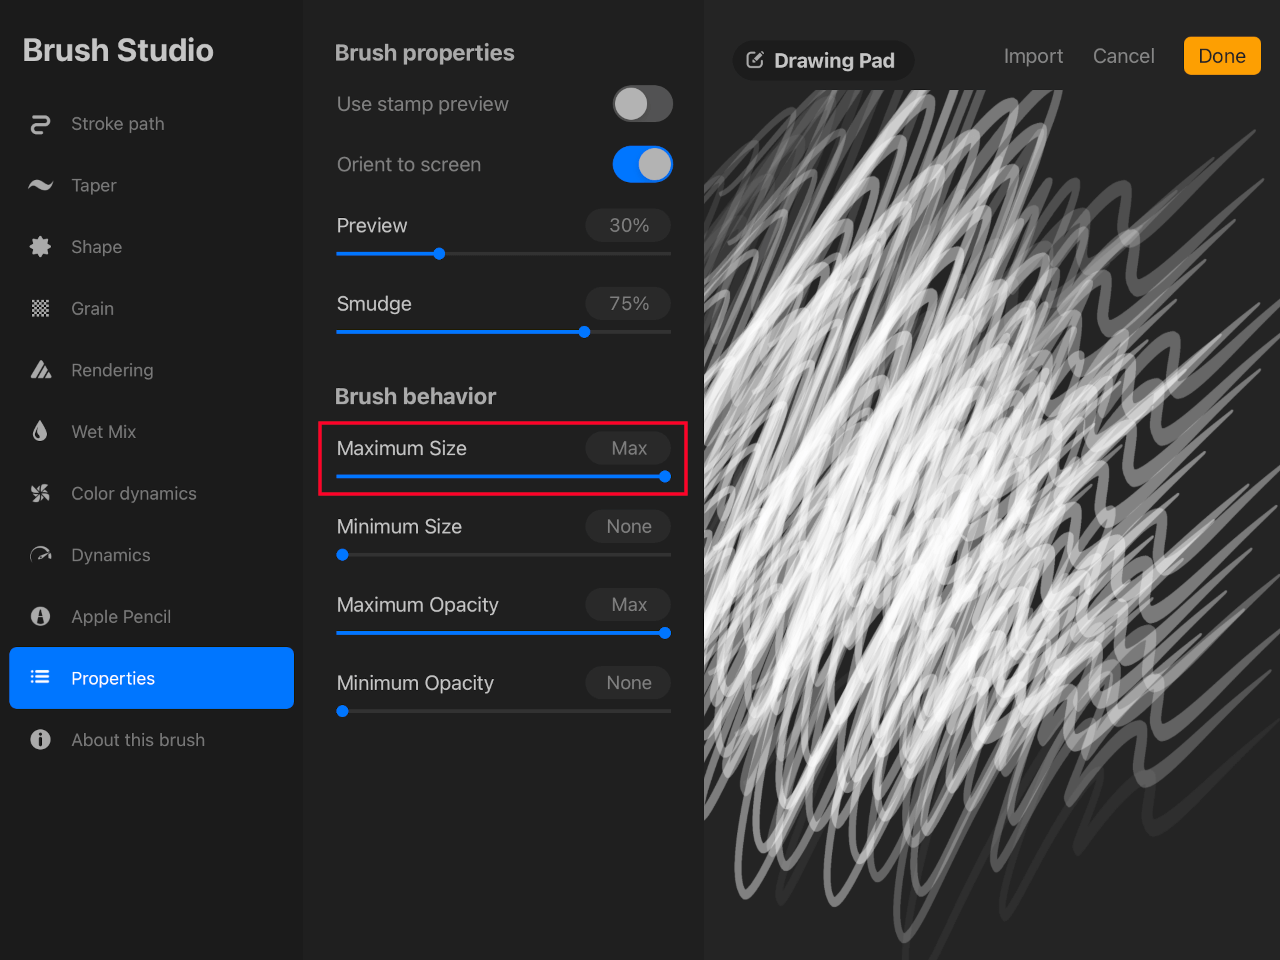
Within the Brush Studio, navigate to the Properties section using the menu on the left-hand side and bring the Maximum Size slider all the way up to Max by sliding it to the right:
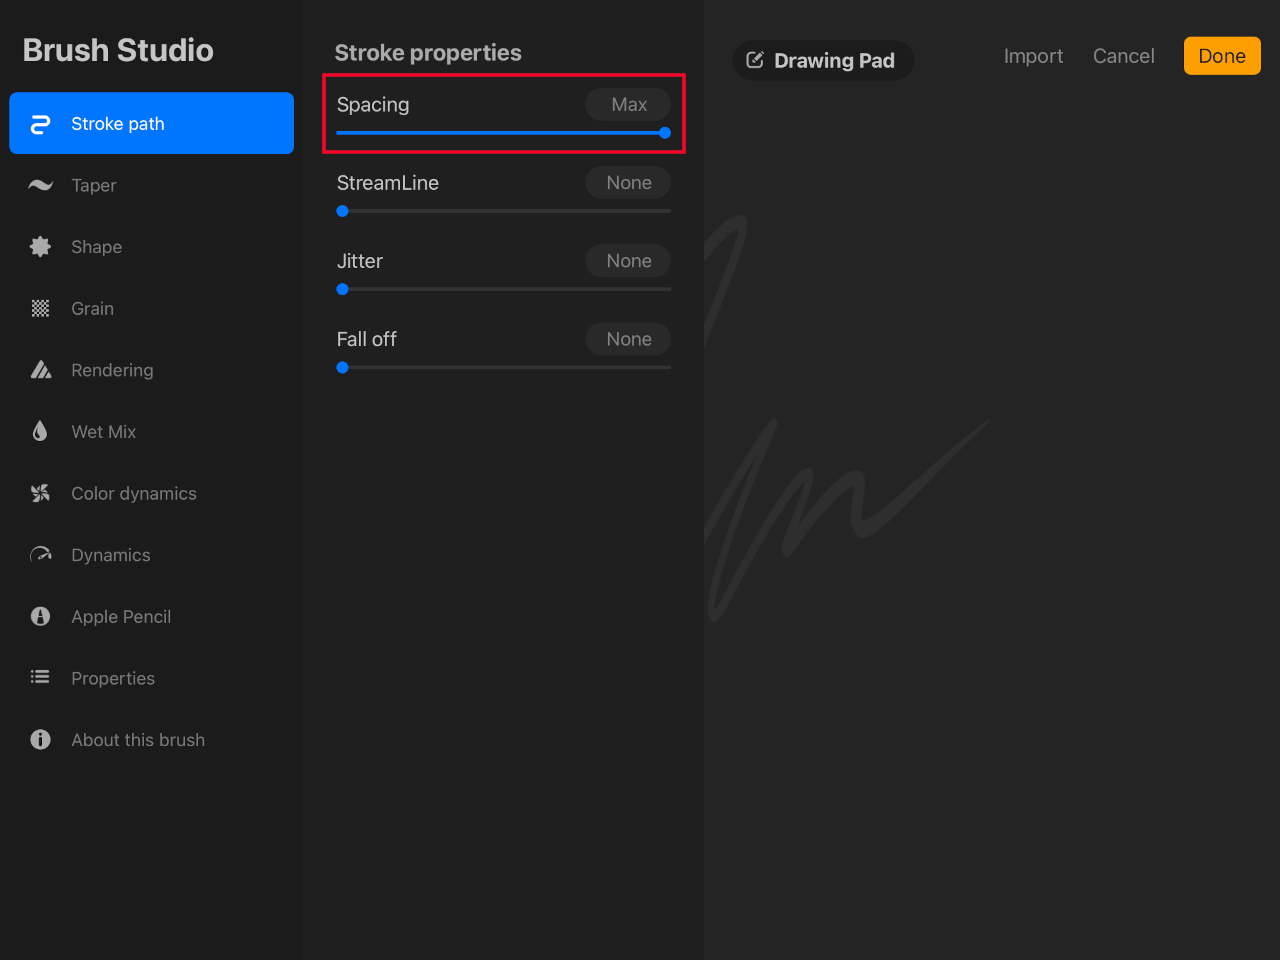
Next, navigate to the Stroke Path section and bring the Spacing slider all the way up to Max by sliding it to the right:
Now navigate to the section titled “About this brush” at the bottom-left hand side of the menu, tap on “Untitled Brush” and replace it with a name of your choosing:

Step 4: Save the custom brush and test it out
Once you are finished adjusting the properties of your signature brush and renaming it, tap the yellow Done button in the top-right corner to apply your changes.
Your signature stamp brush should be located in the directory you saved it to and ready for use:
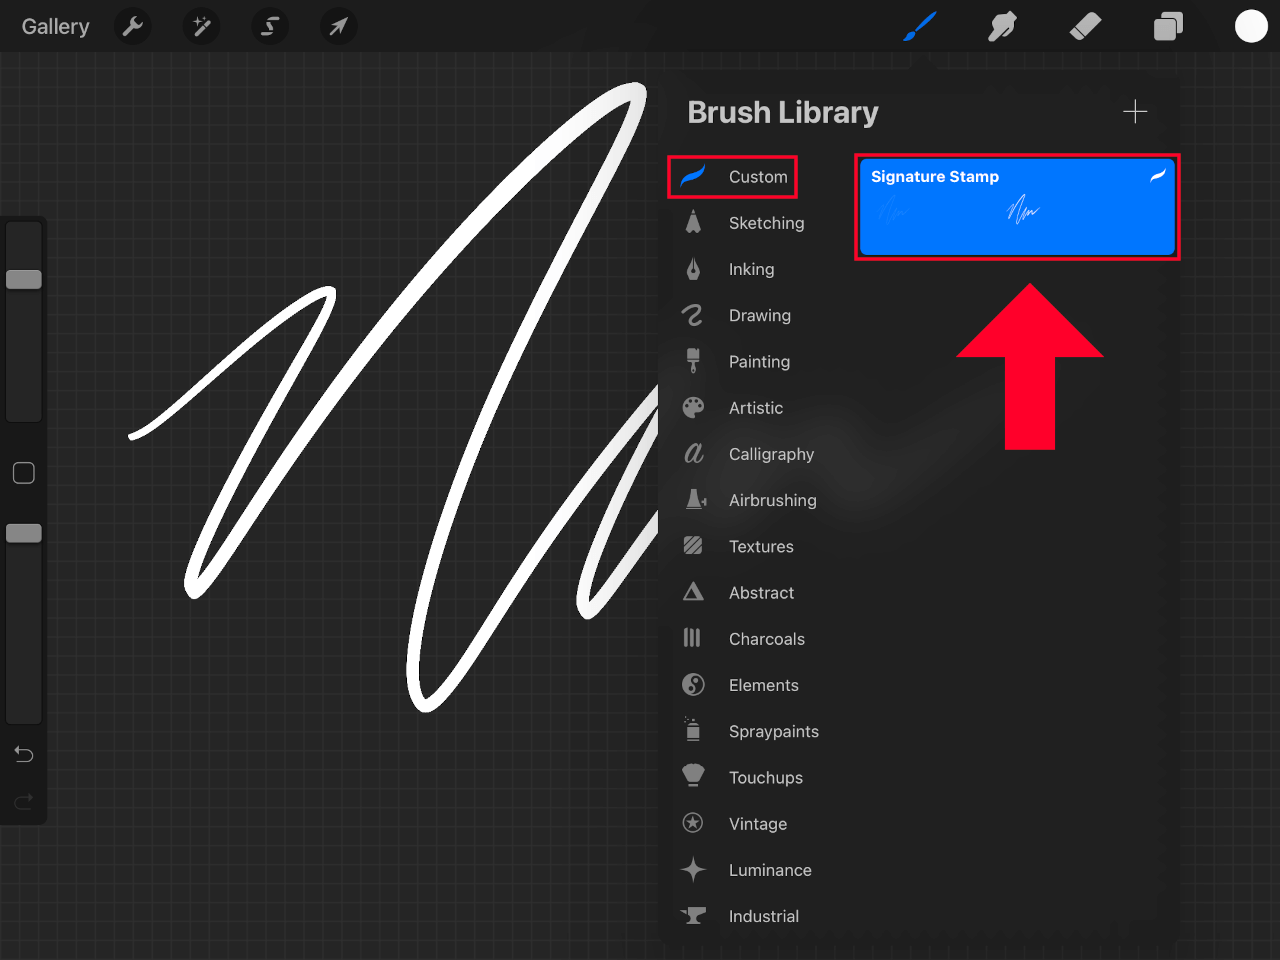
Select it and tap on your canvas a few times to test it out!
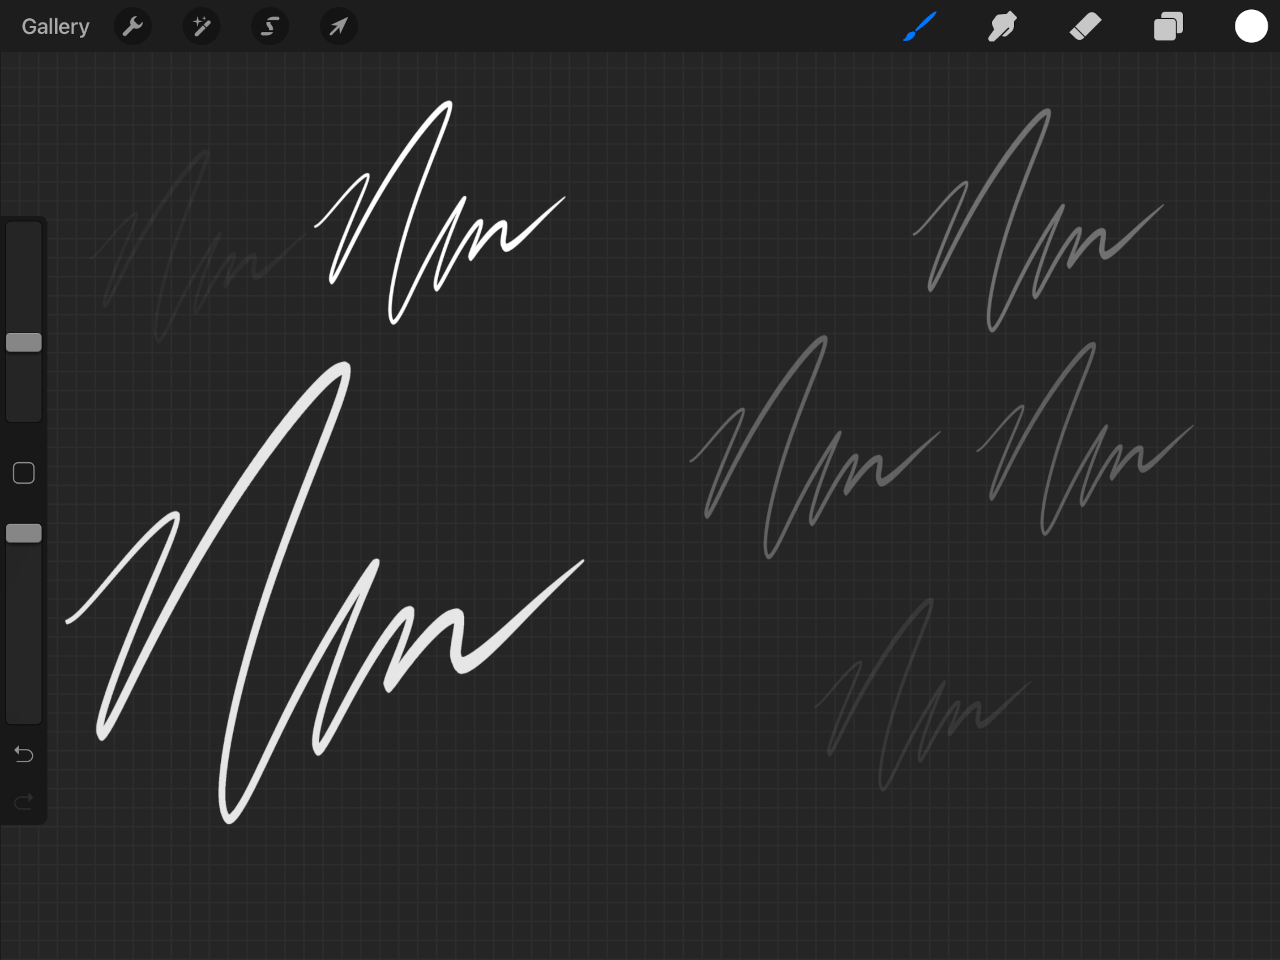
Signature stamps, made with Procreate.
Much like other brushes, your signature stamp brush uses pressure sensitivity, meaning that lighter taps will stamp it at reduced opacity, whereas using more force will make it opaque.
You can also use this brush in all of the same ways that you use other brushes, including increasing/decreasing the size, the brush opacity, the color, etc.
Conclusion
Thanks to the ease in which we can make custom brushes, creating a signature stamp with Procreate couldn’t possibly be easier. Unlike other applications, you don’t even have to save your signature in order to make it into a brush. You can simply copy and pate it, which is very convenient.
If you have any questions or need clarification on any of the steps in this lesson, simply leave a comment below.
Learn To Master The SoftwareGain a complete understanding of your favorite design apps with my comprehensive collection of video courses. Each course grants access to our private community where you can ask questions and get help when needed.
|
||||||||||||||||||||||||||||||||


Thanks so much – this was just what I needed!
Glad to help!
Excellent tutorial!