Color Channels in GIMP, Explained
Color Channels in GIMP, Explained https://logosbynick.com/wp-content/uploads/2019/02/gimp-color-channels-1024x602.jpg 1024 602 Nick Saporito https://secure.gravatar.com/avatar/8e31bf392f0ba8850f29a1a2e833cdd020909bfd44613c7e222072c40e031c34?s=96&d=mm&r=gIn today’s tutorial I’ll be briefly explaining what color channels are in GIMP and demonstrating how they work.
The following is just a brief overview. For more detailed information about working with color channels in GIMP I would recommend watching the video tutorial at the top of the page.
Red, Green, Blue
Every digital image that exists is comprised of some combination of three colors: red, green, and blue, otherwise known as RGB.
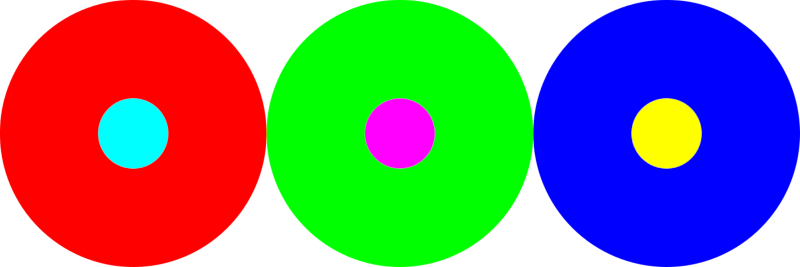
Each of the three colors has an opposite. The opposite of red is cyan, the opposite of green is magenta, and the opposite of blue is yellow. So, in order to remove the color red from an image, you’d have to do so by adding cyan. If want to remove blue, you’d have to add yellow. So on and so forth. You can check out this neat little explanation of color addition and subtraction to help better understand how it works.
Color Channels in GIMP
GIMP allows us to work with the three color channels on an individual basis by opening the Channels menu, which is typically located right next to the Layers menu.
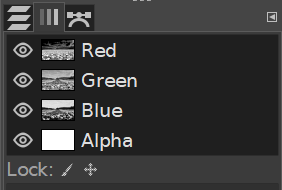
If you don’t see it, you can access it by going to Windows -> Dockable Dialogs and selecting Channels.
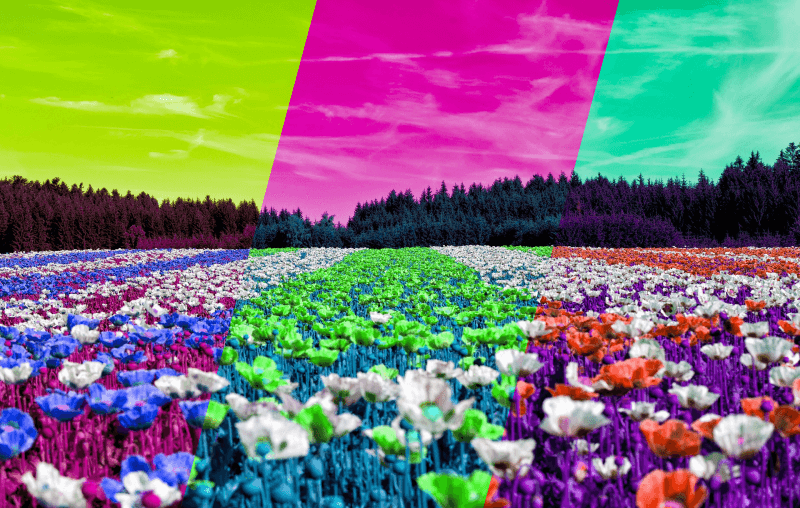
The channels listed above are the RGB channels for the following image…
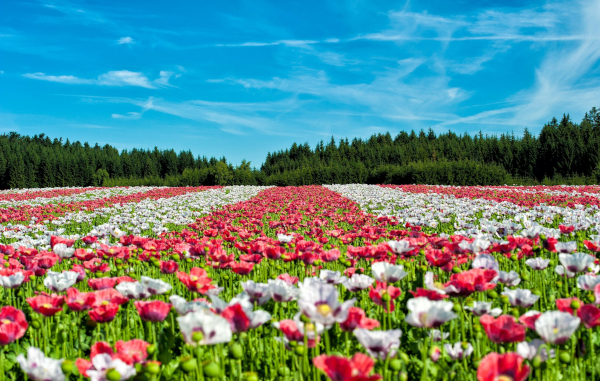
Click the image to download a full size copy
In each of the color channels in the Channels menu, you’ll see a tiny thumbnail version of the example image, but in grayscale. This preview represents the data in each channel. Here’s a larger view of each of the channels’ data…
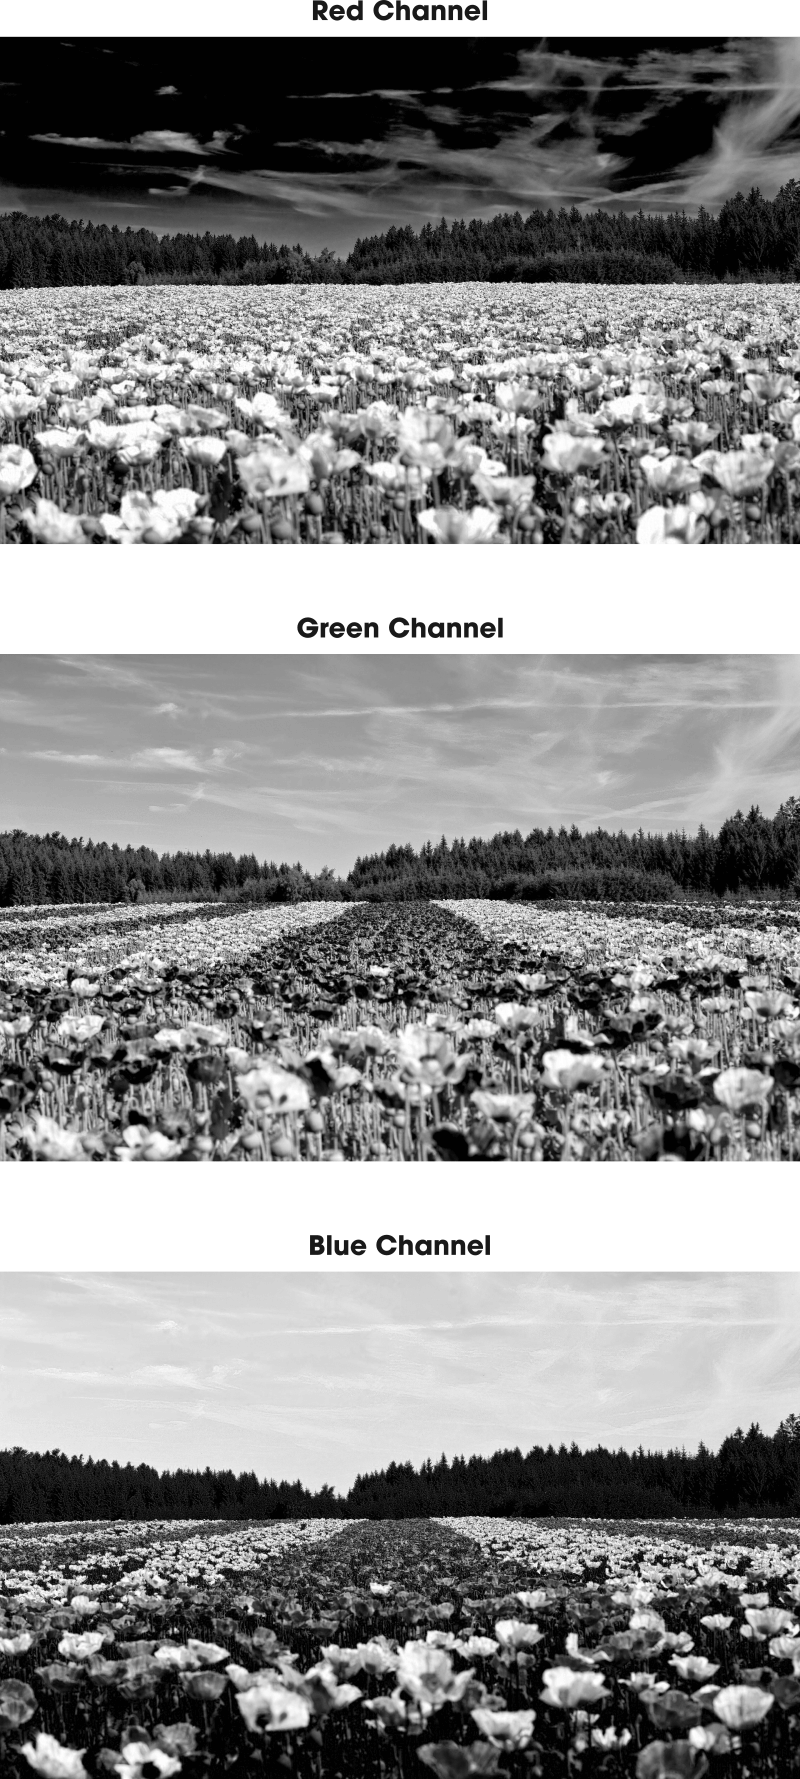
Notice how they all look slightly different.
How it works is, everything that’s white in the red channel represents red light, and everything that’s black represents a lack of red light. Note that I said light and not color. This is how a digital image’s color data is determined.
So, if you wanted to, you could change an image’s color data by copy and pasting those grayscale channel images into different channels. You would get something like this if you did so…
Likewise, you could add red light to your image by selecting only the red channel and painting your image with white, or you could remove red light by painting it with black. Same with all of the other channels.
This is one of those subjects that’s much easier to explain in video than it is in text, so I would absolutely watch the video if you’re having trouble grasping onto this.
This is a video from a series I recently created called The GIMP Series, so if you enjoyed this video and want to learn more about how GIMP works, please check that out.
Learn To Master The SoftwareGain a complete understanding of your favorite design apps with my comprehensive collection of video courses. Each course grants access to our private community where you can ask questions and get help when needed.
|
||||||||||||||||||||||||||||||||


