How To Copy And Paste In Procreate | Canvas, Layers and Selections
How To Copy And Paste In Procreate | Canvas, Layers and Selections https://logosbynick.com/wp-content/uploads/2021/12/copy-and-paste-procreate.png 800 470 Nick Saporito https://secure.gravatar.com/avatar/8e31bf392f0ba8850f29a1a2e833cdd020909bfd44613c7e222072c40e031c34?s=96&d=mm&r=gMaking the transition from desktop design software to mobile alternatives can be tricky at times. This is because of how fundamentally different the hardware is. Even simple functions, such as copy and pasting, can throw you for a loop when you’re new to mobile design software — particularly Procreate for the iPad. There’s actually three different ways to copy and paste in Procreate. You can do so by layers, selections, or the entire canvas. In this tutorial we’ll be going over each.
In most cases, the way to copy and paste in Procreate is to simply use the Actions menu, represented as a wrench icon in the top-left corner of the screen. Selecting Copy will copy the current layer you have selected to your clipboard, and selecting Paste will paste what you have copied as a new layer. You can also return to the Gallery menu and paste your copied content as a new document.
When it comes to selections though, the process is slightly more (but not much) complex.
Let’s delve into this further.
How To Copy And Paste In Procreate
The following video tutorial will walk you through the entire process of copy and pasting the entire canvas, individual layers, and selections:
Continue on for the written instructions.
Table of Contents |
Copy and paste the entire canvas
Let’s first go over how to copy and paste the entire canvas in Procreate. This includes all of your layers and adjustments.
To do so, simply open the Actions menu by tapping the little wrench icon in the top-left corner of the screen:
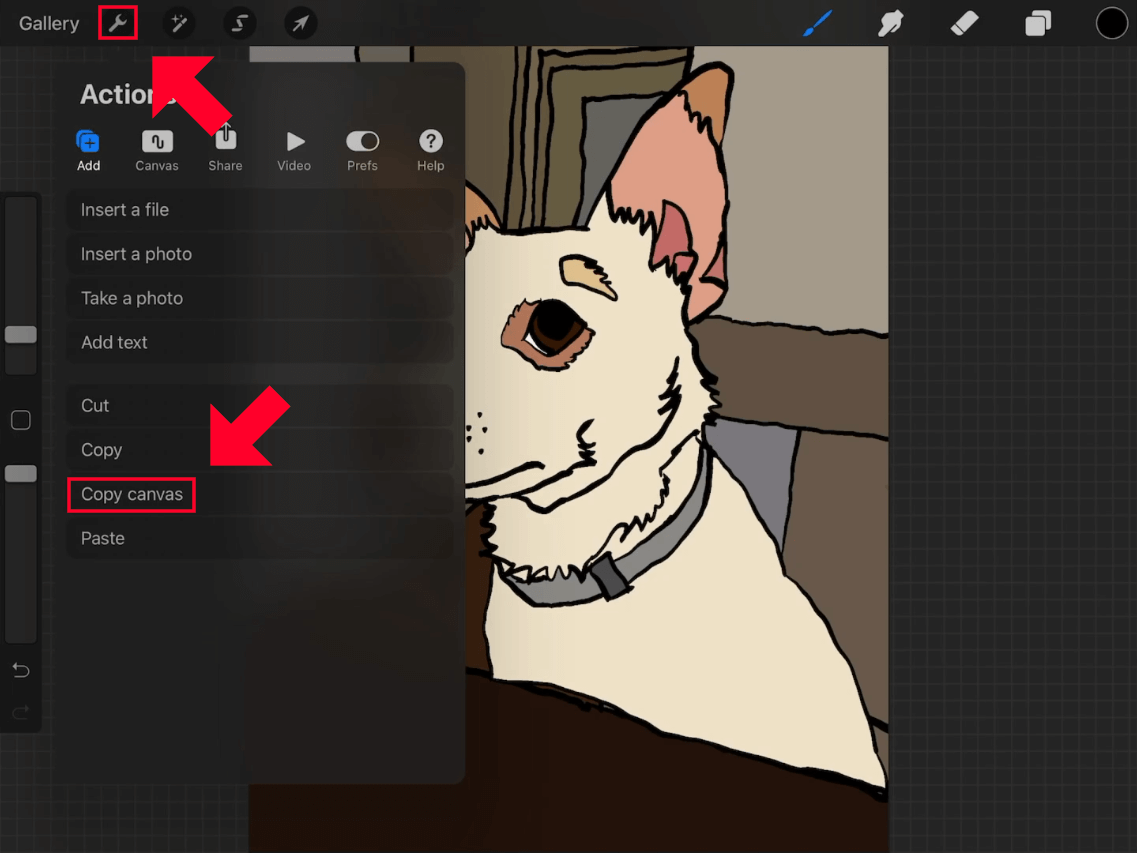
Within the Actions menu you can choose to copy the current layer/selection or the entire canvas.
Within this menu you will see an option towards the bottom of the list titled Copy Canvas. Tapping this option will copy your entire document — layers included — as a flattened image.
All you have to do to paste is navigate back to the Actions menu and tap Paste.
This will paste your copied image as a new layer:
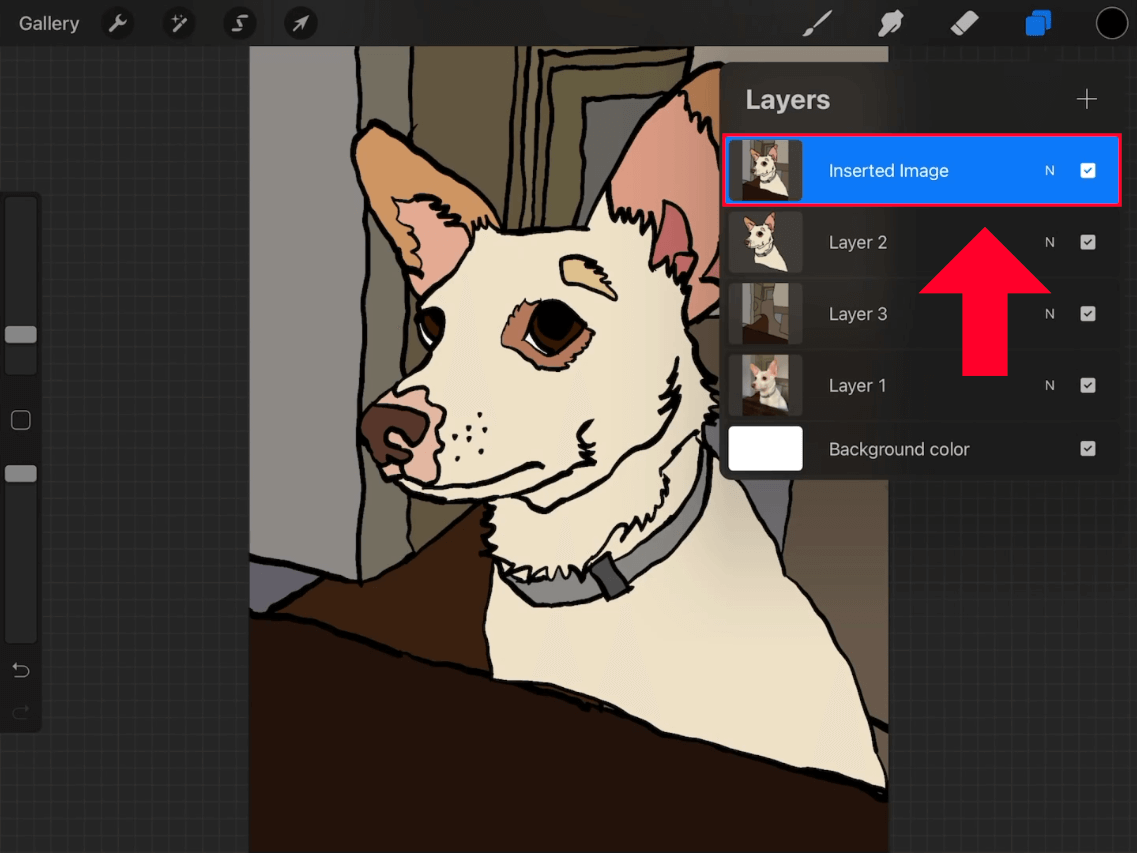
Once pasted, the new layer will be titled “Inserted Image” by default.
If you’d like to paste your copied selection as a new document then navigate back to the Gallery and tap the little plus (+) icon in the top-right corner to create a new document, then select Clipboard:
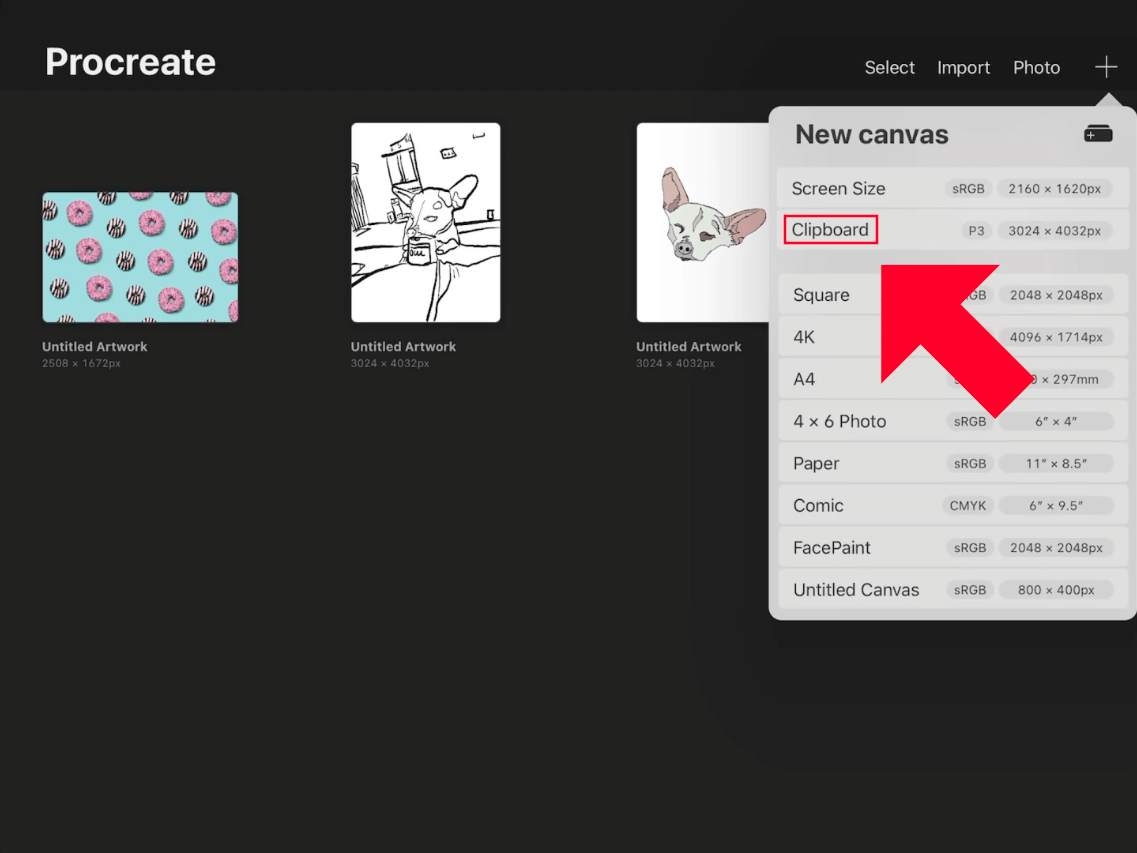
Choosing the Clipboard option will allow you to paste your copied selection as a new document.
Your copied canvas will then be pasted as a new image completely separate from the original. However, it will be flattened, meaning that the individual layers are not preserved. It will only consist of a single layer.
Copy and paste an individual layer
Another way that you can copy and paste in Procreate is by individual layer.
To copy and paste a layer, open the Layers menu by tapping the icon in the top-right corner of the screen.
Select the layer you’d like to copy, then tap on it once to access the layer options menu:

The layer options menu allows you to copy the contents of a selected layer.
Towards the top of the list you will see the Copy option. Tapping it will copy the entire selected layer and nothing else.
From here, you can paste the copied layer either as a new layer by selecting Paste in the Actions menu, or as a new document by navigating back to the gallery and creating a new document using the Clipboard option as your preset.
(It should be noted that there is a more efficient way to duplicate a layer in Procreate than copy and pasting. Using the Duplicate function would be much quicker if this is your intention.)
Copy and paste a selection
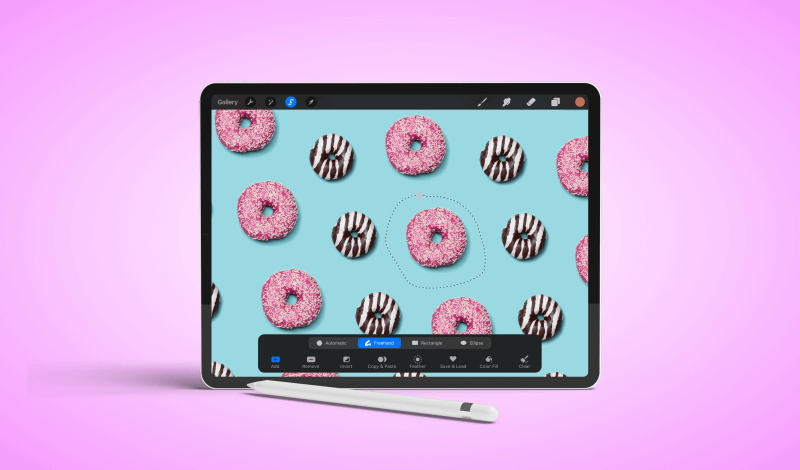
Let’s go over the final method in which you can copy and paste in Procreate, which is by selection. This will allow you to copy and paste parts of your image rather than the entire image or layer.
Open the Selection tool and create a selection around the object you’d like to copy and paste.
There’s various different ways in which you can create selections in Procreate, but for this demonstration I will be creating a simple Freehand selection around my subject:

A freehand selection is created around the subject to be copy and pasted.
There’s actually two different ways in which you can copy and paste a selection — using the Selection menu interface, or by using the Actions menu.
Towards the bottom of the Selection tool menu you should see an option titled Copy & Paste. Tapping that button will copy your selection and paste it as a new layer on top of whichever layer you currently have selected.
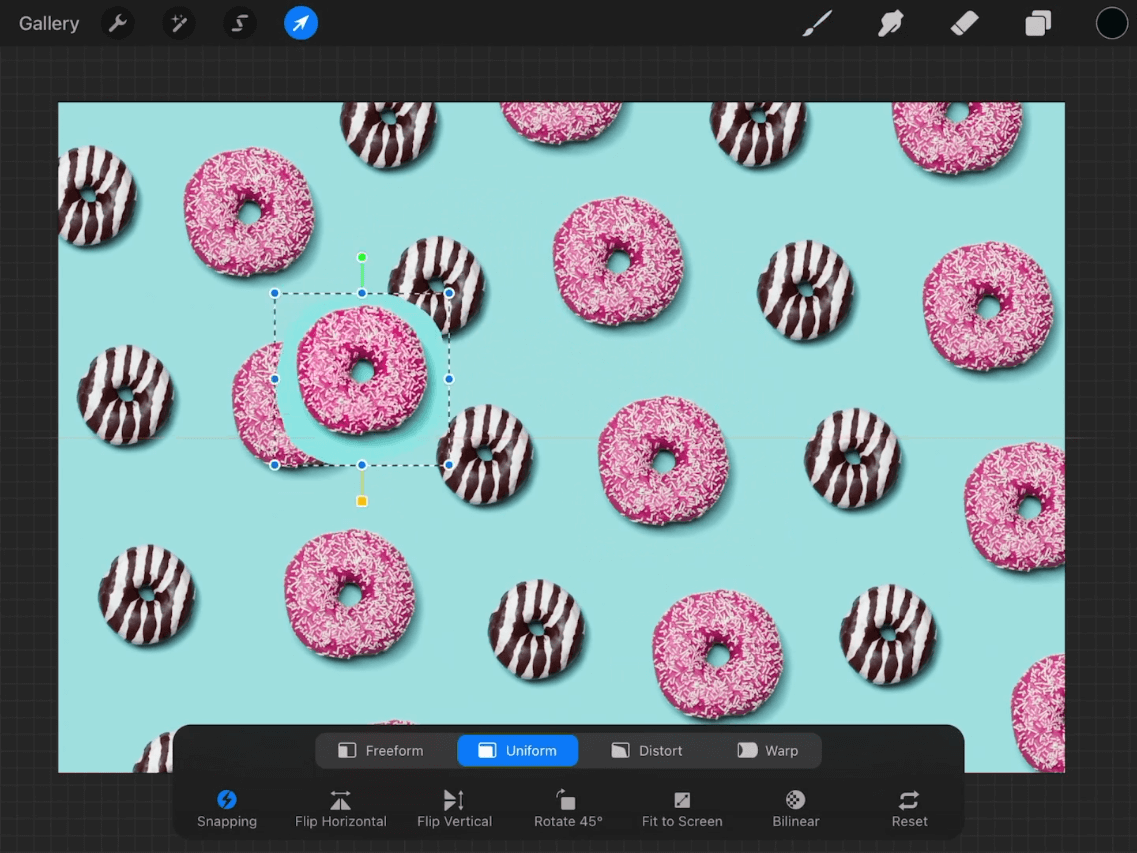
The pasted selection can now be transformed as needed.
It should be noted though that if you intend to paste your selection as a new document, this option will not work. Instead of using the Selection menu, open the Action menu and select Copy.
Not only will this copy your selection to the clipboard, but it will allow you to paste it as a new document if you navigate back to the Gallery menu. From there, all you have to do select the Clipboard preset when creating a new document.
Conclusion
Knowing how to copy and paste in Procreate means determining exactly what it is you’re trying to copy and where you’d like to paste it. As we’ve gone over in this lesson, there’s slightly different workflows for each.
Once you have these basic commands memorized and can execute them without even thinking about it, using Procreate becomes an even more enjoyable experience.
If you have any questions or need clarification on any of the steps taken in this lesson, simply leave a comment below.
Learn To Master The SoftwareGain a complete understanding of your favorite design apps with my comprehensive collection of video courses. Each course grants access to our private community where you can ask questions and get help when needed.
|
||||||||||||||||||||||||||||||||


Leave a Reply