How To Color Fill In Procreate | Bucket Tool Workaround
How To Color Fill In Procreate | Bucket Tool Workaround https://logosbynick.com/wp-content/uploads/2022/01/how-to-fill-in-procreate.png 800 470 Nick Saporito https://secure.gravatar.com/avatar/8e31bf392f0ba8850f29a1a2e833cdd020909bfd44613c7e222072c40e031c34?s=96&d=mm&r=gKnowing how to color fill in most design applications is usually a matter of using the bucket tool. However, in Procreate there is no bucket fill tool, and for good reason. In this tutorial we’ll be going over all of the ways in which you can fill in Procreate — including individual objects, entire layers, and selections — without having to use a traditional fill tool.
In short, the easiest way to color fill in Procreate is to simply tap and drag the color disc in the top-right corner onto the subject you’d like to fill. Once applied, the subject will be filled with the color you currently have set in your color menu.
Let’s dissect this in more detail.
How To Color Fill In Procreate
The following video tutorial will walk you through the entire process of color filling objects, entire layers, and selections:
Continue on for the written instructions.
Table of Contents |
How To Color Fill Objects
To get us started, let’s first go over how to fill individual objects and subjects with a color of your choice. For this demonstration I will be using the following example image:
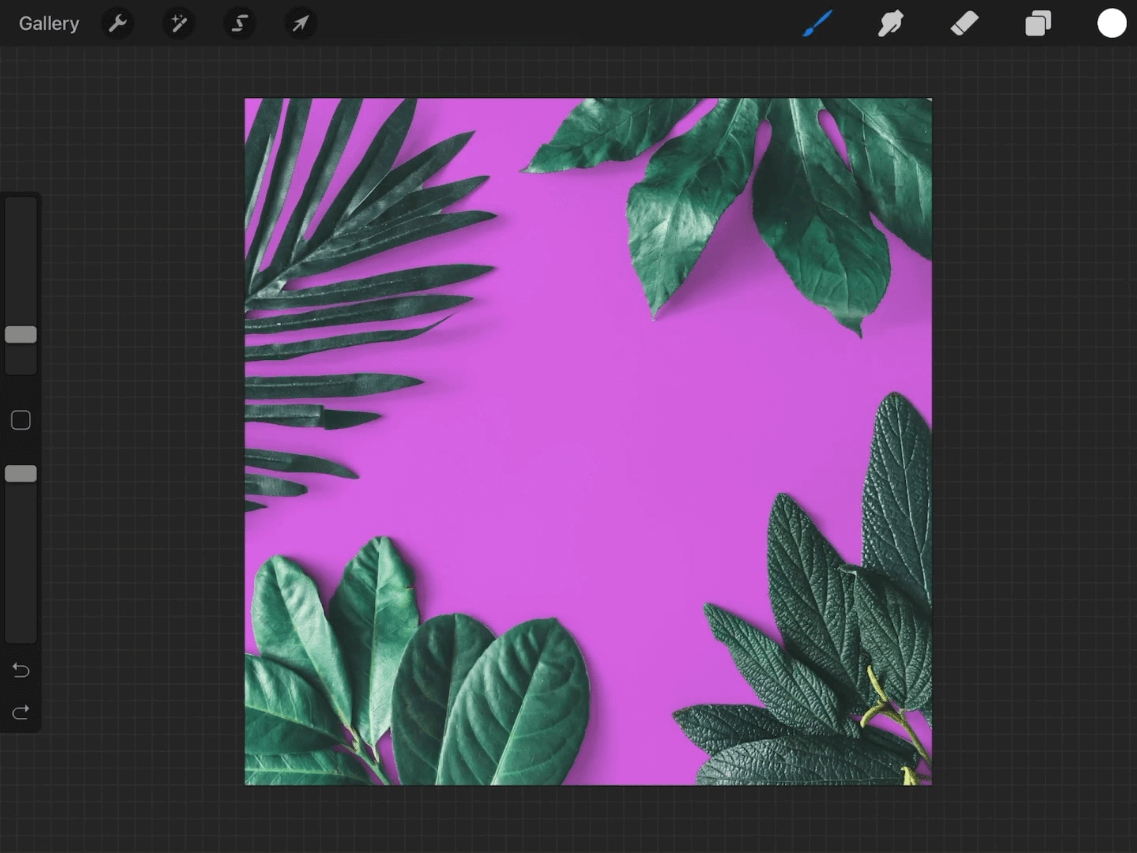
The color of the pink background will be changed to a different color.
The first step is to choose the color you’d like to fill the subject with. To do this, open up your Color menu in the top-right corner of the screen and choose your color.
Once chosen, all you have to do to fill in Procreate is simply tap and drag the color disc onto your subject:
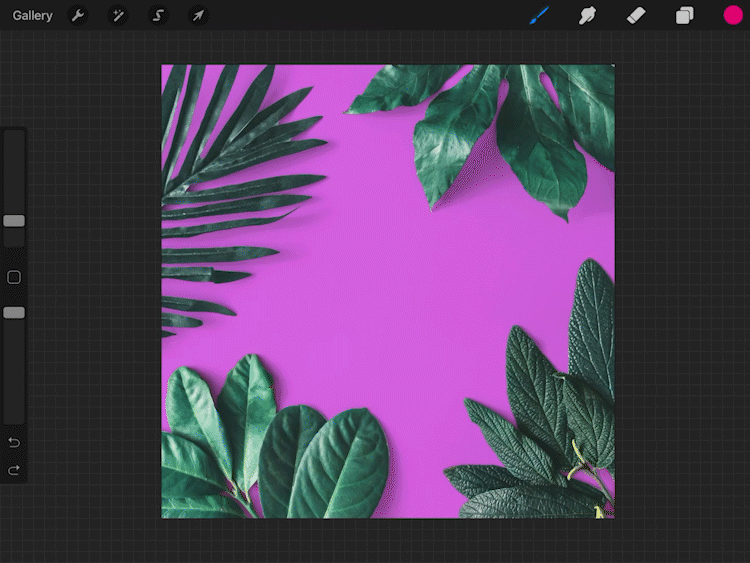
Tap and drag the color disc onto your subject in order to fill it with the chosen color.
Once released, the subject will be filled with your chosen color.
And it’s that simple! Who needs a bucket tool when a simple UI hack will do the trick?
It should be noted that whenever you color fill objects in Procreate, the software will use its own internal algorithm to determine where and how to apply the color. This means that there may be instances where you try to color fill an object, but the software has trouble defining the boundaries and because of that you’ll end up with an imperfect result. So be prepared to make adjustments if necessary.
Check this tutorial if you’re looking to change the colors of an object in Procreate.
How To Color Fill Entire Layers
In the previous step we went over how to color fill in such as way that you can change the color of an object. However, what if you want to fill an entire layer with a solid color?
To do that, first open your Layers menu in the top-right corner of the screen.
Once opened, tap on the layer you’d like to fill (you may have to tap twice) to get the layer submenu:
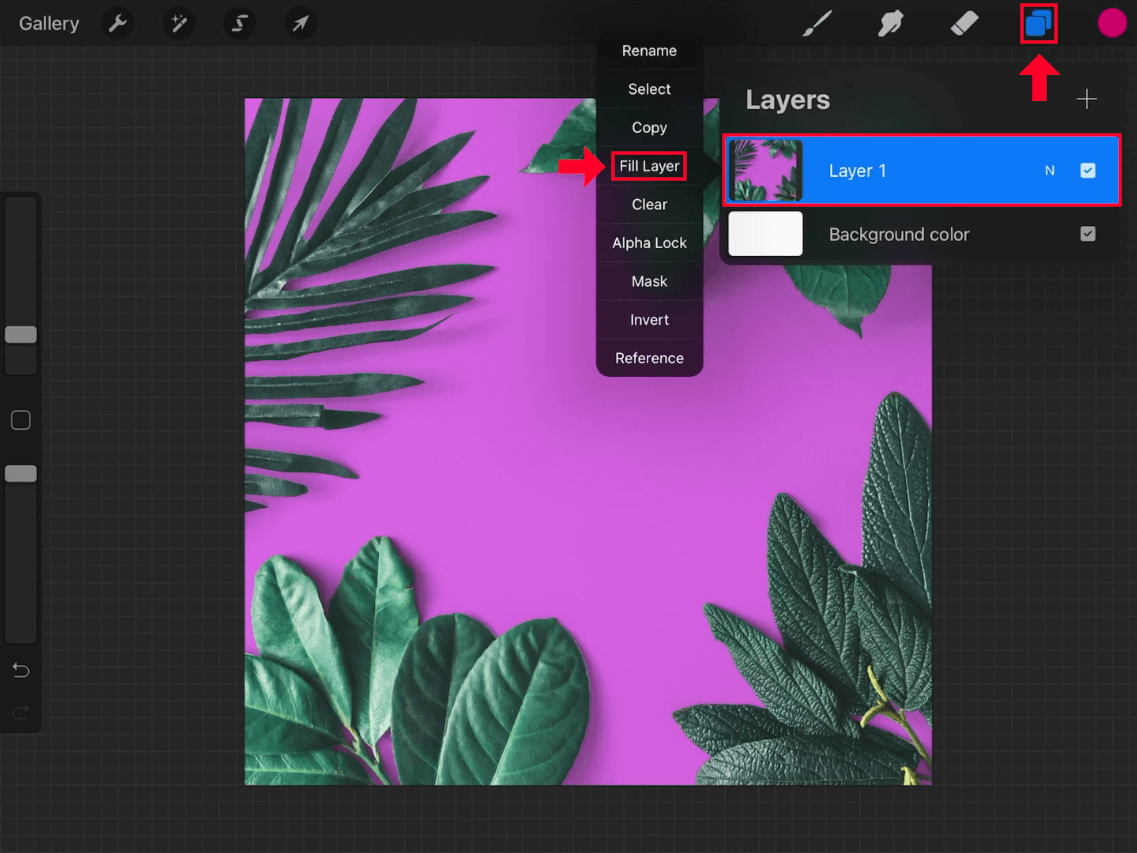
Tapping on your layer will populate a submenu where you can choose to fill the entire layer with a solid color.
Within that submenu you will see an option labeled as Fill Layer. Selecting that option will fill the entire layer with whatever color you currently have selected:
How the layer looks once it is filled with a solid color.
Unlike the tap-and-drag method used in the first step, Procreate applies the color as a solid fill rather than an overlay of sorts.
How To Color Fill Selections
The final way in which you can color fill in Procreate is by selection.
Selections are areas of your image that you have defined and isolated from the rest of the document. Any changes applied with a selection enabled — including color filling — will be localized to that selection.
There’s various types of selections you can apply in Procreate, including:
- Automatic
- Freehand
- Rectangle
- Ellipse
With the Selection menu open, you should see an option near the bottom-right corner of the menu labeled as Color Fill:
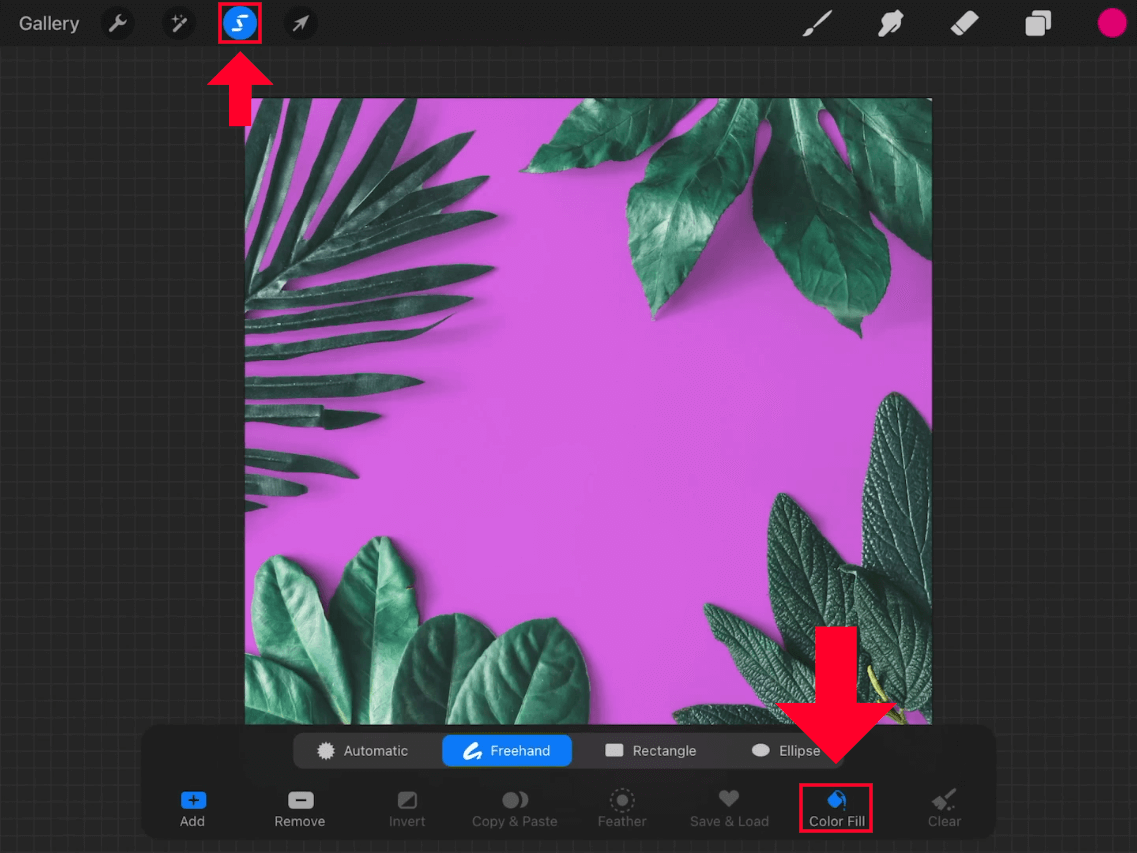
Enabling the Color Fill option will make it so that all new selections are automatically filled with your chosen color once created.
Enabling that option will make it so that every time you create a new selection in Procreate, it will be automatically filled with the color you have selected:
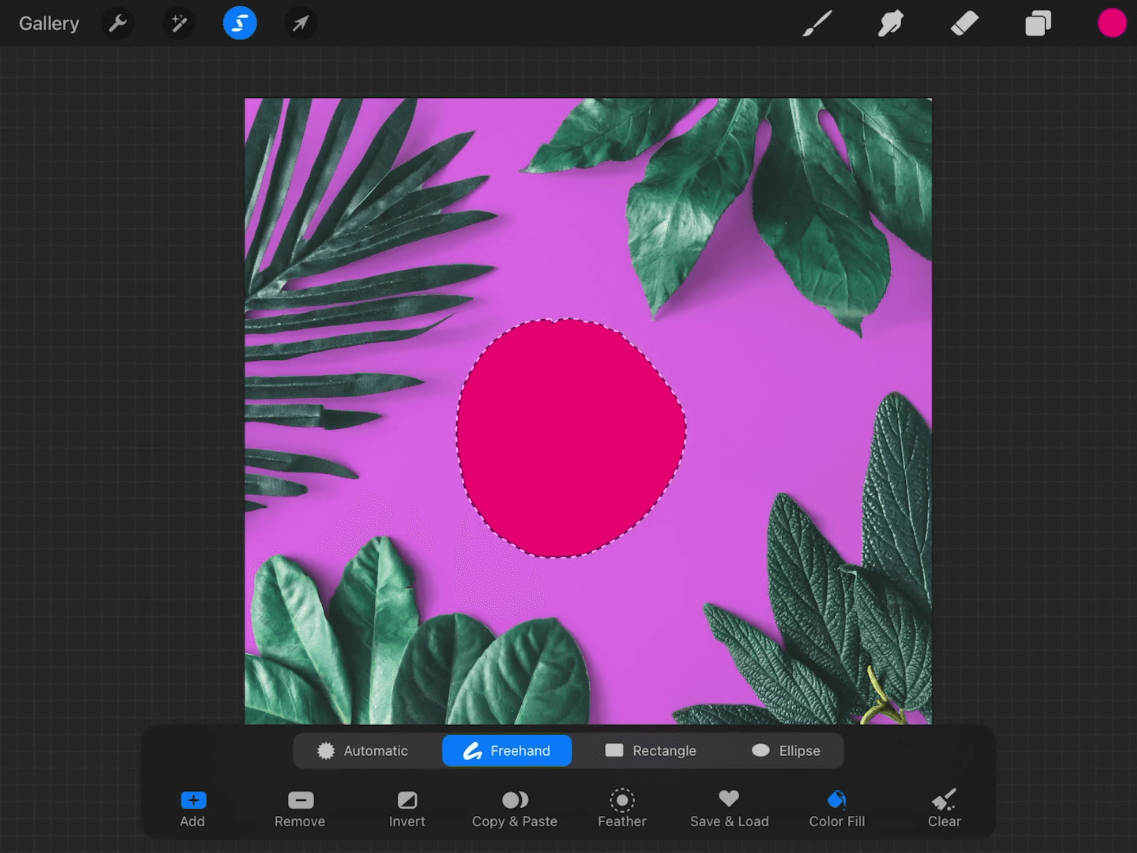
How a freehand selection looks once created an auto-filled.
However, you do not need to have this option enabled in order to fill your selections.
Alternatively, you can also fill your selection the same way you would fill any other object — by simply tapping and dragging the color disc onto it.
This too will fill your selection with your chosen color, and it’s a handy option to have at your disposal in case you forgot to enable the Color Fill option beforehand.
Conclusion
As a newcomer to mobile design you may be stumped by the absence of a bucket fill tool. But the reason why there is no bucket tool in Procreate is because there doesn’t need to be one. The process for color filling in Procreate is so simple and intuitive that adding a bucket tool to the application would just be needless clutter.
The brilliance of Procreate, in my opinion, is its simplicity. Procreate routinely challenges the norms of design software and reimagines the ways in which we do things, and it’s a refreshing change of pace once you’re familiar with it.
If you have any questions or need clarification on any of the steps taken in this lesson, simply leave a comment below.
Learn To Master The SoftwareGain a complete understanding of your favorite design apps with my comprehensive collection of video courses. Each course grants access to our private community where you can ask questions and get help when needed.
|
||||||||||||||||||||||||||||||||


You might also like


4 comments
-
-
-
-
Logos By Nick
Yes, but you would have to use a different approach. Use the Selection Tool to create an auto selection around the color area, then open the Actions menu and select Cut.
-
Peach
But how do you change the pixel bleed so that it fills properly