
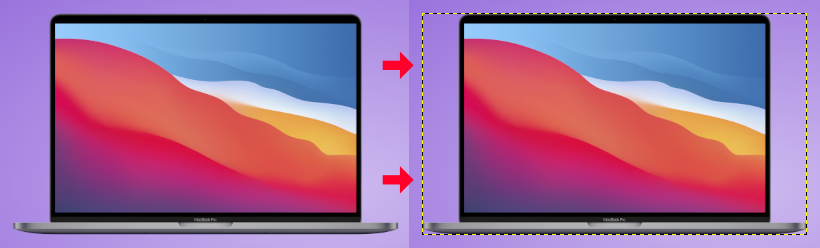
How To Center A Layer In GIMP
How To Center A Layer In GIMP https://logosbynick.com/wp-content/uploads/2022/01/gimp-center-layer.png 800 470 Nick Saporito https://secure.gravatar.com/avatar/8e31bf392f0ba8850f29a1a2e833cdd020909bfd44613c7e222072c40e031c34?s=96&d=mm&r=gIn GIMP, the Alignment Tool allows you to arrange various objects on your workspace. The objects are defined by layers, therefore if you want to know how to center an item then you’ll need to know how to center a layer. In this tutorial we’ll be going over how you can quickly center a layer in GIMP by using the Alignment Tool.
In short, you can center a layer in GIMP by simply grabbing the Alignment Tool and using it to select your layer. Once selected, there will be arrows icons in the tool settings menu that represent all of the ways in which you can align your layer. However, there are some conditions that need to be met first, and they could cause problems along the way, so let’s take a closer look at this in detail.
Center A Layer In GIMP
The following video tutorial will walk you through the entire process in less than 2 minutes:
Continue on for the written instructions.
Table of Contents |
Step 1: Select the layer you’d like to center in the Layers menu
In order to center a layer in GIMP we’ll first need to make sure that we have the layer enabled in the Layers menu. Failing to do so could mean that you end up centering the wrong layer.
Refer to the Layers menu in the bottom-right corner of your screen and click on the layer you’d like to center in order to activate it. It should be highlighted once selected.
Next, make sure you do not currently have any selections enabled by navigating to:
Select > None
Step 2: Crop the layer to its contents
Whenever you center a layer in GIMP you’ll first want to make sure that the layer is cropped to its contents. Or, in other words, ensure that the bounding box of the layer fits your subject and doesn’t extend beyond it. Otherwise the contents of your layer may not be centered.
With your layer selected, navigate to:
Layer > Crop to Content
You should notice the bounding box around your layer — represented by a dotted line — shrink to fit nicely around the contents of your layer:
The subject on the right is cropped to its contents, indicated by the dotted bounding box around it. The subject on the left is not.
If this doesn’t happen then it could be because you have pixel data added elsewhere on your layer. Inspect the boundaries of the layer and erase any unnecessary pixels.
If your layer is already cropped to its contents then you are good to go.
Step 3: Grab the Alignment Tool and click on your layer to activate it
Now that the layer is primed for aligning, grab the Alignment Tool from the toolbox:
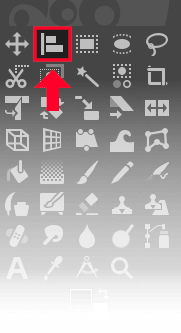
The Alignment Tool is located in the toolbox, outlined in red above.
With the Alignment Tool selected, click on the contents of the layer (on the canvas) in order to activate it for aligning. You should notice four white squares in each corner of the layer:
The white squares in the corners indicate that the layer is ready to be centered.
Note: if your layer is layered beneath other contents then you may have to temporarily disable them while centering your layer. This is because you won’t be able to click on the target layer if there’s object placed above it. Those objects will be selected instead.
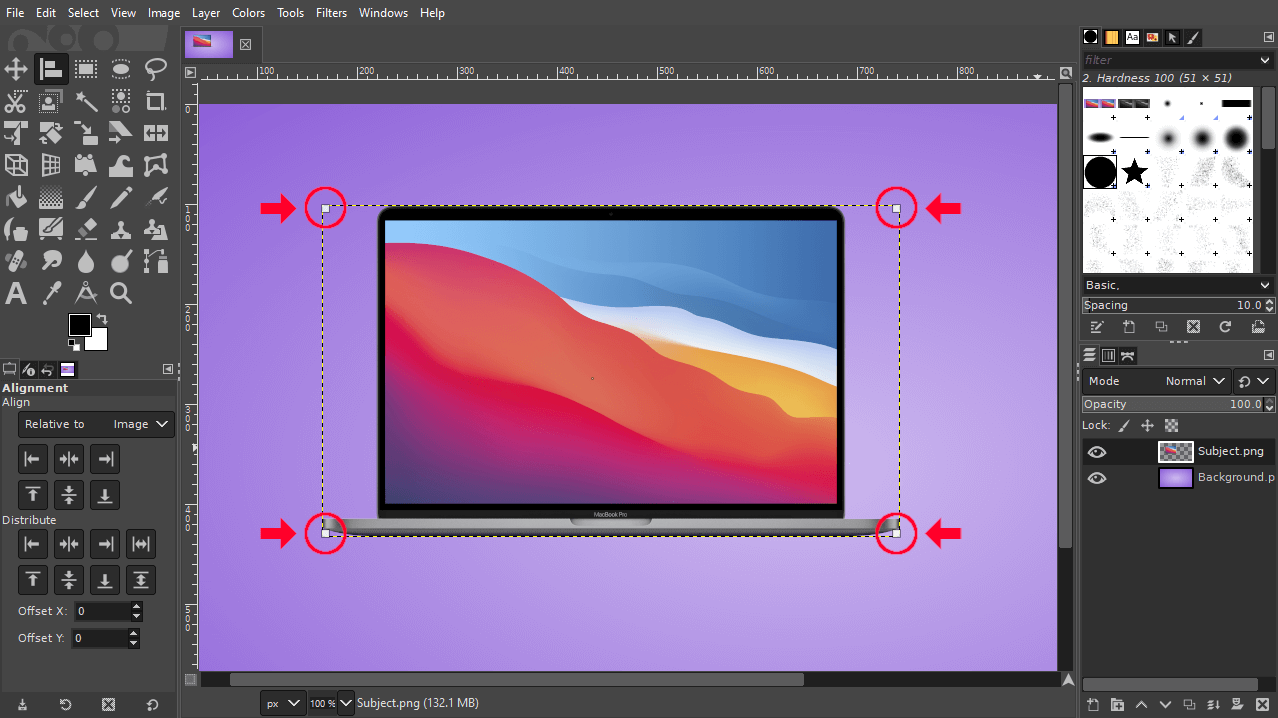
Step 4: Set the “Relative To” to “Image” in the tool settings
In this next step we will have to define what exactly we’ll be aligning the layer to the center of.
In the tool settings menu, click the dropdown labeled as “Relative To” and select “Image” from the list, assuming it isn’t already set:
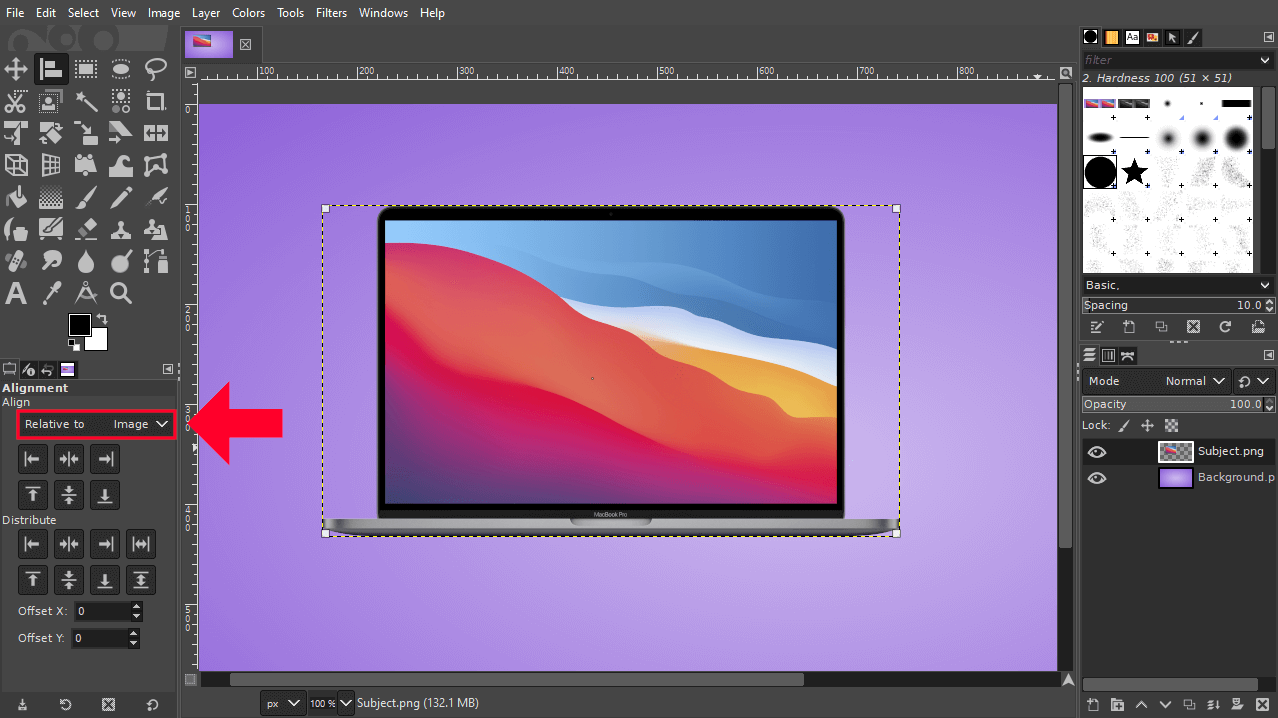
Make sure the Relative To is set to Image. This will allow you to center the layer on the canvas.
This makes it so that we’ll be centering the layer on the canvas. If you’d like to center the layer relative to something else, you can choose from any of the following options:
- Image
- First Item
- Selection
- Active Layer
- Active Channel
- Active Path
Choose whichever one best applies to your scenario. For this demonstration we will be centering the layer relative to the image.
Step 5: Use the tool settings interface to center your layer
Assuming you’ve followed each step correctly up until this point, all you have to do now to center your layer is simply click the center buttons in the user interface:
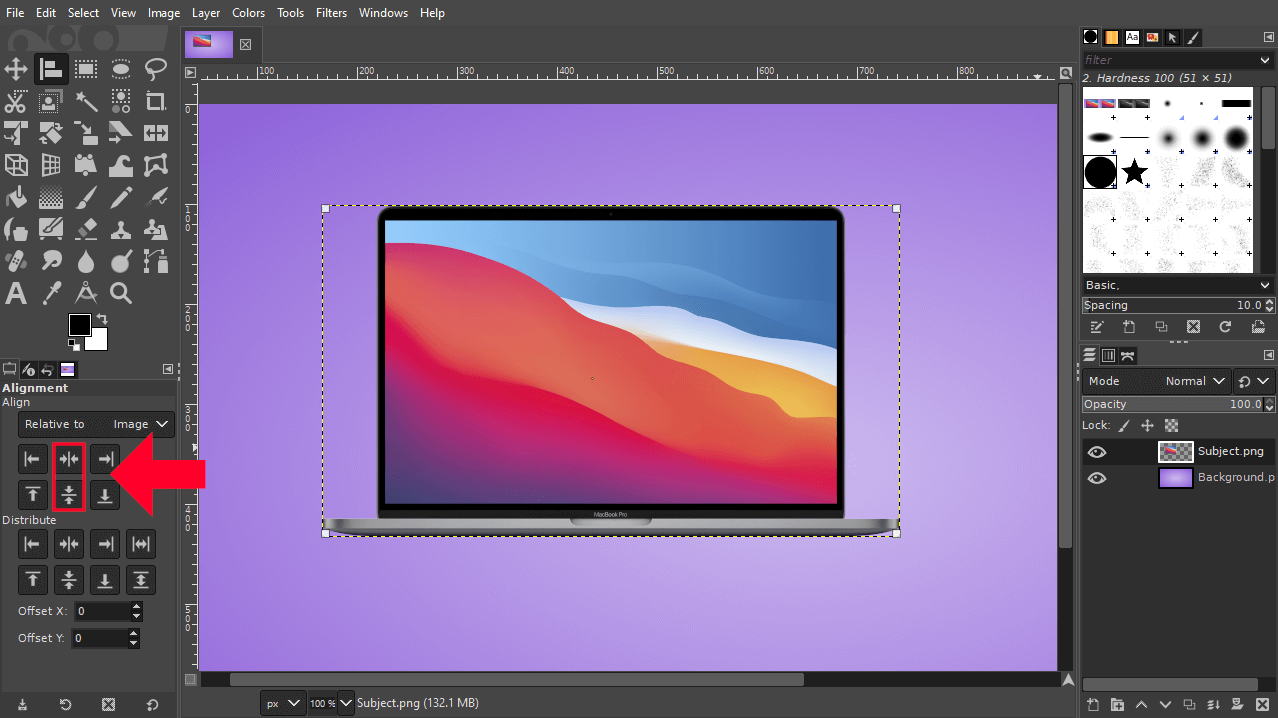
Click the alignment buttons outlined in red above to center the layer.
Clicking each of these buttons will move your layer to the center of the canvas, both vertically and horizontally. You can also use these buttons to align your layer to other areas of the image — not just the center.
Play around with it a bit to get a feel for how it works.
Conclusion
Thanks to the ease of use of GIMP’s Alignment Tool, knowing how to center a layer in GIMP is simply a matter of clicking a few buttons. If you had any trouble following along with this lesson though then feel free to leave a comment below and I’ll see what I can do to help.
Learn To Master The SoftwareGain a complete understanding of your favorite design apps with my comprehensive collection of video courses. Each course grants access to our private community where you can ask questions and get help when needed.
|
||||||||||||||||||||||||||||||||


