How To Blur Part Of An Image In Procreate For iPad
How To Blur Part Of An Image In Procreate For iPad https://logosbynick.com/wp-content/uploads/2022/10/blur-part-of-an-image.png 800 470 Nick Saporito https://secure.gravatar.com/avatar/8e31bf392f0ba8850f29a1a2e833cdd020909bfd44613c7e222072c40e031c34?s=96&d=mm&r=gWithin Procreate there is a Gaussian Blur feature that allows you to apply blurs to your images. The problem, however, is that the effect is applied globally to the entire layer. What if you just want to blur a particular area of your image, and not the entire image, though? In this tutorial we’ll be going over how you can use the Selection Tool to blur part of an image in Procreate.
In short, to blur part of an image in Procreate you will need to create a selection around it using the Freehand setting of the Selections tool. Then, when the Gaussian Blur filter is applied, it will be localized to the selection. Let’s have a closer look.
Blur Part Of An Image In Procreate
The following video tutorial will walk you through the entire process in less than 2 minutes:
Continue on for a written overview of the steps taken.
Table of Contents |
Step 1: Open the Selections tool and draw a freehand selection around the area you’d like to blur
In order to create selective blurs that only affect part of an image, we will need to use the Selections tool to define the area.
The Selections tool is located near the top of your screen, represented as an arrow icon:

The Selections tool will populate a menu towards the bottom of your screen, pictured above.
Within the Selections tool menu at the bottom of your screen, you will see a variety of options for how you’ll create your selection, including:
- Automatic: this setting will generate a selection based on the similarity of nearby pixels
- Freehand: this setting allows you to manually draw a selection
- Rectangle: generates selections in the shape of a square or rectangle
- Ellipse: generates selections in the shape of a circle or ellipse
For the example used in this demonstration we will be blurring faces from the background of an image. For this particular use case we will be using the Freehand setting, which will make it easier to draw a selection in the shape of the subject’s face, as the other settings wouldn’t work as well.
That said, if the area of your image that you’d like blurred can be traced more easily with one of the other settings, feel free to use them instead. The important thing is that we generate a selection.
Draw A Freehand Selection
Now, use your Apple pencil (or finger) to draw a selection around the area of the image you’d like to blur. Make sure you have Add enabled in the menu. It should be enabled by default, but if it isn’t then make sure to change it.
Here’s how our example image looks with a freehand selection drawn:
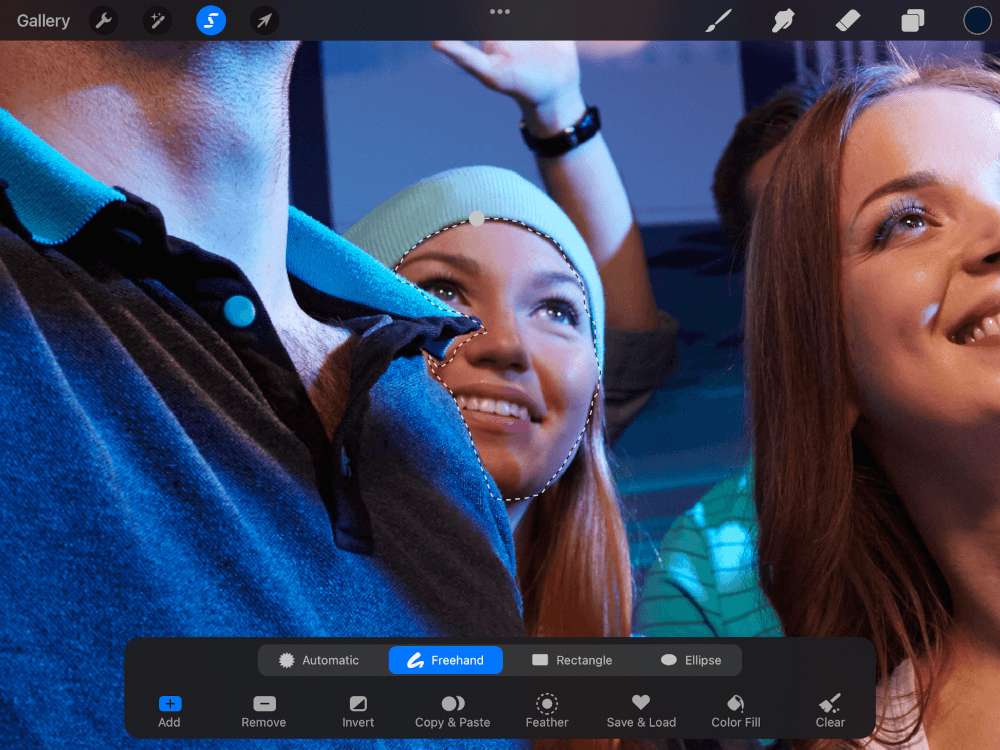
In our example demonstration, we have drawn a freehand selection (represented by a dotted line) around one of the faces in the background of the image so we can blur it.
Step 2: Apply a Gaussian Blur from the Adjustments menu
With the selection still enabled, open up your Adjustments menu near the top of your screen, represented as a magic wand icon:

The Gaussian Blur feature must be accessed via the Adjustments menu, pictured above.
Select Gaussian Blur from the list and swipe your pencil/finger across your screen to the right to apply a blur. The further to the right you go, the more intense the blur becomes. Moving it back towards the left will reduce the blur.
Adjust it to the desired setting:
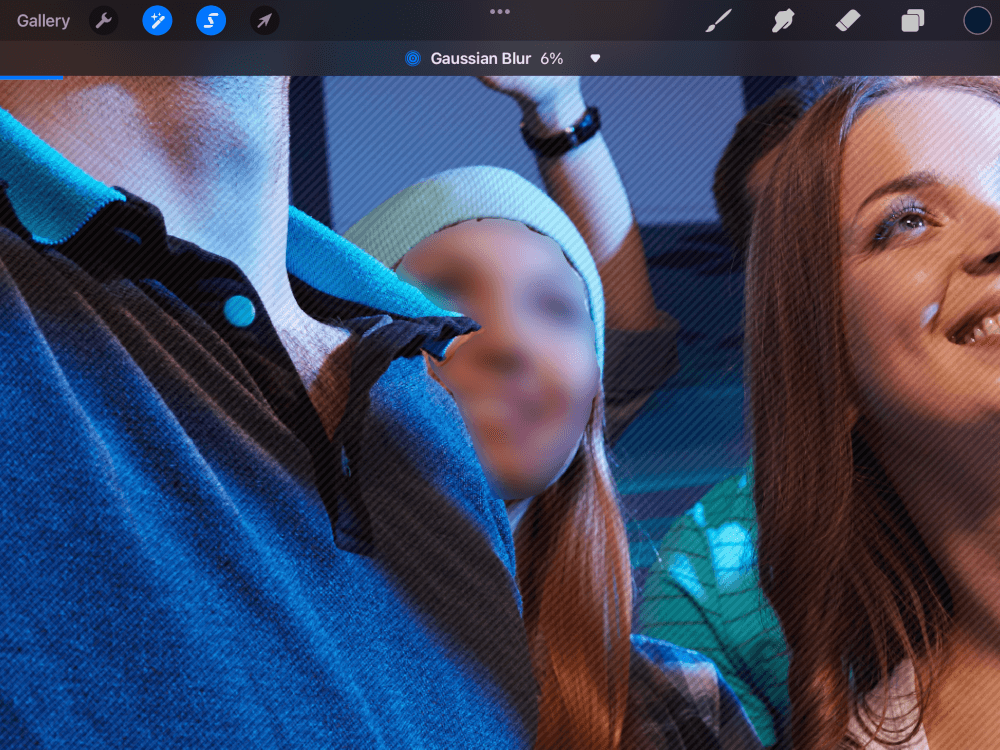
How the image looks with only a portion of it blurred.
The blur percentage is indicated towards the top of your screen and provides you with a quantifiable application of the blur.
Step 3: Close out of the menus
At this point our image is blurred. All we have to do now is close out of the menus by simply tapping on the Adjustments menu and the Selections menu to deselect them. The icons will no longer be highlighted in blue once deselected. Now you can save and/or export your work and you are finished!
Conclusion
Thanks to Procreate’s ease of use in handling selections and applying Gaussian blurs, knowing how to blur part of an image in Procreate is a task that only requires a few taps. That said, if you have any questions or need clarification on any of the steps taken in this lesson, simply leave a comment below.
Learn To Master The SoftwareGain a complete understanding of your favorite design apps with my comprehensive collection of video courses. Each course grants access to our private community where you can ask questions and get help when needed.
|
||||||||||||||||||||||||||||||||


