
Create Faux 3D Text With Illustrator | Beginner Tutorial
Create Faux 3D Text With Illustrator | Beginner Tutorial https://logosbynick.com/wp-content/uploads/2021/03/faux-3d-text-illustrator.png 800 470 Nick Saporito https://secure.gravatar.com/avatar/8e31bf392f0ba8850f29a1a2e833cdd020909bfd44613c7e222072c40e031c34?s=96&d=mm&r=gIf you’ve been using Illustrator for any period of time then it’s probably no secret by now that it comes packed with some really useful tools and features for working with 3D. What about simulating the appearance of 3D without actually working in three dimensions though? In this tutorial I’ll be demonstrating how you can use flat vector design to create faux 3D text with Illustrator.
Creating this faux 3D look is mostly an exercise in altering the perspective of the text, and then manually adding in some shapes to make it look like it has been extruded towards a vanishing point. The resulting design will be a 3D-style text emblem with a sort of style that is quite common in e-sports logos.
Best of all, this tutorial — despite the modest amount of steps involved — is simple and understandable enough to make for a great beginner exercise. So if you’re still a newbie, or maybe even a first-time user, then buckle in! This one has your name on it.
Create Faux 3D Text with Illustrator
Watch the following video tutorial to learn how to create faux 3D text with Illustrator:
The follow is a brief overview of the steps taken. The complete step-by-step instructions are in the video.
Step 1: Generate Some Text
The first step is to create some text. For this demonstration I will be using the word “design” with the League Gothic font applied:
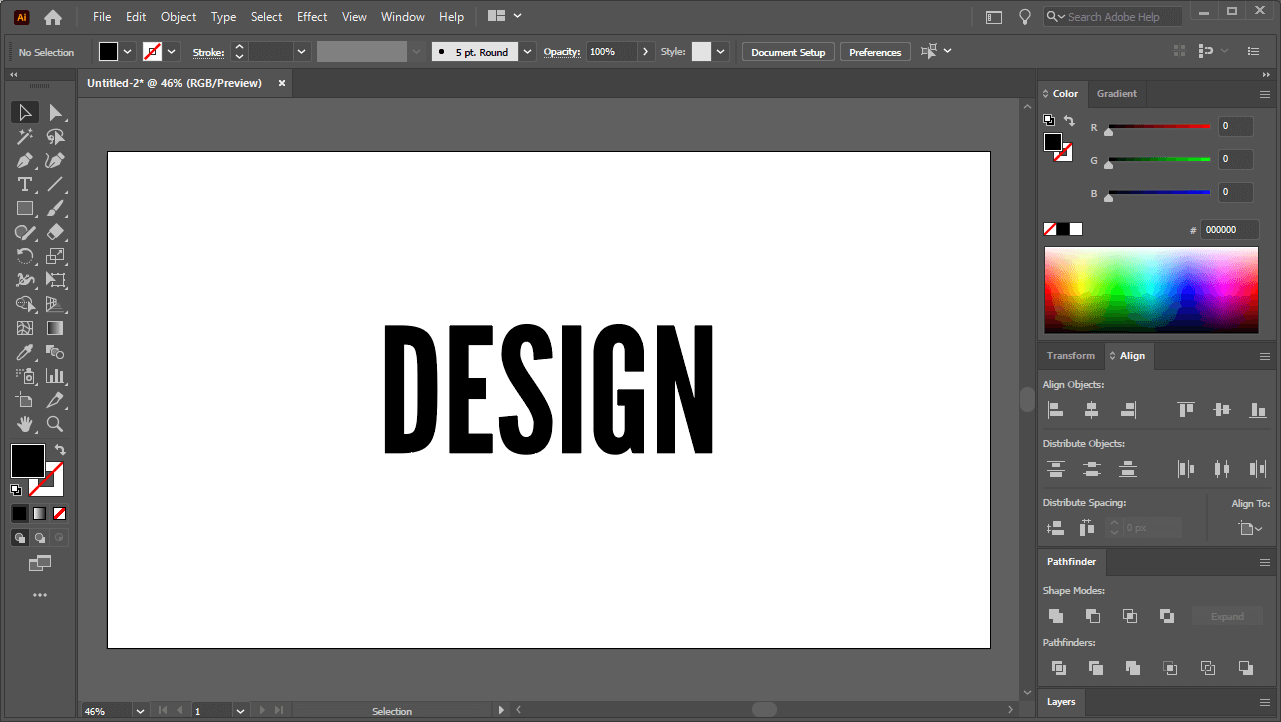
You don’t necessarily need to use the League Gothic font to create this faux 3D text with Illustrator, but it is recommended.
Step 2: Apply An Envelope Distort
In this next step we’ll be giving the text a little bit of an arc using the Envelope Distort feature:
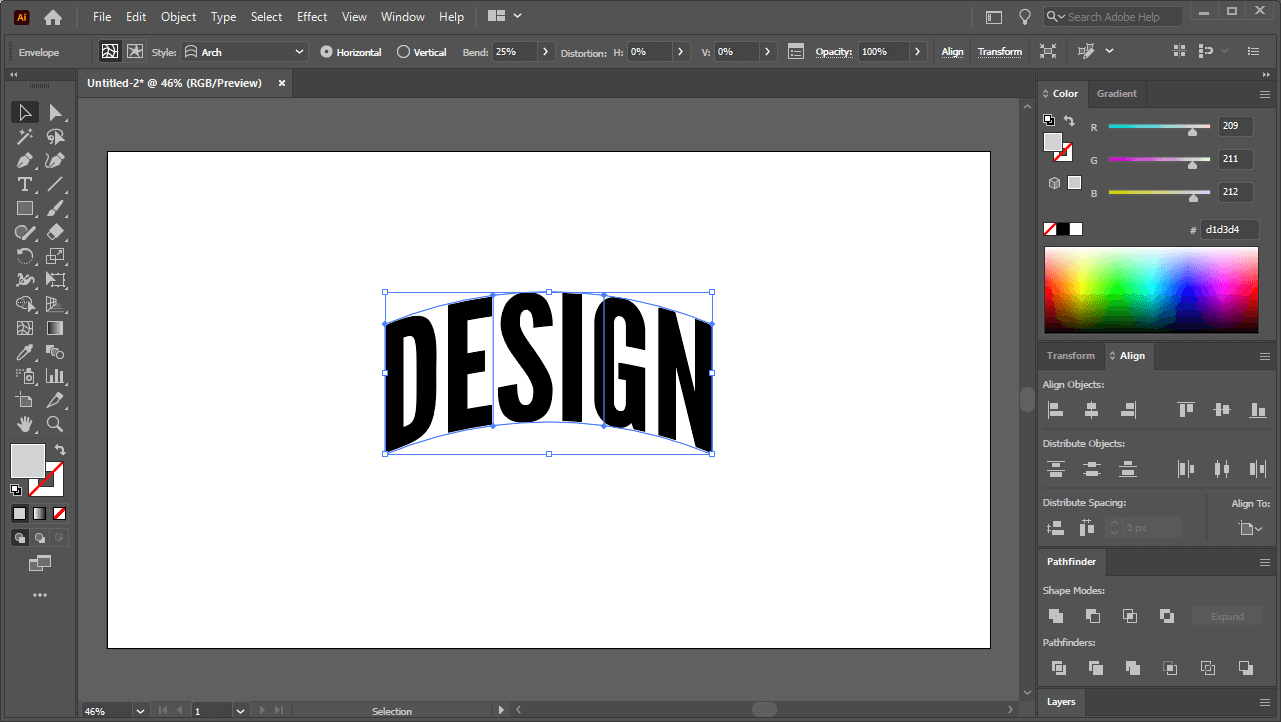
The text doesn’t need to have an arc in order to simulate the faux 3D look, but it certainly helps and adds a nice touch.
Step 3: Alter The Perspective
This is where the faux 3D magic begins!
We’ll be using the Free Transform Tool to alter the perspective of the text:
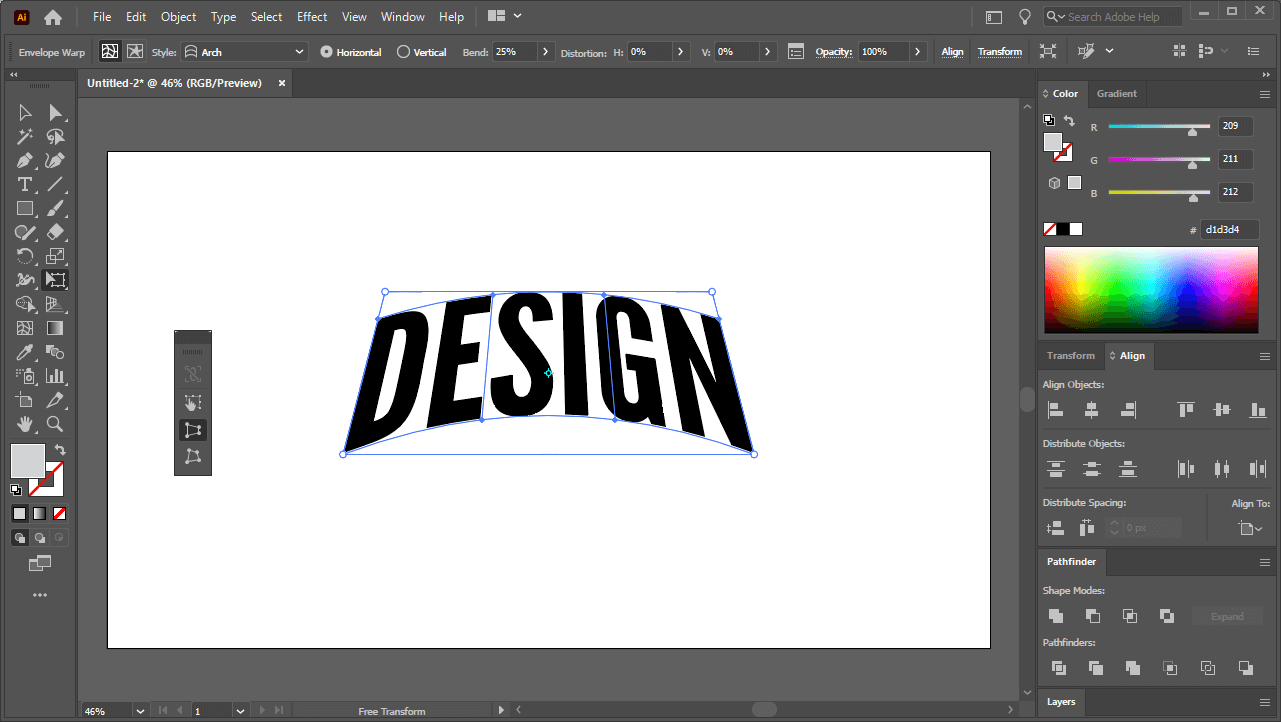
As you can see, the three-dimensional aspect is already starting to take shape.
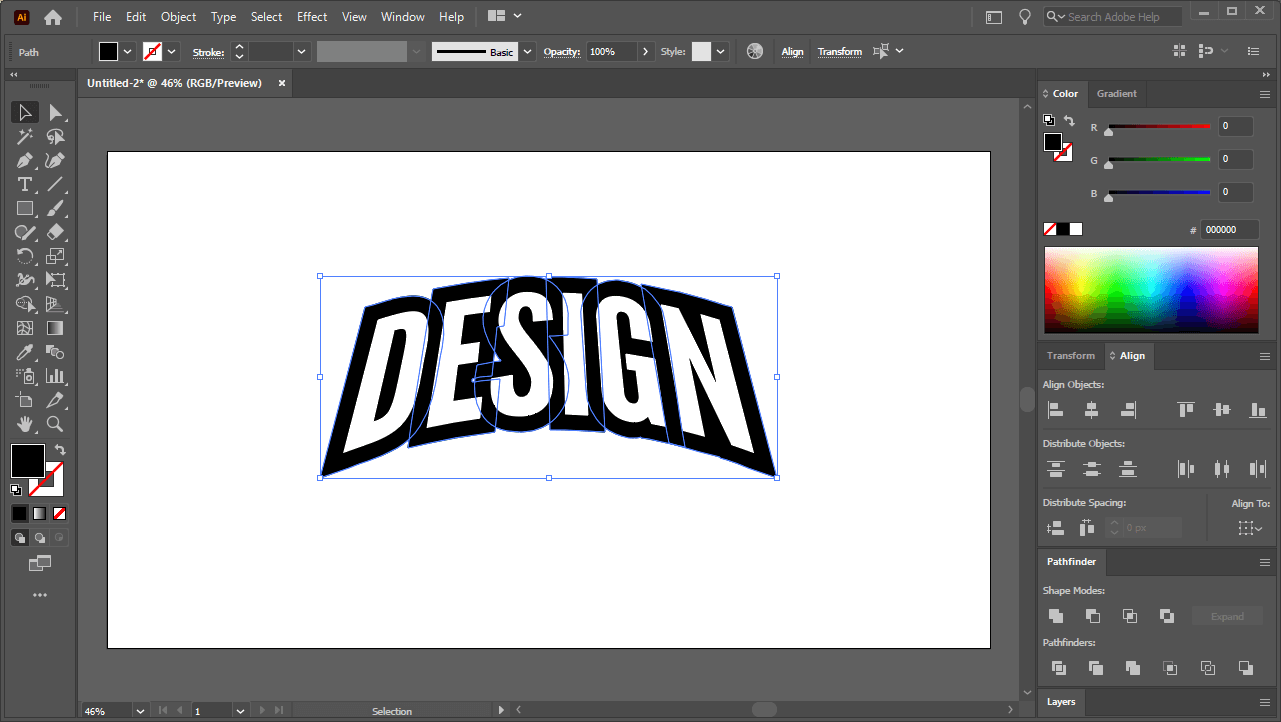
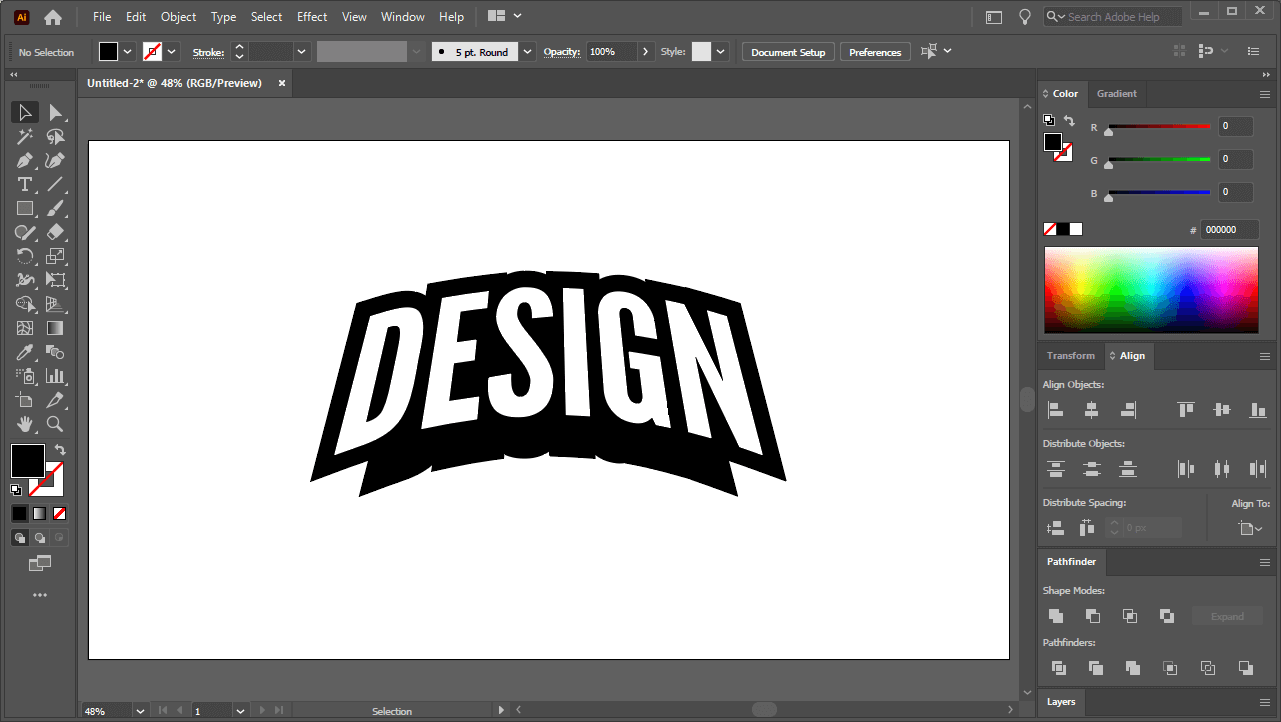
Step 4: Create An Offset
Now we’re going to create an offset of the text. This is done by making a duplicate copy of the text, filling it with white, and then applying an Offset to the original black text:
Step 5: Extrude The Offset
This is where the faux 3D text will finally come to life.
In this step we’ll be creating a duplicate of the offset, scaling it down a bit, and positioning it slightly below the original:
Then, we’ll be using the Pen Tool to manually fill in the empty space between the two offsets:
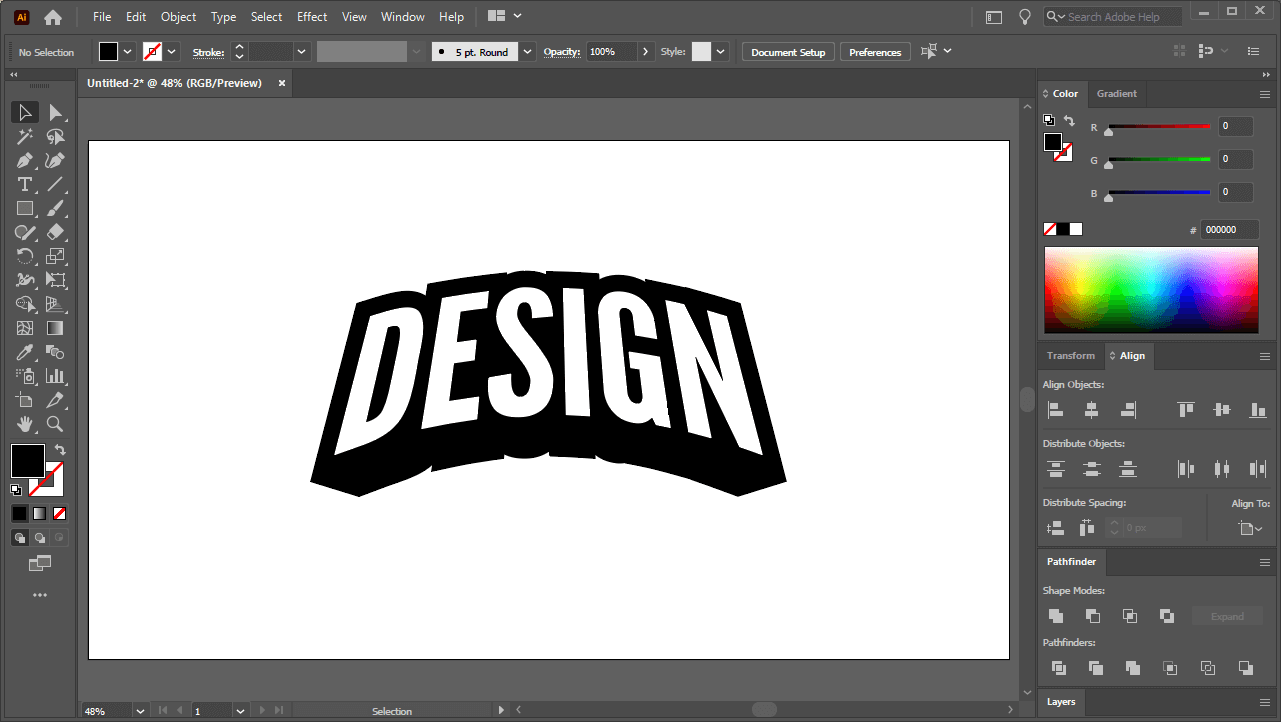
Normally this would be done using the Blend Tool, but in this scenario it makes more sense to just manually trace it. You will end up with a cleaner and simpler design.
Step 6: Apply A Border
After you create your faux 3D text with Illustrator you may want to add a thin outline around it just to bring it all together and make it pop a bit:
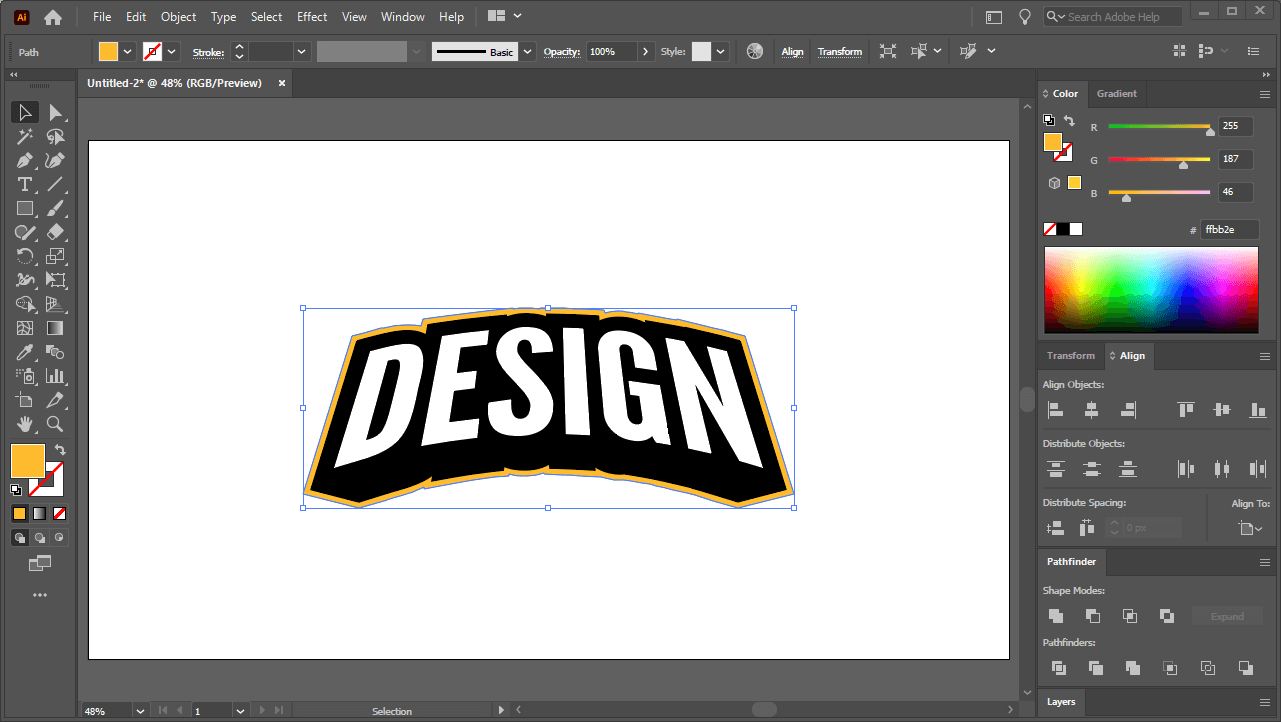
This is done by creating an offset of the extruded text and filling it in with whatever color you’d like.
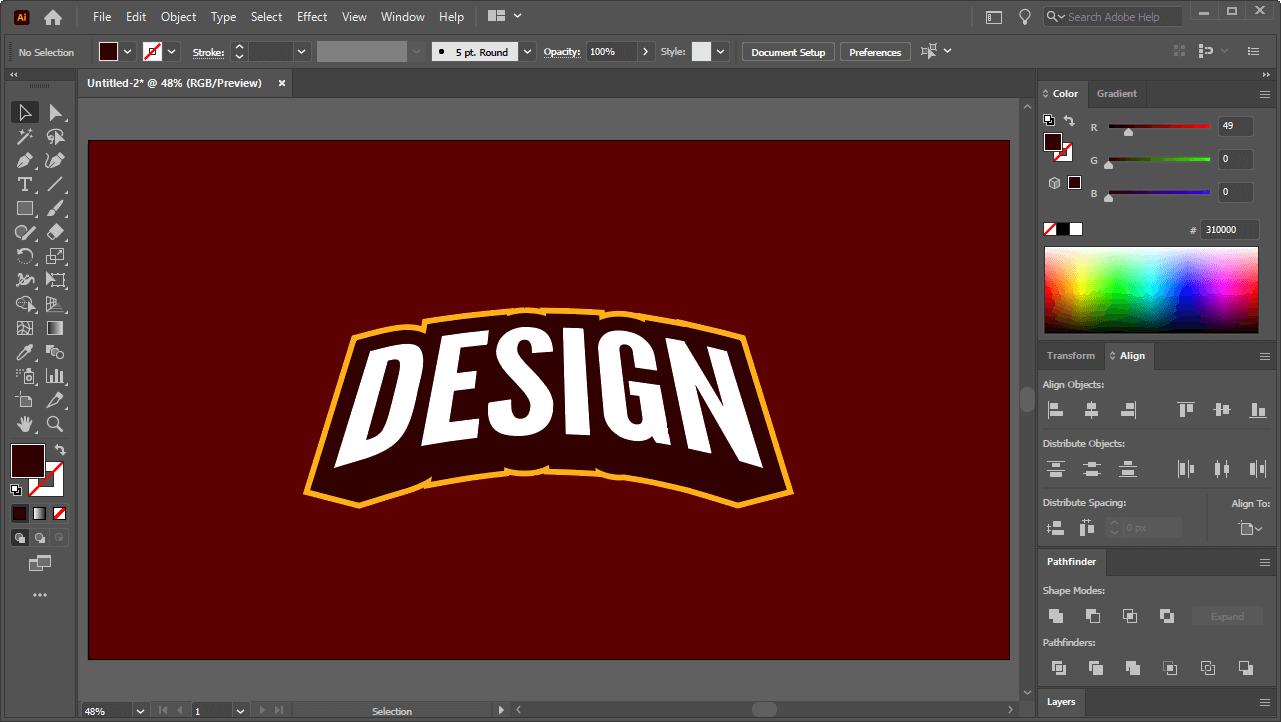
And with that we are finished! You have successfully created the appearance of a three-dimensional object using flat 2D objects.
Conclusion
Illustrator is a great tool for making your text have that faux 3D look because it has all of the right features, and they’re easy to use. This can also be done using something like Inkscape, but arching the text would be a long process because you’d have to arch each letter individually.
Affinity Designer, on the other hand, wouldn’t be capable of handling a task like this. It doesn’t yet have a way to envelope distort letters and apply perspectives. Hopefully those features will be added someday.
If you have any questions just leave a comment below. As always, thanks for visiting!
Learn To Master The SoftwareGain a complete understanding of your favorite design apps with my comprehensive collection of video courses. Each course grants access to our private community where you can ask questions and get help when needed.
|
||||||||||||||||||||||||||||||||


