How To Fit Artwork To The Artboard In Illustrator in 3 Simple Steps
How To Fit Artwork To The Artboard In Illustrator in 3 Simple Steps https://logosbynick.com/wp-content/uploads/2020/04/fit-artwork-to-artboard-in-illustrator.png 800 470 Nick Saporito https://secure.gravatar.com/avatar/8e31bf392f0ba8850f29a1a2e833cdd020909bfd44613c7e222072c40e031c34?s=96&d=mm&r=gIn this tutorial I’ll be demonstrating how you can easily fit artwork to the artboard in Illustrator. This is something that’s particularly useful if you’re doing something like finalizing logo files for yourself or a client.
The following is a written overview of the steps taken to accomplish this. For a more immersive learning experience I would recommend watching the video tutorial below. However, this sort of tutorial is simple enough to follow through written instructions.
Fit Artwork To The Artboard in Illustrator
| To fit artwork to the artboard in Illustrator, group your artwork together by selecting it and pressing control + g on the keyboard. Then, grab the Artboard Tool and click on your artwork to generate a new artboard around it. |
This is a very simple process that breaks down into 3 easy-to-follow steps.
- Step 1: Group your artwork together.
- Step 2: Grab the artboard tool and use it to generate a new artboard around your design.
- Step 3: Delete the original artboard by clicking the little X icon in the top right corner.
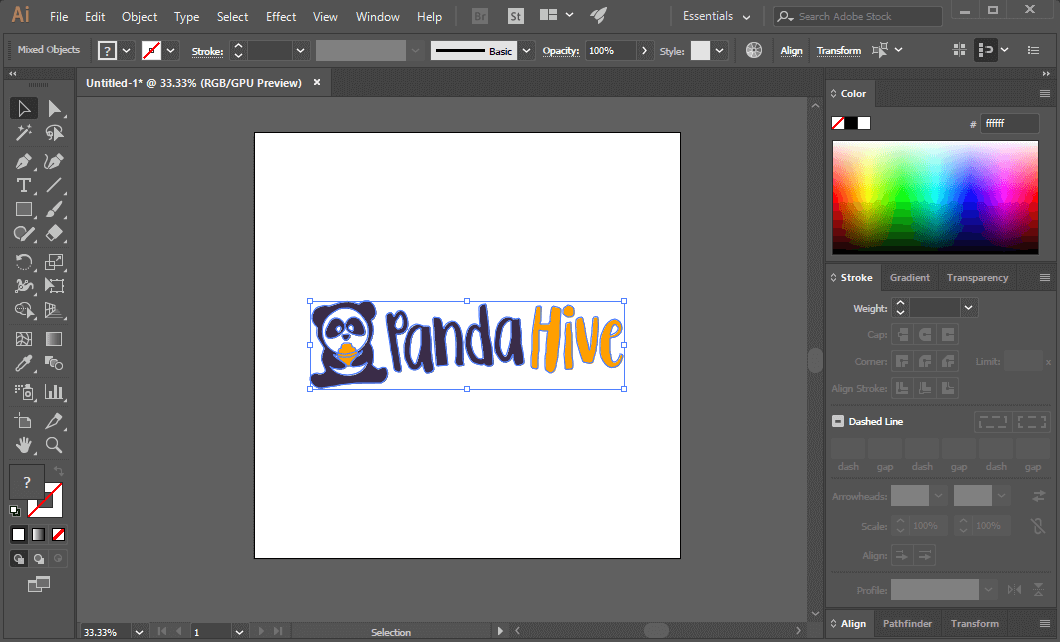
Step 1: Group Your Design Together
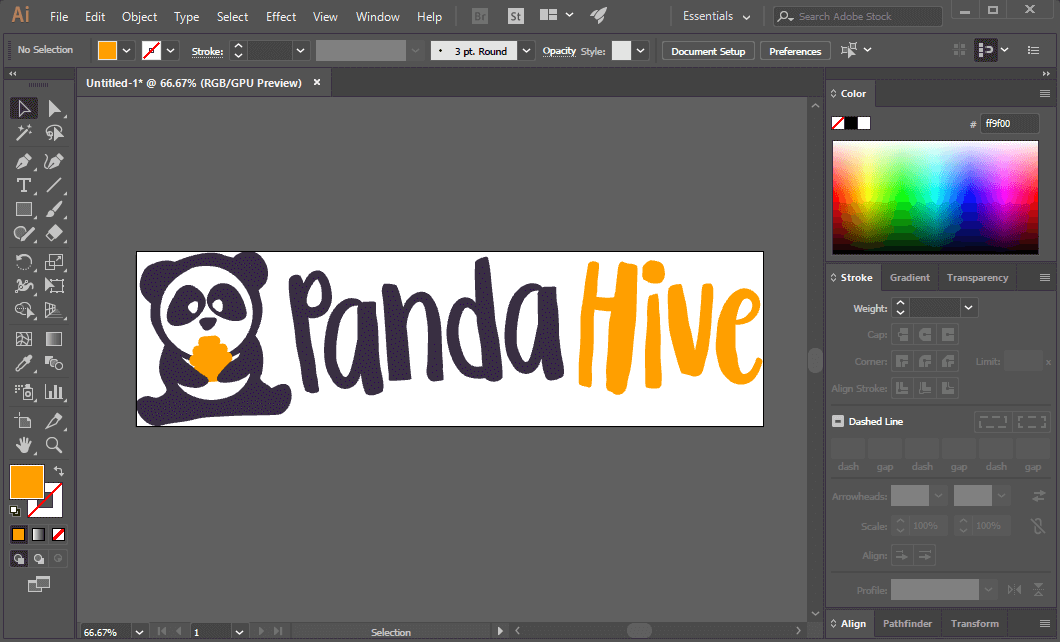
For my demonstration I’ll be using the following example design…

The first step is to select the entire design with the Select Tool and then group it together by pressing control + g on your keyboard.
Step 2: Generate A New Artboard with The Artboard Tool
Next, move the design away from your artboard and into the gray area. It must be completely off of the canvas as depicted below.
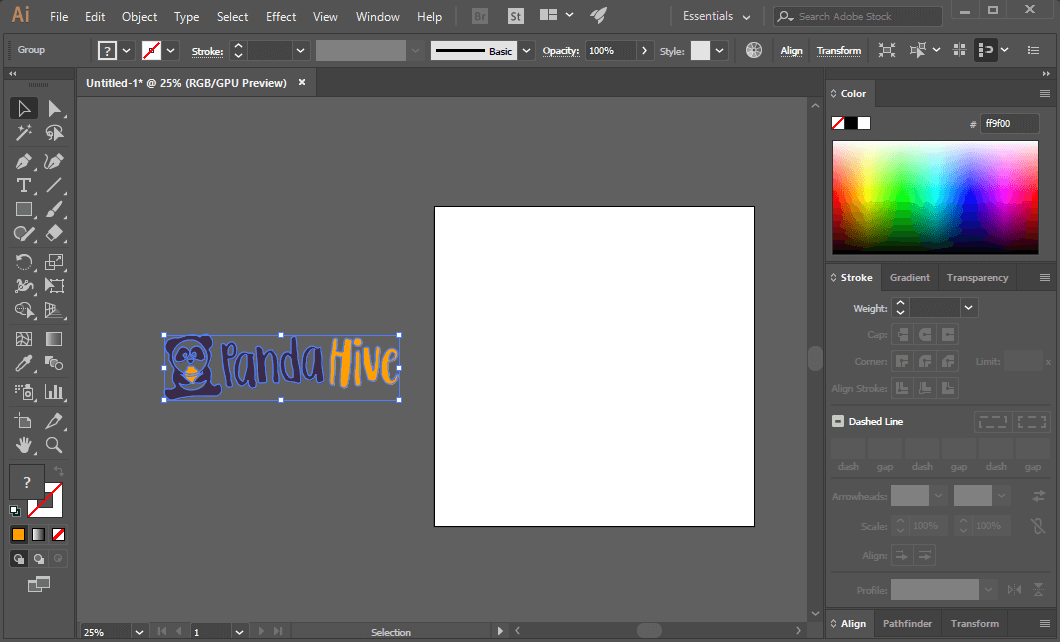
Now, grab the Artboard Tool from the lower-left portion of the toolbar.

Alternatively, you can press shift + o on your keyboard to activate this tool.
With the tool activated, go ahead and click on your grouped artwork. This should generate a new artboard around the design.
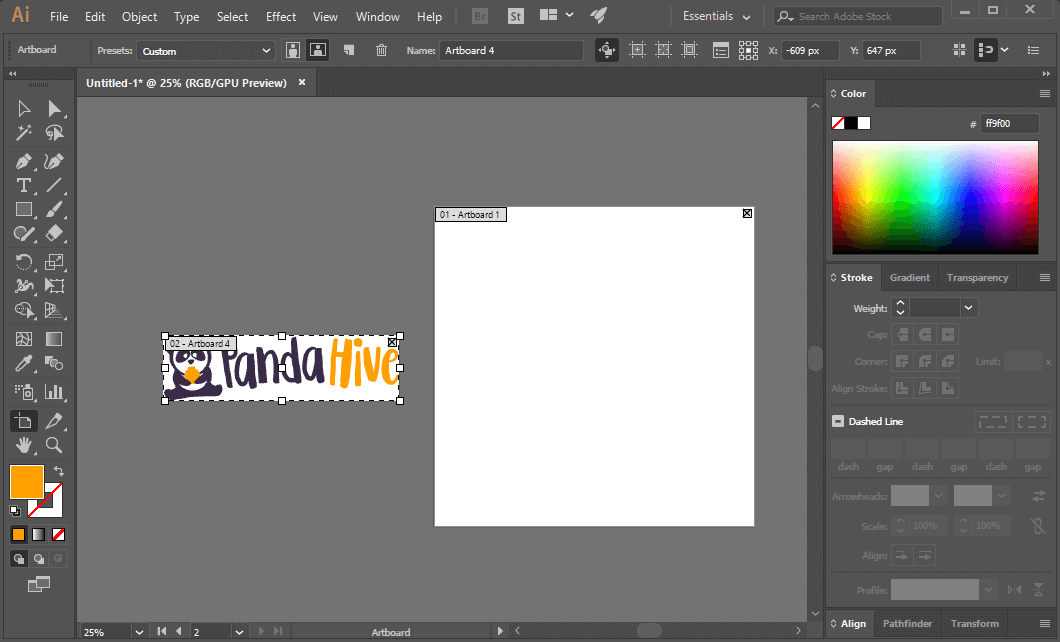
Step 3: Delete The Original Artboard
All you have to do now is delete the original artboard. With the Artboard Tool still active, navigate to the top-right corner of the original artboard and click on the little X icon to delete it.
You should now be left with a single artboard that fits your artwork.
And that should do it for this tutorial! If you have any questions simply leave a comment below. As always, thanks for watching!
Learn To Master The SoftwareGain a complete understanding of your favorite design apps with my comprehensive collection of video courses. Each course grants access to our private community where you can ask questions and get help when needed.
|
||||||||||||||||||||||||||||||||


Thanks for the tip. It’s a good solution, though the dilemma with this approach is that if you have any other design elements (aside from the grouped items) that you don’t want to change orientation within the artboard, those items end up being moved when the new artboard is created and the old is deleted. Do you by chance know of any workaround to this? It’s bizarre that Adobe doesn’t seem to have a simpler one-click solution to address what seems to be a task frequently needed by users. Thanks!
SUPERB! Thank you!