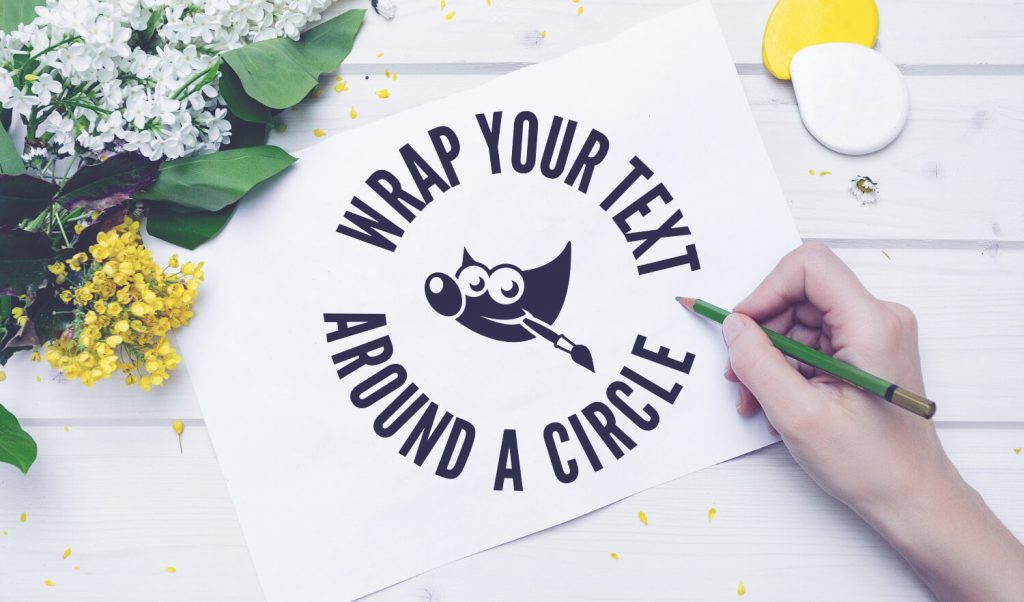
How To Wrap Text Around A Circle with GIMP
How To Wrap Text Around A Circle with GIMP https://logosbynick.com/wp-content/uploads/2018/12/wrap-text-around-circle-gimp-1024x602.jpg 1024 602 Nick Saporito https://secure.gravatar.com/avatar/8e31bf392f0ba8850f29a1a2e833cdd020909bfd44613c7e222072c40e031c34?s=96&d=mm&r=gIn today’s tutorial I’ll be demonstrating how to wrap text around a circle using GIMP — both inside and outside the circle.
The following is a brief overview of the steps taken. Please watch the video tutorial below for complete step-by-step instructions with voice narration:
Wrap Text Around A Circle
The first thing we’re going to do is create a new document sized at 1,280 x 1,280 pixels and add vertical and horizontal guides halfway through the document.

Then we’re going to create a perfectly symmetrical circle in the center of the document and convert it to a path.

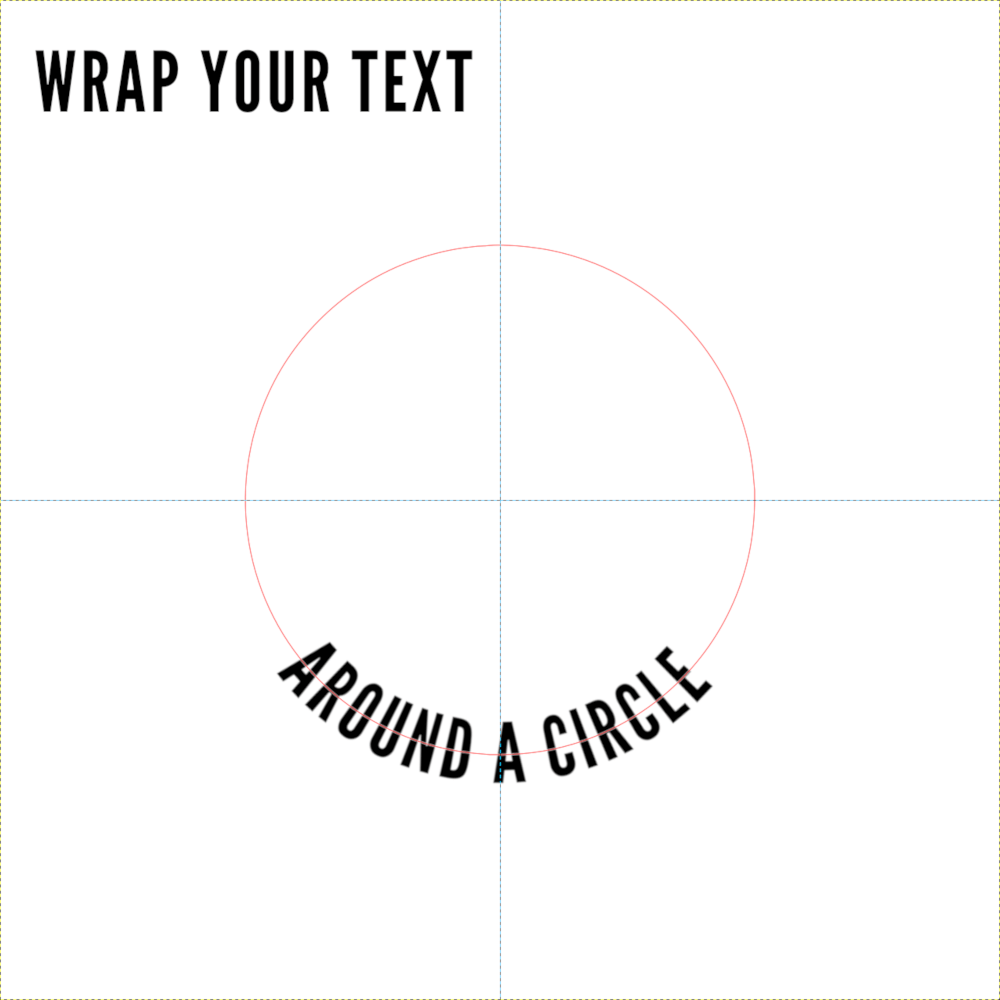
Next, we’ll create two separate lines of text — one for the top of the circle and one for the bottom.

Now we’re going to right click the layer containing the bottom line of text and select Apply Text To Path. This will create a new path with the letters wrapped around the inside of the circle.

All we have to do now is create a new selection from that path, and on a new layer fill it with your foreground color and rotate it around so that it sits at the bottom of the circle.
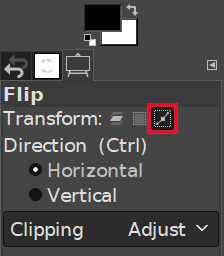
Now we will apply the same steps to the top line of text. However, since we’ll be positioning the text at the top of the circle, we’ll need to apply the text to the outside of the circle rather than the inside. To do this we must reverse the direction of the path using the Flip tool.
Make sure you have the “Paths” box enabled.
Once the path is reversed all we have to do is repeat the previous steps to wrap the top line of text around the circle. It should apply to the outside of the circle as depicted below…
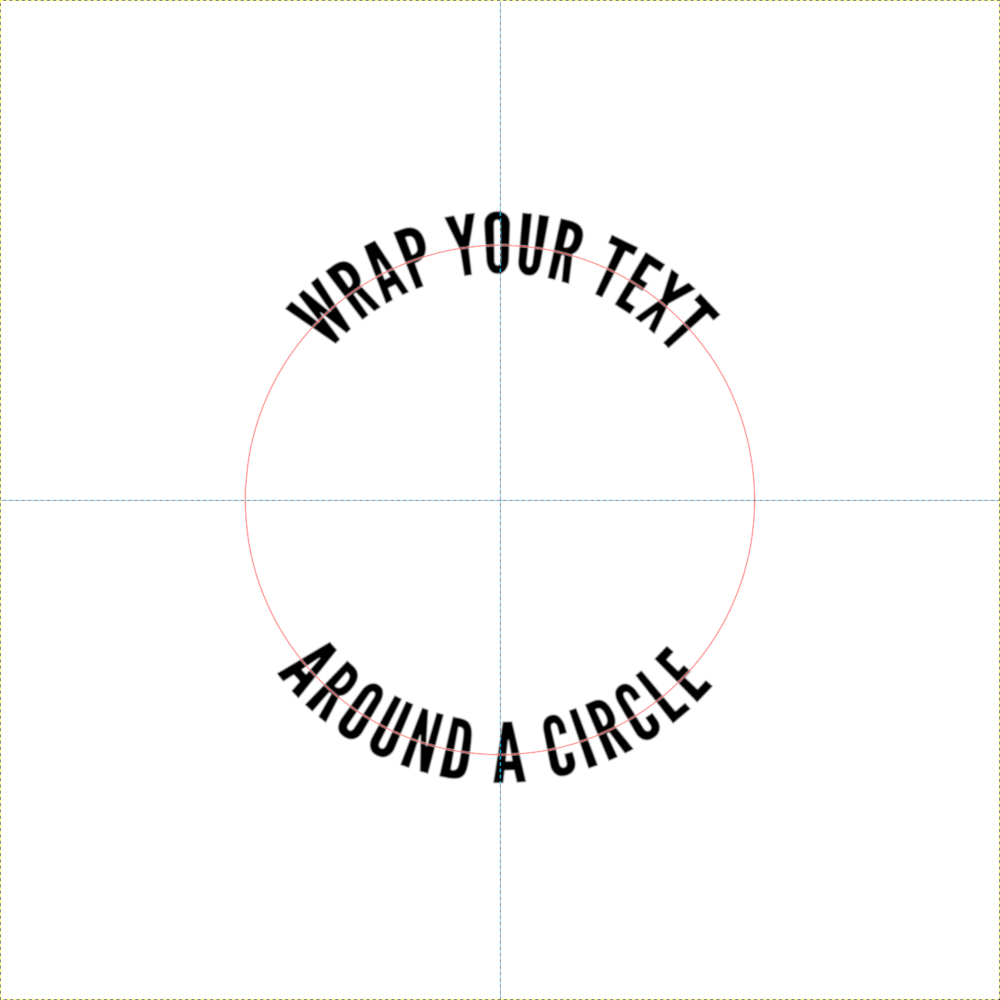
Our circular text is complete! All we have to do now is disable the paths, delete the guides from the canvas, then add a circle with a fill color of your choosing to the background layer.

If you have any questions then leave a comment below. As always, thanks for watching!
Learn To Master The SoftwareGain a complete understanding of your favorite design apps with my comprehensive collection of video courses. Each course grants access to our private community where you can ask questions and get help when needed.
|
||||||||||||||||||||||||||||||||


Great tutorial!!! Thanks for your effort. Works well. Requires some stopping and replaying but that’s logical. My Gimp had a bug that it doesn’t always show the “transform” (with behind it the “layer, selection, path, image”) if you click the transformation tool. Had to look for a long time, it was needed with the flipping of the path. But double clicking on “flipping” tool suddenly gave that info. Maybe this is of help for others too. Also, I didn’t know that on my Gimp, the transformation tools are all hidden behind each other. You can see that there are more tools hidden by the small arrow on the right hand low part but for someone new to Gimp, this might be confusing. Maybe I have a strange setting, maybe it’s new, I’m not sure. But anyway, that might help someone too.
Thanks again for your great tutorial, it helped big time
How do I get the text to sit along the center line of the path like yours? My text sits atop the path (inside of the circle created by the path) so that the bottom of the text touches the path instead of the path going through the center of the characters. Any ideas?
Hi… I followed the tutorial and what I wanted happened perfectly… I was wondering however how do you insert a picture in the middle of the text as you did with the gimp animal head thingy?
Just copy and paste the imagery you’d like to use onto the document.
Whenever I try to rotate the “Wrap Your Text” layer. I created the new layer for it though It selects the selected circle for it instead. Ive done all the correct steps up to this point though.
Everything goes perfect until I get to rotating the text. Once I start the words go completely off the path! Do the words need to be centered in the text box? I’m trying to add the words on top of a picture for a t shirt design so I would like it centered. What do you think?
Are you sure you’re rotating the path and not the text?
Great tutorial, Nick. Really helpful, and I’d never used GIMP before this. A couple of things I’ve puzzled over: I’m wanting to wrap text around a circular logo but I’m not sure how large I want the text to be – it’s a bit of trial and error to see what looks right. As the text is vertically centred on the path, that means I’m not sure how far from the edge of the circle to draw the ellipse/path. Can the top, or the bottom, instead of the centre of the text be aligned on the path? Also, when rotating the curved text how can you get it balanced so that the first and last letters are horizontally aligned? I can’t get it completely level doing it by eye!
Thank you, thank you! I’m a Gimp novice but was able to follow your video step by step and create a lovely logo for my family reunion…on the first try! You did a GREAT job on this tutorial.
It’s always great to hear feedback from people who were able to create something useful from my tutorials!
This doesn’t really help someone who is new to gimp, you should describe the steps you are using.
“The following is a brief overview of the steps taken. Please watch the video tutorial at the top of the page for complete step-by-step instructions with voice narration.”