3 Ways To Warp Objects In Inkscape
3 Ways To Warp Objects In Inkscape https://logosbynick.com/wp-content/uploads/2023/07/warp-objects-inkscape.webp 1000 587 Nick Saporito Nick Saporito https://secure.gravatar.com/avatar/8e31bf392f0ba8850f29a1a2e833cdd020909bfd44613c7e222072c40e031c34?s=96&d=mm&r=g- Nick Saporito
- no comments
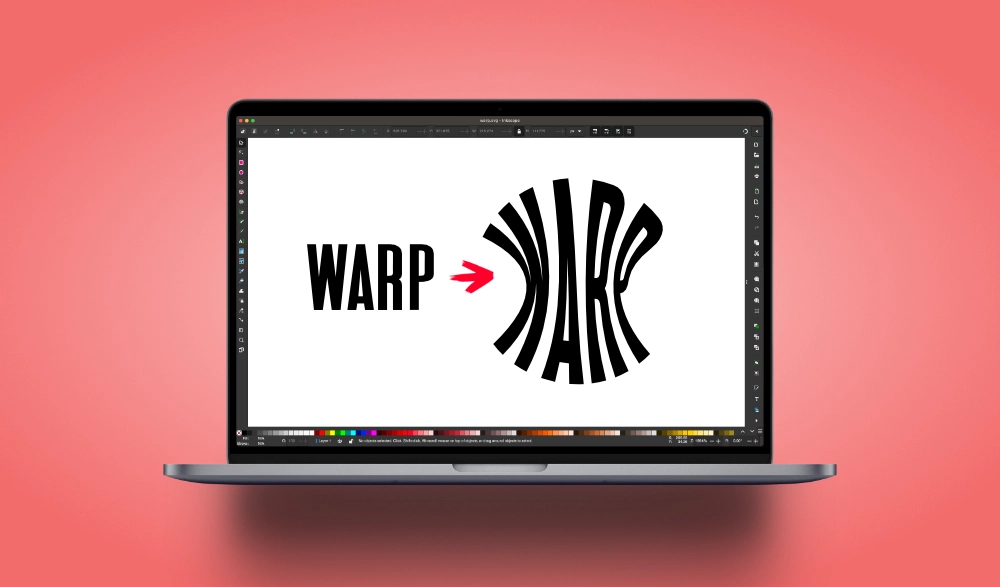
In this tutorial we’ll be having a look at some of the ways in which you can warp objects in Inkscape using various path effects. This will enable you to take your artwork to the next level by providing more controls.
Inkscape is one of the most advanced vector design tools in existence, and one area where it really shines is when it comes to warping and distorting objects. The Path Effects menu in particular allows you to make various advanced alterations that simply aren’t possible in other design apps. Let’s have a closer look.
Warp Objects In Inkscape
The following video tutorial will walk you through three different ways in which you can use Path Effects to warp objects in Inkscape:
Continue on for a written overview.
Table of Contents |
Envelope Deformation
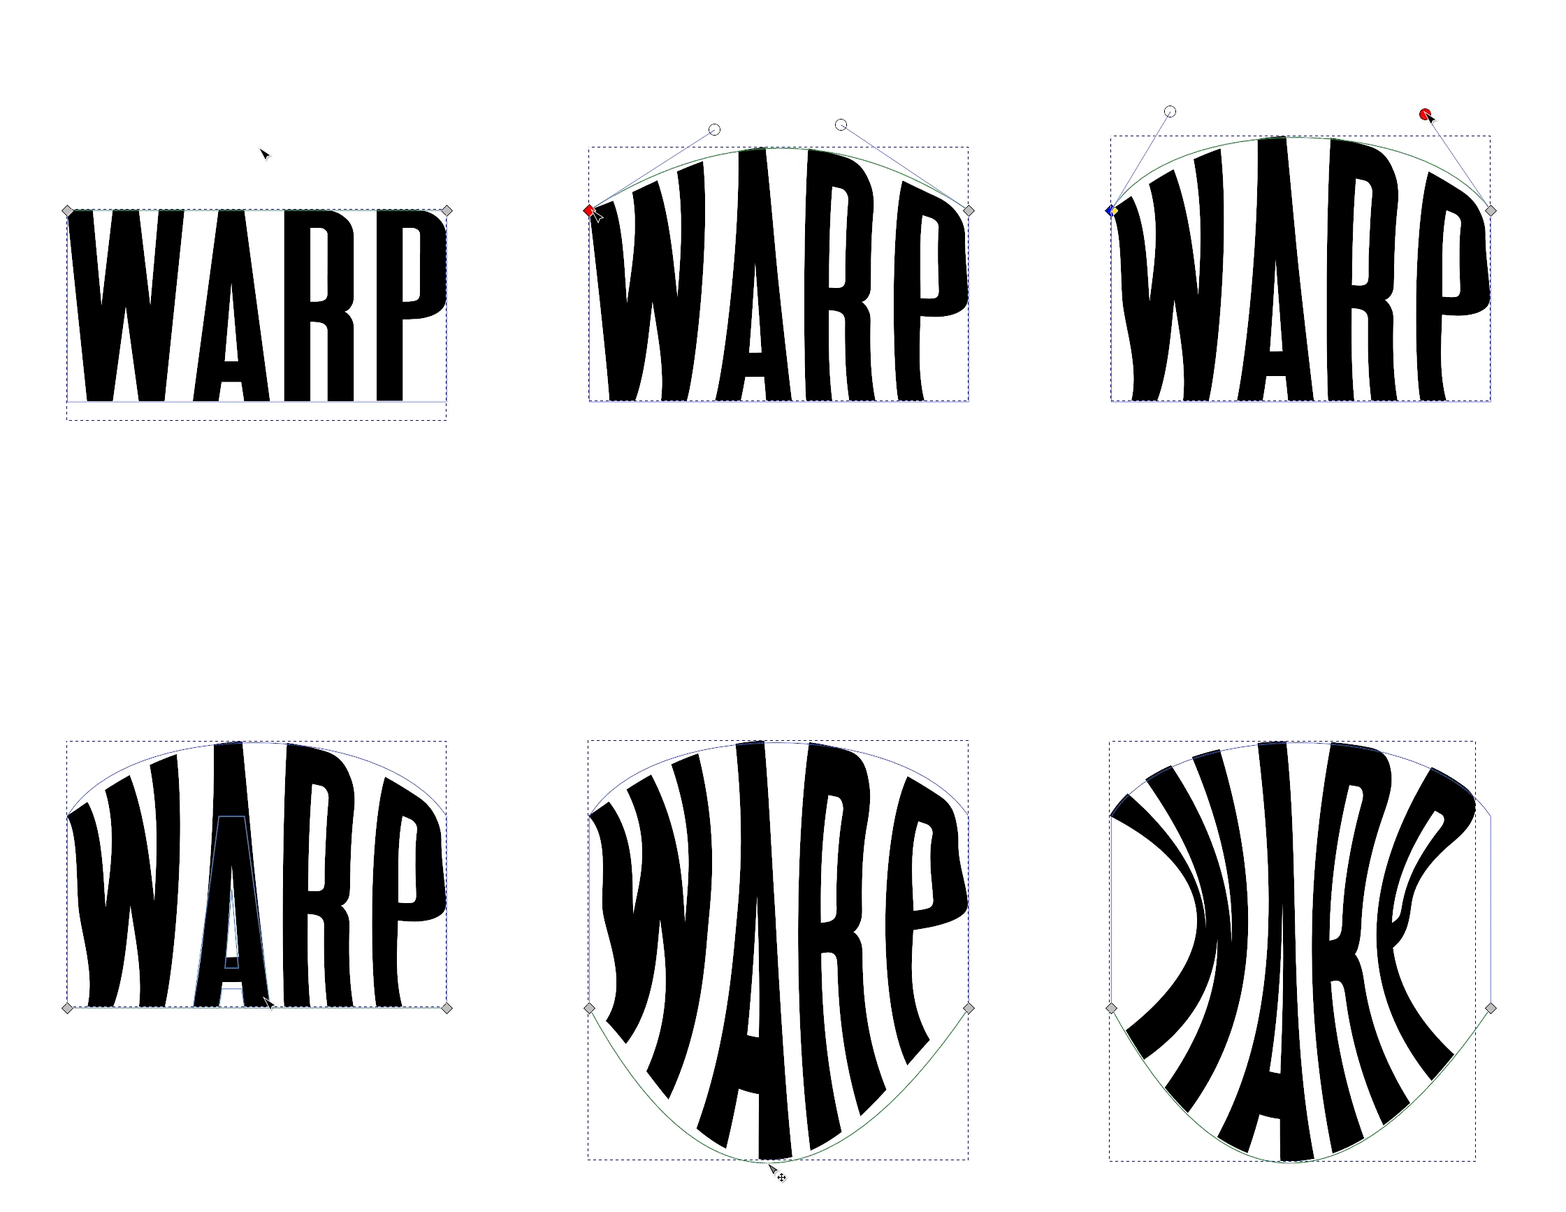
One way in which you can warp objects in Inkscape is by using the Envelope Deformation Path Effect.
To use it, select the object you’d like to apply it to (note: it must be a vector path) and open the Path Effects menu by navigating to:
Path > Path Effects
It can also be accessed using the following keyboard command: Control + Shift + 7
Click the plus (+) icon in the bottom-left corner of the menu that pops up on the right-hand side of your screen to add a new path effect and select Envelope Deformation from the list:
Once applied, you will see four controls in the menu:
- Top
- Bottom
- Left
- Right
Click the edit button associated with each and a green path will populate on your screen. You can now click and drag that path and adjust the nodes/handles to warp the selected side:

Use the transformation handles to warp the object.
Bending Paths
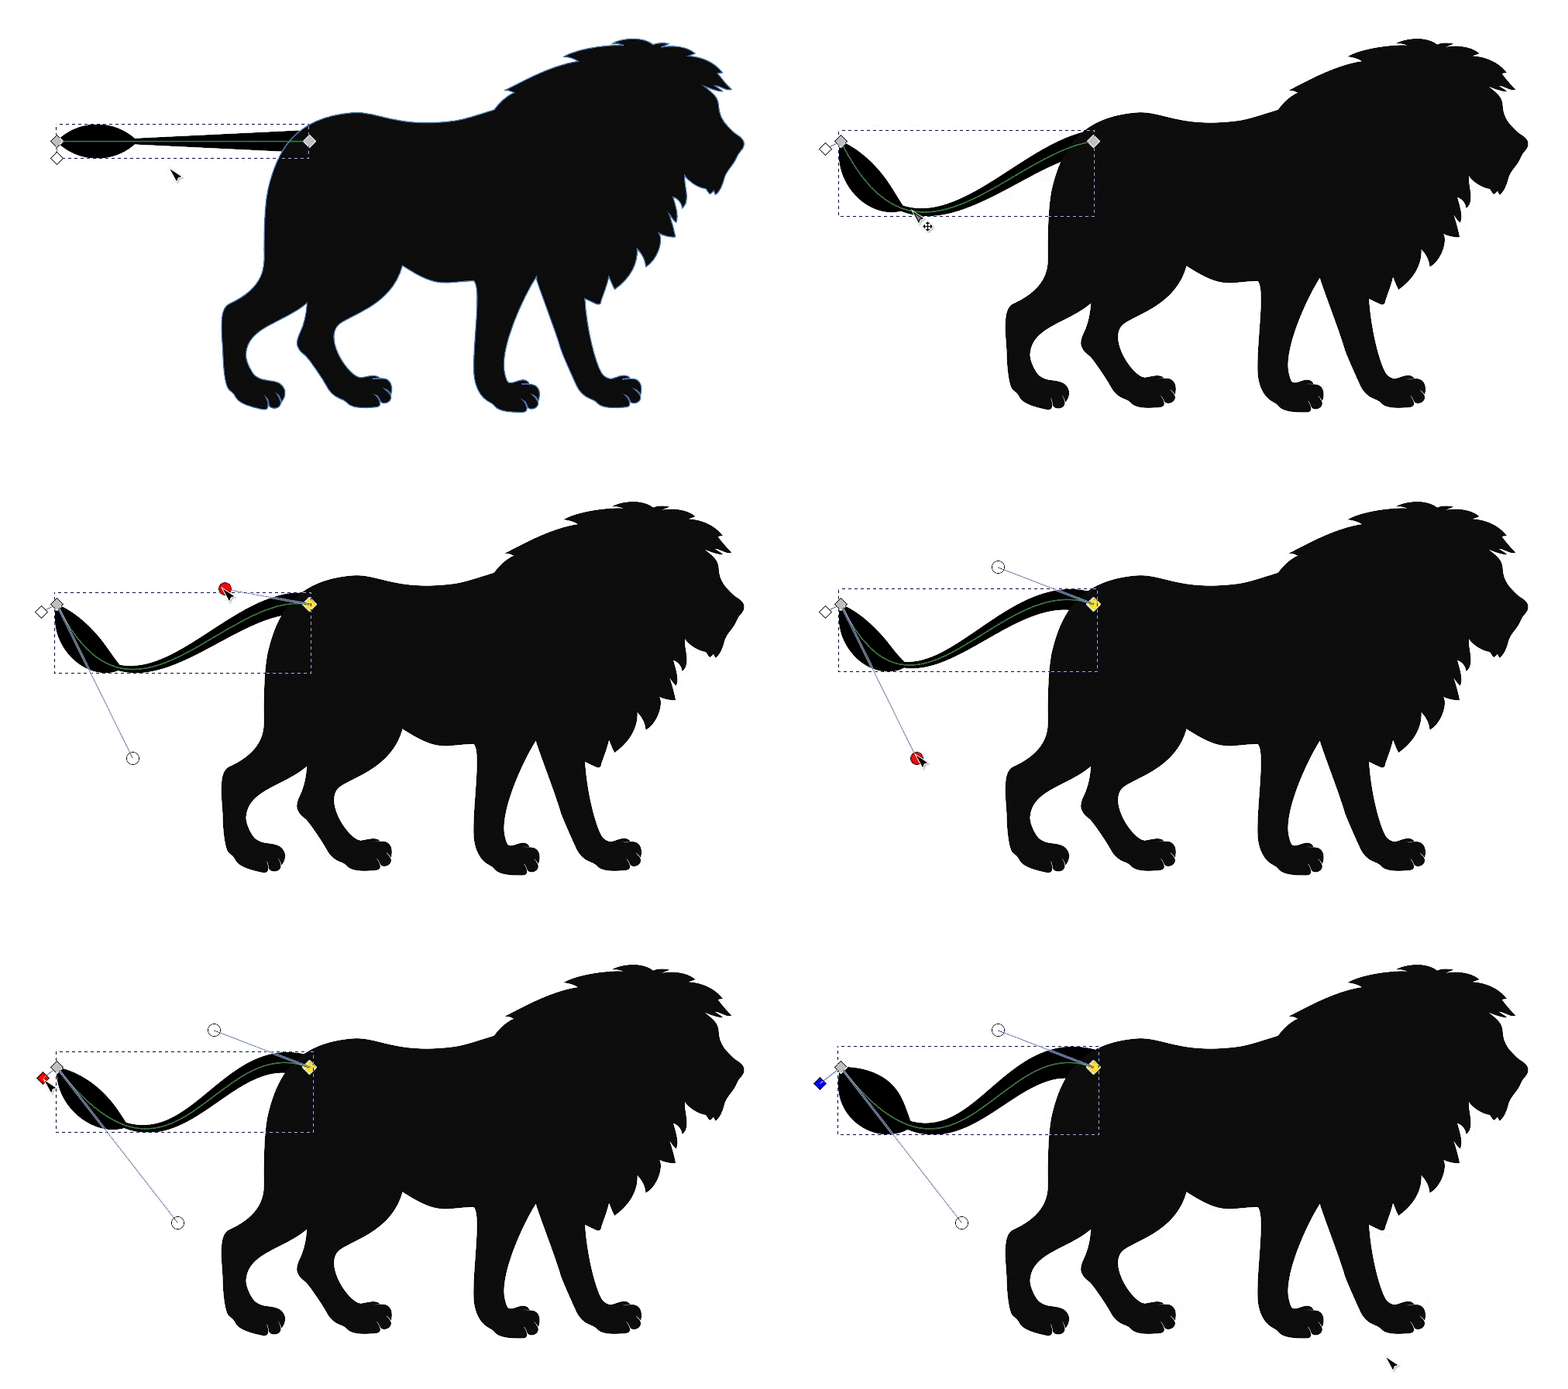
Another way to warp objects in Inkscape is by using the Bend Path effect, which allows you to bend an object along a linear path.
Select the object you’d like to apply it to, open your Path Effects menu, add a new path effect and choose Bend Path from the menu:
Now click the edit button in the menu:
Once clicked, a green horizontal line will populate across the selected object. You can now click and drag that line to bend the shape along that path:

Click and drag the green line to bend the path. You can also use the nodes to reposition and widen the path.
Lattice Deformation
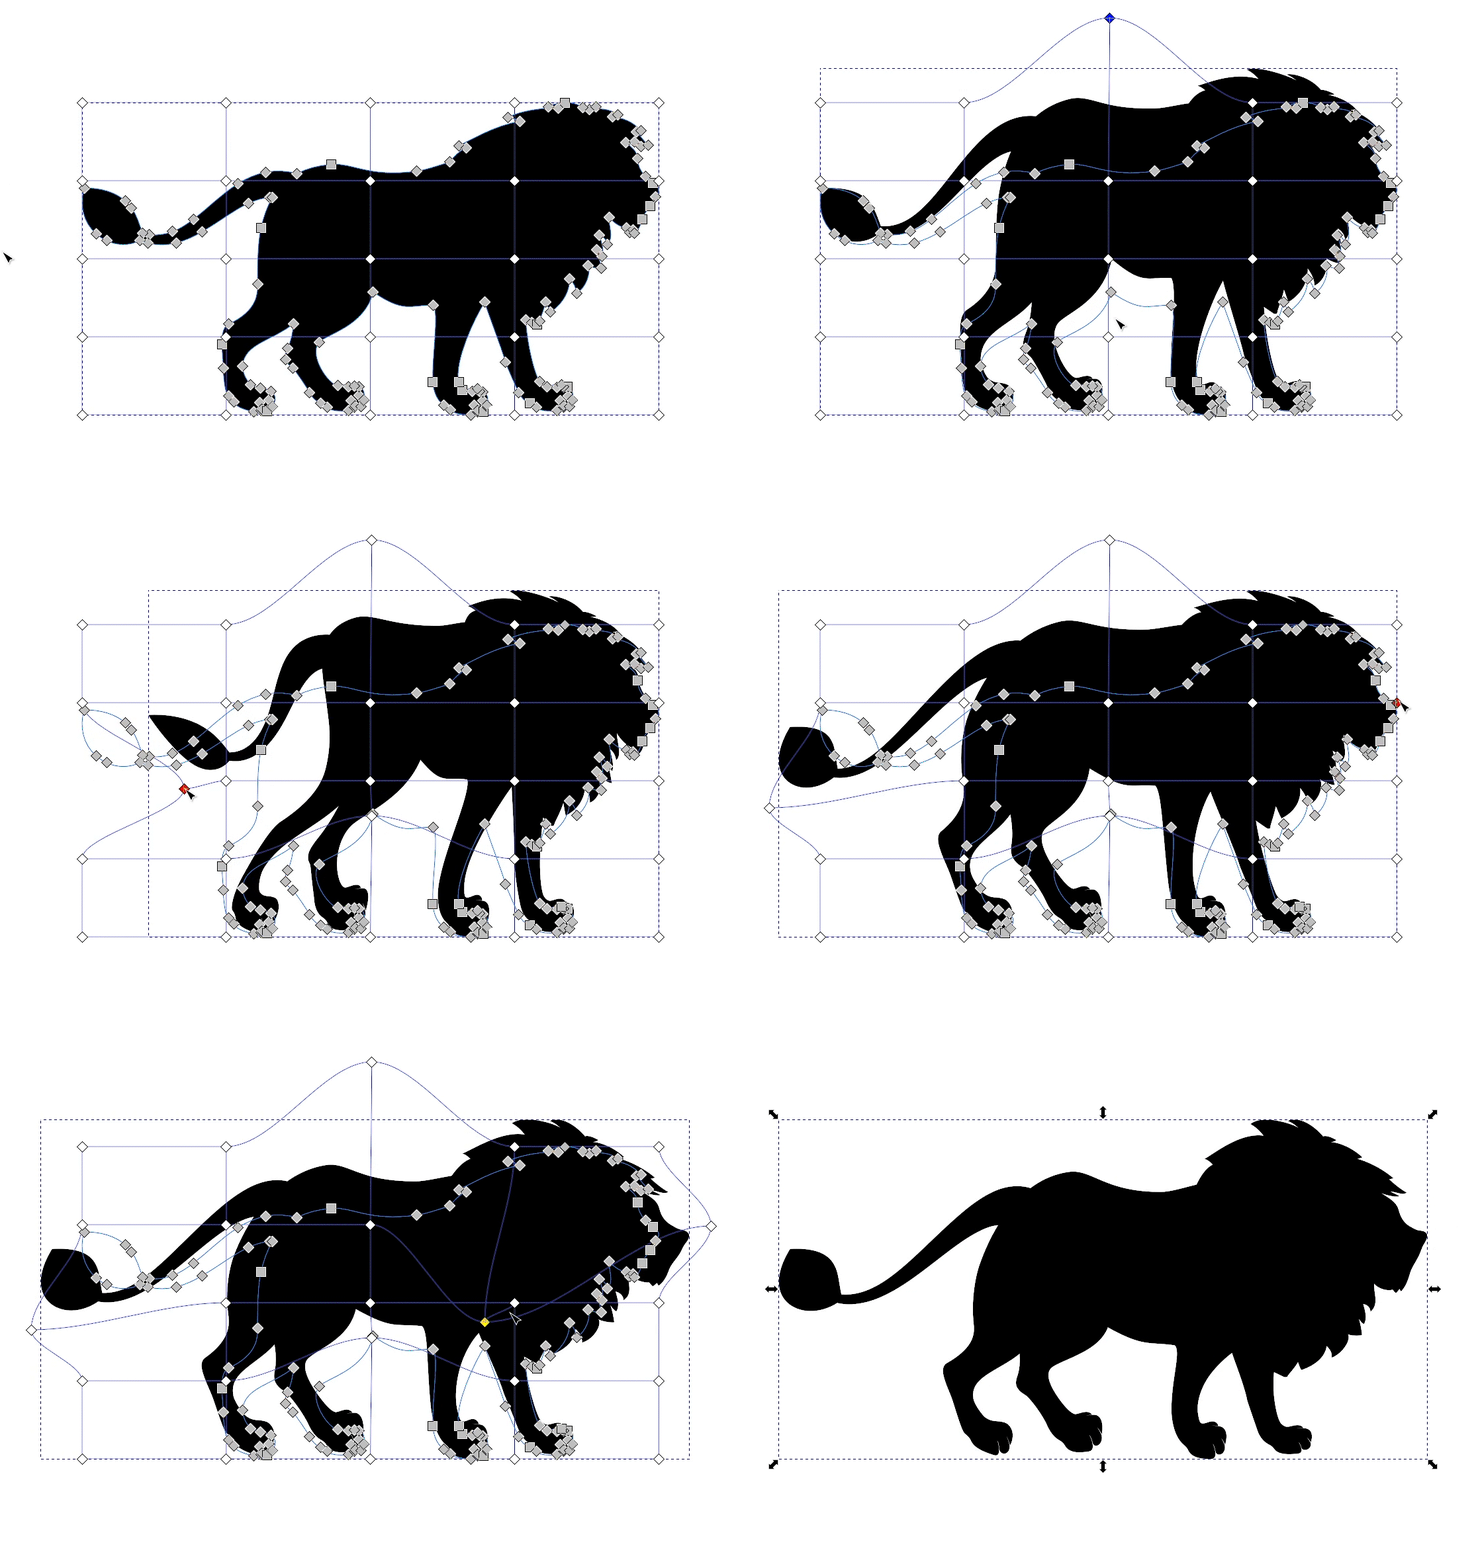
Finally, the Lattice Deformation path effect allows you to warp objects by adjusting coordinate points that have been laid out over the object in a grid.
To use it, select the object you’d like to apply it to, add a new path effect and choose Lattice Deformation from the list:
Now grab your Edit Paths By Nodes Tool (keyboard shortcut: N) and you should see a grid of coordinate points laid out across the object. Simply click and drag them to warp the object:

The nodes are laid out across a grid. Click and drag them to warp the object.
Finalize Your Changes
Whenever you warp objects in Inkscape by using Path Effects it’s important to remember that path effects are non-destructive, temporary edits that can be toggled off or removed at any point. So any changes made aren’t permanent until you finalize them.
To finalize your changes, select the object and navigate to:
Path > Object to Path
This is especially important to do if you plan on saving your work as vectors and opening it in other apps (such as Cricut Design Space) that can’t read Inkscape-specific features such as path effects.
Disclaimer: this website does not track you, serve ads, or contain affiliate links.
Learn To Master The SoftwareGain a complete understanding of your favorite design apps with my comprehensive collection of video courses. Each course grants access to our private community where you can ask questions and get help when needed.
|
||||||||||||||||||||||||||||||||
- Post Tags:
- inkscape
- Posted In:
- Inkscape
- Open Source
- Tutorials
Nick Saporito
Hi, I'm Nick— a Philadelphia-based graphic designer with over 10 years of experience. Each year millions of users learn how to use design software to express their creativity using my tutorials here and on YouTube.
All stories by: Nick Saporito


Leave a Reply