How To Smooth A Path In Inkscape
How To Smooth A Path In Inkscape https://logosbynick.com/wp-content/uploads/2023/07/inkscape-smooth-path.webp 1000 587 Nick Saporito https://secure.gravatar.com/avatar/8e31bf392f0ba8850f29a1a2e833cdd020909bfd44613c7e222072c40e031c34?s=96&d=mm&r=gIn a recent tutorial we went over how you can draw smooth paths, but what if you want to take an already-drawn path and smooth it out without having to redraw it? That’s exactly what we’ll be addressing in this tutorial as we go over how to smooth a path in Inkscape.
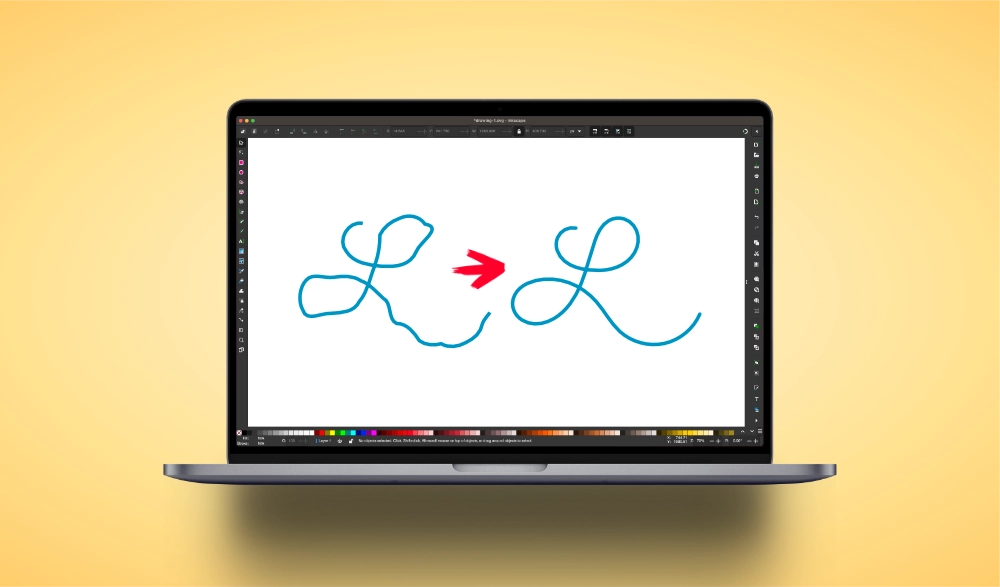
In short, the best way to smooth a path in Inkscape is to use the Simplify Path Effect, which serves as an alternative to Illustrator’s Smooth Tool. It lets you simplify paths by reducing the number of nodes they contain. Let’s have a closer look.
Smooth A Path In Inkscape
The following video tutorial will walk you through the entire process:
Continue on for the step-by-step instructions.
Table of Contents |
Step 1: Select the path and open the Path Effects menu
In order to smooth a path in Inkscape we must first ensure that we have it selected, so click on it to select it (if you haven’t already) and open the Path Effects menu by navigating to:
Path > Path Effects
It can also be accessed using the following keyboard command: Control + Shift + 7
Step 2: Apply the “Simplify” Path Effect from the menu
The Path Effects menu should open on the right-hand side of your screen. Click the plus icon (+) in the menu to apply a new path effect:

Click to enlarge.
Choose the Simplify option in the menu that populates:

If you’re having trouble locating it you can use the search bar at the top of the menu (click to enlarge.)
This path effect enables you to smooth out paths by reducing the number of nodes they contain and shifting their handles so that they have smoother contours.
Step 3: Use the menu inputs to smooth the path
Once applied, you should see some menu settings that appear where the previous menu was:

Increase these two values to smooth the path.
The settings we’ll be paying attention to for this lesson are:
- Roughly Threshold
- Steps
Start by increasing the value of the Roughly Threshold setting. As you do so, you should notice that your path is gradually becoming smoother. You can also increase the Steps value to amplify the effect:

Step 4: Convert the object to a path to apply your changes
The changes that we’ve made so far are just a temporary path effect that can be toggled off at any point. To finalize the changes, navigate to:
Path > Object To Path
And you’re done! You can use the Nodes Tool to view the path and confirm that there is a reduced amount of nodes on it.
What If My Path Still Isn’t Perfectly Smooth?
In my example you may have noticed that, although the path is smoother, there’s still some hard corners to it:

This can be ironed out by using the Nodes Tool (keyboard shortcut: N) to click on the corner nodes and adjust the handles so that there is more fluidity in the contour of the path. Watch the video tutorial at the beginning of the lesson if you don’t know how to do this.
Learn To Master The SoftwareGain a complete understanding of your favorite design apps with my comprehensive collection of video courses. Each course grants access to our private community where you can ask questions and get help when needed.
|
||||||||||||||||||||||||||||||||


