The Complete Guide To Drawing Lines In Inkscape
The Complete Guide To Drawing Lines In Inkscape https://logosbynick.com/wp-content/uploads/2023/06/drawing-lines-inkscape.webp 1000 587 Nick Saporito https://secure.gravatar.com/avatar/8e31bf392f0ba8850f29a1a2e833cdd020909bfd44613c7e222072c40e031c34?s=96&d=mm&r=gLine drawing is one of the most fundamental aspects of vector design, and in this tutorial we’ll be going over all of the various ways in which you can draw lines in Inkscape. Whether you’re looking to draw straight lines, curved lines, or a combination of both, there are dedicated tools and settings for each, and learning how to use them properly will make for the best experience.
In short, lines can be drawn in Inkscape using either the Pencil (or “Freehand Lines Tool” as it’s called) or the Pen (“the Bezier Pen”). However, it’s best to choose your settings for these tools based on the types of lines you’d like to draw. Let’s have a closer look.
Line Drawing In Inkscape
The following video tutorial covers all of the ways in which you can use the Freehand Lines Tool and the Bezier Pen to draw various types of lines:
Continue on for a written over.
Table of Contents |
Draw Straight Lines
Let’s first go over how to draw a single straight line in Inkscape. To do so, grab the Freehand Lines Tool (keyboard shortcut: P) from the tools menu on the left-hand side of the screen:

Click to enlarge.
With the tool selected, all you have to do is click once on the canvas to place the start point of the line, move the cursor wherever you want the line placed, then click again to complete the line:

If you want to lock your line onto the vertical or horizontal axis, you can do so by holding the Control key while placing your line. This helps to ensure that your lines are being drawn exactly as you need them to be.
How To Draw A Continuous Straight Line
The Freehand Lines Tool is good for drawing individual straight lines, but what if you need to draw a continuous straight line with multiple points? For this, the Bezier Pen would be ideal.
Locate the Bezier Pen in the tools menu on the left-hand side of the screen (or by pressing B on your keyboard) and choose the Straight Lines setting in the tool settings menu towards the top of the screen (outlined in red below):

Click to enlarge.
All you have to do now is click to add points on your canvas and straight lines will be drawn connecting them:

As is the case with the Freehand Lines Tool, you can also lock your lines onto the vertical or horizontal axis by holding the Control key.
When you’re finished you can complete the line by pressing the Enter key or by connecting the line back to the starting point (which would make it a closed path and not a line.)
Draw Curved Lines
Now let’s go over how you can draw curved lines in Inkscape. There’s two ways this can be accomplished:
- By drawing them freehand
- By placing points
To draw a freehand curved line, access the Freehand Lines Tool (keyboard shortcut: P) and choose the Spiro Path setting in the tool settings menu towards the top of your screen:

Click to enlarge.
Now click and drag on your canvas and a curved line will be drawn that follows your hand movement:

The contours of the line will automatically be made smooth, so don’t worry if you do not have the steadiest hand.
You can adjust the Threshold setting in the tool settings menu to change the strength of the auto-smooth feature. A higher value means smoother contours whereas a lower value means the line will more closely match your hand motion.
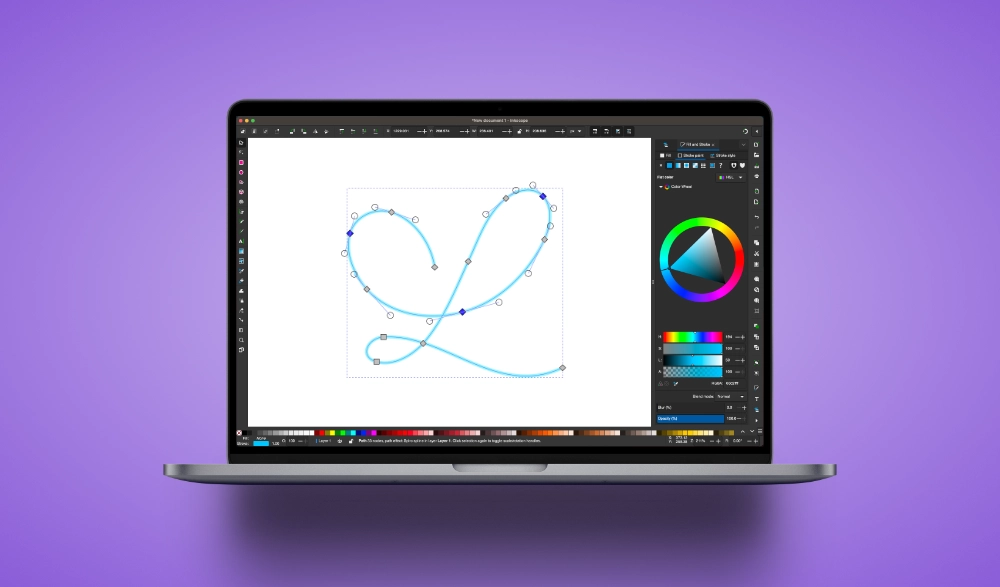
You can also draw curved lines in Inkscape by using the Bezier Pen (keyboard shortcut: B) with the Spiro Path setting enabled as well. Doing so allows you to draw your lines by clicking to place points rather than freehand clicking and dragging, making it easier to draw with precession:

You can complete the line by pressing the Enter key.
Draw Straight & Curved Lines
Next, let’s go over how you can draw continuous lines that have both straight and curved segments.
The easiest way to do this would be to use the Bezier Pen (keyboard shortcut: B) with the BSpline setting enabled:

Click to enlarge.
As you click on the canvas to add points, a curved line will be generated between them. To make a straight line segment, hold the Shift key while clicking to place your points:

This setting works best when you need to trace complex subjects that include a mix of both straight and curved line segments.
Draw Freehand Lines
Finally, you can draw simple freehand lines in Inkscape using the Freehand Lines Tool (keyboard shortcut: P) with the regular Bezier Path setting enabled.
Simply click and drag on the canvas to draw your freehand line:

This would be ideal for making signatures or calligraphy, for example.
In Conclusion
Inkscape is (in my opinion anyway) the best vector design app for drawing lines. No other app has as many settings and options for drawing straight and curved lines as Inkscape does. And once you know how to properly use these tools, there’s virtually nothing stopping you from drawing exactly what you need to draw.
Learn To Master The SoftwareGain a complete understanding of your favorite design apps with my comprehensive collection of video courses. Each course grants access to our private community where you can ask questions and get help when needed.
|
||||||||||||||||||||||||||||||||


no encuentro forma de redibujar lineas, bueno tal como se hacia en illustrator, al usar una tabla digitalizadora, me resultaba muy fácil, hacer una linea tipo boceto, y en illustrator, al usar el lápiz perfeccionarla y redibujarla, pero en inkscape la única manera de redibujar una linea ya hecha es usando los nodos, agradezco alguna idea…
i want to draw a bezier line with ticks equally spaced along one side. I’ve so far found no way of doing it without the tedious process of drawing each tick manually. Any suggestions?
Hi Dave, there’s a Path Effect that can do that for you. I have a tutorial on it here: https://youtu.be/seOfLFMCt20?si=exQEEInyBzBV1eve
Before I was a local worker that paid about $300 per months, as export marketing administration on textile factory.
I believe I can leverage my life by working online. Thanks for all of your free educational posts and videos also on YouTube.
I hope I can achieve my dream with all of your training as my stairway to achieve it.
Thanks Nick, I want to study your master class but can’t for now due to one or two reason. I hope one day I can be your student and live better with online works.
Really liked your how to draw a portrait with Beziar pen tool. My freehand pencil tool seems to default to fill rather than stroke and lays down big fat worms. Even after I’ve changed the settings , when I start a new line it lays down big fat worms. How can I change this?
Hi Lynne, this can be changed in the Inkscape Preferences menu. Just double-click the pen tool and the menu will open and you can change your settings.