How To Slice Objects In Inkscape Using The Division Feature
How To Slice Objects In Inkscape Using The Division Feature https://logosbynick.com/wp-content/uploads/2021/02/inkscape-slice.png 800 470 Nick Saporito https://secure.gravatar.com/avatar/8e31bf392f0ba8850f29a1a2e833cdd020909bfd44613c7e222072c40e031c34?s=96&d=mm&r=gWhen shaping and crafting your vector designs, you’ll eventually run into a scenario where you’ll need to slice off part of your object, or maybe break it up into several pieces. There’s several ways to slice objects in Inkscape, but in this lesson I will demonstrate the easiest way, which is the Division feature.
The Division path operation will allow you to slice off pieces of your objects using a straight line, a freehand line, or even another shape or object! You can also use this feature to cut an object in half with Inkscape, which I will be demonstrating as well. Let’s get started.
Slice Objects In Inkscape
| To slice objects in Inkscape, position the object you’d like to cut with over the object you’d like to slice, select both objects, then use the Division path operation. |
There’s many different ways in which Inkscape allows you to cut and slice objects, but in this tutorial I’ll be demonstrating the method that’s easiest to understand, which would be by using path operations.
Watch the video tutorial below for the full lesson:
Continue on for the written instructions.
Slice Objects With Lines
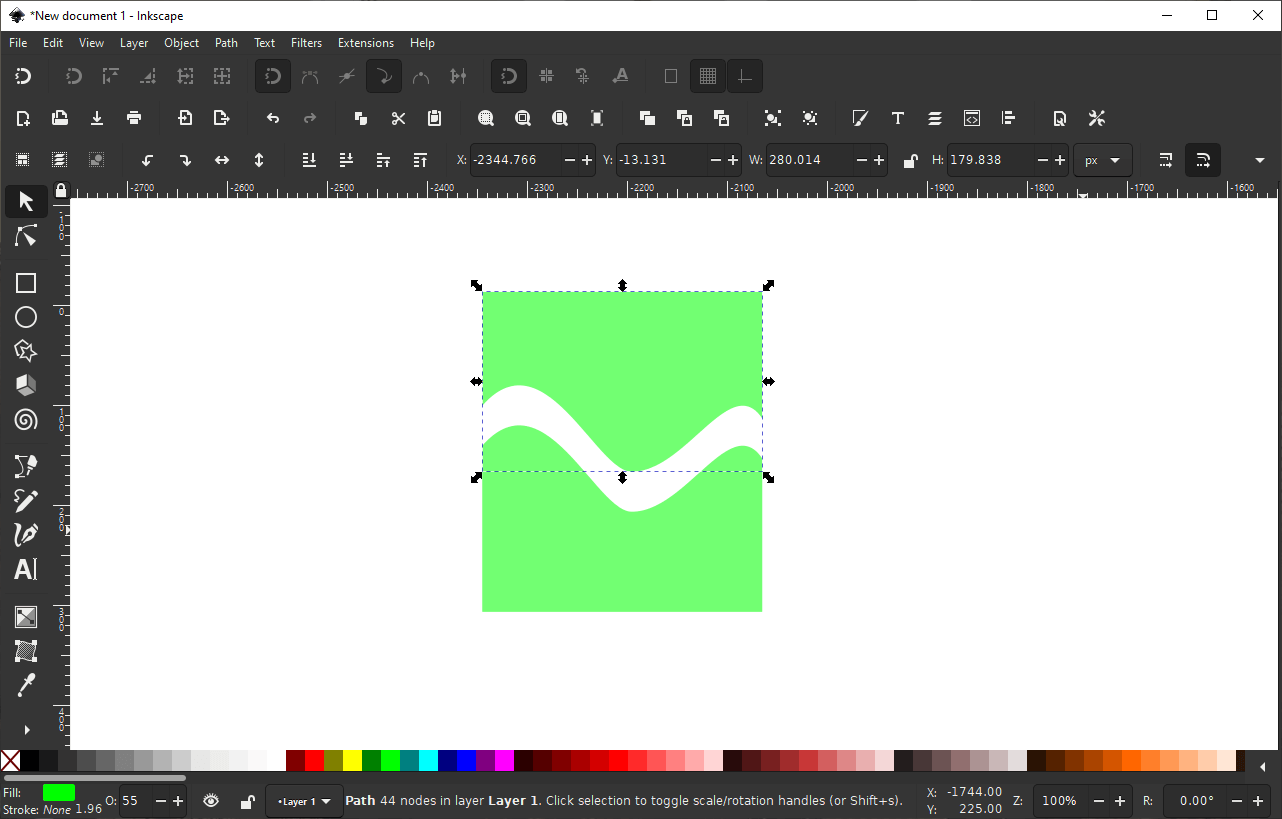
For this demonstration I will be slicing this green square:

For this demonstration I will be slicing this green square.
It is recommended that you bring down the opacity of your object to roughly 50%. This will make it easier for you to see where exactly your object lines up with the object you’ll be using to slice it.
Straight Lines
To slice your object using a straight line, grab your Bezier Pen (keyboard shortcut: B) and draw a line going through the object. Be sure to check my post about Inkscape’s tools if you need to familiarize yourself with how they work.
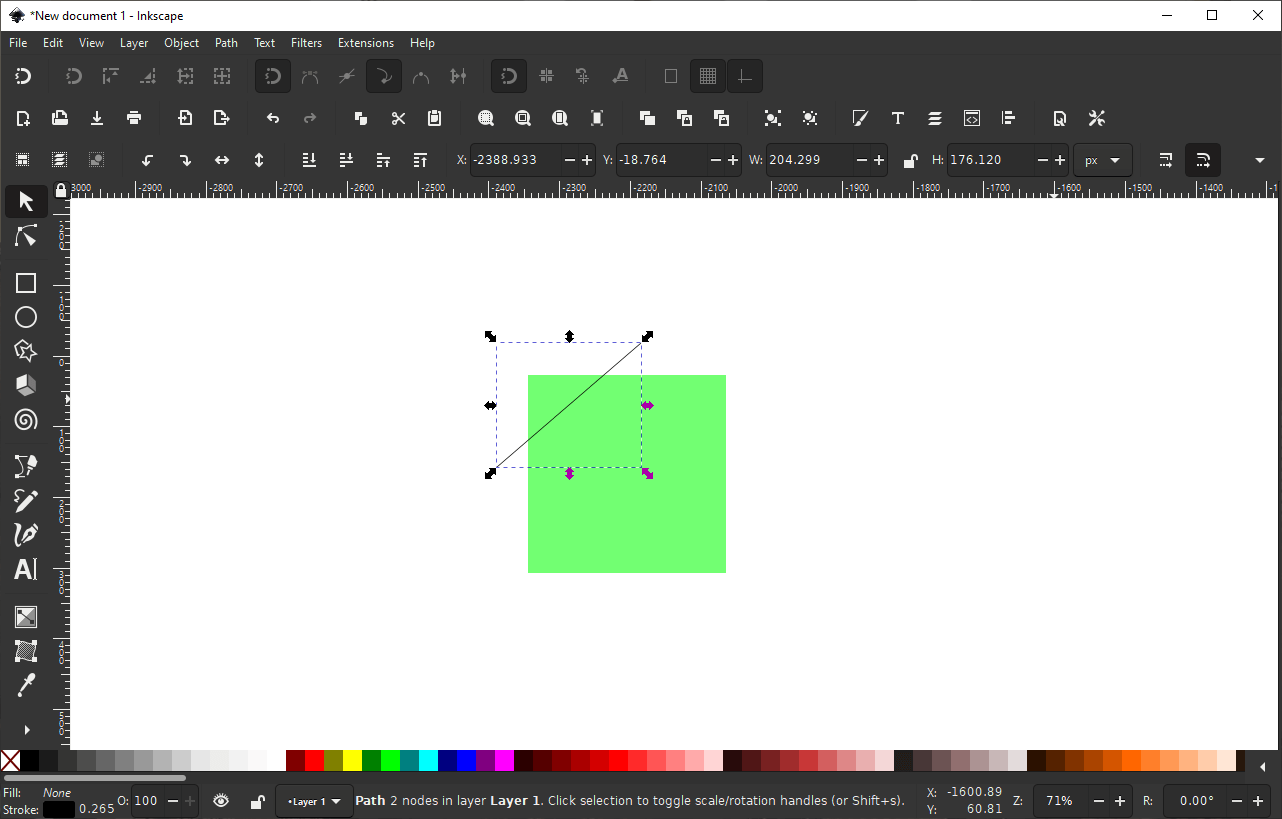
The line will be used to slice the square.
This line will represent where the square is sliced, so it’s important to position it to your preferences.
Once you’ve drawn your line, select both the line and the square, and then perform a Division path operation by navigating to Path > Division.
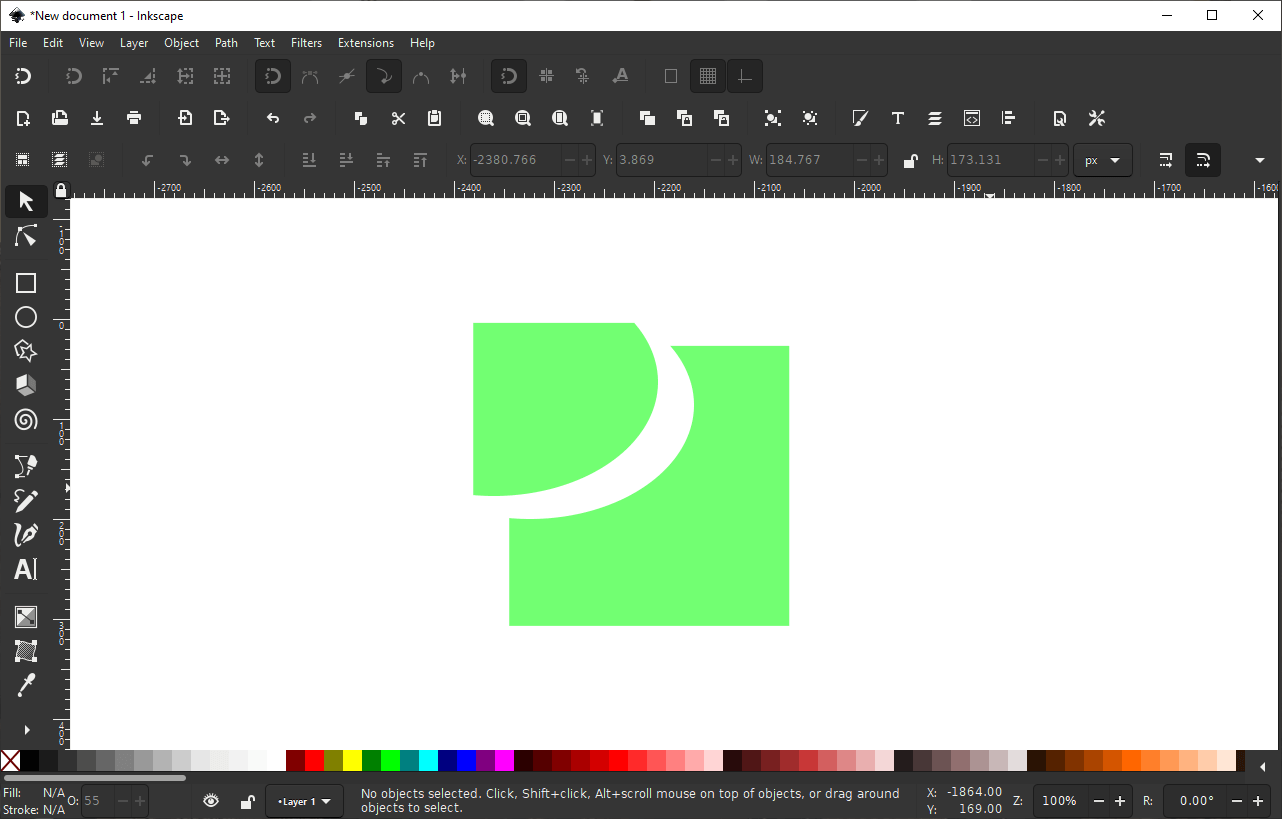
The square will be sliced with the line, resulting in two separate pieces:
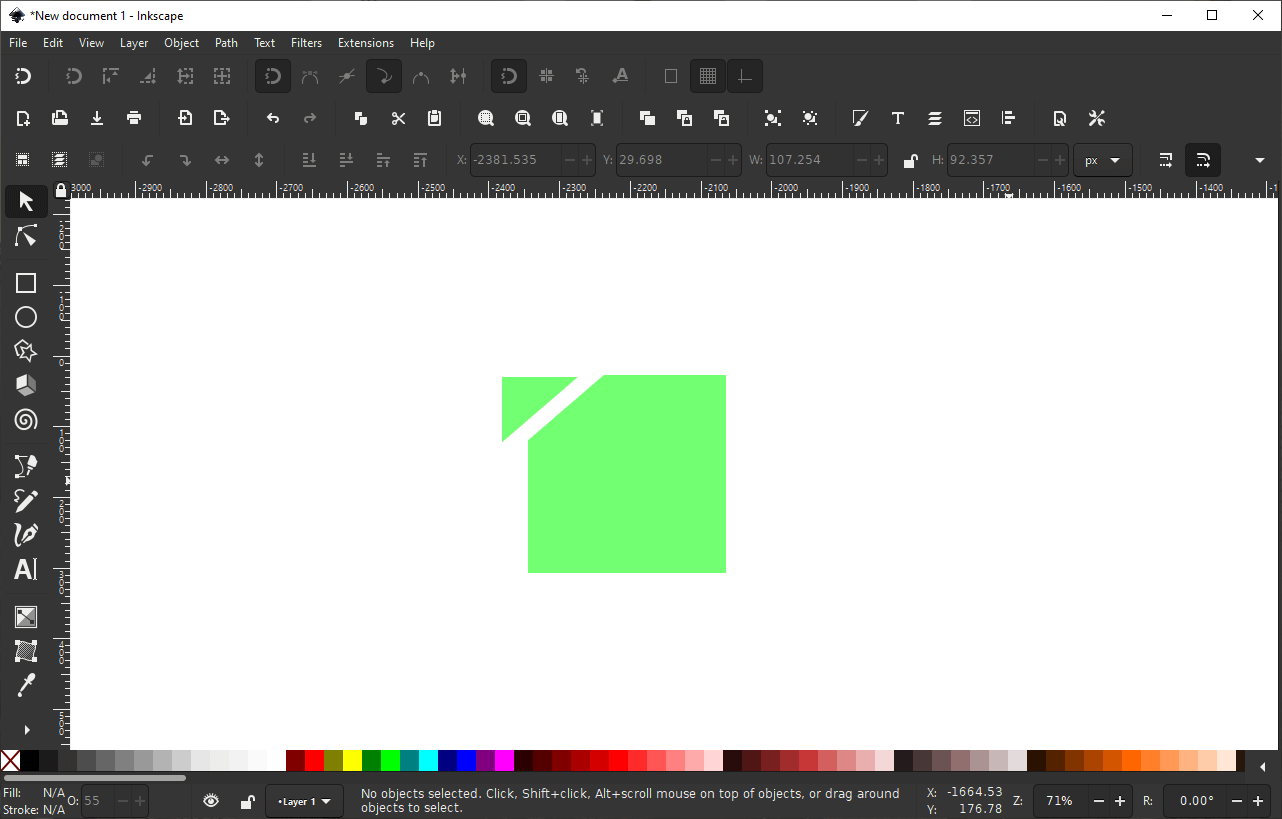
The rectangle has been sliced into two separate shapes.
Freehand Lines
You can also slice objects in Inkscape using freehand lines rather than straight lines.
To do so, grab the Freehand Lines tool (keyboard shortcut: P) and draw a freehand line using your own hand movement:
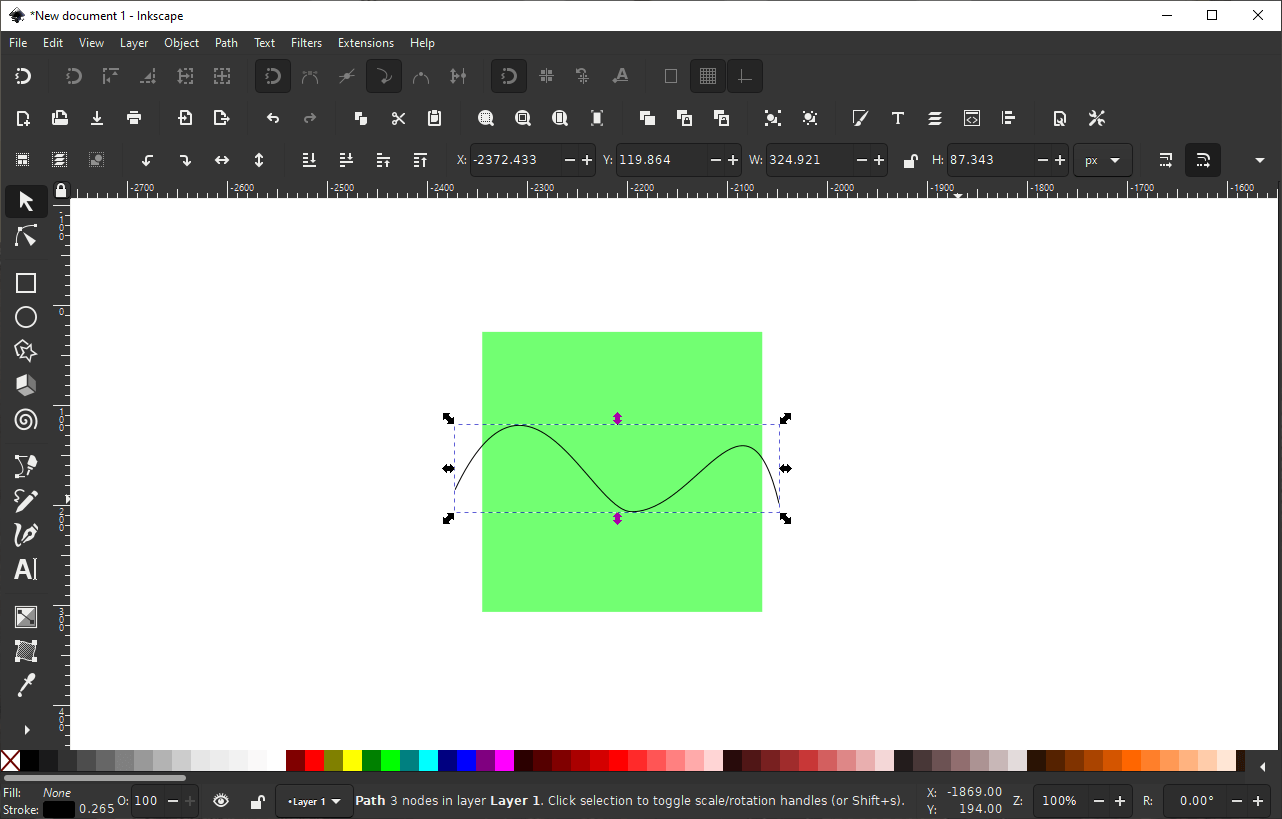
You can also use a freehand line to slice your objects.
And just like we previously did, select both objects and perform a Division path operation:
The square has been sliced using a freehand line.
Slice Objects With Shapes
Let’s say you’d like to slice an object using a shape, or another object. Great! Inkscape has you covered.
Simply place the shape you’d like to cut with over the object you’d like to cut:

Place your shape over the object you’d like to slice.
And once again, perform a Division path operation:
The ellipse has been sliced out of the square.
And that is how you can slice an object in Inkscape using lines that you’ve drawn with your own hand motion.
Cut An Object In Half
Now let’s say you want to cut an object in half with Inkscape so that the object is perfectly symmetrical. Much like slicing objects, there’s various to do this, but let’s go over how to cut an object in half using the Division path operation.
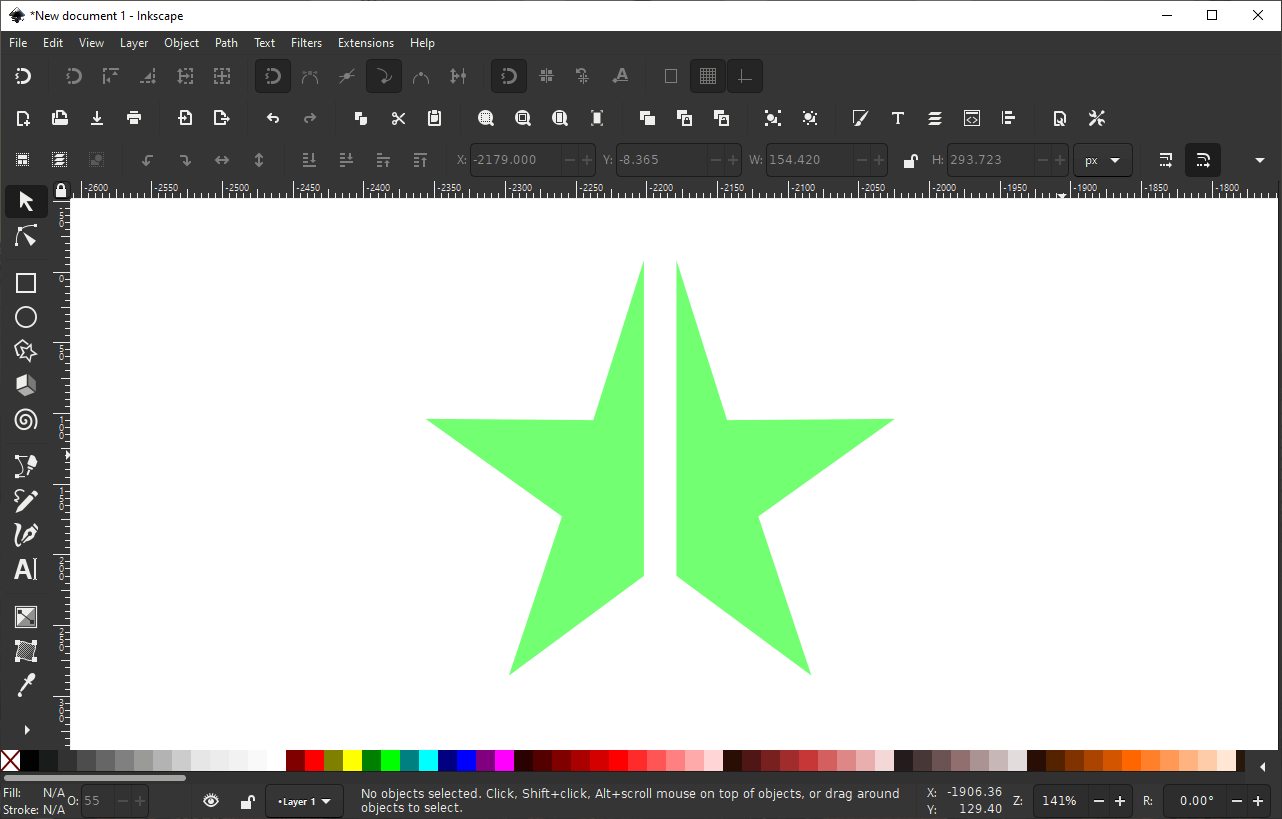
For this demonstration I will be slicing a star in half:
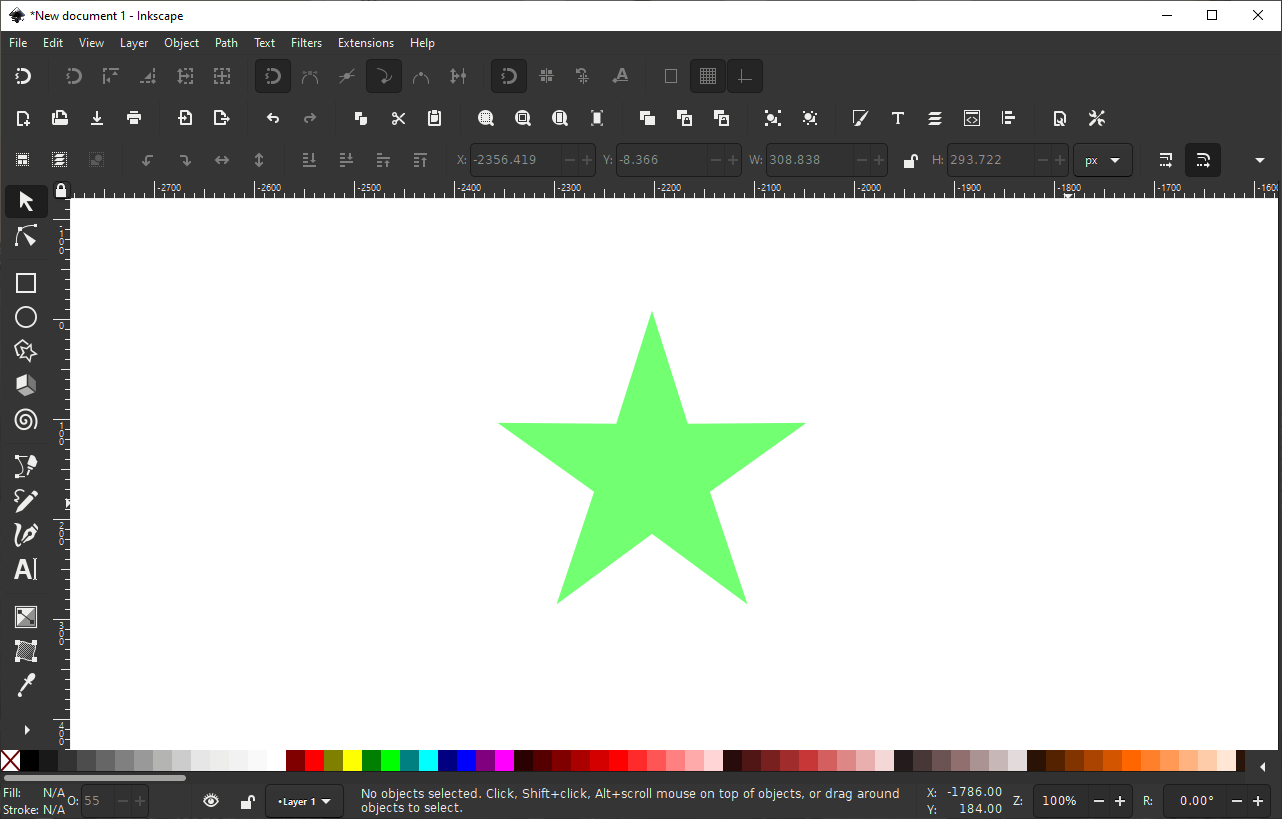
The star will be sliced in half vertically.
First, create a rectangle over your object using the Squares and Rectangle tool (keyboard shortcut: R). Make sure that your square is larger than the object in both width and height:

Make sure this rectangle complete covers the object. It must be larger.
Now create a duplicate of the rectangle (select it and press Control + D on your keyboard) and place it directly next to the original copy:
The combined rectangles must be centered over the object you want to cut in half.
You’ll need to ensure that the two rectangles are flush against each other. This can be done in two different ways: using the Align and Distribute menu, or by using snapping. For this demonstration I will be using snapping.
You can enable snapping with the Enable Snapping button located at the top-left of your screen. It’s the very first icon on the top-left, and if you hover your cursor over it you will see a label populate that reads “enable snapping”.
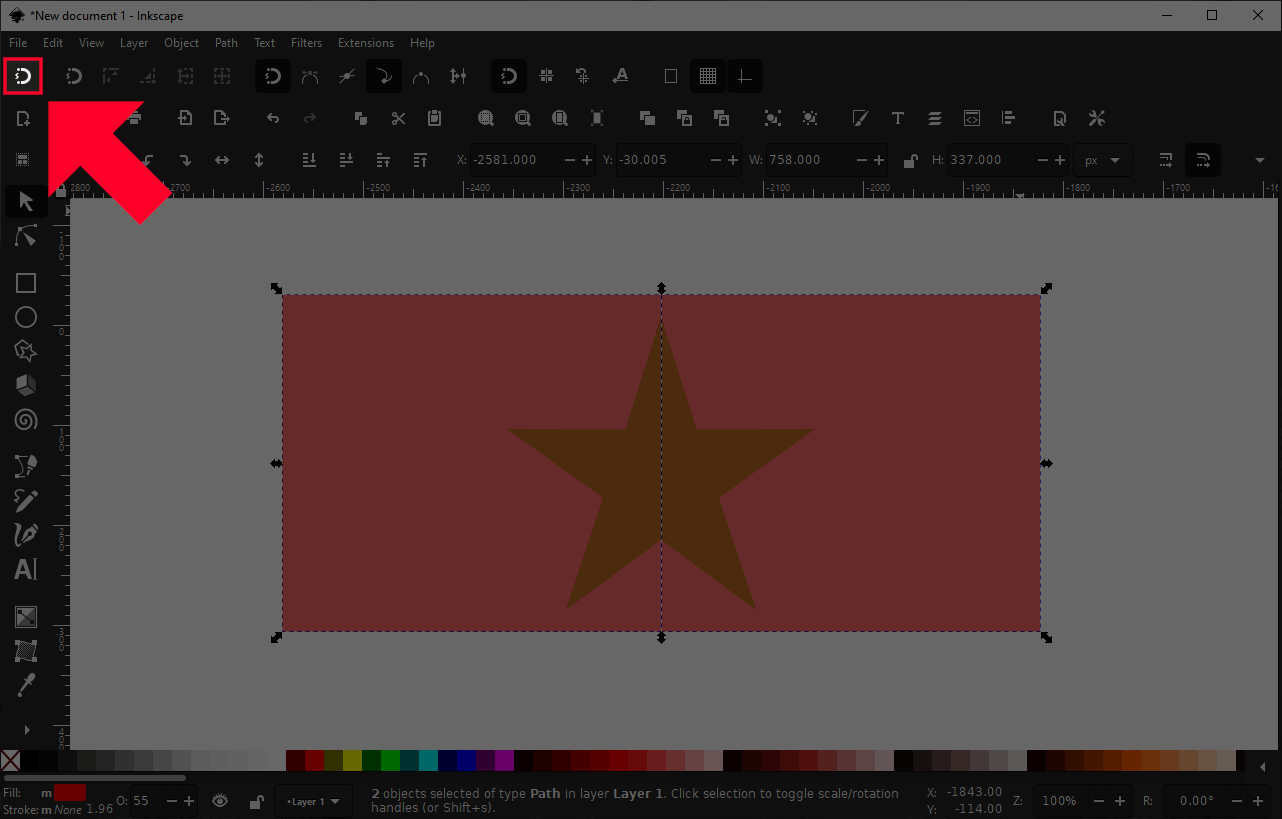
The enable snapping icon is located in the top-left of the screen.
With snapping enabled, enable the Snap nodes, paths, and handles setting, as well as the Snap to cusp nodes setting. The two icons are highlighted below:
Refer to the screenshot above to locate the two snapping settings.
With these snapping settings enabled, you should be able to place your two rectangles directly next to each other.
Once you have them in place, select both of them (just the two rectangles, not the object you want to cut in half) and combine them together by navigating to Path > Combine.
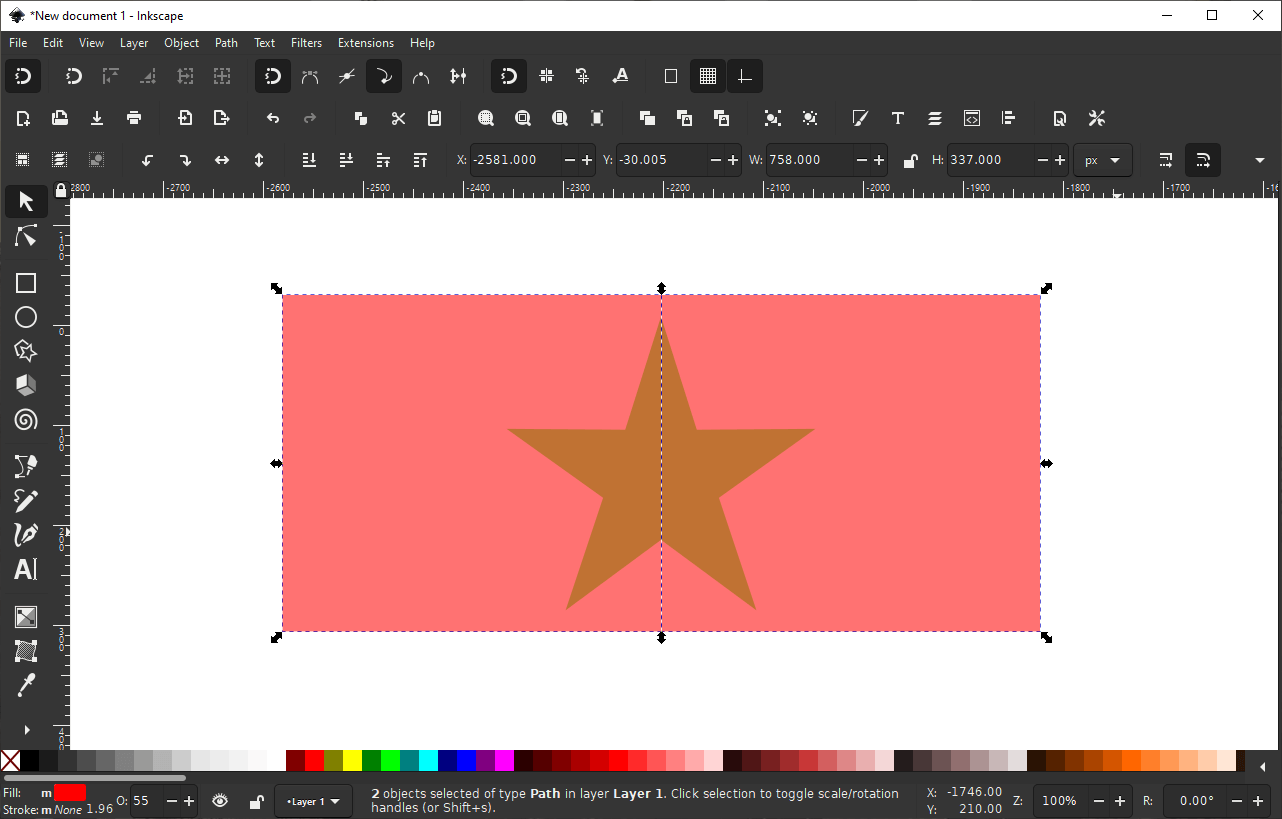
Now all you have to do is center the combined rectangles over the object you’d like to cut in half. This can be done using the Align and Distribute menu. Please refer to the video tutorial at the beginning of the lesson if you need help with this. It’s important to ensure that the objects are aligned on the vertical and horizontal axis:
Now select both objects and navigate to Path > Division. Your object will now be cut perfectly in half:
The star has been cut in half vertically.
And that is how you can cut an object in half with Inkscape!
Tips and Precautions
As useful as path operations are, they don’t always work as expected. Here are some tips and pointers to keep in mind when using the Division path operation to slice objects in Inkscape:
- Path operations only work on paths. It will not work with raster images, text objects, clips, and masked objects. If you need to slice an image in half then it is recommended that you use a raster image editor, like GIMP.
- The Division path operation will only work with two objects. If you have more than two objects selected then you will not get the desired results. Inkscape will default to the two objects layered closest to the bottom.
- The Division path operation will not work with groups. If you want to slice objects in Inkscape then they must be ungrouped first.
- The object on top will be used as the cutting mechanism, whereas the object on the bottom will be what is sliced. Make sure you have your objects positioned accordingly.
- It is recommended that you set your objects to partial transparency. Being able to see through your objects — as I’ve done in my demonstration — allows you to slice your objects with more precision.
Conclusion
Path operations — more commonly known as Boolean operations — are a staple feature for any vector design application. They allow you to edit and transform your designs based on how shapes interact with each other (this is something I cover in-depth in my Inkscape Master Class.) And in this instance, they come in handy when you want to slice objects in Inkscape.
Be sure to check out some of my other lessons to learn more about how you can transform objects to make unique shapes and designs using Inkscape’s path operations.
If any part of this lesson was unclear, or if you have any questions, simply leave a comment below. As always, thanks for visiting!
Learn To Master The SoftwareGain a complete understanding of your favorite design apps with my comprehensive collection of video courses. Each course grants access to our private community where you can ask questions and get help when needed.
|
||||||||||||||||||||||||||||||||


You might also like


8 comments
-
-
Nick Saporito
I’m going to have to disagree with you there. I just tested it and it worked as described in the tutorial. You must’ve missed a step somewhere.
-
-
Sue
I have tried to use the slice path effect to cut a word in half horizontally. First it wants to slice vertically. When I choose horizontal, once in a while it work – I don’t know what I do to make it work – but when I select half of the word to duplicate it, it will automatically select the top and bottom of the word with a slice in the middle. I can’t get them separated.
What am I doing wrong??I am a member of your master class and have learned so much. Thank you.
-
Nick Saporito
Hi Sue, sometimes these path effects can be buggy. Unfortunately there’s not much I can do for technical issues like this.
-
-
Gary Stanullwich
Thanks !! I learned a new “technique”. How do I subscribe to your teaching videos ?
-
Angela
Hi there! I am trying to slice a bunch of images to fit on my watch band image and not run over the edge. I have selected the flower and the outline of the watch band and then used the division tool and the flower disappears. Can you help me? I am trying to slice away the image outside of the watch outline.
-
Nick Saporito
Hi Angela, are you working with pixel-based images or vector design elements? If it’s an image then this technique won’t work as Inkscape is a vector tool. GIMP would be preferable for slicing images.
-
-
Dan
The rectangles merge completely when doing Path>Combine. There is no dividing line left after the combine, thus the method does not work in following steps. Probably Inkspace updates the behavior, therefore the tutorial is no longer an option