How To Save A Custom Color Palette in Inkscape and Use It Any Time
How To Save A Custom Color Palette in Inkscape and Use It Any Time https://logosbynick.com/wp-content/uploads/2020/06/save-color-palettes-inkscape.png 800 470 Nick Saporito https://secure.gravatar.com/avatar/8e31bf392f0ba8850f29a1a2e833cdd020909bfd44613c7e222072c40e031c34?s=96&d=mm&r=gIn this tutorial I’ll be demonstrating how to save a custom color palette in Inkscape that can be used to replace the standard color palette. This will be done in such a way that it will be saved into your Inkscape installation files so you can load it and use it whenever you want.
The following is a written overview of the steps taken to save a custom color palette in Inkscape. There’s a video tutorial below if you find it easier to learn that way:
Save A Custom Color Palette in Inkscape
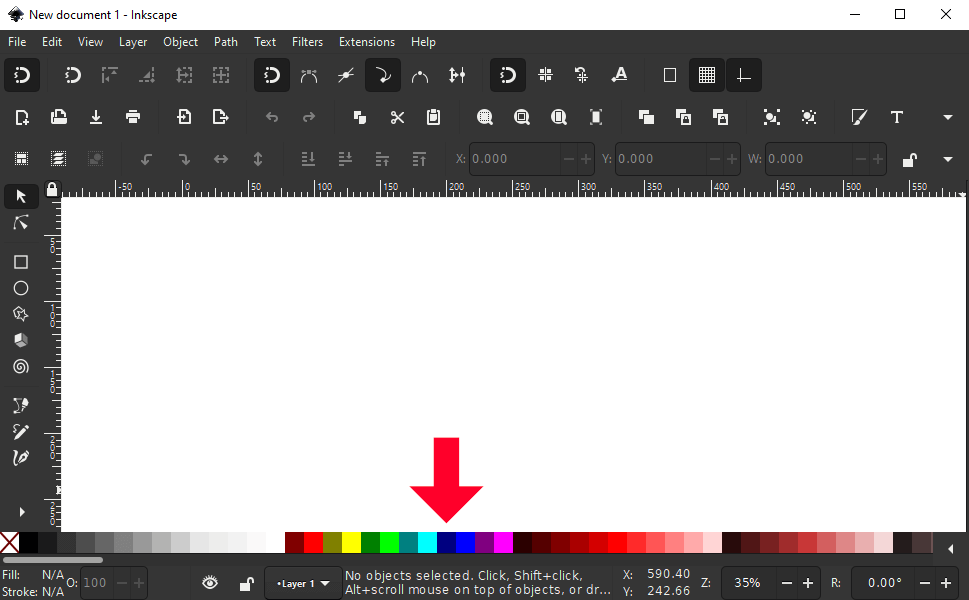
When you first open up Inkscape, you’ll notice a standard selection of colors at the bottom of the screen. This is Inkscape’s default color palette.
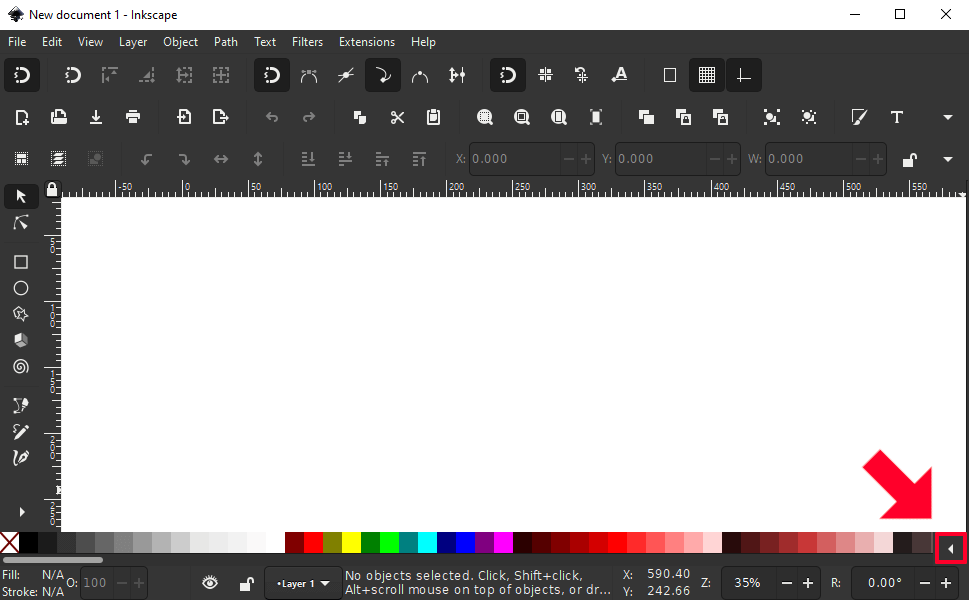
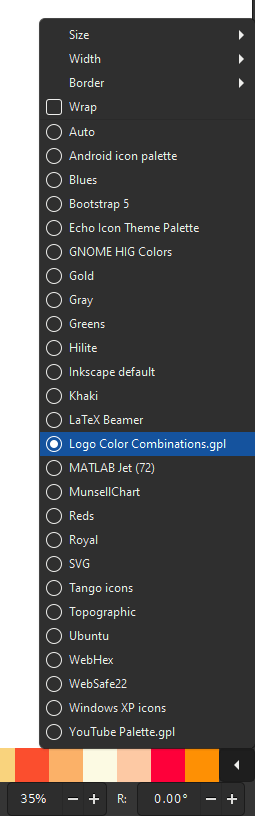
One handy little secret that you may not have known about is that you can change this palette and swap it out with something else if you’d like. You can do this by clicking the little arrow at the bottom-right of the screen.
If you click that arrow it’ll populate a list of different color palettes to choose from.
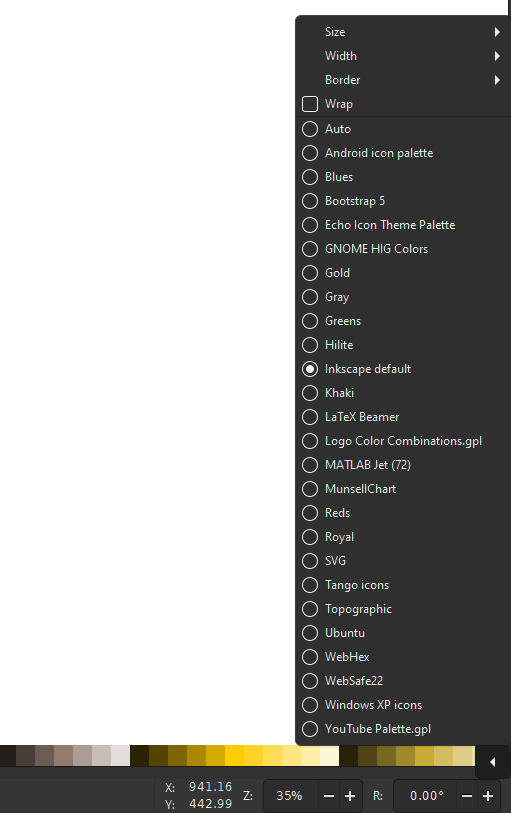
These are just stock color palettes that come already installed in Inkscape. In this tutorial we’re going to create a new palette and add it to this list.
For this demonstration I’ll be creating a palette based on a post I made about the best logo color combinations a couple of years ago. I’ll be using colors from those examples for my custom palette.
Creating your custom color palette is just a matter of creating a bunch of objects on your canvas that contain the colors you’d like to save. The shapes, sizes, positions, and properties of the objects does not matter. All that matters is that the objects contain the colors you’d like saved.
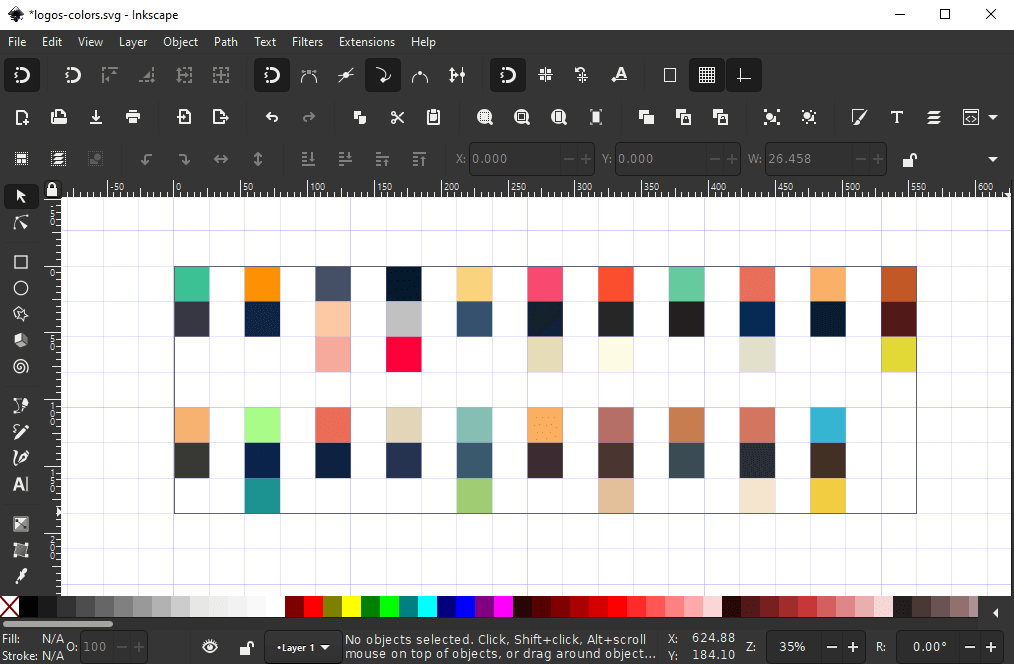
As you can see in the example above, I created a rectangular grid and arranged a series of boxes in a neat and organized manner. You don’t need to go to this level of detail if you don’t want to though. I’m just doing this for the sake of having a nice presentation.
Once you’re finished generating your colors, simply save your document to your desktop (or anywhere you can easily access it) as a .gpl (GIMP palette) file. Make sure to title your document with whatever name you’d like used in the color palettes menu. For this demonstration I am going to title the document “Logo Color Combinations”.
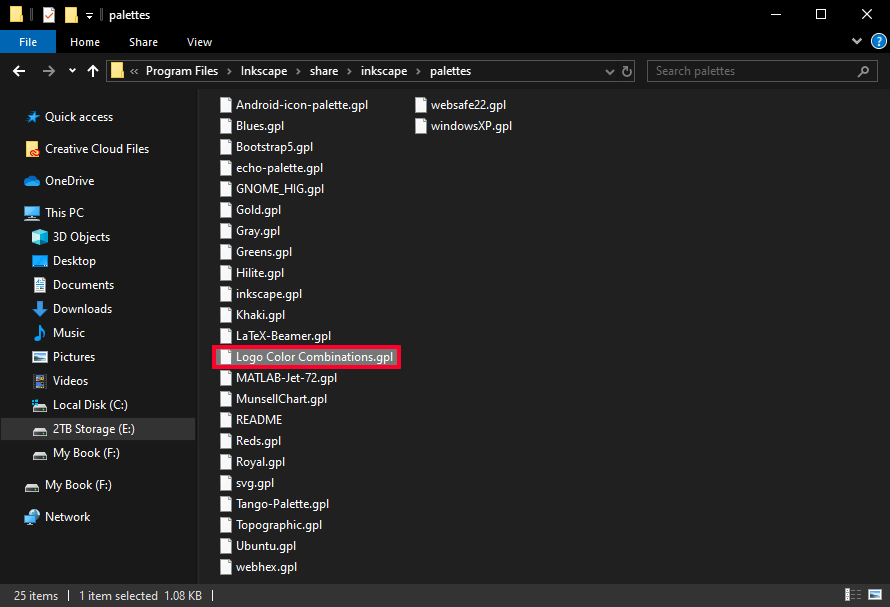
Once saved, place your GPL document in the following location…
| c: > Program Files > Inkscape > Share > Inkscape > Palettes |
This folder is where all of your color palettes are located in Inkscape. You can add and remove palettes as you please. However, you may need administrator permission to do so.
Unfortunately this document can not be saved to this folder directly from Inkscape. This is why you’ll have to save it somewhere else first, then place it in there manually.
All you have to do now is restart Inkscape. Once restarted, you should see your custom color palette populate in the list of palettes to choose from.
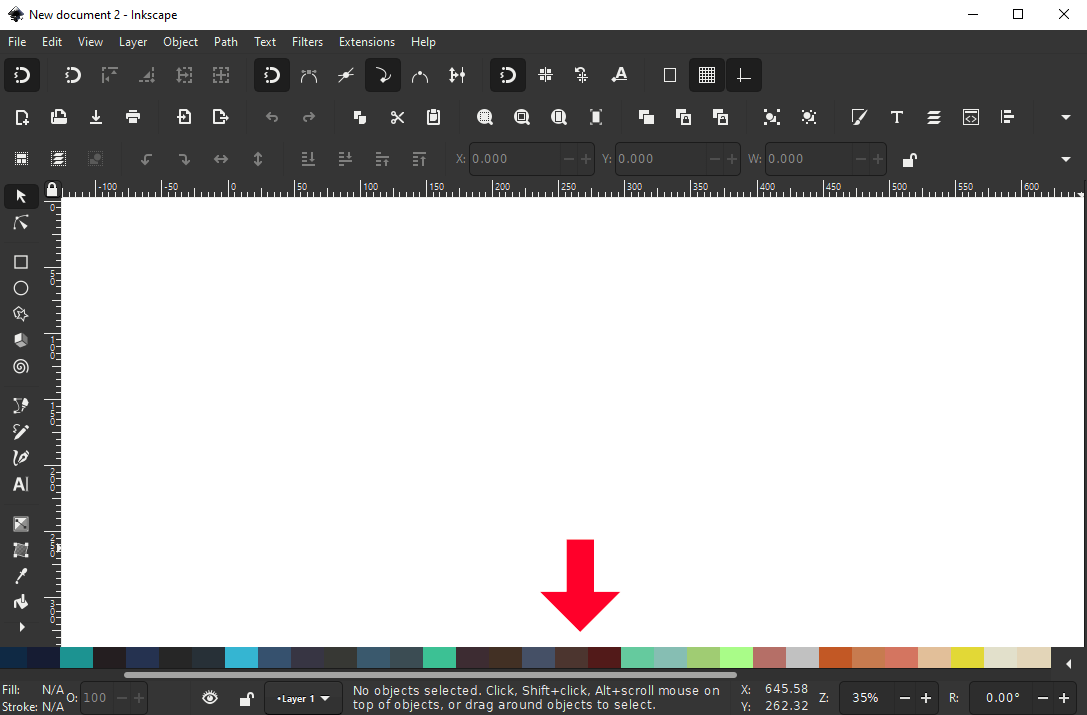
Once selected, your new palette should be displayed at the bottom of the page.
And that should do it for today’s tutorial. That is how you can save a custom color palette in Inkscape. If you have any questions simply leave a comment below. As always, thanks for watching!
Learn To Master The SoftwareGain a complete understanding of your favorite design apps with my comprehensive collection of video courses. Each course grants access to our private community where you can ask questions and get help when needed.
|
||||||||||||||||||||||||||||||||


You might also like


6 comments
-
-
Wolfkin
What I would suggest LP is to try your Home (~) folder. I’m not familiar with Inkscape as much or I’d look but I know with GIMP we have a (~/.gimp) folder something like that and I can put fonts and b rushes in that home folder and when I load up GIMP it loads from the program fonts and brushes folder and my “personal” fonts and brushes folder. I suspect Inkscape might work the same way.
-
-
Peter Kelley
There is an extension you can find at https://github.com/olibia/inkscape-generate-palette/releases that makes this process significantly easier by allowing you to generate the palette files to the directory directly and specify the order.
-
-
Lita
Hi there, thanks for all your tutorials!
There’s one thing that someone may find useful – I have no problem saving my palette directly to the Inkscape palette folder. Probably, because I installed Inkscape on my D drive. -
Peace
Can you make a tutorial on how to add texture shading like effect in Inkscape to give it a more 3D look?
I just love the tutorials you make. Thanks!😊
Lp
Hi Nick, thanks for another tutorial. Where would you put the color pallete file on a mac? Since switching to a mac, I surprisingly really like it, but I find a lot of the stuff like this is “hidden” or harder to find. Like apple is saying “Don’t worry your pretty little head about what’s behind the curtain” . lol