How To Resize An Image with Illustrator | 2 Different Methods
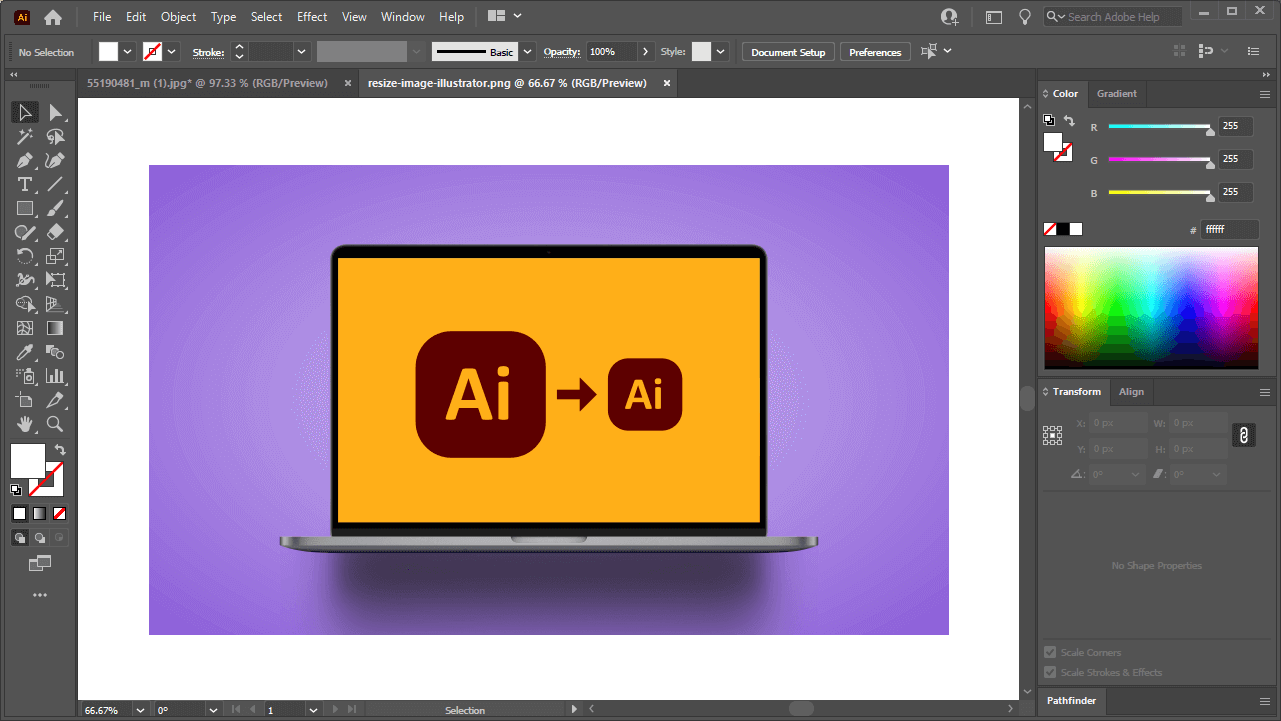
How To Resize An Image with Illustrator | 2 Different Methods https://logosbynick.com/wp-content/uploads/2021/07/resize-image-illustrator.png 800 470 Nick Saporito Nick Saporito https://secure.gravatar.com/avatar/8e31bf392f0ba8850f29a1a2e833cdd020909bfd44613c7e222072c40e031c34?s=96&d=mm&r=gDespite the vector environment in which Illustrator operates, it’s still possible to make some common edits to photos and other raster imagery. One example of such would be image resizing. You can resize an image in Illustrator manually by scaling it, or by inputting a numerical value of your choosing. In this tutorial we’ll be going over both methods, and by the end of this lesson you will know everything that there is to know about resizing images in Illustrator.
To resize an image with Illustrator, grab the Selection Tool and click on your image to bring up the scaling handles in the corners of your image. Click and drag one of those handles to scale your image. You can hold Shift while scaling to lock the aspect ratio.
Continue on for more detailed instructions.
Resize An Image with Illustrator
The following tutorial will walk you through the process of scaling images with Illustrator. You can use the table of contents below to skip to different parts of the lesson as needed.
Table of Contents |
Step 1: Open your image in Illustrator
In order to resize an image with Illustrator we must first open the image. To do so, navigate to:
File > Open
Locate your image on your hard drive and select it to open it.
For this demonstration I will be using the following example image:
Alternatively, you can also open your image by:
- Copy & pasting it onto an artboard that you already have open
- Importing it into an artboard you already have open by Control + Shift + P
Step 2: Use the Selection Tool to resize your image
Once your image is opened, grab the Selection Tool (keyboard shortcut: V) and click on your image to select it.
Once selected, you will see transformation handles located at the corners and sides of your image:
These transformation handles allow you to transform your image in a variety of ways, including:
- Scaling/resizing your image
- Rotating it
- Shearing it
There’s two ways to resize an image with Illustrator: by clicking and dragging the transformation handles, or by inputting a numerical value.
Let’s go over both.
Resize the image using a freehand transformation
You can resize your image manually by simply clicking and dragging one of its transformation handles.
Important: make sure that when you hover your cursor over the transformation handle, the cursor icon depicts a straight two-way arrow before clicking. The two-way arrow represents scaling/resizing. A curved arrow represents rotation, so clicking and dragging in that instance will rotate your image instead of resizing it.
Also important to note:
- Using the transformation handles on the left and right sides of the image will change the image’s width
- The transformation handles on the top and bottom will change the image’s height
- The transformation handles in the corners will allow you to change the image’s width and height simultaneously
Regardless of which transformation handle you use, you can lock the aspect ratio of your image as you resize by holding the Shift key on your keyboard:

Clicking and dragging the transformation handles allows you to resize your image.
Once you have resized your image to your liking, you can simply release the click.
Resize the image using numerical values
Now let’s go over how to resize an image with Illustrator using a numerical value instead of a freehand transformation.
To do this, open up your Transform menu by navigating to:
Window > Transform
Alternatively, you can open this menu by pressing Shift + F8 on your keyboard if you are a Windows user.
Here’s how the Transform menu should look on your screen:

The Transform menu allows you to resizing your image using numerical values.
The transform menu allows you to:
- Change an object’s location on the X and Y axis
- Rotate an object by inputting a numerical value
- Shear an object by inputting a numerical value
- Resize an image using a numerical value
There’s also settings for scaling strokes and rounded corners, but we’ll be disregarding that for this lesson.
To resize your image, make sure you have it selected using the Selection Tool, then change the width and/or height in the Transform menu by changing the numbers to something else.
The W field represents the image’s width, and the H field represents the image’s height:

W represents width and H represents the height.
You can lock the aspect ratio by enabling the chain icon located next to the width and height inputs:

The chain icon represents the aspect ratio.
When enabled, changing one of the image’s dimensions will result in the other dimension being automatically changed as well in order to preserve the aspect ratio.
The default unit of measurement that is used when you resize an image with Illustrator is pixels, represented by px. However, you can resize your image using a variety of units of measurement, including:
- Pixels (px)
- Centimeters (cm)
- Millimeters (mm)
- Inches (in)
- Percentages (%)
- And more
To use these units of measurement, simply type them in after your number (the abbreviated version above in bold.)
Once you’ve changed the numerical value of either field, you can apply your changes by pressing Enter on your keyboard.
Step 3: Export the resized image
Once you’ve resized your image with Illustrator, chances are you’re going to need that image in a usable format. At this point, your resized image only exists on your artboard, so let’s go ahead and export it to a usable format.
Select your image with the Selection Tool, then right-click it and choose Export Selection.
This will open up the Export for Screens menu:
Beneath the thumbnail preview of your image, change the name from “Asset 1” to whatever you’d like the name of your resized image file to be.
Using the Export To field, click the folder icon to choose a location on your hard drive to save your resized image to.
Use the Formats field to determine how many copies you’d like to export, as well as the scale, suffix and format.
To ensure that your resized image is saved at the correct size, make sure you have the Scale field set to 1x.
Considering that this is an image we’ll be exporting, it is recommended that you choose either PNG or JPG for the format field.
Once finished, click the Export Asset button to save your resized image, and you are done! You can now navigate to the location that you saved your image to on your hard drive to locate it.
Conclusion
Making common edits to photos and other raster-based imagery is something that you would typically use a raster editor for. However, thanks to the Transform menu’s ease of use, you can resize an image with Illustrator with just as much ease as you could in any other application.
If you have any questions or need clarification for any of the steps in this lesson then simply leave a comment below.
Learn To Master The SoftwareGain a complete understanding of your favorite design apps with my comprehensive collection of video courses. Each course grants access to our private community where you can ask questions and get help when needed.
|
||||||||||||||||||||||||||||||||
- Post Tags:
- Adobe Illustrator
- Posted In:
- Adobe
- Illustrator
- Tutorials
Nick Saporito
Hi, I'm Nick— a Philadelphia-based graphic designer with over 10 years of experience. Each year millions of users learn how to use design software to express their creativity using my tutorials here and on YouTube.
All stories by: Nick Saporito


I am interested in Graphic design.
So it is aspetizing me to do the hard work of art in the Graphic
Designing.
So that’s my opinion to u.
Thank you .
Ur scienciarly:-
By Sharif.