The Easiest Way To Resize An Image In Inkscape
The Easiest Way To Resize An Image In Inkscape https://logosbynick.com/wp-content/uploads/2022/02/inkscape-resize-image.png 800 470 Nick Saporito https://secure.gravatar.com/avatar/8e31bf392f0ba8850f29a1a2e833cdd020909bfd44613c7e222072c40e031c34?s=96&d=mm&r=gInkscape isn’t just a vector design tool. As we’ve gone over in previous lessons, it also allows you to make common transformation to images as well, such as scaling and resizing. In this tutorial we’ll be going over how to resize an image in Inkscape by manually scaling it or by inputting numerical values.
In short, to resize an image in Inkscape we will be using the Select Tool, which allows us to scale the image manually by using the on-canvas transformation handles; or by inputting as a specified numerical value. Let’s have a look at each method.
Resize An Image In Inkscape
The following video tutorial will walk you through the entire process for each method of resizing images:
Continue on for the written tutorial.
Table of ContentsMethod 1: Resize An Image Manually
Method 2: Resize An Image Numerically |
Method 1: Resize An Image Manually
Let’s first go over how to resize an image in Inkscape by manually scaling it up and down with your hand movement, then we’ll go over how to make a more precise transformation.
Step 1: Open your image
First, if you haven’t already done so, open your image with Inkscape or import it onto your canvas.
You can open the image file by pressing Control + O on your keyboard and locating the file or your hard drive. Alternatively, you can import the image into your current workspace by pressing Control + I on your keyboard. Or you can also import it by simply copy and pasting it onto your canvas.
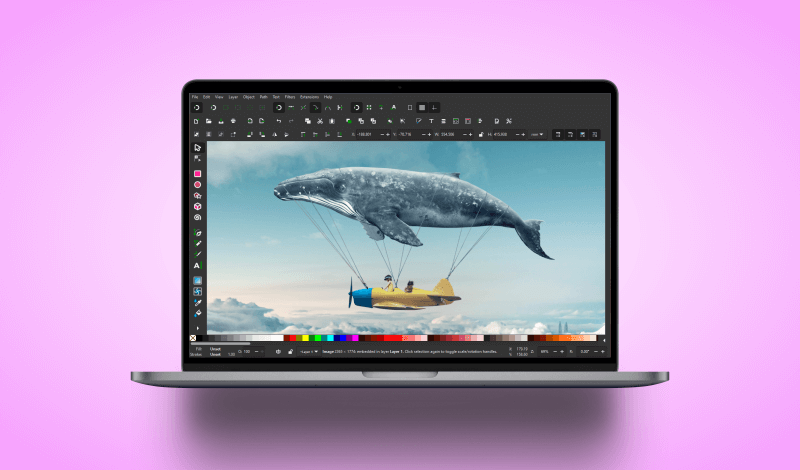
For the demonstration I will be using the following example image:
Click to enlarge.
Step 2: Activate the Select Tool and click on your image to select it
Activate the Select Tool in Inkscape. It’s the first tool at the top of the tools menu and should be the default tool that is active when you launch Inkscape:
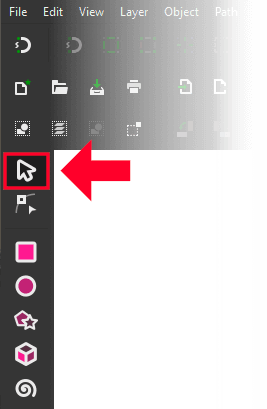
Alternatively, you can access it by pressing the letter S on your keyboard.
Step 3: Click and drag the transformation handles to scale your image
Once activated, all you have to do to resize an image in Inkscape is click on the image with the Select Tool in order to activate it, then click and drag one of the transformation handles to resize your image:
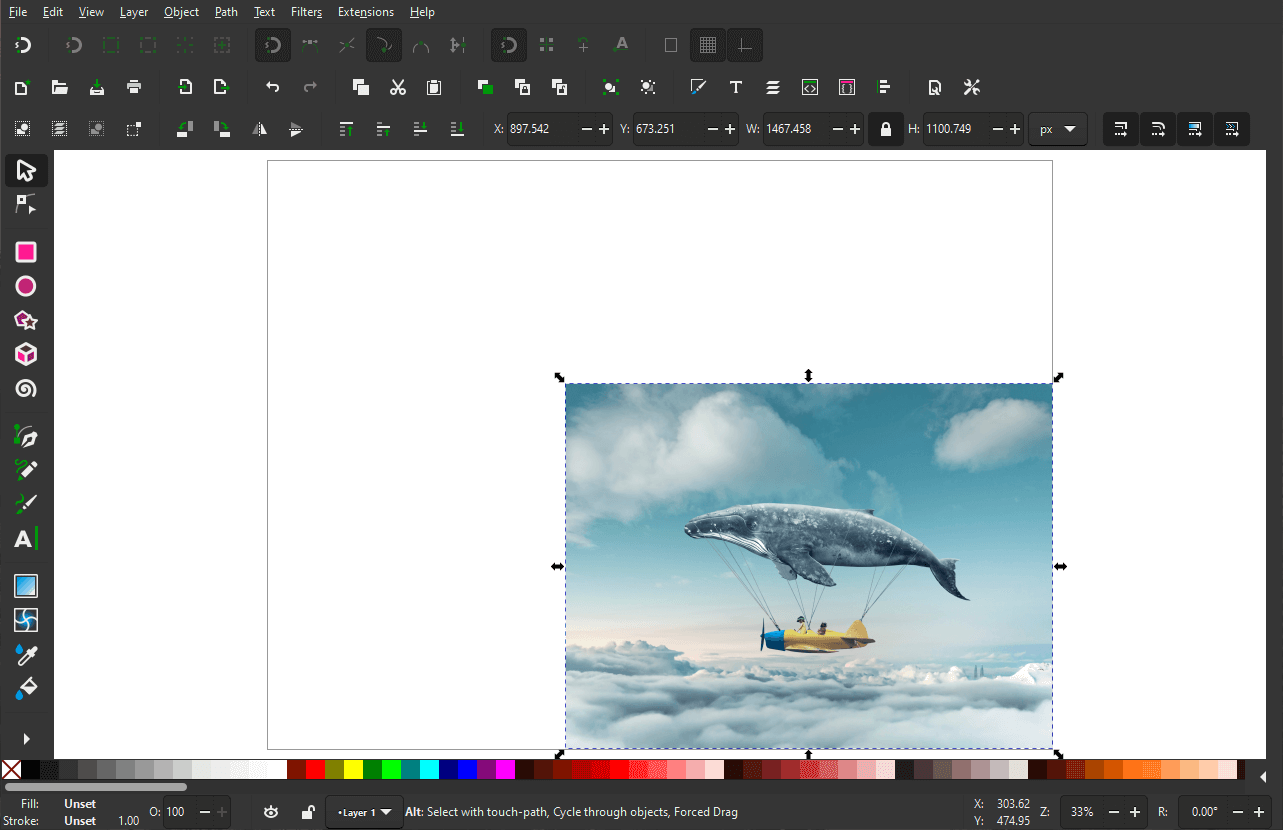
The image was scaled down manually using the transformation handles.
The transformation handles are represented as small arrows at the corners and sides of the selected object. Clicking and dragging them will allow you to resize your image in such a way that you can distort the dimensions if you’d like. Or in other words, you can scale the width and height independent of each other.
If you’d like to lock the aspect ration so that you can scale both the width and the height accordingly, without distorting your image, simply hold the Control key on your keyboard while doing so.
Once you are finished resizing your image to your preference then you can export it as a PNG or JPG image (which is recommended if it’s a pixel-based image as opposed to a vector element.)
Method 2: Resize An Image Numerically
Now let’s go over how to resize an image in Inkscape numerically.
Let’s say you need to resize your image so that it fits a specified dimension (1,280 pixels wide, for example.) This is also done using the Select Tool, but instead of using the on-canvas transformation handles we will be using the tool settings menu to manually input width and height values.
Step 1: Click on your image with the Select Tool to select it
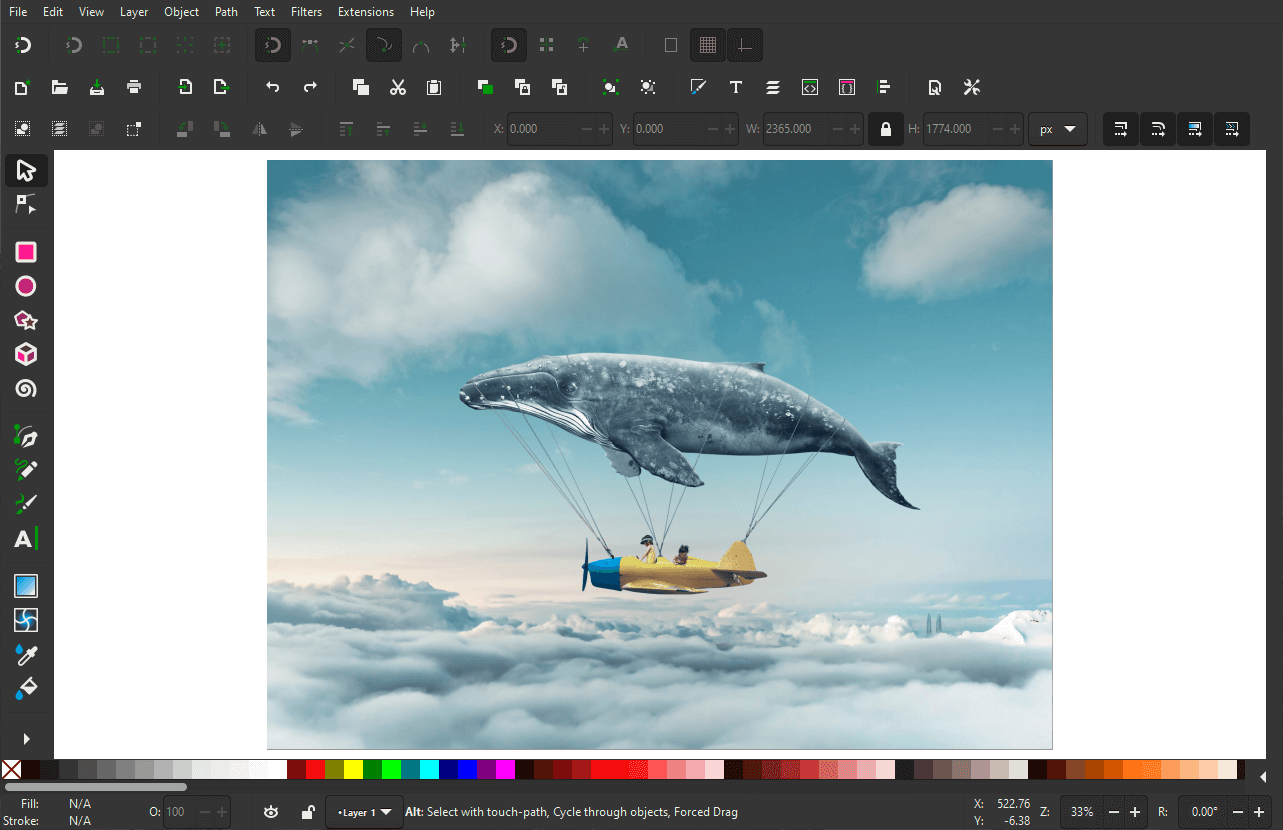
First, click on your image with the Select Tool to select it, then look towards the top of your screen to locate the tool settings menu. It should look something like this:

Among the various tool settings, take note of the following setting:
- W: Represents the Width of the selected object
- H: Represents the Height of the selected object
- Lock Icon: Represents the aspect ratio of the image
- Units: Choose your preferred unit of measurement for resizing your image
All of the aforementioned items are outlined in red above. These are the only tool settings you’ll need to pay attention to for this lesson.
Step 2: Lock or unlock the aspect ratio and choose your units of measurement
Before resizing the image, take a moment to input your desired settings.
Enable the lock icon if you’d like to lock the aspect ratio so that the width and height of the image each scale in proportion with each other.
Next, choose your desired unit of measurement. The options are as follows:
- CM: Centimeters
- IN: Inches
- PT: Points
- PC: Percentage points
- MM: Milimeters
- PX: Pixels
For this demonstration I will be going with pixels.
Step 3: Input a numerical value for the width and/or height and press Enter
All you have to do now to finish resizing your image is simply input your desired numerical value into either the W or H fields, then press the Enter key the apply the changes. The image will then be resized according to your criteria.
Once completed, you can save or export your resized image in your desired format, and you’re done! Enjoy your resized image.
Conclusion
As we’ve gone over in this lesson, knowing how to resize an image in Inkscape is simply a matter of understanding one of Inkscape core tools — the Select Tool. Once you are familiar with this tool then performing common tasks (such as resizing images) should come as second nature.
If you have any questions or need clarification on any of the steps taken in this tutorial just leave a comment below!
Learn To Master The SoftwareGain a complete understanding of your favorite design apps with my comprehensive collection of video courses. Each course grants access to our private community where you can ask questions and get help when needed.
|
||||||||||||||||||||||||||||||||


You might also like


3 comments
-
-
Vinayak c
I tried resizing by clicking on the control key but nothing is moving mean I cannot drag but when I release control and move able to drag but loosing ratio please help me
-
Logos By Nick
I don’t know why that would be happening. The Control key always allows you to scale with a preserved aspect ratio, whether it’s on Windows, Mac, or Linux. You are either experiencing some kind of technical issue or using a different type of keyboard.
-
Louis Nel
Please help. When I increase the size of an object, but then have to reduce the tong and groove to fit to my 3mm material, how do I resize to a width of 3mm, but keep them where they are and not resize to one side only?