How To Create A Material Design Pattern with Inkscape
How To Create A Material Design Pattern with Inkscape https://logosbynick.com/wp-content/uploads/2019/12/inkscape-material-design-pattern.png 800 470 Nick Saporito https://secure.gravatar.com/avatar/8e31bf392f0ba8850f29a1a2e833cdd020909bfd44613c7e222072c40e031c34?s=96&d=mm&r=gIn this tutorial I’ll be demonstrating how to create a vector material design pattern with Inkscape. The pattern is an abstract design with layered waves. The finished pattern could work well for clipping text and various other objects.
The following is just a brief overview of the steps taken to create this material design pattern. For complete step-by-step instructions, please watch the video tutorial at the top of the page.
Material Design Pattern
For this tutorial I’ll be working with a predetermined color palette. If you’d like to follow along with what I’m doing then feel free to download the palette below and paste it into Inkscape, otherwise you can use your own colors if you’d like.

Click for full size image
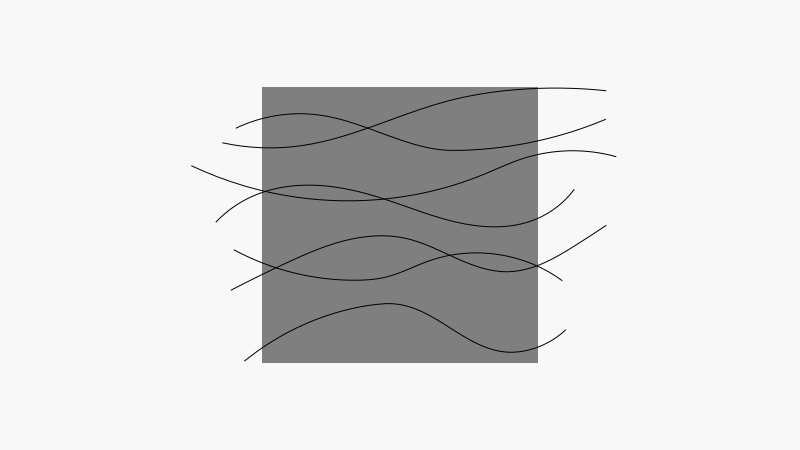
The first thing we’re going to do is create a large square — roughly 800 pixels in width and height, but it doesn’t need to be exact. Bring the opacity down to roughly 50%.

Now we’re going to use the Draw freehand lines tool to draw some wavy lines going over the square. You can learn more about Inkscape’s tools and uses in my overview tutorial.
In the tool settings menu make sure to select Spiro and set the smoothing to 46 (or somewhere thereabouts.)
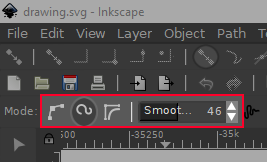
This will allow us to create curved lines with smooth edges.
Next, select all of the lines and combine them together by going to Path -> Combine. Then, select the combined lines along with the square and navigate to Path -> Division.
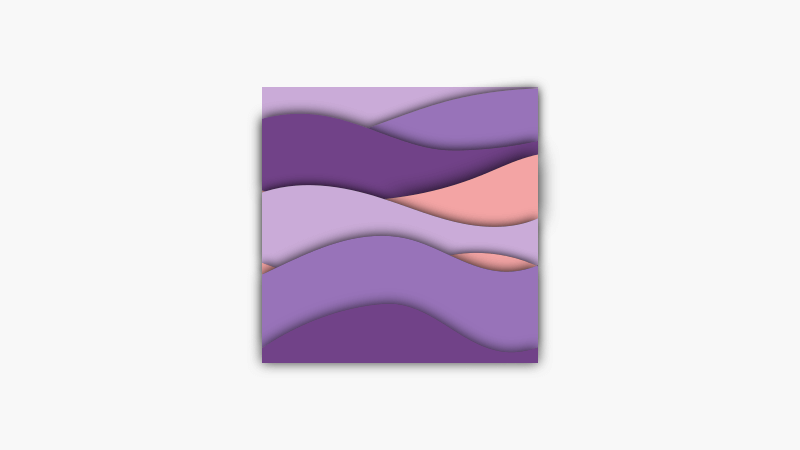
This will divide the square into separate pieces based on the spiro lines we previously created. Bring the opacity of everything back up to 100% and color them using the palette (or any other colors of your choosing.)

The final step is to duplicate each piece individually, make it black, lower it, and give it a slight blur. This will create the appearance that each wave is made of material and layered above the other waves.
Now we can group everything together and use another object as a clipping path. For this tutorial I used the Inkscape logo as an example, but you can use any object you’d like.
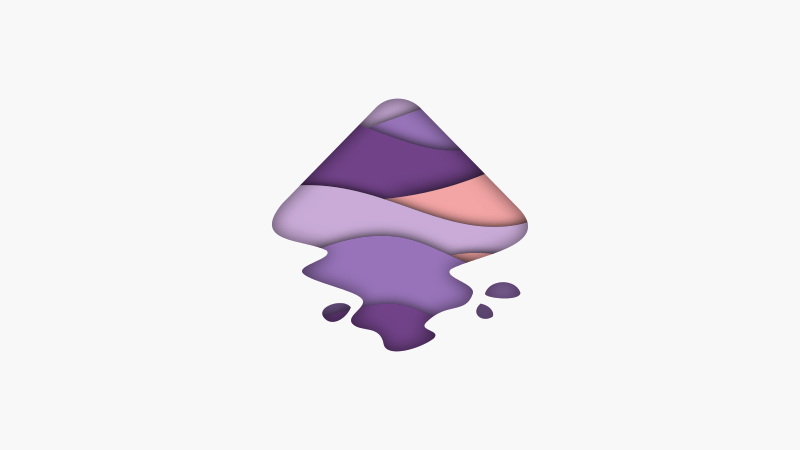
And with that our material design pattern is complete! If you have any questions simply leave a comment below. As always, thanks for watching!
Learn To Master The SoftwareGain a complete understanding of your favorite design apps with my comprehensive collection of video courses. Each course grants access to our private community where you can ask questions and get help when needed.
|
||||||||||||||||||||||||||||||||


After a long time, I am here for the Inkscape tutorial…
I must say it looks very easy but there is hard work behind it. The video tells us how it is.
Tnx a lot nick for those videos

by the way i am a Mac user and i want to remind our Mac friends users that inkscape 1.0 beta 2 released and with full GTK integration so no need for X11 (Xquartz) to install it
as you can see here
u can download it from here
https://inkscape.org/release/inkscape-1.0beta2/mac-os-x/1010-1015/dl/
( by the way you can edit the theme from Edit>Preferences>Theme )
keep going bro