Here’s 3 Ways To Make An Image Black And White with GIMP
Here’s 3 Ways To Make An Image Black And White with GIMP https://logosbynick.com/wp-content/uploads/2021/10/gimp-black-and-white.png 800 470 Nick Saporito https://secure.gravatar.com/avatar/8e31bf392f0ba8850f29a1a2e833cdd020909bfd44613c7e222072c40e031c34?s=96&d=mm&r=gConverting an image to black and white is one of the most common edits users may look to make to their photos, and it’s an edit that spans experience level. Everyone from novices to pros need to convert images to black and white every once in a while, and as a GIMP user, you are in luck. However, before you make an image black and white with GIMP you must first determine if it’s grayscale you really want to convert to, or literal black and white. In this tutorial we’ll be going over both in detail.
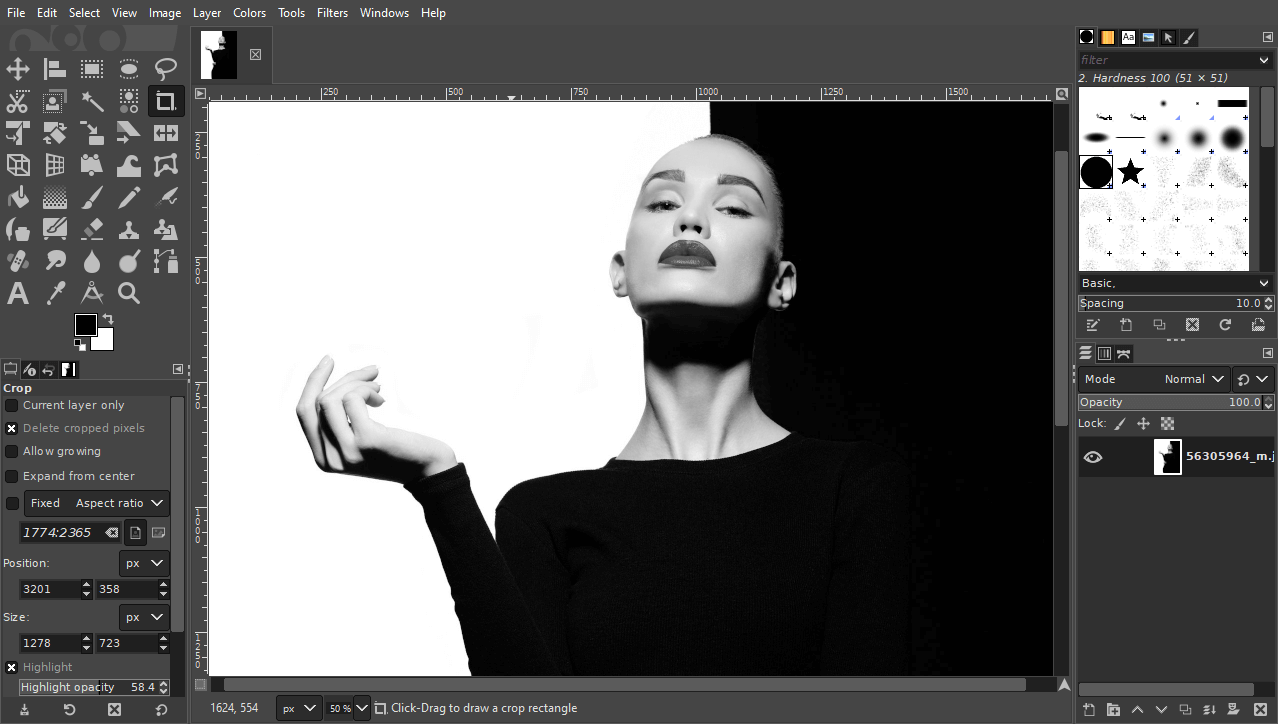
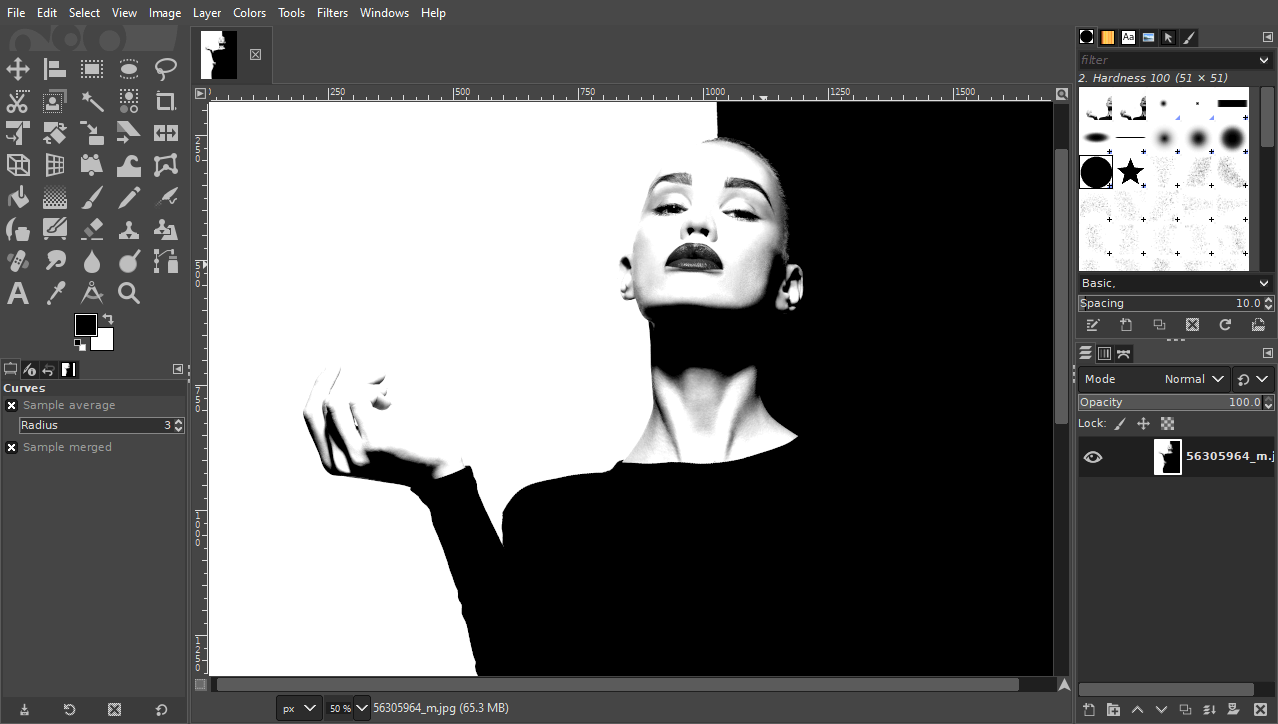
For this demonstration we will be using the following example photo:

Click to enlarge.
Black & White VS Grayscale
Often times when users says they want to make an image black and white with GIMP, what they really want to do is convert it to grayscale. The image below depicts the difference between the two:
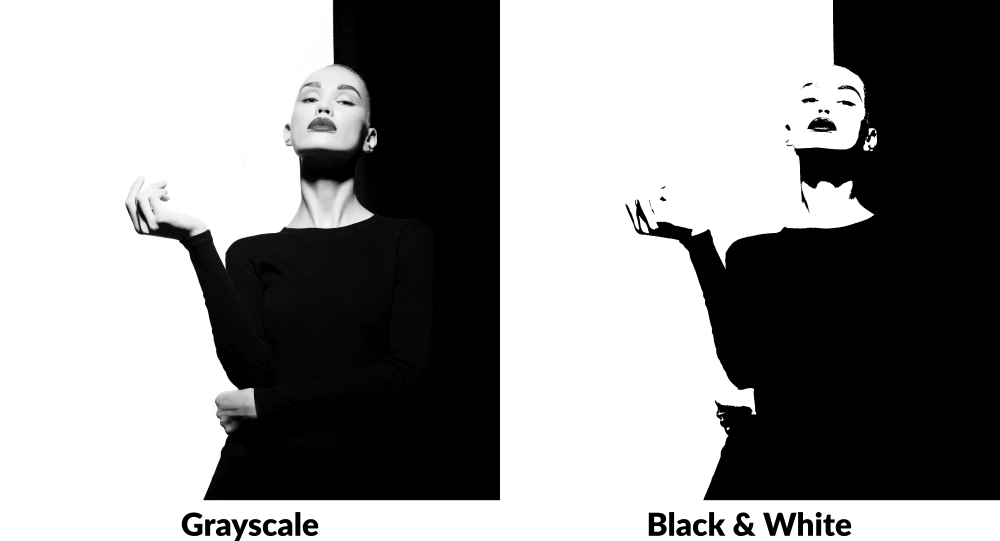
Grayscale uses the entire spectrum of grays, whereas true black & white uses only black and white.
In short, the difference between black & white and grayscale is that black & white strips the entire image down to only two colors — black and white. No gray shades in-between.
Grayscale, on the other hand, uses more than just black and white shades; it uses the entire spectrum of grayscale shades in addition.
The benefit of using black & white is that it offers simplicity and makes it easy to transform your image into other things, such as vector tracings. The downside, however, is that details and definition can get lost in images lacking in contrast.
Grayscale helps preserve the definition and clarity of an image, but lacks the definitive simplicity that black & white offers.
Make An Image Black & White with GIMP
There’s 3 different ways to make an image black and white with GIMP, and the following steps will walk you through the entire process.
If you’d like to make your image grayscale, use options 1 or 2. If you’d like to convert your image to true black & white, use option 3.
Table of Contents
|
Option 1: Change the document color mode to Grayscale
The first way in which you can convert your image to grayscale in GIMP is by changing the color mode of the entire document.
To do so, simply navigate to:
Image > Mode > Grayscale
This will convert your entire image to black and white:
Changing the document’s color mode to Grayscale will make the entire image black and white.
It should be noted that using this method, although the simplest option, produces a permanent change. This means that once you change the color mode of your document, your entire image will be converted to grayscale and there will be no turning back. Switching the document back to RGB mode will not add the color back.
Another feature of this method is that the changes are applied to the entire image and not just the active layer or selection.
This is an option that should only be used if you simply want to convert a single image to black and white and won’t need to make any further edits. Once you change the color mode of your document to Grayscale, you will not be able to work with colors again in that image unless you switch the color mode back to RGB.
Option 2: Remove saturation from the image’s colors
A more temporary and versatile way of converting an image to grayscale with GIMP is by removing the saturation from the image’s colors.
To do so, navigate to:
Colors > Saturation
This will open the Saturation menu:

Bring the Scale slider all the way to the left to remove color data from the image.
All you have to do now is remove the color data by moving the Scale slider all the way to the left. As you do so, the colors will be removed from your image:
Removing the saturation from an image is another way to convert it to black & white.
Click OK to apply your changes.
The benefit of using this option is that it allows you to convert a localized area to black and white without removing the ability to work with color elsewhere in the image.
This option will only apply the changes to whatever layer you have selected, and if you have a selection enabled it will be confined to that selection.
You can ensure that you don’t have any selections enabled by pressing Control + Shift + A on your keyboard.
Option 3: Apply the Threshold filter
The final way in which you can make your images black and white is by applying a Threshold.
This is the method you should use if you want to make your image a true black & white image, where black and white are the only shades used.
To do so, simply navigate to:
Colors > Threshold
This will open up the Threshold menu:
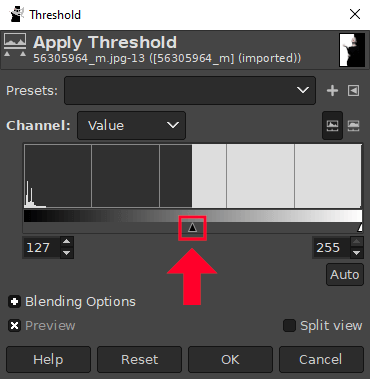
Move the arrow left and right to adjust the threshold to your liking.
You should immediately notice the appearance of your image change. All of the color data will be removed and the system will use your image’s contrast to determine what gets converted to black and what gets converted to white.
Use the Channel slider to adjust the Threshold to your liking and press OK when you are done to apply the changes:

Applying a threshold allows you to convert an image to only black and white, rather than grayscale.
Much like with option 2, applying a threshold will only apply to the layer you currently have activated. The same goes for selections — if you have a selection enabled then the threshold change will be confined to that selection.
Adjust Your Black & White Image
Once you’ve finished converting your image to black and white, you may find yourself wanting to tweak it further. This can help bring back some lost definition and add some contrast to the image.
This can be done using Color Curves. To access the Curves menu, navigate to:
Colors > Curves
This will open the Curves menu:
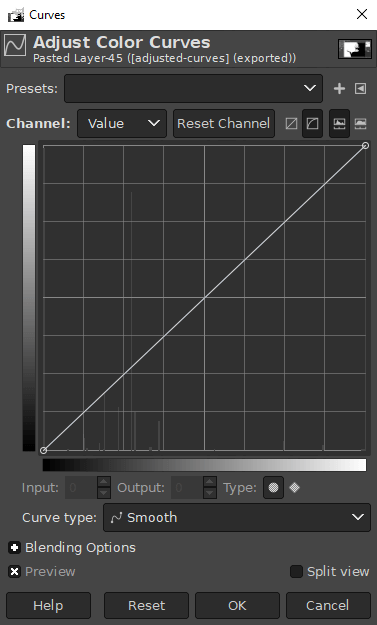
The Curves menu allows you to adjust the contrast of your black & white image.
This is a somewhat complicated tool, and learning how to use it could be an entire lesson in and of itself. However, if you can easily adjust your black and white images by:
- Grabbing the node on the bottom-left and sliding it right, which will add more black to your image by darkening the grayscale shades
- Grabbing the node at the top-right and sliding it left, which will add more white to your image by lightening the grayscale shades
Once you are finished you can press OK to apply your changes:
How the black and white image looks once the Curves have been tweaked to add more contrast.
This method only works for grayscale images. It will not work if you’ve already converted your image to true black & white.
Conclusion
Knowing how to convert an image to black & white with GIMP is a rather simple process once you understand the differences between grayscale and true black & white. Regardless of the option you use to perform this task, you’re never more than a few clicks away. This is something that can be done in mere seconds.
If you have any questions or need clarification on any of the steps taken in this lesson, simply leave a comment below.
Learn To Master The SoftwareGain a complete understanding of your favorite design apps with my comprehensive collection of video courses. Each course grants access to our private community where you can ask questions and get help when needed.
|
||||||||||||||||||||||||||||||||


I just want a way to make a B/W Tiff or Bitmap to use for forms and to make them as small as possible. I was able to do it with photoshop, but I am trying to move away from Windows. I don’t want grayscale. Can Gimp do this in a simple step like photoshop?
It sounds like threshold may be what you’re looking for. Go to: Colors > Threshold
Thank you very much for explaining this!