How To Make A Grid In Illustrator | The Complete Guide
How To Make A Grid In Illustrator | The Complete Guide https://logosbynick.com/wp-content/uploads/2021/10/make-a-grid-illustrator.png 800 470 Nick Saporito https://secure.gravatar.com/avatar/8e31bf392f0ba8850f29a1a2e833cdd020909bfd44613c7e222072c40e031c34?s=96&d=mm&r=gApplying a grid to your workspace can be an excellent way to organize your work and draw with precision — especially when it comes to vector designs that would typically be created in Adobe Illustrator. In today’s tutorial we’ll be going over how to make a grid in Illustrator, which is something that is not nearly as complicated as you would think.
Believe it or not, every new document that you open with Illustrator already has a grid implemented. However, you do not see it because the visibility of the grid is turned off by default. In this lesson we’ll be going over how to activate the visibility of the grid, and then we’ll be going over how to change the grid properties as well, such as line spacing, line color, grid style, and more.
Make A Grid In Illustrator
The following video tutorial will walk you through the entire process in less than 2 minutes:
Continue on for the written instructions.
Table of ContentsEnabling The Grid
Editing Your Grid
Remove The Grid |
Enabling The Grid
In this first part of the lesson we will be going over how to enable the grid in Illustrator.
As previously mentioned, every document that you work with in Illustrator has a grid already applied, so knowing how to make a grid in Illustrator is simply a matter of enabling its visibility.
There’s two different ways to go about this. Let’s examine each.
Turn on the grid visibility using the menu system
The first way to make a grid in Illustrator is to simply enable its visibility via the menu system. This can be done by navigating to:
View > Show Grid
Your document’s grid will then become visible, which should look like this by default:
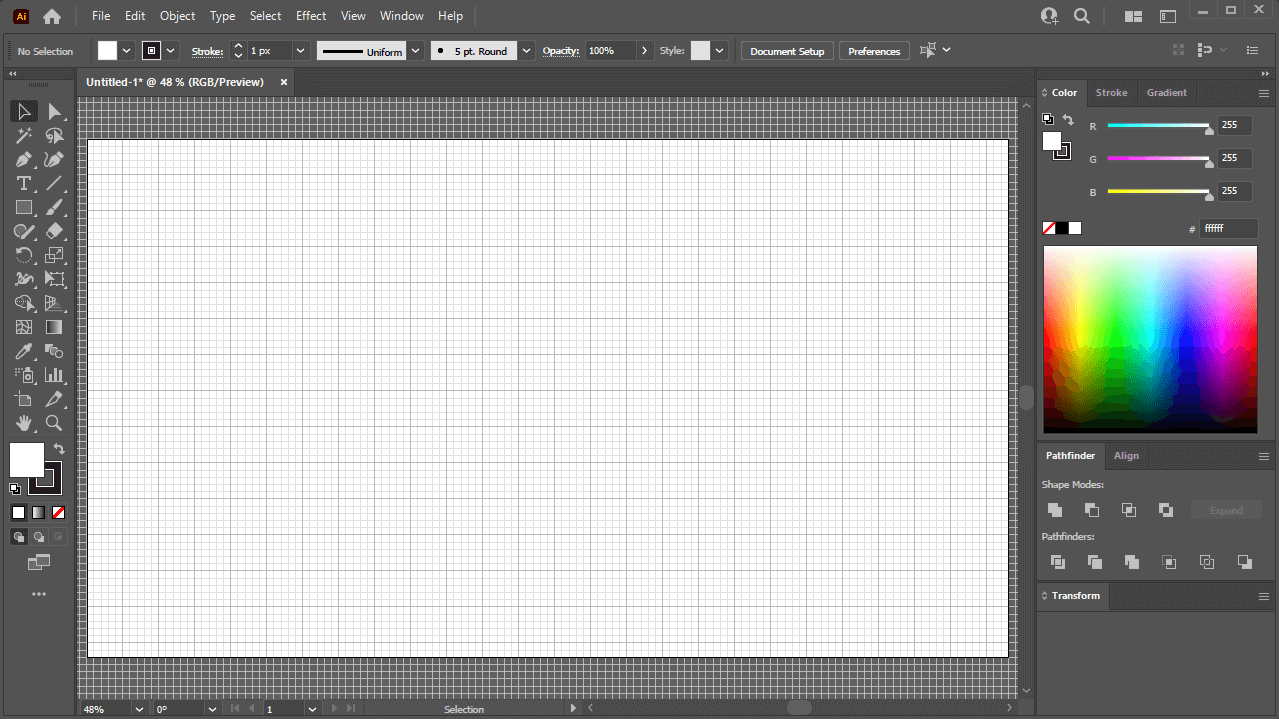
How the default grid looks once enabled.
Turn on the grid visibility using the keyboard shortcut
Another way in which you can make a grid in Illustrator is by simply enabling it with the following keyboard shortcut: Control + “
This will enabled the visibility of your grid in the same way that the menu system does.
Editing Your Grid
Now that we’ve gone over how to enable grids in Illustrator, let’s have a look at how to customize the grid properties to your preferences.
You can edit your grid using the Preferences menu, which can be accessed by navigating to:
Edit > Preferences > Guides & Grid
Alternatively, you can open this menu by using the keyboard shortcut (Control + K) which is a quicker way to access it (although you’ll have to navigate to the Guides & Grid section manually.)
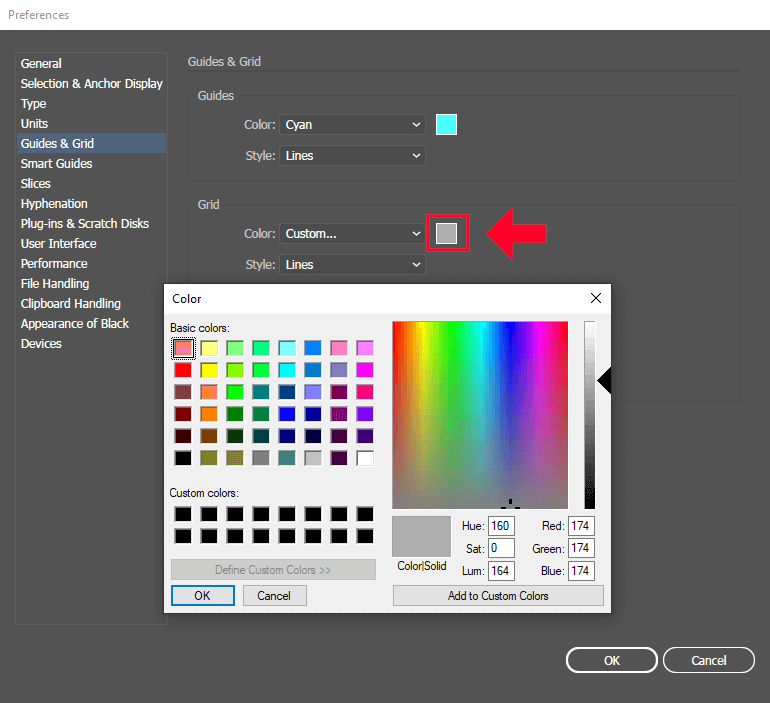
Once opened, it should look something like this:

The properties of your grid that can be changed are highlighted in red above.
Let’s go over what each of these settings do and how you can use them to customize your grid.
Grid color
The Grid Color section allows you to determine the color of your gridlines. Clicking on it will open a color selector where you can choose your color:
Changing this setting will change the color of your gridlines.
Once applied, the color of your gridlines — which are gray by default — will be changed to whichever color you choose.
Grid style
The Grid Style preset allows you to change the type of grid lines that appear on your canvas. There are two types to choose from:
- Lines
- Dots
By default, lines are chosen. However, you can change your grid to dots by simply updating your preferences:
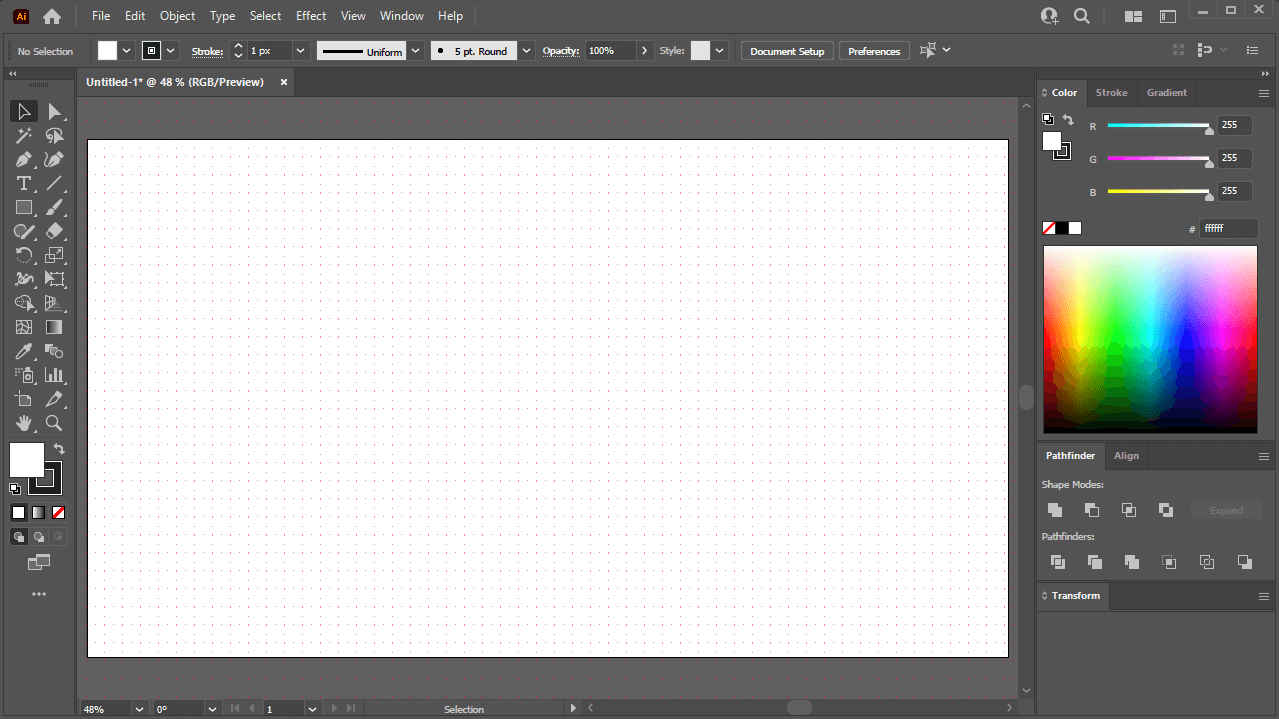
In the screenshot above, the preferences were changed to make the grid into dots and colored with red.
Grids made of dots function in essentially the same way that lines do. The primary difference is that with snapping enabled you can snap to individual dots, as opposed to entire gridlines.
Gridline spacing
The Gridline Spacing preset allows you to change the amount of spacing between each gridline, which is arguably the most important thing to pay attention to whenever you make a grid in Illustrator.
The input value represents the spacing between each individual gridline on both the vertical and horizontal access. Increasing this number will make the gridlines further apart, whereas decreasing it will make them closer together.
The default unit of measurement for this value is pixels, but you can manually type in other units of measurement if you prefer, such as:
- Inches
- Millimeters
- Centimeters
- Points
- And more
Simply press the Enter key when you are finished and then click OK to apply your changes.
Subdivisions
Subdivisions are smaller, thinner gridlines that run between the primary gridlines that you have been working with up until this point. They make it easier to draw with precision:

Subdivisions are the faint, thinner lines that run between the bolder, primary gridlines.
The input value for this setting represents the number of subdivisions between each gridline. For example, inputting 5 subdivisions means that there will be 4 thinner gridlines (because subdivisions represents the space between the gridlines and not the actual lines themselves) between each primary gridline.
Placing grids above/below your artwork
Within the Preferences menu you will see an option labeled as Grids In Back.
By default, this option is enabled, which means that your artwork will appear on top of the grid. Disabled this option will make your artwork appear beneath the grid:
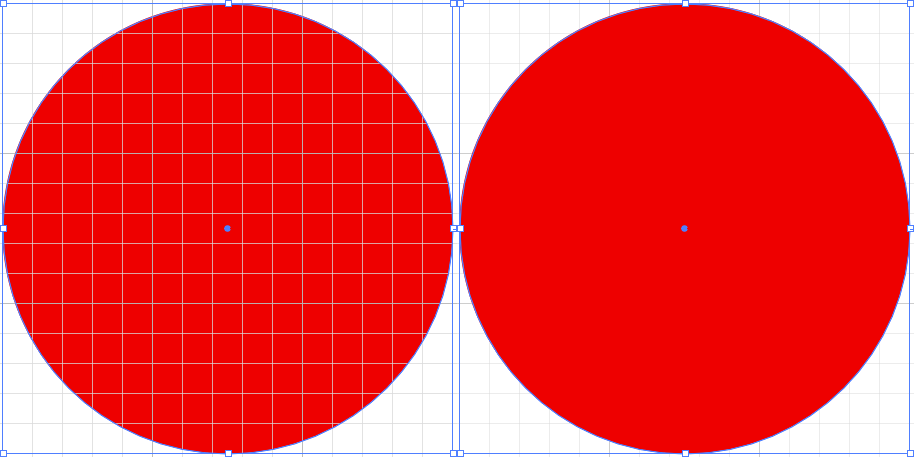
The example on the left is how your artwork will look with gridlines going over it, and the example on the right has the gridlines going behind it.
Enabling the pixel grid
The final option you will see in the Preferences menu is the Pixel Grid option. Enabling this setting will make it so that the pixel grid becomes visible when zoomed in greater than 600%.
Seeing as how Adobe Illustrator is a vector design application, it technically does not contain any pixels. Vectors exist on X and Y coordinate points. However, a pixel grid is applied to each document, allowing the user to work in increments of whole pixels (rather than fractions of pixels) if need be.
This can be useful when designing something that need to be a specific size. However, you can remove it by simply disabling this option.
How To Remove A Grid In Illustrator
Now that we’ve gone over how to make a grid in Illustrator, let’s get rid of it.
If you’d like to remove your grid, simply navigate to:
View > Hide Grid
Alternatively, you can use the same keyboard shortcut that was used to enabled the grid: Control + “
Once applied, your grid won’t actually be deleted, it will just become indivisible again. Enabling it later on will apply the same grid and grid settings you previously applied.
Conclusion
Adobe Illustrator has the most simplistic grid system of any vector design application. Both Inkscape and Affinity Designer offer more options, settings, and flexibility for working with grids. The advantage you’ll enjoy whenever you make a grid in Illustrator though is that it’s relatively easier to work with.
If you have any questions or need clarification on any of the steps taken in this lesson, simply leave a comment below.
Learn To Master The SoftwareGain a complete understanding of your favorite design apps with my comprehensive collection of video courses. Each course grants access to our private community where you can ask questions and get help when needed.
|
||||||||||||||||||||||||||||||||


Leave a Reply