How To Create 3D Text with GIMP
How To Create 3D Text with GIMP https://logosbynick.com/wp-content/uploads/2020/05/gimp-3d-text.png 800 470 Nick Saporito https://secure.gravatar.com/avatar/8e31bf392f0ba8850f29a1a2e833cdd020909bfd44613c7e222072c40e031c34?s=96&d=mm&r=gIn this tutorial I’ll be demonstrating how to create a 3D text effect with GIMP. This is a tutorial that I did a few years ago, but I feel like I glossed over some important details in that video, and GIMP has undergone quite a few updates since then, so I figure this would be a great opportunity for a refresher.
The following is a brief written overview of the steps taken to create a 3D text effect with GIMP. For complete step-by-step instructions, please watch the video tutorial at the top of the page.
3D Text Effect with GIMP
To get us started, create a new document sized at 1,280 x 1,280 pixels and generate any random letter or number using the Text tool. You can use whatever font you’d like. For this tutorial I’ll be using the Heather Oliver font.
Bring down the opacity of the text layer to roughly 50%.

Next we’re going to choose the colors we’ll be using for the design. For this demonstration I will be using a pink gradient that transitions from dark pink to light pink. Go ahead and set your foreground and background colors to two separate shades that you’d like used for your 3D text effect.
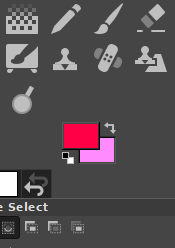
Once you’ve set your colors, turn off the visibility of the text layer and add a new layer to the image. Generate a circle selection, then fill it with a gradient using the Gradients tool.

Using the Ellipse tool, create another ellipse inside of the original ellipse, only make this one elongated and feather the edges by 5 pixels and then copy it to your clipboard.

Now grab your Brushes tool, and in the brushes menu you should see the option to use your copied selection as a brush.
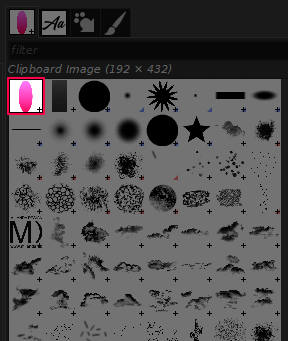
At the bottom of the brushes menu, looking for Spacing and reduce it all the way down to it’s lowest setting, which is 1.
You can now use your copied selection as a brush…

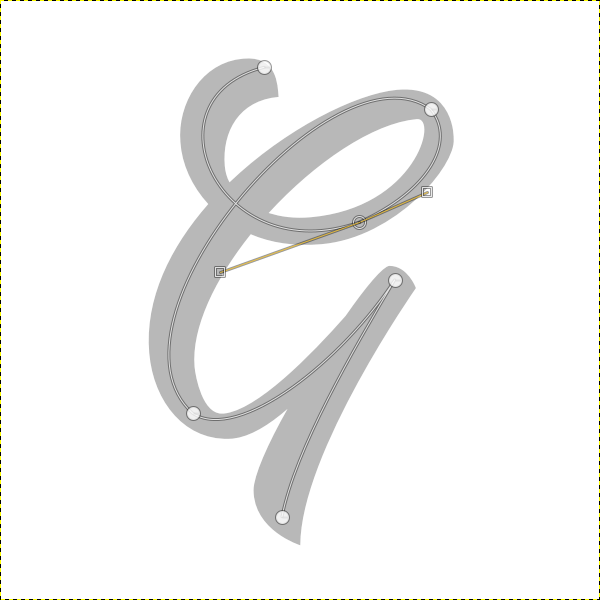
To get a more smooth and fluid stroke, turn the visibility of your text layer back on and use the Paths tool to trace a path within it.
Now go to Edit > Stroke Path and make sure to select “Stroke with a paint tool” in the menu.
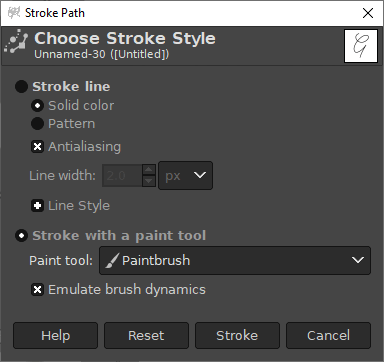
Once you click the Stroke button, the copied selection will be stroked along your path…

And that is how you can create a 3D text effect with GIMP! If you have any questions leave a comment below. As always, thanks for watching!
Learn To Master The SoftwareGain a complete understanding of your favorite design apps with my comprehensive collection of video courses. Each course grants access to our private community where you can ask questions and get help when needed.
|
||||||||||||||||||||||||||||||||


Leave a Reply