How To Edit an Animated GIF with GIMP | Step-By-Step Tutorial
How To Edit an Animated GIF with GIMP | Step-By-Step Tutorial https://logosbynick.com/wp-content/uploads/2019/09/edit-gifs-with-gimp-1024x602.png 1024 602 Nick Saporito Nick Saporito https://secure.gravatar.com/avatar/8e31bf392f0ba8850f29a1a2e833cdd020909bfd44613c7e222072c40e031c34?s=96&d=mm&r=gIn this post I’ll be going over all of the ways you can edit an animated GIF with GIMP. I think video editing software would be more ideal for editing GIFs, but there are some simple modifications that can be made with GIMP.
For this lesson I’ll be using the following animated GIF as an example…
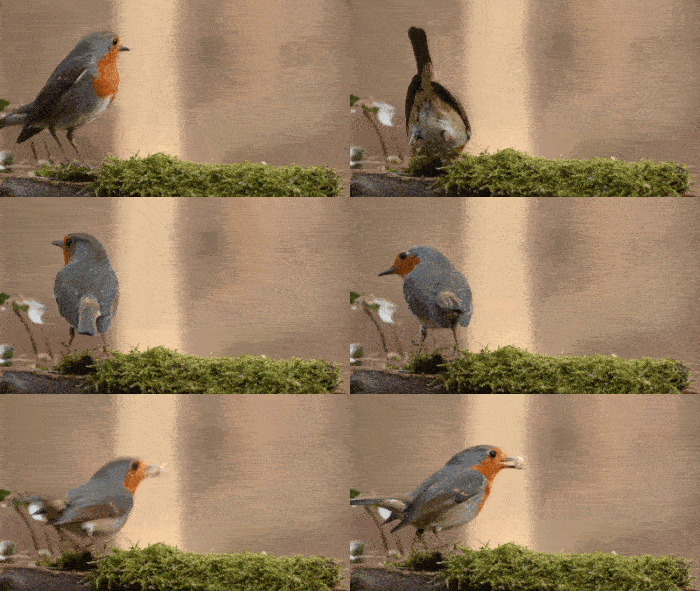
Once you open your GIF with GIMP, it’s going to separate each individual frame and place it on its own layer.
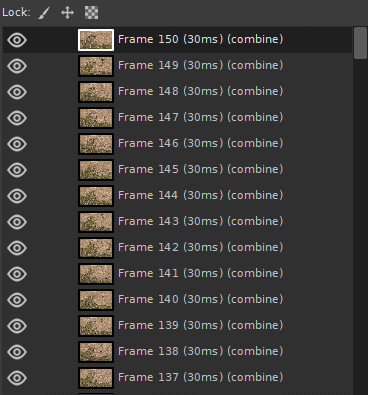
Bear in mind that because of the amount of images/layers being generated, this is a very CPU-intensive process. Even GIFs that are only a few seconds long can mean several hundred layers, so keep that in mind whenever opening a GIF with GIMP. If you’re opening a large file and you don’t have the computing power, it could possibly cause your computer to freeze.
How To Edit an Animated GIF with GIMP
Since the animation consists of a series of layers, any changes you make will only be applied to the single layer that you currently have activated, and since that layer only represents a single frame of the animated GIF, it will only be applied to that single frame.
| If you want to edit an animated GIF with GIMP, the only edits you can make are edits that are applied to the entire image and not just a single layer. This makes GIMP a very limited tool for editing GIFs. |
If you want to add text to a GIF, for example, you’d be much better off using a video editor (like Blender) instead. To add text with GIMP would mean having to copy and paste that text onto each individual layer, which would be a painstakingly redundant task.
That said, the following are all ways in which you can edit an animated GIF with GIMP…
Resize
Scaling down your GIF would be a great way to reduce GIF file size with GIMP. To resize your GIF, simply go to Image -> Scale Image.
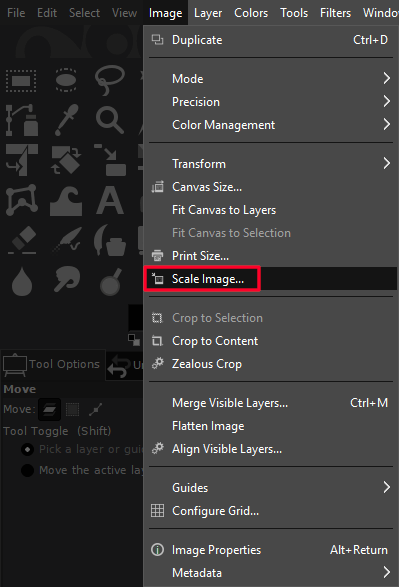
From there you can manually input what you’d like the size of the image to be in terms of numeric value. The change will be applied to all of the layers and not just the active layer.

Flip and Rotate
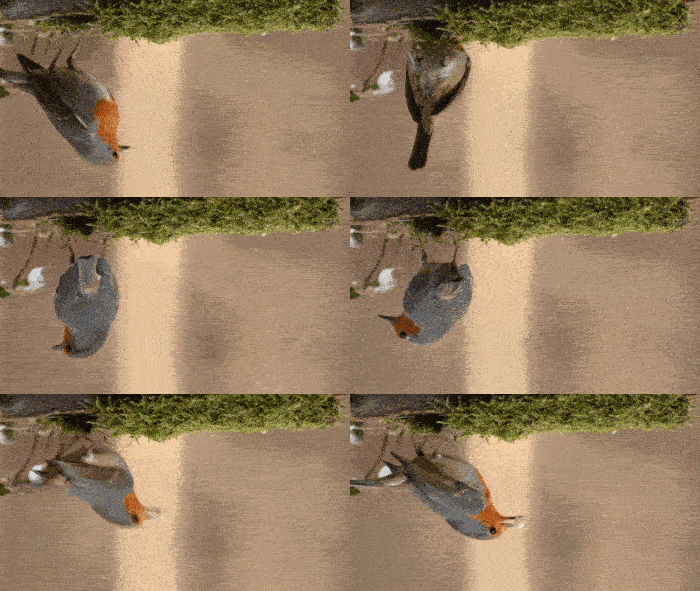
You can flip and/or rotate your animated GIF by going to Image -> Transform, and selecting whichever transformation you’d like to make.

You can make the following transformations to your GIF…
- Flip horizontally
- Flip vertically
- Rotate 90° clockwise
- Rotate 90° counter-clockwise
- Rotate 180°
Cropping
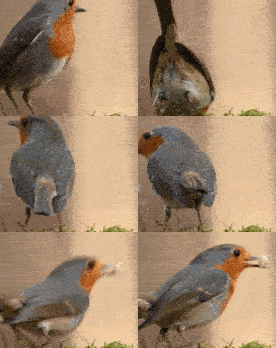
If you’d like to crop a selection of your GIF, you can do so by grabbing your Cropping tool (shift + C) and clicking and dragging a selection over the area you’d like to crop.

Once you’re happy with your selection, simply press Enter on your keyboard to finalize it.
Color Modifications
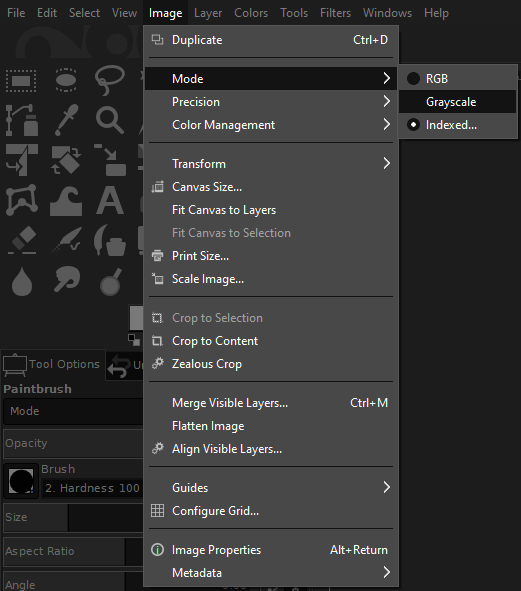
This is another area where we’re quite limited if we want to edit an animated GIF with GIMP. The only color modification you can make that will be applied to each layer is to change the color mode. Or, in other words, you can make your GIF black and white. To do so, go to Image -> Mode -> Grayscale.
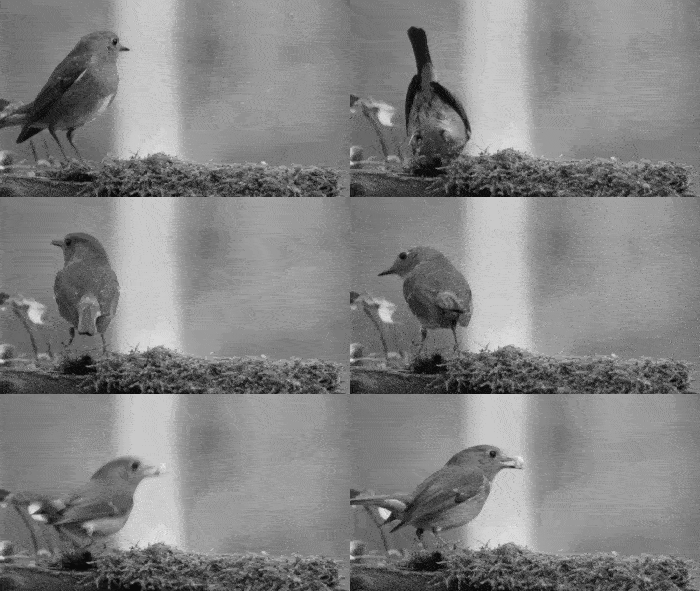
This will remove all of the color data from your entire image…
I’d recommend that you change the color mode back to Indexed before exporting your GIF. This won’t add the color back, it’ll change the color profile embedded in the document. I recommend this because GIMP crashed when I tried exporting a GIF in the Grayscale mode.
Exporting An Animated GIF with GIMP
Once you’re finished editing your animated GIF, you can generate a GIF file by going to File -> Export As and naming your document as [name].gif and clicking Export. The following menu will appear…
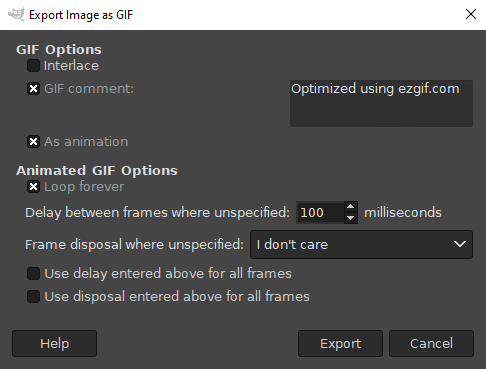
Make sure you have As Animation selected so GIMP knows to export the image as an animated GIF. Everything else should be alright at its defaults. Once exported, GIMP will generate an animated GIF where each individual layer represents a single frame in the animation.
Disclaimer: this website does not track you, serve ads, or contain affiliate links.
Learn To Master The SoftwareGain a complete understanding of your favorite design apps with my comprehensive collection of video courses. Each course grants access to our private community where you can ask questions and get help when needed.
|
||||||||||||||||||||||||||||||||
- Post Tags:
- GIMP
- Posted In:
- Articles
- GIMP
- Open Source
Nick Saporito
Hi, I'm Nick— a Philadelphia-based graphic designer with over 10 years of experience. Each year millions of users learn how to use design software to express their creativity using my tutorials here and on YouTube.
All stories by: Nick SaporitoYou might also like
4 comments
-
-
Logos By Nick
Hi Mimi, as far as I know that is not possible in GIMP.
-
-
Linda P
Thank you for this tutorial. Your explanation was clear and gave me the result I was searching for.
-
israel ngobe
I’m a South African fan of yours and aspiring designer. I’m battling to get into varsity and I’m getting better with time following your videos and practicing the principles. But I’m struggling to get a constant flow of clients. What can I possibly do?


Mimi
You have best tutorials. Can you make a tutorial on GIMP on how to cut out only the bird for instance on the example? Looking for ways on how to cut out objects moving in gif. And if possible how you can combine them with other GIFs. Thank you