
How To Crop An Image In Affinity Designer
How To Crop An Image In Affinity Designer https://logosbynick.com/wp-content/uploads/2021/02/crop-an-image-in-affinity-designer.png 800 470 Nick Saporito https://secure.gravatar.com/avatar/8e31bf392f0ba8850f29a1a2e833cdd020909bfd44613c7e222072c40e031c34?s=96&d=mm&r=gDon’t let the vector nature of Affinity Designer fool you — it can also handle raster image editing as well, and the available features are quite impressive for a vector-based application. One of the features is the Vector Crop Tool, which can be used crop an image in Affinity Designer with relative easy. In this tutorial I will be walking you through that process.
Cropping an image with Affinity Designer is simply a matter of using the Vector Crop Tool to manually adjust the crop of your image, then copy and pasting the cropped image as a new document. Then from there you can export it. Let’s elaborate!
Crop An Image In Affinity Designer
| To crop an image in Affinity Designer, grab the Vector Crop Tool, click on your image to select it, then manually drag the corners of the image inward until the crop is positioned to your preference. |
Today’s lesson will be an introduction to a really handy tool known as the Vector Crop Tool. It allows you to change the crop of virtually any object, whether it be a vector shape, a group of objects, a line of text, or even a raster image! This is something yet to be seen in any other vector application.
Watch the video tutorial below to see how you can use this tool to crop your image:
If you’d rather follow the written instructions then read on.
Step 1: Open Your Image
Before you can crop an image in Affinity Designer you first need an image to crop. So navigate to File > Open and locate your image on your hard drive to open it.
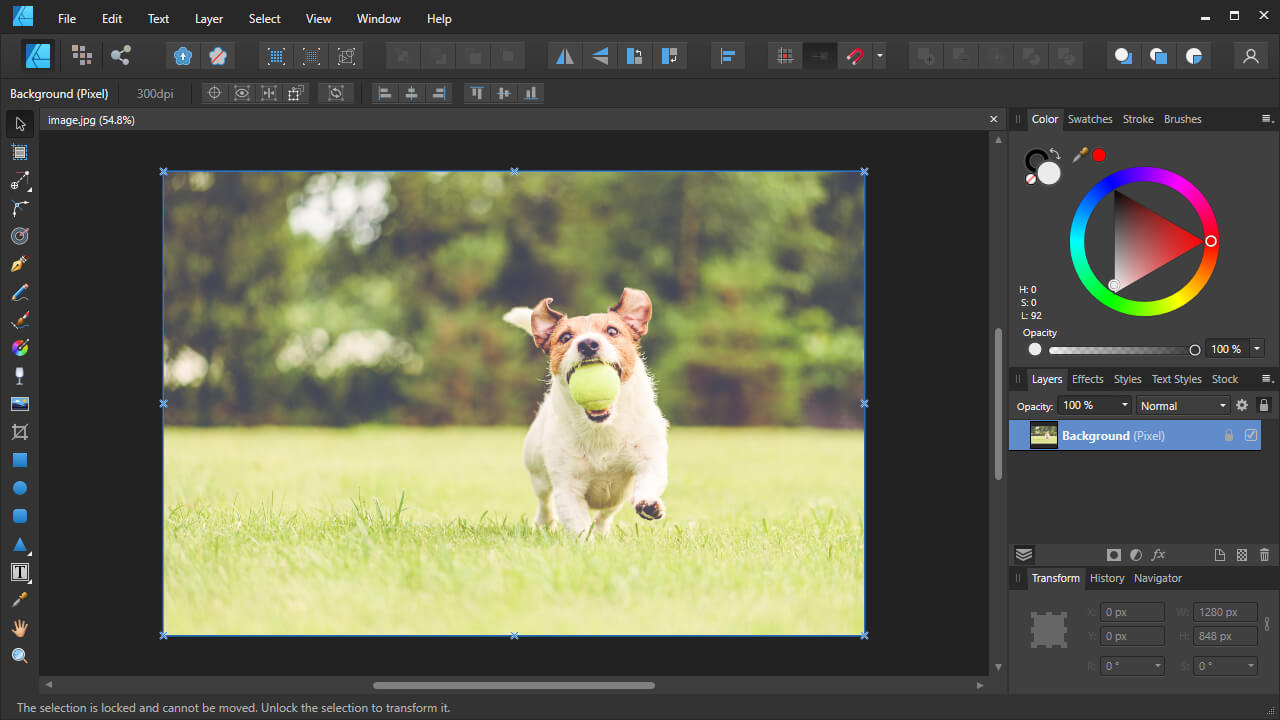
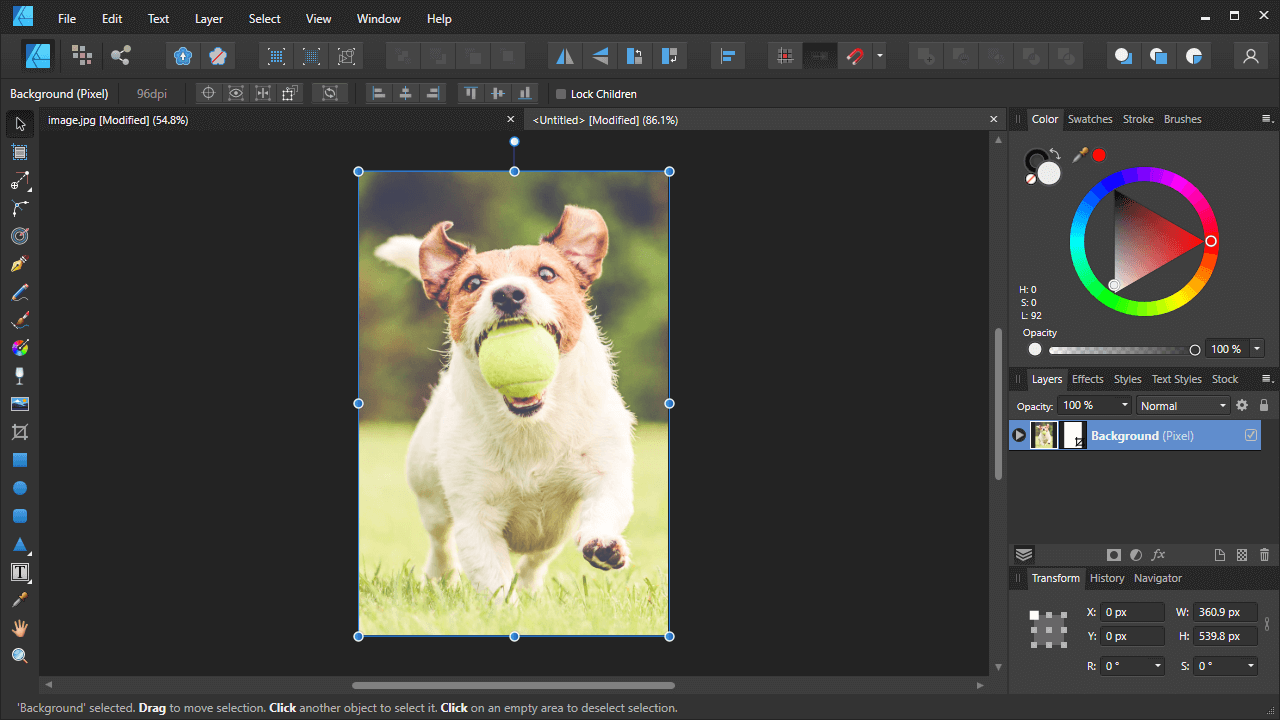
For this demonstration I will be using the above example image depicting a dog playing in a field.
Step 2: Use The Vector Crop Tool
Locate the Vector Crop Tool in your toolbar. It should look sort of like a white box with a slash going through it:
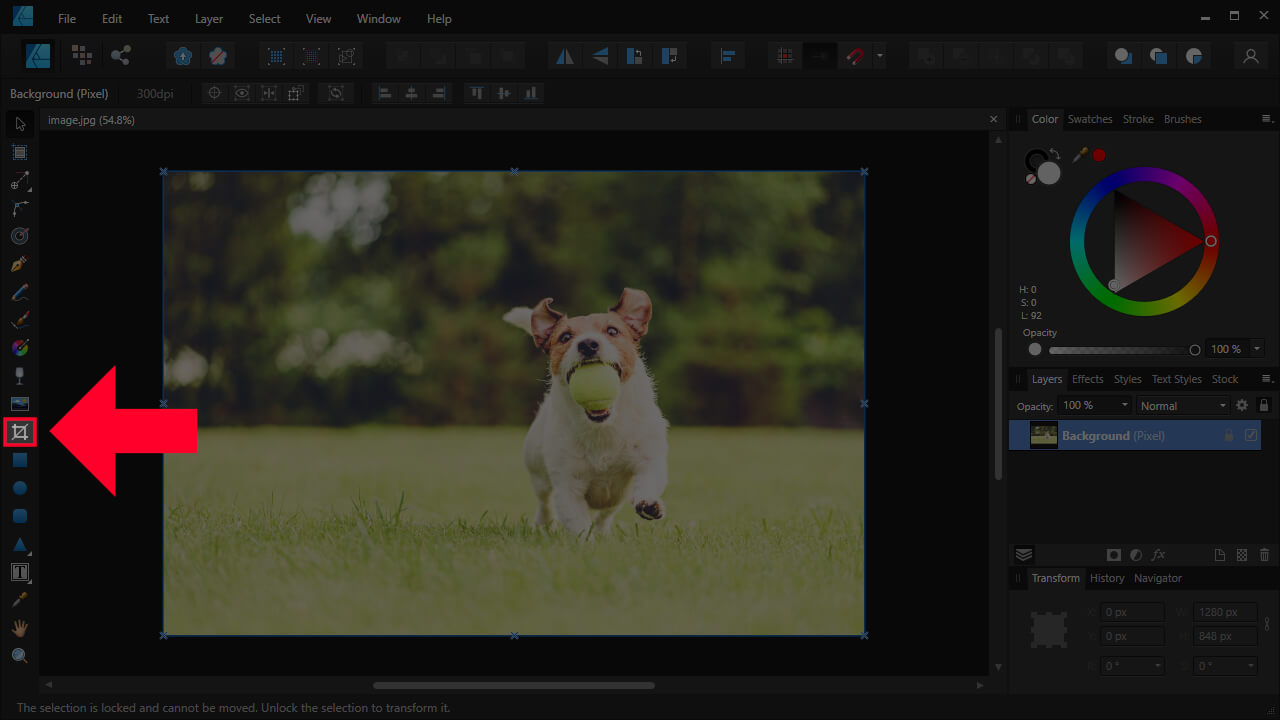
The Vector Crop Tool is located towards the bottom of the toolbar.
Click on your image with the Vector Crop Tool to select it. Once selected, you should notice little blue handles in the corners of your image, as well as the vertical and horizontal edges:
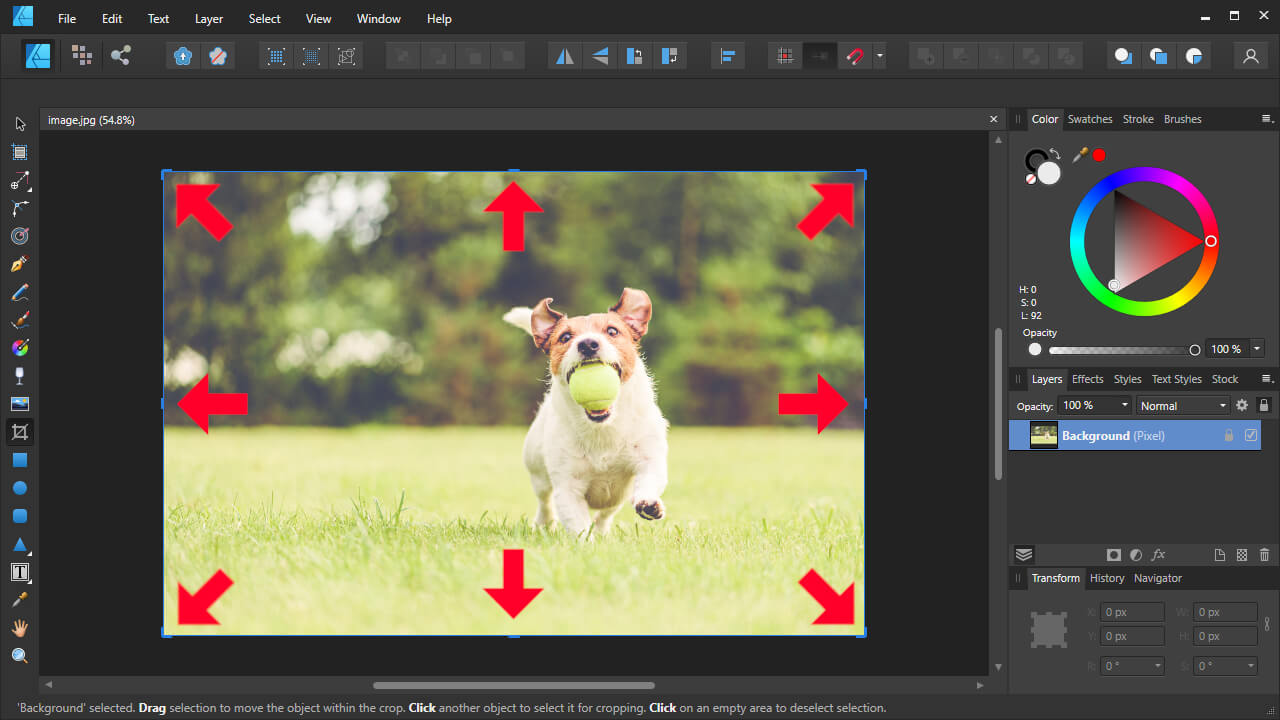
The handles are located in the corners and on the top, bottom, left and right edges.
Simply click and drag on the handles to adjust the crop of your image:
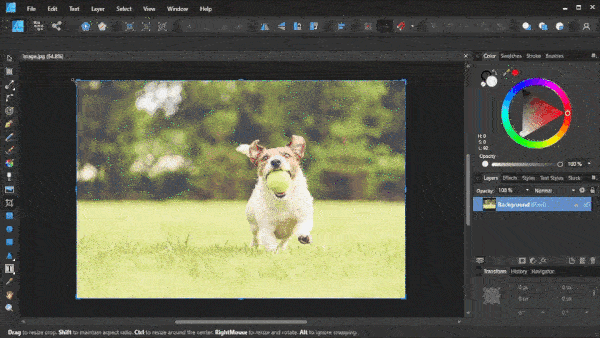
Simply move the handles in to adjust the crop to your liking.
You can hold Shift on your keyboard if you need to lock the proportions at any point.
Step 3: Export Your Image
Once you’re happy with the crop of your image we can go ahead and save it.
To do this, first copy the image by selecting it (if it isn’t selected already) and navigating to Edit > Copy. Then, paste is as a new image by navigating to File > New From Clipboard.
This will paste your cropped image as a new document:
Pasting your image into a new document allows you to export it at its cropped dimensions.
All you have to do now is export this new document. To do this, navigate to File > Export or press Control + Alt + Shift + S on your keyboard. This will bring up the export menu:
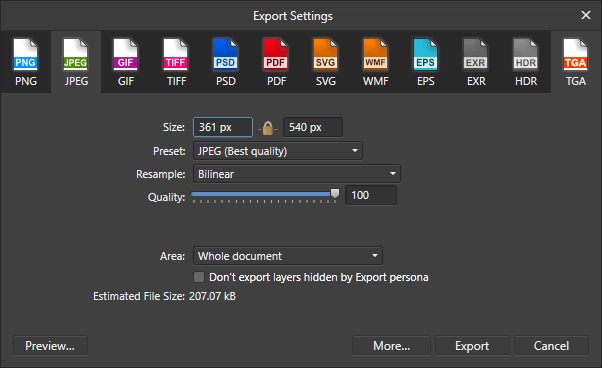
Use the Export menu to export your image in whatever format you’d like.
Choose the format you’d like to export your cropped image as, then click Export to choose a location on your hard drive to save it to.
If you’re exporting an image (as opposed to a vector design) then it is recommended that you choose either PNG or JPG format as those are raster environments and as most suitable for images.
Your newly cropped image will now be ready for use!
Conclusion
Affinity Designer’s Vector Crop Tool is an innovative feature for a vector design application, and I can think of numerous occasions where it could come in handy. Using this tool is much more convenient than using the Inkscape method to crop images, where you need to create a rectangle and use it as a clipping path. Not only that, but much like using a clipping path, the Vector Crop Tool is also non-destructive!
Try it out for yourself to see how handy this neat little feature is. If you have any questions, or if any part of this lesson was unclear, simply leave a comment below!
Learn To Master The SoftwareGain a complete understanding of your favorite design apps with my comprehensive collection of video courses. Each course grants access to our private community where you can ask questions and get help when needed.
|
||||||||||||||||||||||||||||||||


Is there a way to crop with a “lasso” tool? Trying to take out a piece of an image but it’s not straight sides. Any suggestions?
Yes, in the Pixel persona there is a lasso tool. Just make sure to right-click the layer and select Rasterize first.
Hi- How do you crop it so that the image shrinks to the size of the crop? Every time I crop a a vector image, it copies it to a new document, with everything else deleted (and made transparent). I want a SMALLER document. But when I try to copy the image with the vector cropping tool (copy and copy to a new doc), it cuts off the bottom of the image (it won’t highlight the box I create, but makes multiple little boxes on its own). I’m quite frustrated. Thanks!
Hi Jennifer, I don’t think there’s a way to do that unfortunately. You’ll have to scale down the canvas and artwork first and then make the crop.
I want to crop an image specifically down to 2200×900. I can resize with the vector tool but I’d like to type in the crop dimensions (w, h, x, y). Can that be done?
Try creating a new document at that specific size, then paste the image into and crop down to fit.