
How To Outline Text with Inkscape | 3-Step Tutorial
How To Outline Text with Inkscape | 3-Step Tutorial https://logosbynick.com/wp-content/uploads/2021/02/outline-text-with-inkscape.png 800 470 Nick Saporito https://secure.gravatar.com/avatar/8e31bf392f0ba8850f29a1a2e833cdd020909bfd44613c7e222072c40e031c34?s=96&d=mm&r=gInkscape makes for a fantastic tool to work with when stylizing text, and today I’ll be demonstrating one of the many ways in which you can do so. In this lesson you will learn how to outline text with Inkscape so that your text can have a distinguished look that jumps off the page.
Outlining text with Inkscape is simply a matter of adding a stroke around the text object, setting the size, color, and changing one of the settings so that the outline (or “stroke” as it’s called) goes along the outside of the letters as opposed to the inside.
This is a relatively simple process, making this an excellent beginner tutorial for any first-time user of Inkscape.
Outline Text with Inkscape
| To outline text with Inkscape, select the text with the Select Tool, then hold Shift on the keyboard and click on one of the colors in the color palette at the bottom of the screen. |
Follow the instructions below to learn how to place an outline around your text using Inkscape. For a more thorough learning experience, feel free to check out the brief video tutorial I’ve put together:
If you’d rather follow the written instructions then continue on.
Step 1: Generate Some Text
In order to outline text with Inkscape, we first need to have some text to work with. So grab the Text Tool (keyboard shortcut: T) and type some text onto your canvas using a font of your choice.
For this demonstration I will be using the Milkshake font:

The text can be any font, style, or word that you’d like.
If you already have a text object then you can proceed to step 2. And just to clarify: this method works with any vector object. So you don’t necessarily have to use text for creating your outline. You can outline whatever you’d like using this process.
Step 2: Add A Stroke To Your Text
Once you have your text object in place, it’s time to add a stroke. This is what will act as the outline around your text.
Grab the Select Tool (keyboard shortcut: S) and then make sure your text is selected. You will now you text object is selected when there’s a dotted bounding box around it and arrows in all of the corners:
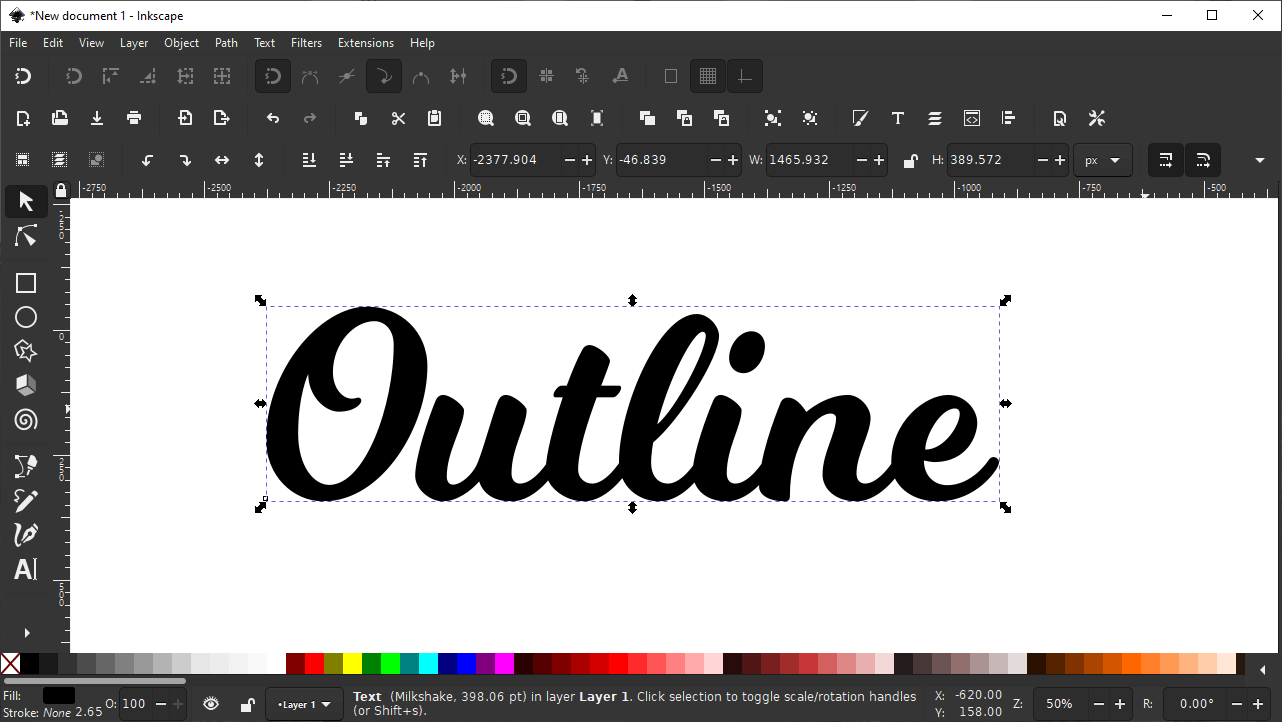
In order for the stroke to be applied, you must have your text selected as I do in the screenshot above.
With your text selected, hold Shift on your keyboard and click on one of the colors in the color palette at the bottom of your screen.
This will add an outline around your text in the color that you choose:
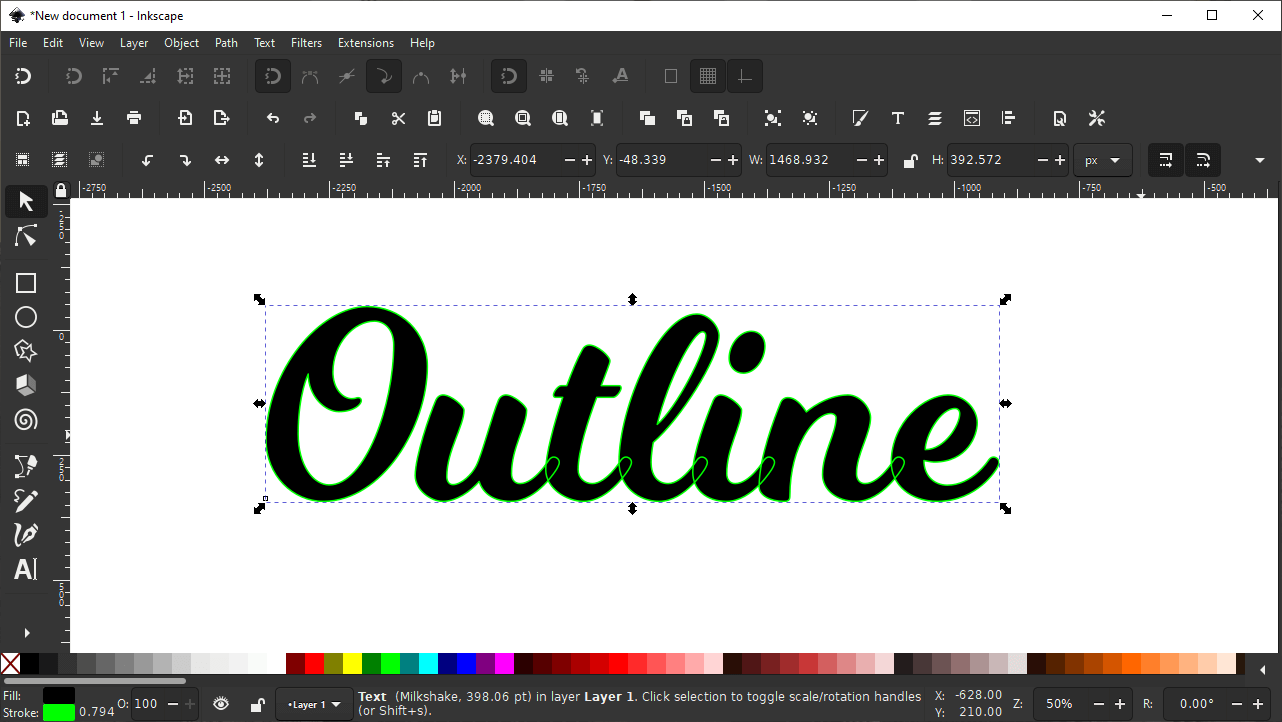
This outline is what’s known as a stroke in Inkscape.
Don’t worry if the outline is not in the color you’d like. You can adjust that further in the next steps.
Step 3: Adjust The Stroke Settings
Now that you’ve outlined your text, it’s time to make some fine adjustments to some of the outline’s properties, including:
- The thickness/size of the outline
- The color of the outline
- Whether the outline occupies the inner edges of the text or the outer edges
To adjust these properties we’ll be using the Fill & Stroke menu. The menu can be accessed by navigating to Object > Fill & Stroke or by pressing Control + Shift + F on your keyboard. It will appear on the right side of your screen as a docked menu:
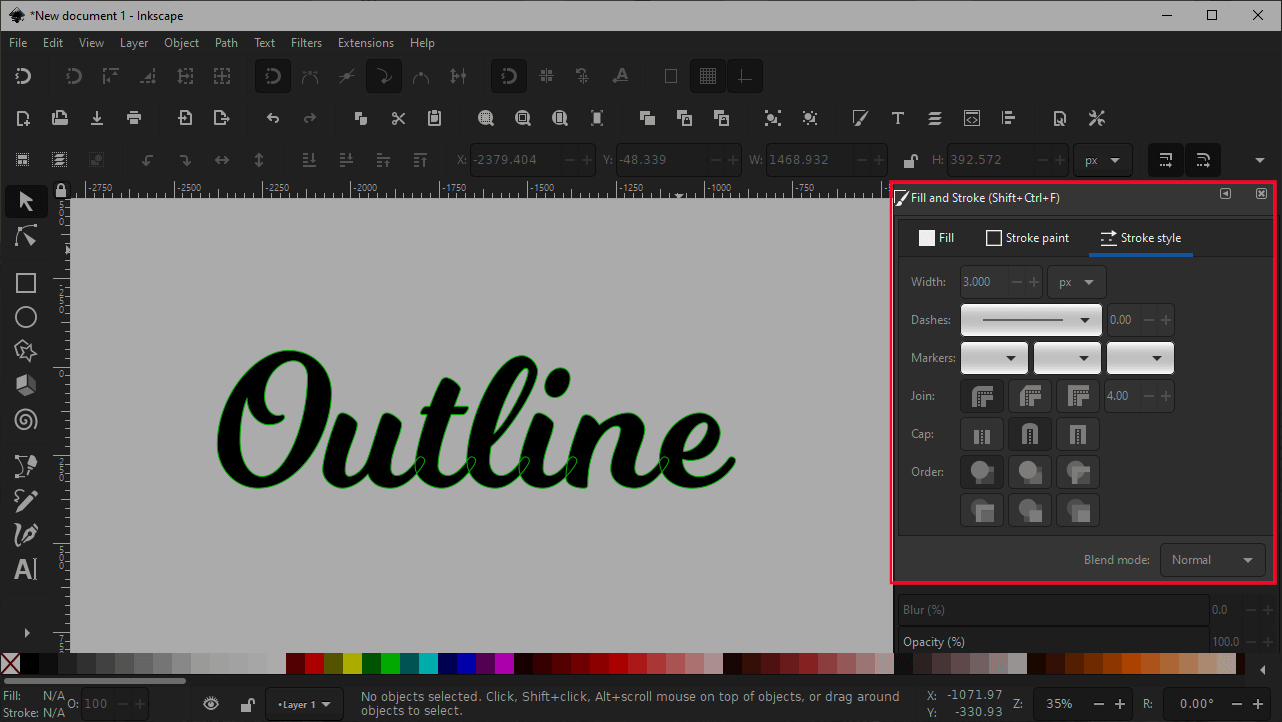
The Fill & Stroke menu will open up as a docked menu on the right of your screen.
Change Outline Size
At the top of the Fill & Stroke menu you should see 3 tabs. Look for the tab furthest to the right, labeled “Stroke Style” and activate that tab by clicking on it.

Use the Stroke Style tab to make the following adjustments to your outline.
You can increase or decrease the size of the stroke around your text by using the plus and minus icons next to the Width input. You can also manually set the size of your stroke with specific numeric values if you’d like, and you can also change the units of measurement to your liking:

You can make your outline bigger/thicker using the Width preset.
Change Outline Corner Style
If you’re using text with sharp corners then you notice an occasional glitch when certain corners protrude further than others, giving your outline an inconsistent look. You can remedy this by using a round join and a round cap, highlighted in the diagram below:
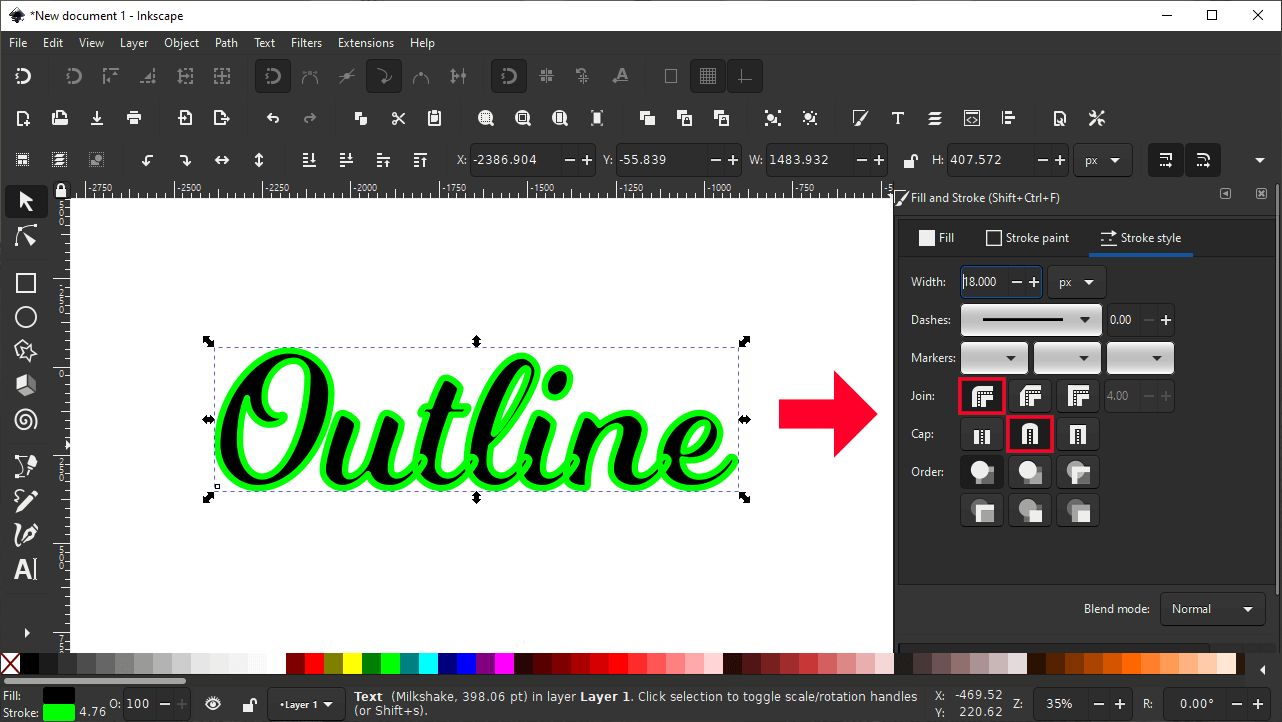
The Join and Cap presets are used to determine whether your corners are rounded, squared, or cut off.
You can also use these presets to give your outline either sharp, round, or cutoff corners. Feel free to experiment with these settings a bit to find the result you like best!
Place Stroke Behind The Text
As you increase the size of the outline around your text, you may notice that the outline is running along the inside edge of the text — as it is in my previous datagrams — rather than the outside.
To change this, look for the Order section located at the bottom of the menu, and choose the Stroke, Fill, Markers setting. It’s the middle icon in the top row:
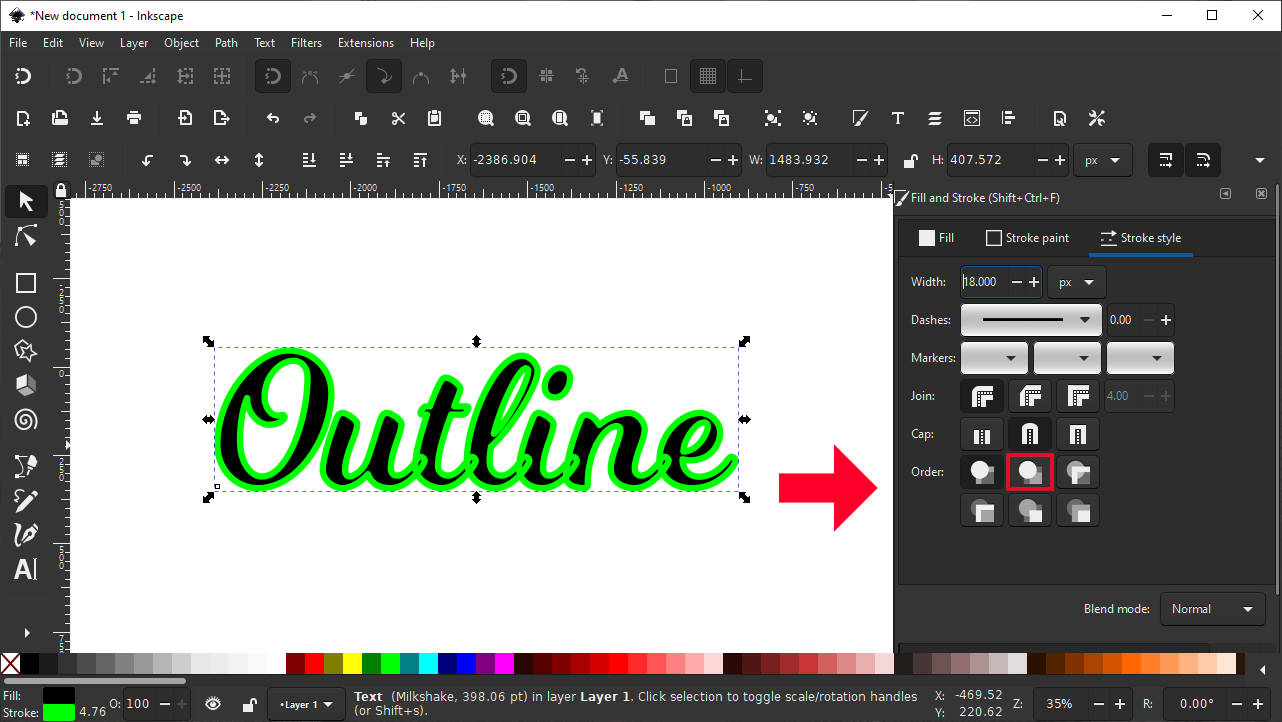
A label indicating the setting’s properties will populate if you hover your cursor over it.
This should place the stroke around the outside of your text, and behind it:
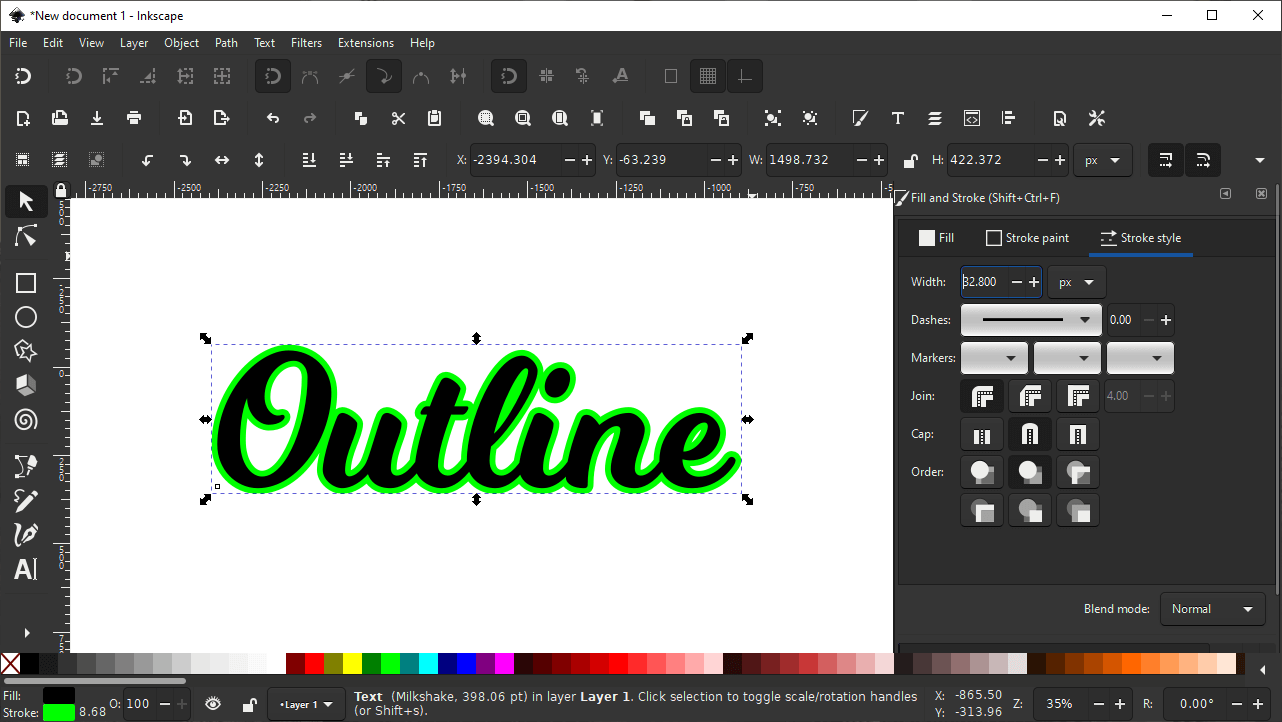
How the text looks with its outline placed around the outer edge of the text rather than the inner edges.
Change Outline Color
Finally, chances are you probably want to change the color of the outline going around your text. Maybe you’re not happy with the color selections in the palette at the bottom of the screen, or maybe you have a specific color code you’d like to apply.
To set a specific color for your stroke, navigate over to the Stroke Paint tab within the Fill & Stroke menu:
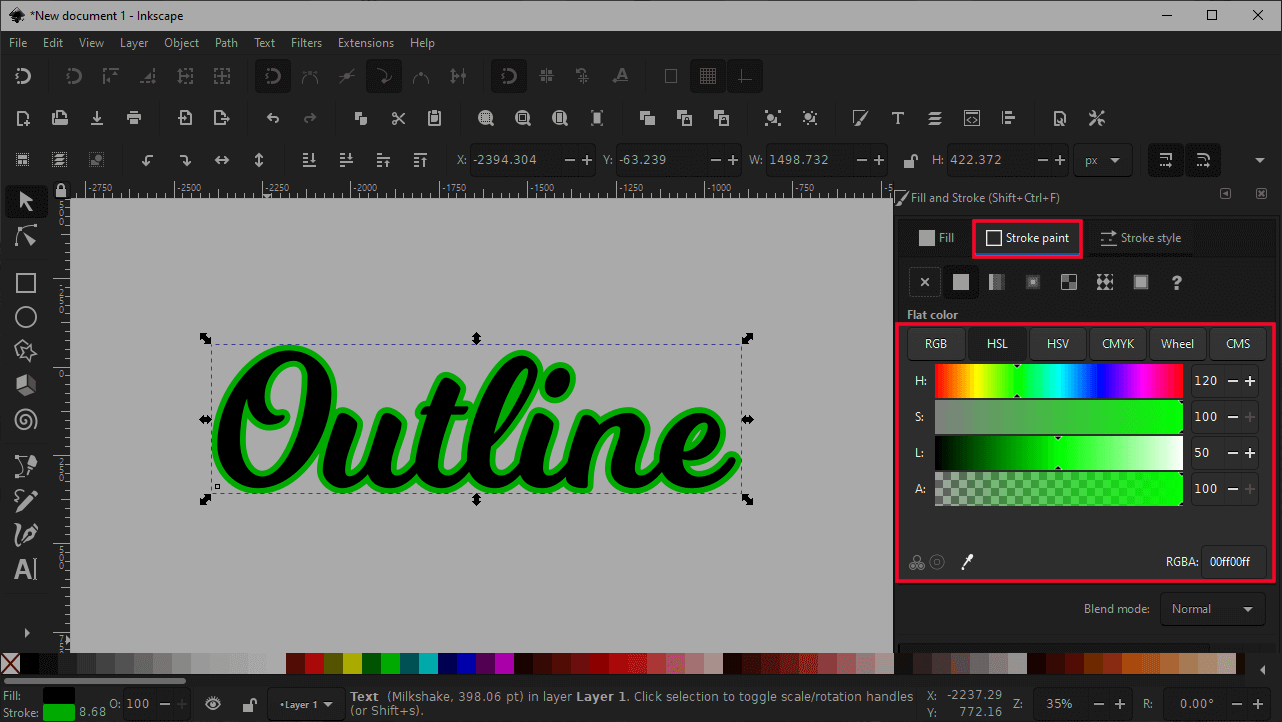
The Stroke Paint tab allows you to change the color of your outline.
Within this tab you can change the color of the outline around your text based on the following criteria:
- RGB
- HSL
- HSV
- CMYK
- Wheel (standard color wheel)
- CMS
- HEX Code (denoted as “RGBA” towards the bottom of the menu)
Choose a color of your choice and you are all set! That is how you can outline text with Inkscape!
Conclusion
You can use the Fill & Stroke menu to do a lot more than just outline text with Inkscape. You can also create dotted lines, create offsets that you can use for multiple outlines, and you can also apply all types of gradients to your outlines as well. These are all features that I go over in detail in my Inkscape Master Class. Check it out if you’d like to learn everything that there is to know about Inkscape. The first lesson is on the house, and we even have a private community with thousands of members where I can provide one-on-one help if needed.
If you have any questions, or if any part of this lesson was unclear, just leave a comment below. As always, thanks for visiting!
Learn To Master The SoftwareGain a complete understanding of your favorite design apps with my comprehensive collection of video courses. Each course grants access to our private community where you can ask questions and get help when needed.
|
||||||||||||||||||||||||||||||||


Nice on Nick!!! Some of those stroke defaults were messing with me, your guide is concise and helpful. Thank You
Hey Nick, I see in your conclusion you mention multiple outlines. I want to outline black text in white, and then have a thin outside black outline around the white. Is this doable? Thanks.
Absolutely. Just create a duplicate layer of the text, lower it beneath the original text, and then make the stroke larger so that it protrudes out from behind the original text.