Create T Shirt Product Mockups with GIMP
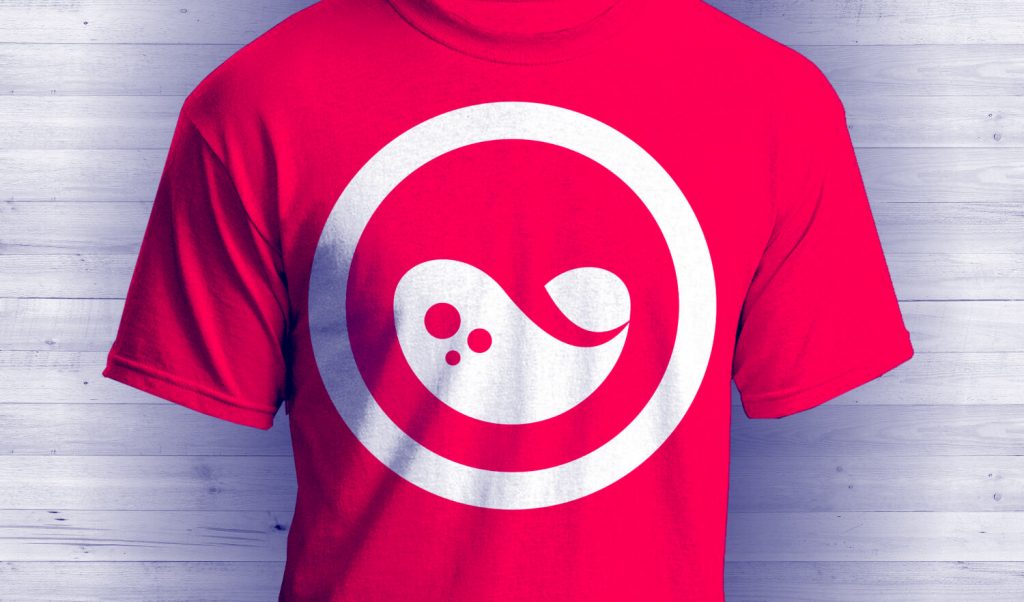
Create T Shirt Product Mockups with GIMP https://logosbynick.com/wp-content/uploads/2018/10/t-shirt-mockup-gimp-1024x602.jpg 1024 602 Nick Saporito https://secure.gravatar.com/avatar/8e31bf392f0ba8850f29a1a2e833cdd020909bfd44613c7e222072c40e031c34?s=96&d=mm&r=gIn today’s tutorial I’ll be demonstrating how you can take a design and superimpose it onto a blank t shirt using GIMP.
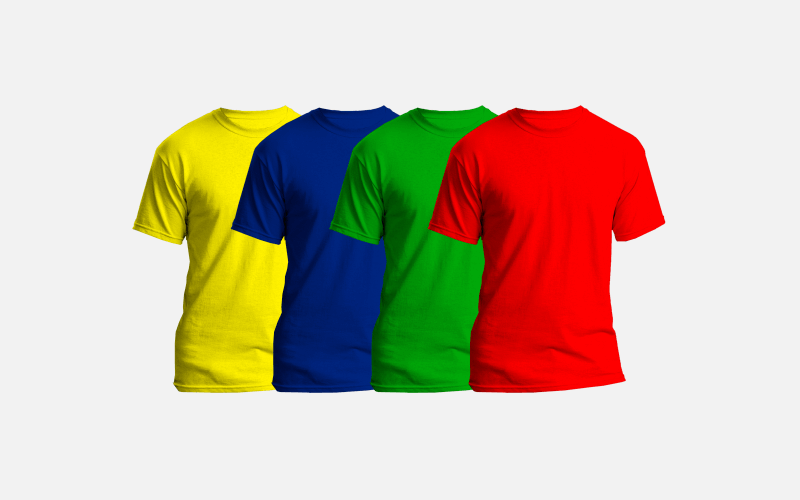
I’ll also be demonstrating how to create the shirt in a variety of different colors.
GIMP T Shirt Mockups
The first thing we’re going to do is open up the blank t shirt photo with GIMP.
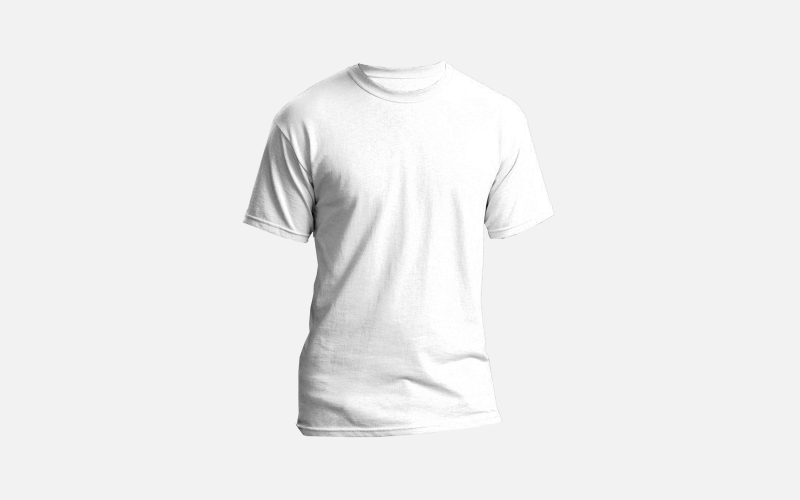
The image is a PNG file with a transparent background, so it should open in GIMP with a checkerboard background. Click the image below to download the blank shirt photo…
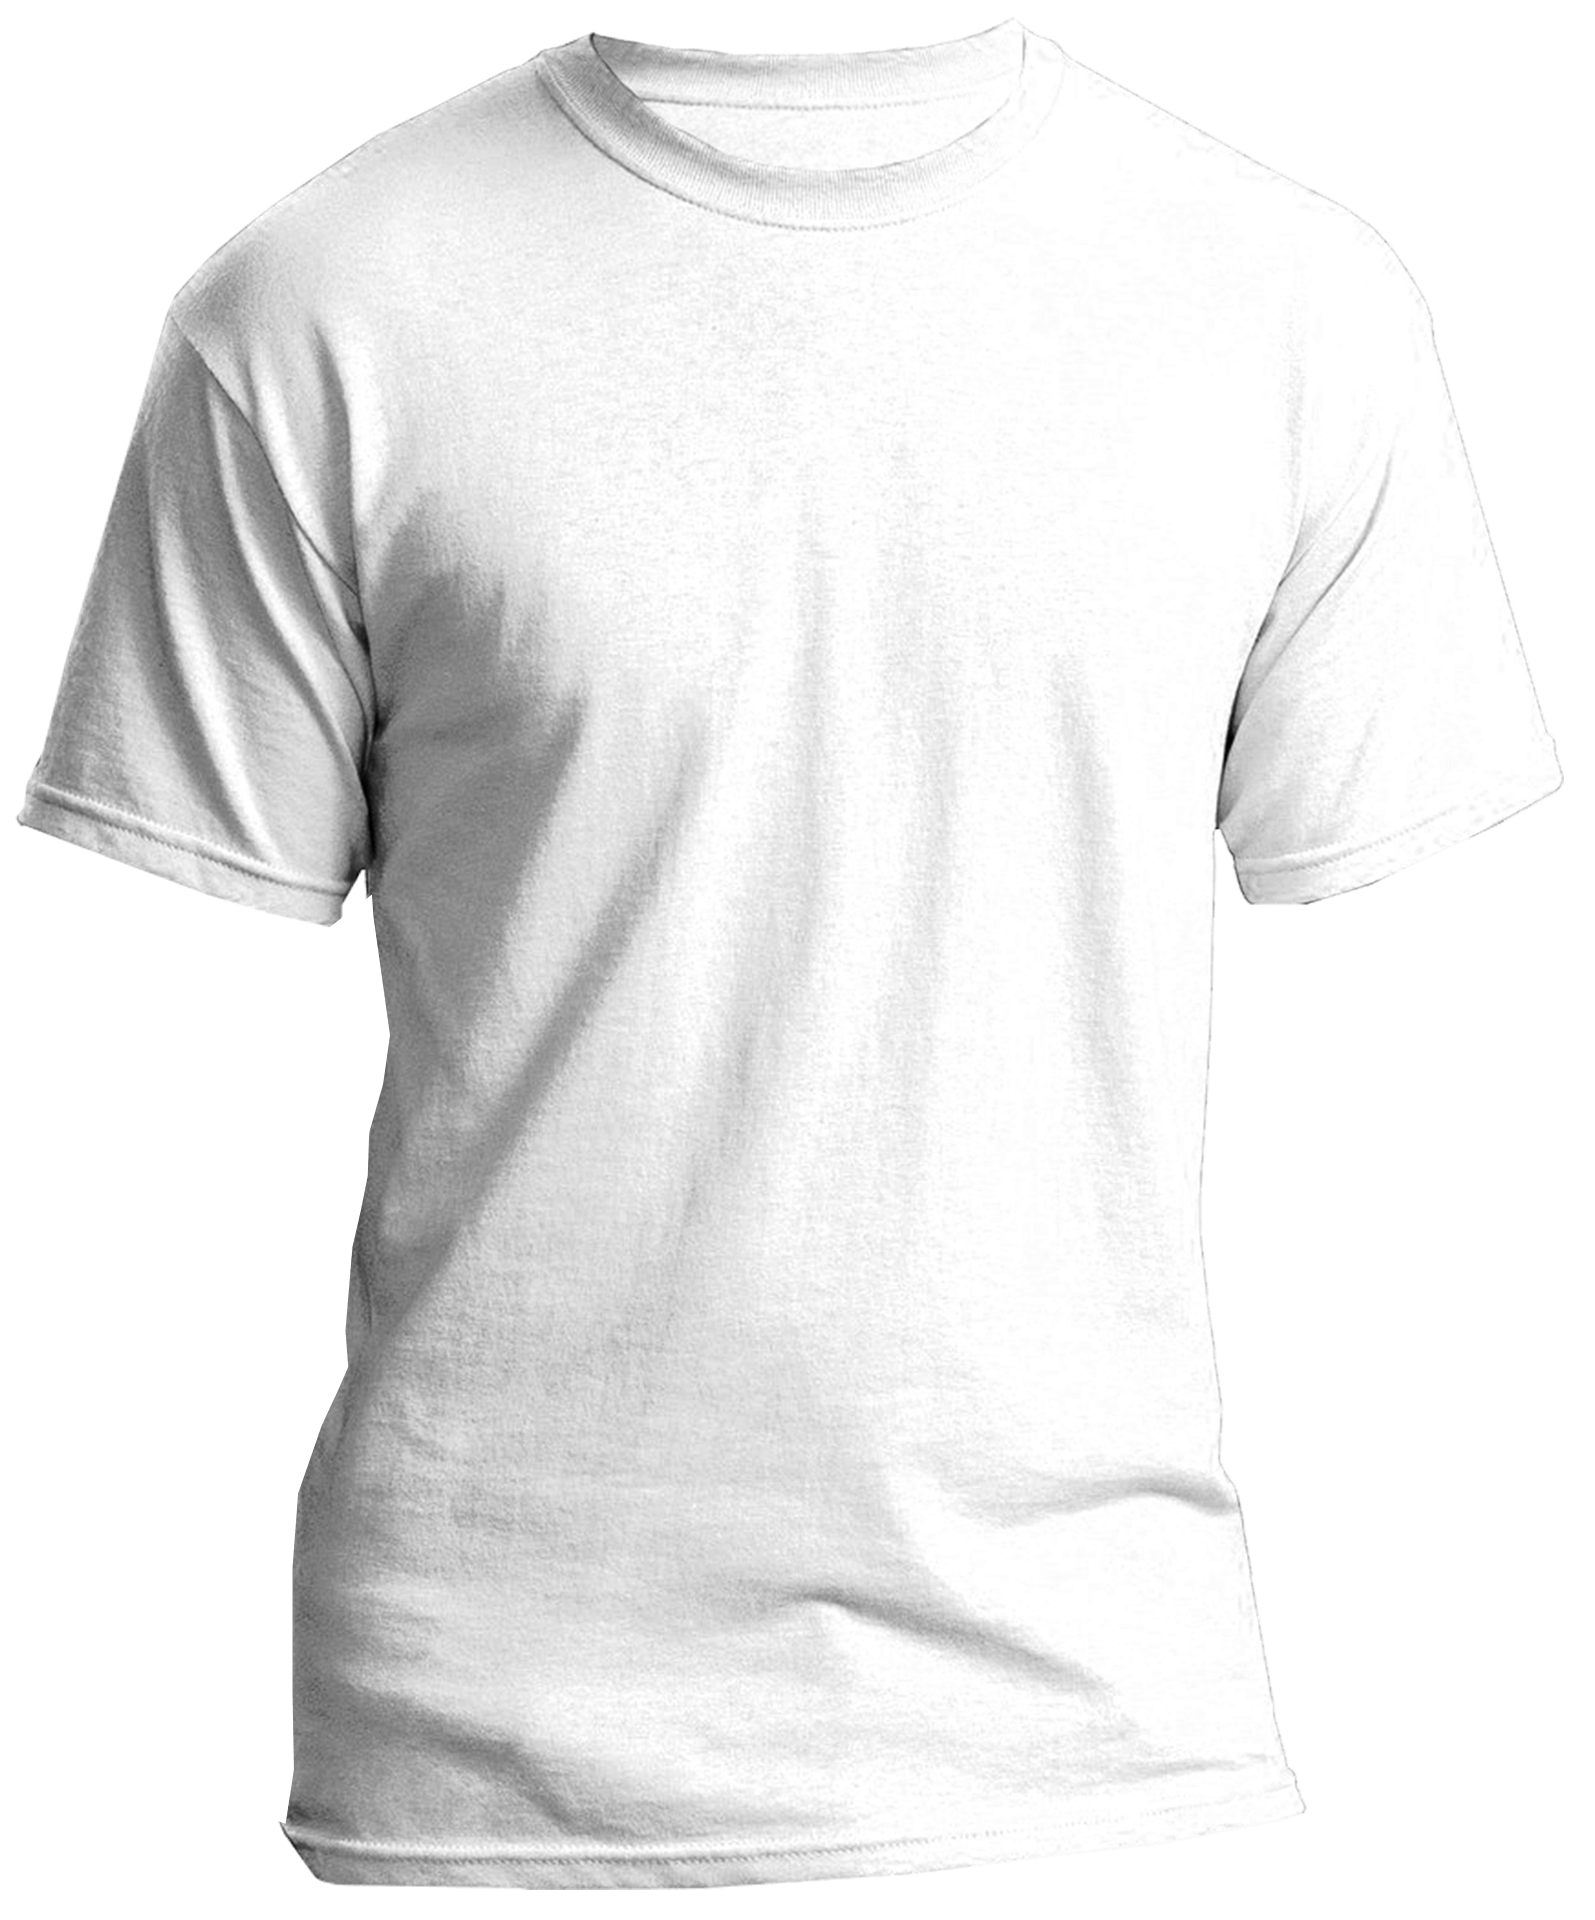
Click to download full size image
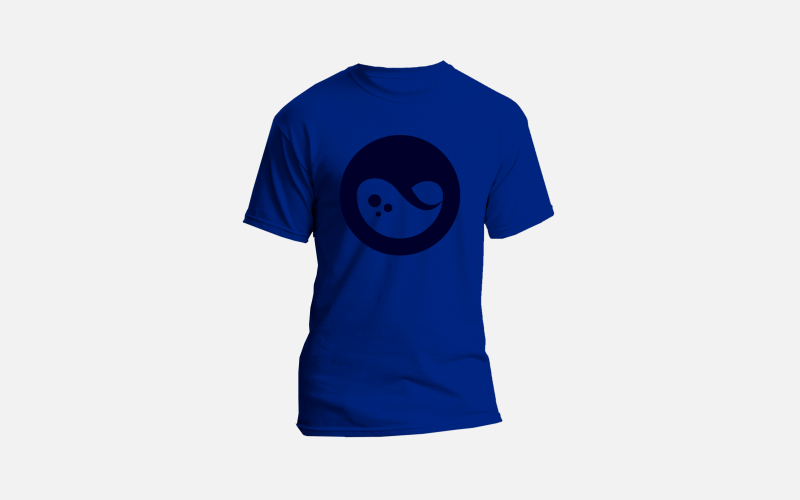
Next, we’re simply going to import our graphic as a new layer and set the blend mode to Darken Only. This will make it appear as if the graphic is printed onto the shirt, with crease lines and shadows included.
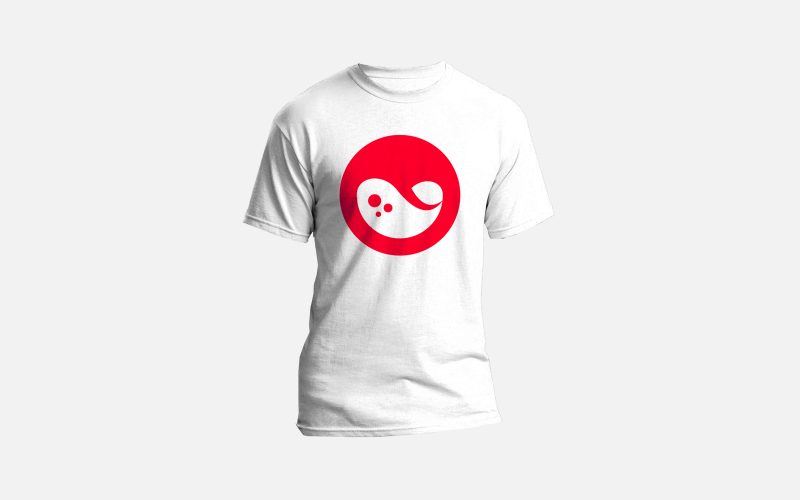
Make sure that the design you import is a PNG file with a transparent background. If you don’t have one on hand and would like to follow along with the tutorial for the sake of learning this technique, you can use the example liquid logo.
Click to download full size graphic
That completes the mockup process for white shirts. The process for coloring in the shirts is a little more involved, but still very simple.
Create a new layer above the shirt layer, set the mode to Multiply, then fill the layer in with whatever color you’d like the shirt to be. Please note that it’s going to change the appearance of the logo as well.
To fix this, we just have to delete a segment of the color layer so that the logo and can show through as it’s supposed to.
Right click on the layer with the logo on it and select Alpha to Selection. This is going to create a selection around your logo…
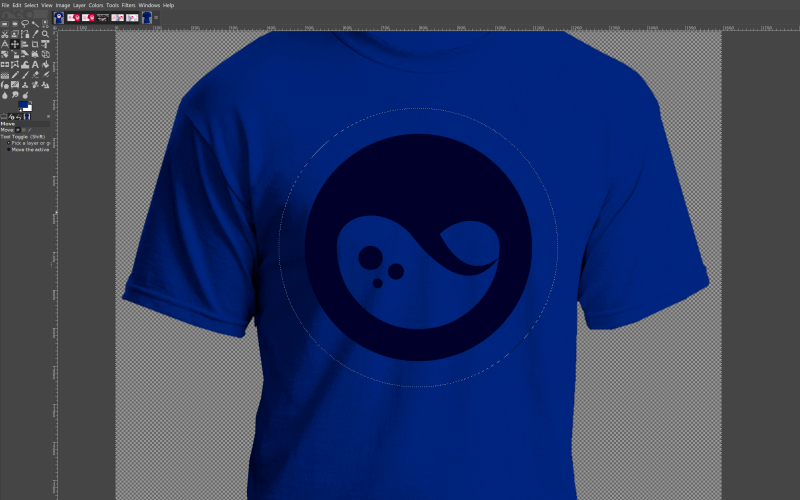
Now click on the color layer and simply press Delete on your keyboard, or if you’d using a Mac, go to Edit > Clear.
As a result, the logo will now show through the deleted area…
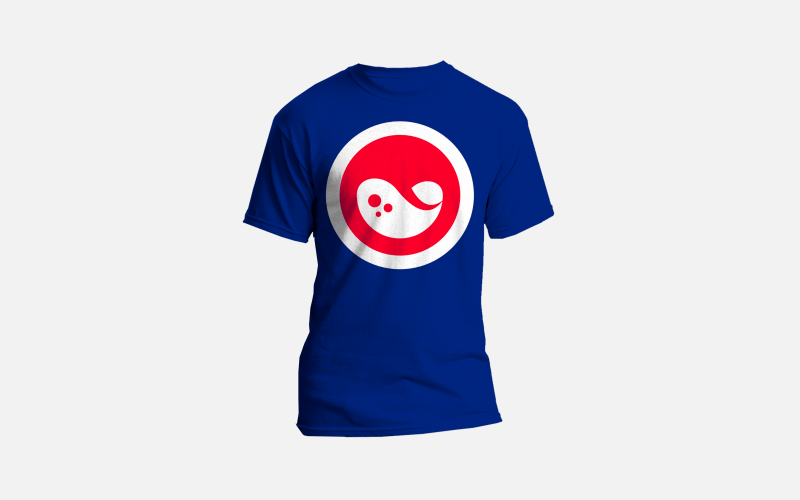
And with that, we are done! We’ve created our t shirt mockup.
Video Tutorial
For complete step-by-step instructions with voice narration, please refer to the video tutorial below. If you have any questions let me know, and as always, thanks for watching!
Learn To Master The SoftwareGain a complete understanding of your favorite design apps with my comprehensive collection of video courses. Each course grants access to our private community where you can ask questions and get help when needed.
|
||||||||||||||||||||||||||||||||


so i click download shirt from this site and all it does is pull up the shirt in a new window where i have to save it. so i did that. opened it up in gimp, when i went to try and do the color change when i fill with foreground color the color just fills with gray. yes i created the new layer as instructed but on that layer every color i pick it just displays gray. so i tried another image and determined that the shirt mockup i got from here just doesn’t work anymore with the newest version of gimp 2.10.30, i don’t know what else to do.
Go to: Image > Mode > RGB
How can I make a mockup with a black tshirt? All my shadows disappear when I change the foreground color to black and the “darken only” mode doesn’t work on the black tshirt photo I have
Try cycling through some of the other blend modes.
So, i’m trying to help Design a Paintball team jersey using gimp and im using “splatter brush” but they are basically all pixels when i zoom in a bit, is this the wrong way to go about it?
That’s how pixel-based imaging works. It becomes pixelated as you zoom in.
can we use this tshirt mockup for commercial purpose?
Sure
First of all, thanks for the video! It really helped me! From where do you got the mockup? I need some mockups for Hoodies and T-Shirts for my new project.
Hi Nick,
Thanks for the tutorial, it is great as always.
I am not able to achieve the same result by using my own logo (.png file). When I change blend mode to “darken only”, nothing happens.
Please help!
Are you sure that you have the correct layer selected? If so, right click the layer and see if you can click “add alpha channel”
Thanks for the tip, I did have the correct layer selected and my layer has an alpha channel. I can see other layer modes having some sort of effect e.g. “overlay” mode seems to work but it changes the color.
I have added a white outline to my logo (as it is in your logo) and it works with “darken only” but I can’t have a white outline because it is visible on dark background.
Is there any other way to make it work without adding a white outline?
Im having the same issue, not sure what to do.
I made this:

The logo I made from this:

My little sister who adores Changbin (kpop; StrayKids) will love it. WIll try make one much better.
Took me three hours and multiple tries to adjust to Gimp’s fussiness.
Thank you, Nick!!!
Nice work!
Is there a download for the back of the shirt?
I don’t think so, sorry.
Yeah, that’s too bad. Many of us have shirts with imagery on both sides. If I find any I’ll let you guys know.
After the mock-up is there a way to make a random flame design?
Thanks, that was so easy! I ran into an issue, maybe you can advise me on what is happening? Even though I changed the color to the same blue in the color picker it showed up as dark gray when applied. I tried to use other colors and each hue shows up in grayscale when applied.
Try going to Image > Mode and making sure RGB is selected.
tnx bro
i want ask you about GIMP and PS
witch one are good for tshirt design special for editing design not from scratch
i am using W7 and PS and i want to back to Linux elementary OS JUNO and i dont like to use PS on wine
i used Inkscape before but its not powerful as PS special on background erase
Inkscape isn’t trying to be Photoshop, it’s trying to be Illustrator.