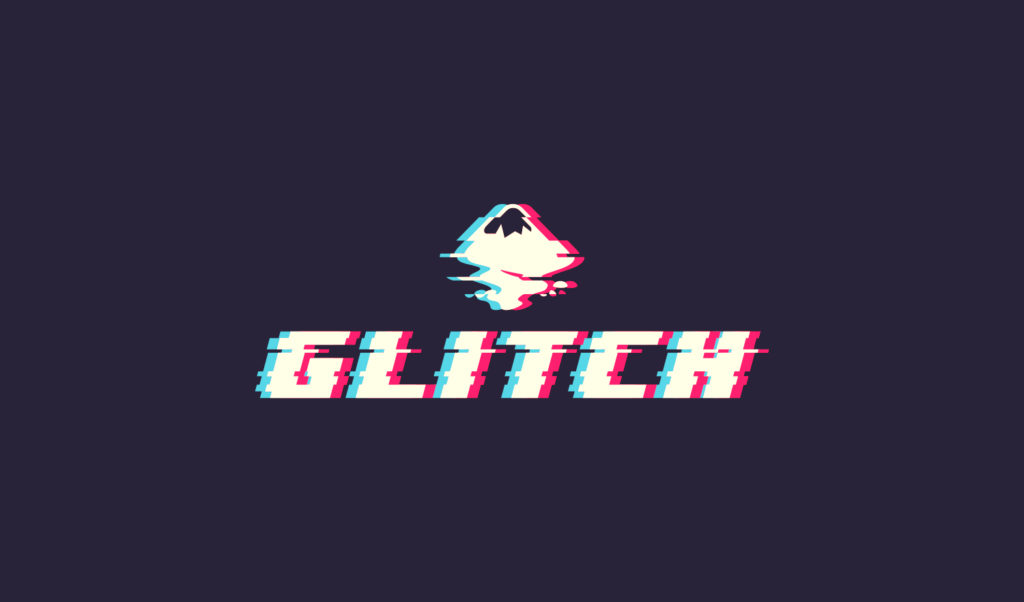
Create A Glitch Effect with Inkscape
Create A Glitch Effect with Inkscape https://logosbynick.com/wp-content/uploads/2018/05/vector-glitch-effect-inkscape-tutorial-1024x602.jpg 1024 602 Nick Saporito https://secure.gravatar.com/avatar/8e31bf392f0ba8850f29a1a2e833cdd020909bfd44613c7e222072c40e031c34?s=96&d=mm&r=gIn a previous tutorial I demonstrated how you could create a glitching text effect using GIMP. In today’s tutorial, I’ll be demonstrating how you can do so with Inkscape, so you can reap all of the benefits of working with vector graphics.
The following is a brief overview of the steps taken to achieve this effect. Proceed to the end of the post for the complete video tutorial with step-by-step instructions.
8 Bit Wonder Font
For this tutorial I used a font called 8 Bit Wonder. You can use whatever font — or vector design — you’d like though. You don’t necessarily need to use this font, but if you’d like to, it can be downloaded for free here: https://www.dafont.com/8bit-wonder.font
Inkscape Glitch Effect
To get started, we’re going to generate some text, sheer it to the right a bit, and increase the spacing between the letters. Then convert it to a path, ungroup it and unify all of the letters together.

Next, create some rectangles that vary in height going over the text sporadically. Make sure the rectangle are wider than the text, and you might want to make them a different color than the text and lower their transparency to 50% so you can see the text beneath it as I’ve done.
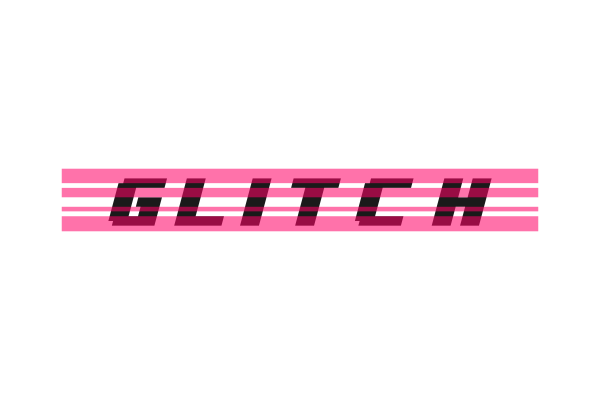
Those rectangles will now be used as a reference point to break up the text into individual pieces using the Division function in Inkscape. Once completed, unify each horizontal row together and randomly shift them left and right as depicted below.

Next, we’ll simply create two copies of what we have so far, color them blue and pink respectively, then lower them beneath the original text. Shift the blue copy to the left and the pink copy to the right.

Finally, we’ll use the Edit Paths By Nodes tool to select everything and tighten up the letter spacing a bit.
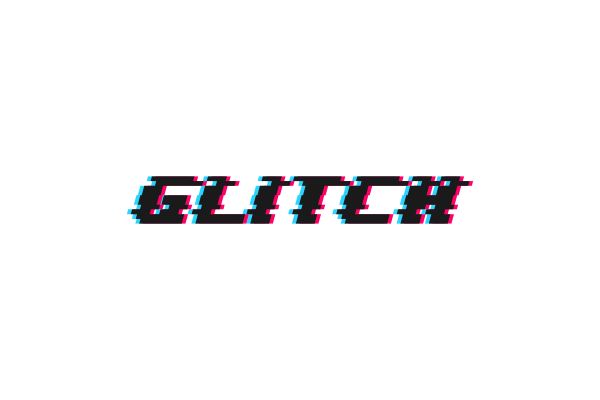
And with that, our glitched text effect is complete!

Video Tutorial
For complete step-by-step instructions with voice narration, check out the video tutorial below. Feel free to let me know if you have any questions, and as always, thanks for watching!
Learn To Master The SoftwareGain a complete understanding of your favorite design apps with my comprehensive collection of video courses. Each course grants access to our private community where you can ask questions and get help when needed.
|
||||||||||||||||||||||||||||||||


I designed a banner for my friends YT Channel using this effect and some other ones!
Awesome! 👍
hi just wanna ask how to download and put the downloaded font on inkscape? btw that was a great glitch effect tutorial. 🙂
I have a tutorial for that here: https://logosbynick.com/how-to-add-fonts-to-gimp-and-inkscape/
Interesting effect. Thank you for sharing.
Interesting effect. Thank you for sharing.