How To Design A Logo with GIMP
How To Design A Logo with GIMP https://logosbynick.com/wp-content/uploads/2018/01/gimp-design-logo-1024x602.png 1024 602 Nick Saporito https://secure.gravatar.com/avatar/8e31bf392f0ba8850f29a1a2e833cdd020909bfd44613c7e222072c40e031c34?s=96&d=mm&r=gI usually don’t recommend using raster graphics applications like GIMP and Photoshop to design logos — a logo is best made with vector applications like Inkscape and Adobe Illustrator — but if GIMP is what you’re most comfortable with and you just need a simple logo for basic web use, you can get away with it. Just make sure that you create the design at a large size, because unlike vectors, you can’t scale raster images up without quality loss. So I’d recommend sizing it at 1,920 pixels at minimum. The larger the better, of course.
Before you open up GIMP, make sure to download and install the following font: Mattilda. This is the font we’ll be using for our text (it’s a free font.)
That said, let’s get started. Feel free to skip down to the bottom of the page for my step-by-step video tutorial with voice narration.
Designing A Logo with GIMP
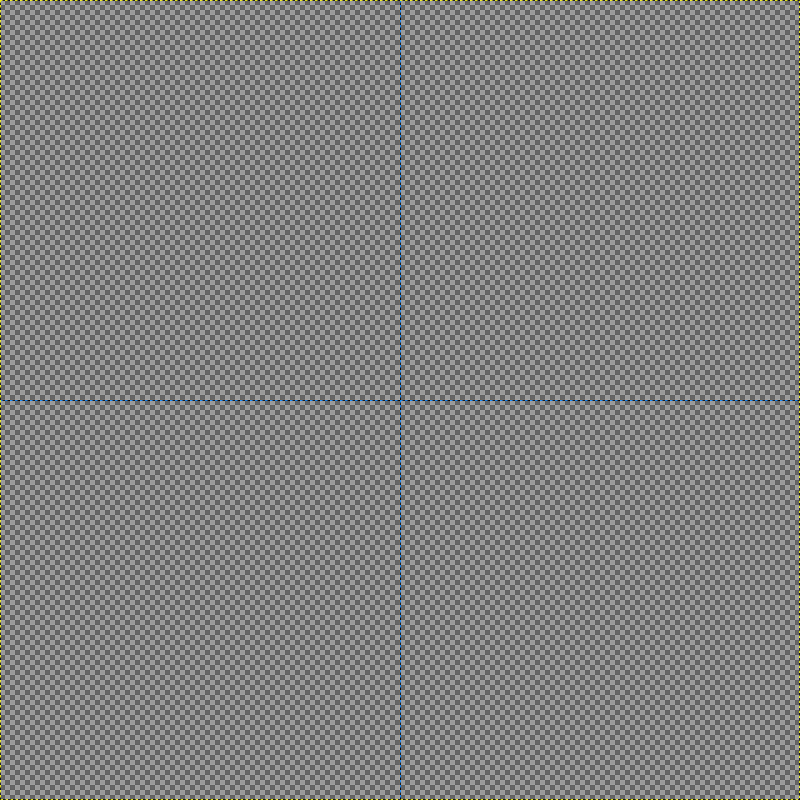
The first thing we’re going to do is create a new document with a transparent background, and at 1,920 x 1,920 pixels. Go ahead and add some guides at 50% both vertically and horizontally, and make sure you have both Snap to Guides and Snap to Canvas Edges enabled.
Creating the Base
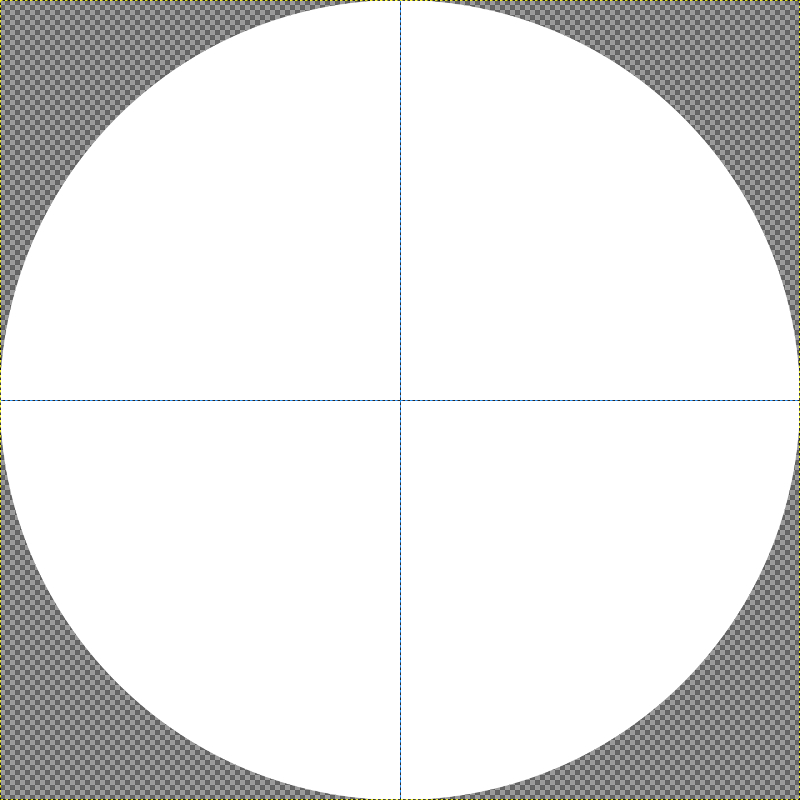
Using the interesting area of the guides as a starting point, create a perfectly round circle that extends to the edges and fill it in with white.
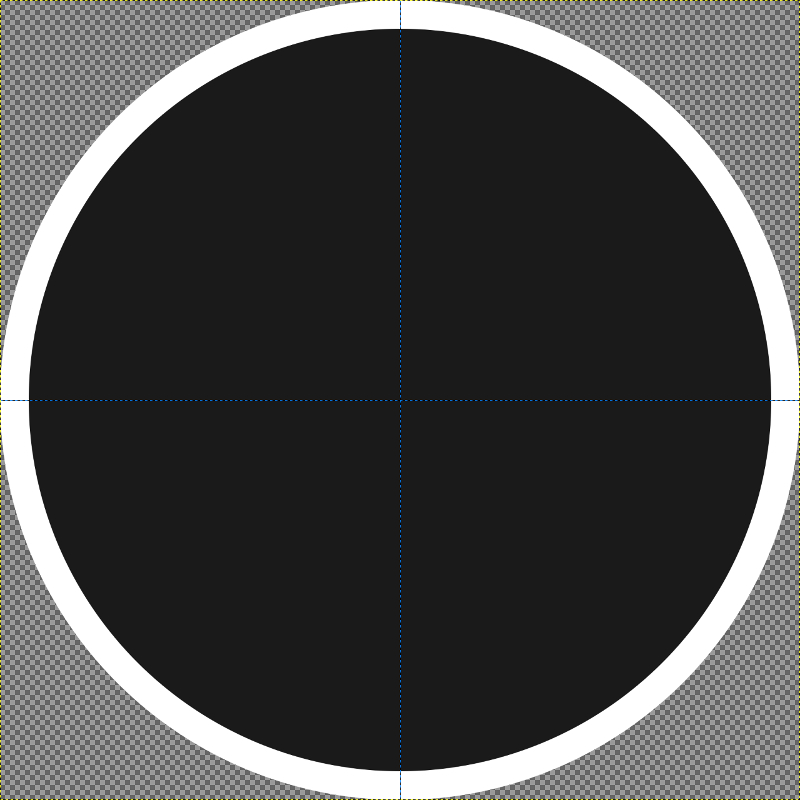
Repeat the previous step, only place the circle on a new layer, make it slightly smaller, and fill it in with the HTML notation 1A1A1A.
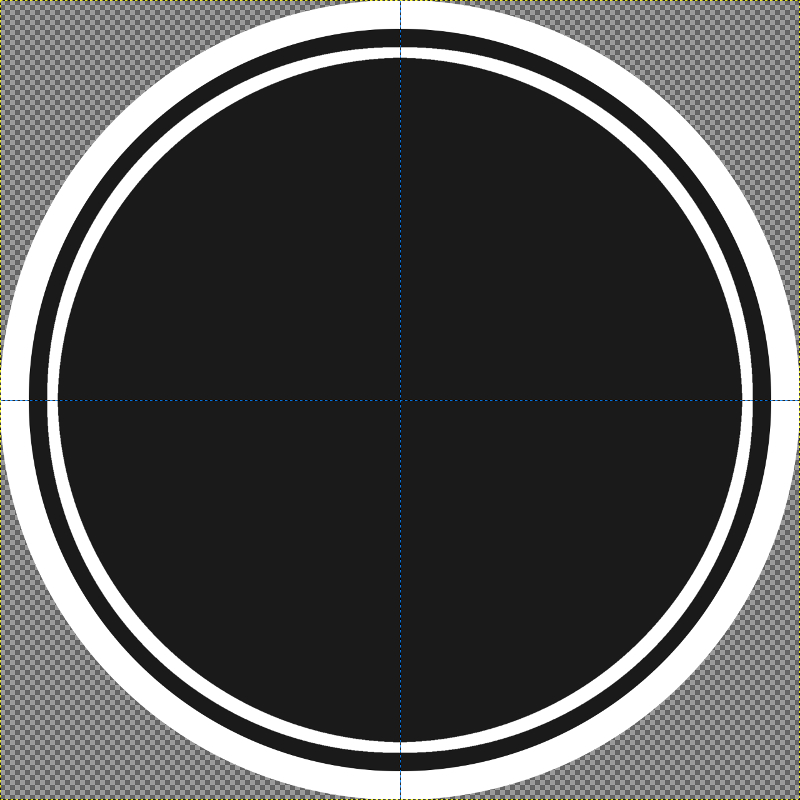
Again, we’ll create another layer and another slightly smaller circle, only instead of filling it with a color we’ll add a 25 pixel stroke in white.
Adding the Tabs
Now we’re going to add a couple of tabs on both the top and bottom, so turn off the visibility of all layers and create a new layer (that is visible) and create a rectangle selection at the top of the canvas, then fill it in with 1A1A1A. Autocrop the layer, then align it to the center of the canvas vertically.

Use the Rectangle tool to create a perfectly symmetrical white square on a new layer, rotate it 45 degrees, set the opacity of the layer to 50% and center it vertically towards the bottom of the gray rectangle, as depicted below.
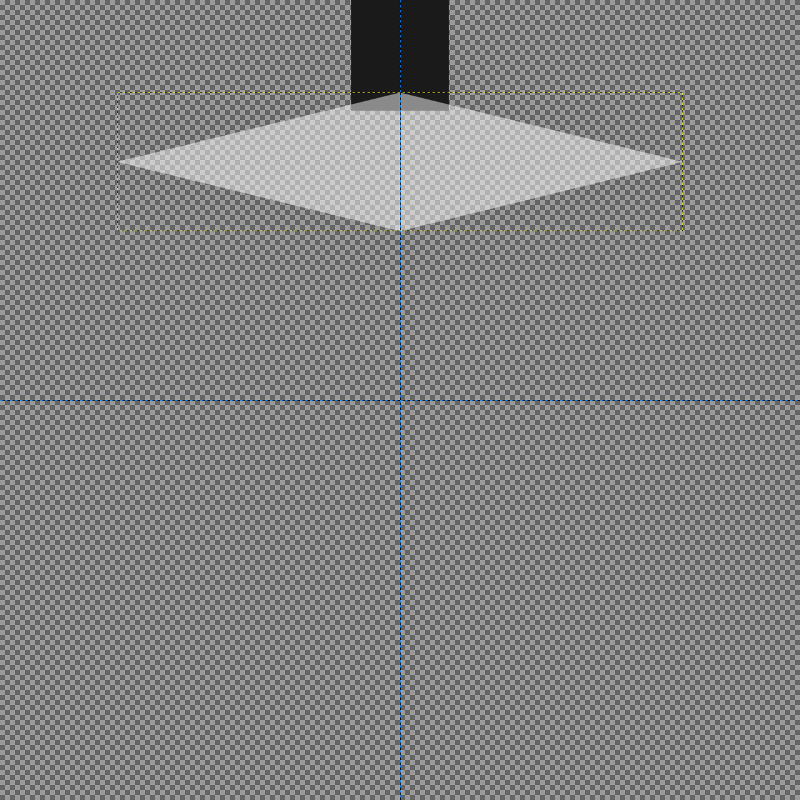
Use that newly rotated rectangle as a reference point to delete the bottom portion of the gray rectangle, leaving us with the following tab shape…
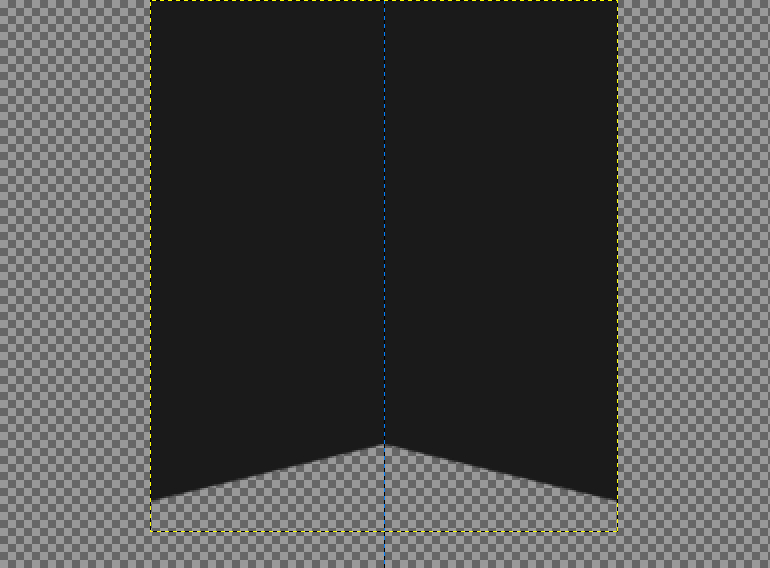
Now duplicate the tab, scale it up a little bit, fill it with white and lower beneath the gray tab layer.

Use the Paintbrush tool to add a white star on top of the black tab, then merge all of the visible layers and change the new layer’s size to fit the image. After that you can turn the visibility of the other layers back on.
![]()
Next, duplicate your tab layer, flip it vertically, then merge it with the original layer and delete the portion of the tabs that protrude past outside of the circle. You can use the white circle at the very bottom layer as a reference point for doing this.
![]()
Add Your Text
Finally, we’ll grab our Text tool and simply add some text on its own layer using the Mattilda font, and with that your logo is complete.
![]()
Video Tutorial
If these steps were a bit too general for you to follow along with then I would recommend watching the video tutorial where I go over everything step-by-step with voice narration. If you have any questions, comments or concerns, drop them comments section below. Thanks for watching!
Learn To Master The SoftwareGain a complete understanding of your favorite design apps with my comprehensive collection of video courses. Each course grants access to our private community where you can ask questions and get help when needed.
|
||||||||||||||||||||||||||||||||


Very useful tips. Gonna use them as soon as I get that GIMP programme.
Very useful tips. Gonna use them as soon as I get that GIMP programme.