Create Line Style Letter Logos with Illustrator
Create Line Style Letter Logos with Illustrator https://logosbynick.com/wp-content/uploads/2020/05/illustrator-letter-logos.png 800 470 Nick Saporito https://secure.gravatar.com/avatar/8e31bf392f0ba8850f29a1a2e833cdd020909bfd44613c7e222072c40e031c34?s=96&d=mm&r=gIn this tutorial I’ll be demonstrating how you can create simple line-style letter logos using Adobe Illustrator.
The following is a brief overview of the steps taken to create these logos. For complete step-by-step instructions, please watch the video tutorial at the top of the page.
Creating Line Style Letter Logos with Illustrator
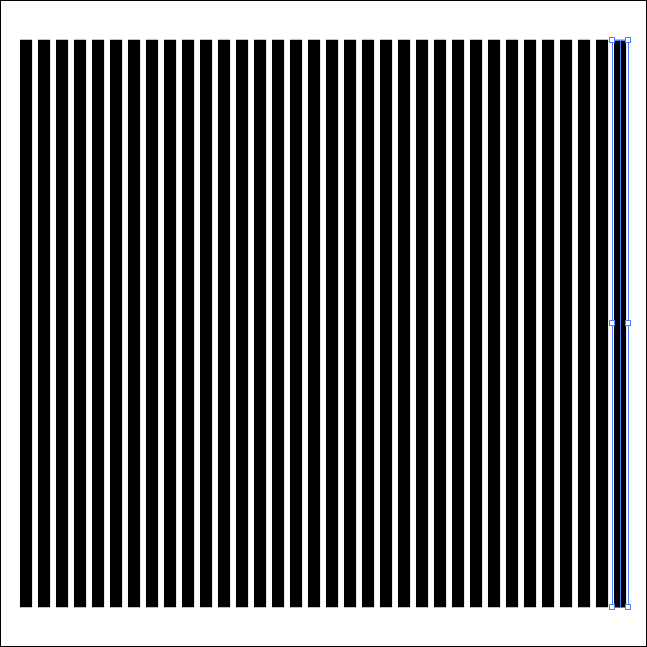
To get started, open up a new document at 1,280 x 1,280 pixels and draw a single vertical stroke on the left side of your page using the Pen Tool.

Make the stroke a little thicker, then duplicate it a bunch of times going across your artboard using control + d.
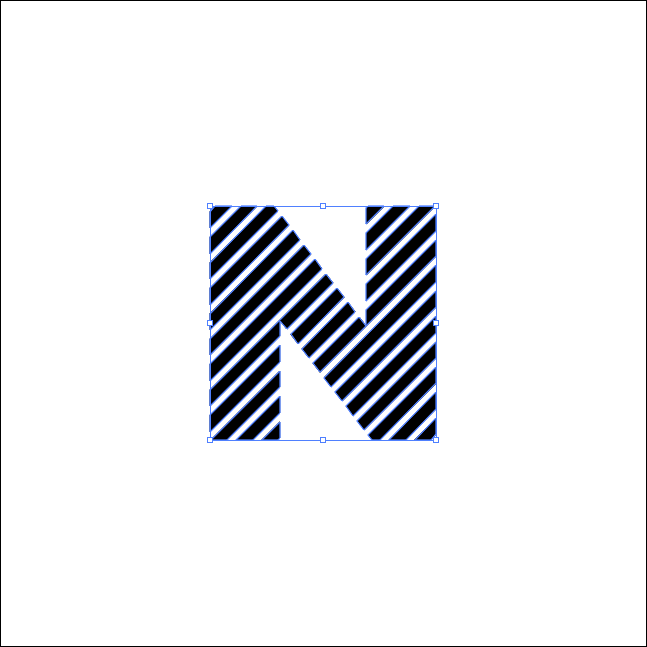
Now rotate the series of lines 45 degrees clockwise, convert them to outlines, and make a compound path of out of them by navigating to Object > Compound Path > Make.

Then, create a letter using the Type Tool and convert it to outlines and center it up over the lines. It may help to reduce the opacity of the lines and the letter so that you can see where they line up with each other.
For this tutorial I would recommend using a thick, heavy-weight font. I’m using Montserrat Black in this example.

Now select both the lines and the letter, then perform an Intersect operating in the Pathfinder menu. This will make the lines take the shape of your letter and combine them both into a single object.
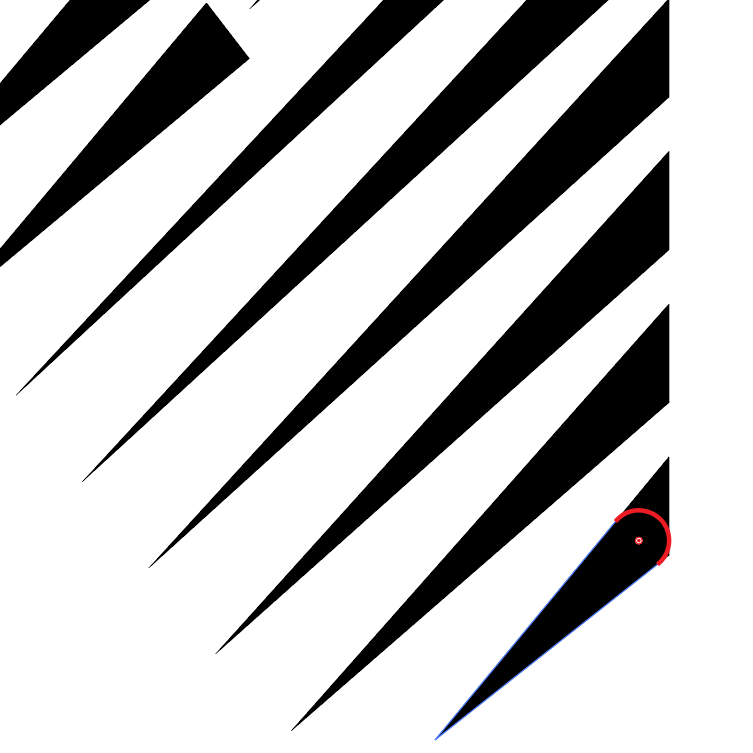
Now it’s time to give the ends of each line pointed tips. To do this, grab the Direct Select tool and click and drag over the two anchor points of a single end of one of the lines in order to select them. Then, right-click and select Average. In the Average menu, choose Both and click OK. This will combine the two anchor points into one.

Go ahead and repeat this process for the rest of the lines.
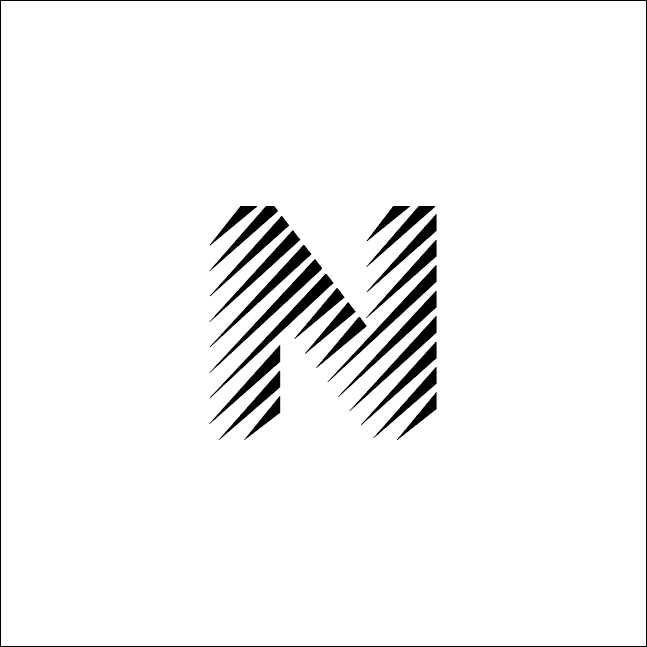
As you can see, we’re left with a pretty nice design as it is. You can finalize this design if you’d like, or if you’d like to make the opposite ends of each line rounded, you can do so with the Direct Select tool.
Simply click on one of the lines and then grab one of the round knobs on the inside of the object to make it rounded.
Repeat this step for the rest of the lines.
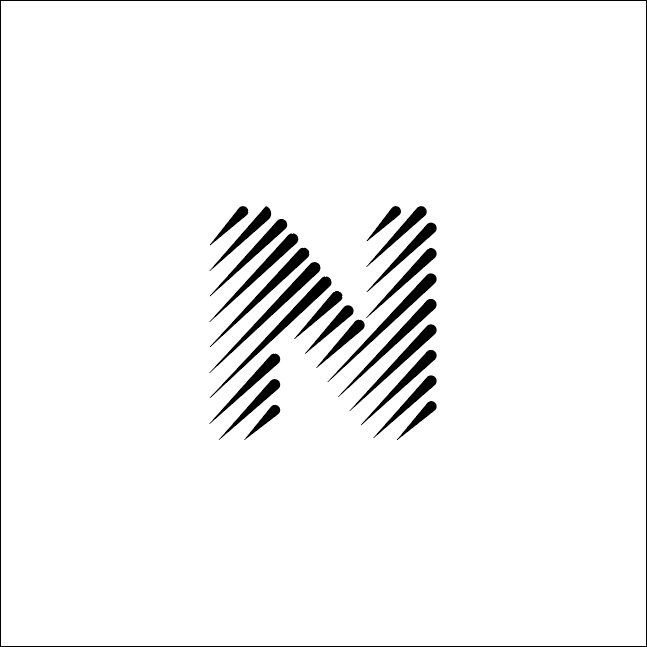
As you can see, we have completed our simple line letter logo with Illustrator! If you have any questions leave a comment below. As always, thanks for watching!
Learn To Master The SoftwareGain a complete understanding of your favorite design apps with my comprehensive collection of video courses. Each course grants access to our private community where you can ask questions and get help when needed.
|
||||||||||||||||||||||||||||||||


