Create A Repeated Background Pattern with Inkscape
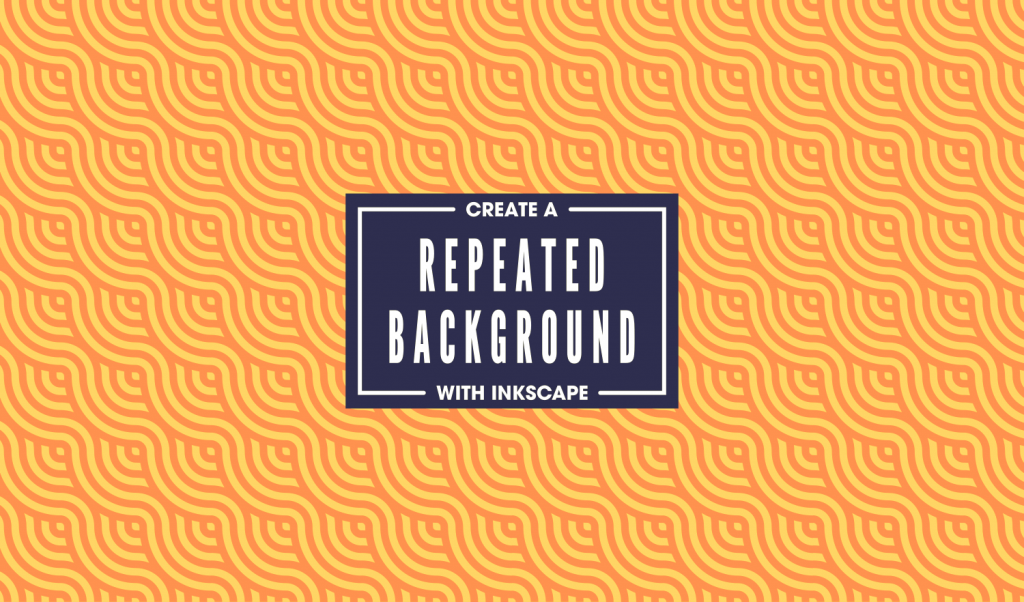
Create A Repeated Background Pattern with Inkscape https://logosbynick.com/wp-content/uploads/2018/09/repeated-background-inkscape-1024x602.png 1024 602 Nick Saporito https://secure.gravatar.com/avatar/8e31bf392f0ba8850f29a1a2e833cdd020909bfd44613c7e222072c40e031c34?s=96&d=mm&r=gIn today’s tutorial I’ll be demonstrating how you can create the repeated background pattern depicted above. The finished design will be a tileable square, meaning you can create duplicate copies and stack them next to each other infinitely.
The following is a brief overview of the process. Skip to the end of the post for the video tutorial which has step-by-step instructions and voice narration that even a first-time user of Inkscape could follow along with.
Creating A Repeated Background
The first thing we’re going to do is create a series of 5 circles, each having a black stroke with a stroke size of 100 pixels. The size of the circles should be as follows: 300 px, 700 px, 1,100 px, 1,500 px, and 1,900 px. Make sure to center all of the circles on the vertical and horizontal axis.

Next, convert all of the strokes to paths and unify them together. Use the Bezier Pen to slice out a quadrant of the circle design, as depicted below.

Create 4 copies and snap them next to each other, as depicted below…

Now create a 5th copy and arrange it as depicted below. I would recommend making it a different color so that you can easily differentiate it from the other objects.

Use the intersecting black object as a reference point to slice the red object…

We can now take the red object and the [previously] intersecting black object and unify them together, then discard the other 3 shapes.

The remaining shape is your tileable background! It should be equal in both width and height, and you should be able to stack copies of it next to each other, creating a seamless pattern.
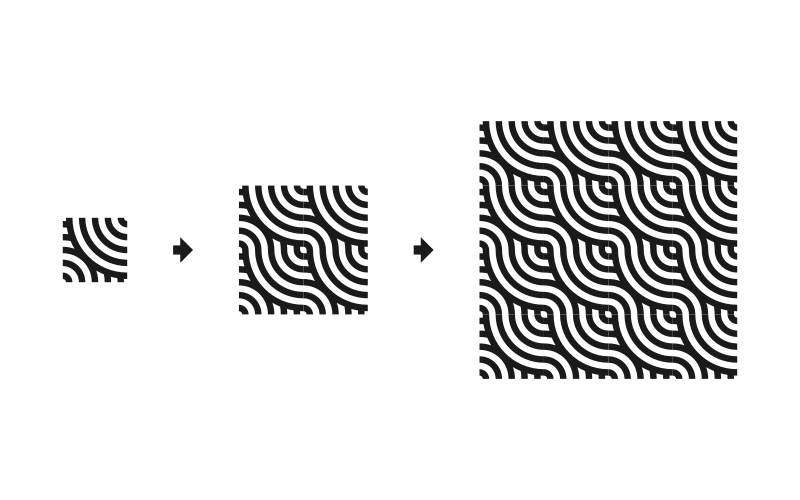
Add your own stylistic touch and you’re done! Our vector repeated background pattern is complete!

Video Tutorial
For complete step-by-step instructions with voice narration, watch the following video tutorial. If you have any questions please do not hesitate to leave a comment below. As always, thanks for watching!
Learn To Master The SoftwareGain a complete understanding of your favorite design apps with my comprehensive collection of video courses. Each course grants access to our private community where you can ask questions and get help when needed.
|
||||||||||||||||||||||||||||||||


hello, Nick,
can you help me, please
I watched the tutorial about making this pattern( using inscape and illustrator) but there are lines between shapes when we duplicate the object(final step).
how we can eliminate that ???
Thank you for the great tutorials!
The use of the Bezier tool to carve out patterns then doing unions, differences, intersections, etc is still very confusing to follow.
Also the text of this message box is light grey versus the white background and thus hard to distinguish; is there something on our end that we can do? If I deselect the comment box, it gets darker and is easier to read though, but when we write in the box, it’s kind of hard to read (at least on my laptop). I don’t have the eyes of a 20 or 30 year-old so my apologies if this seems strange. 🙂
I’ll see about darkening the text. Thanks for pointing that out Patrick!