How To Create Vintage Text Posters with inkscape
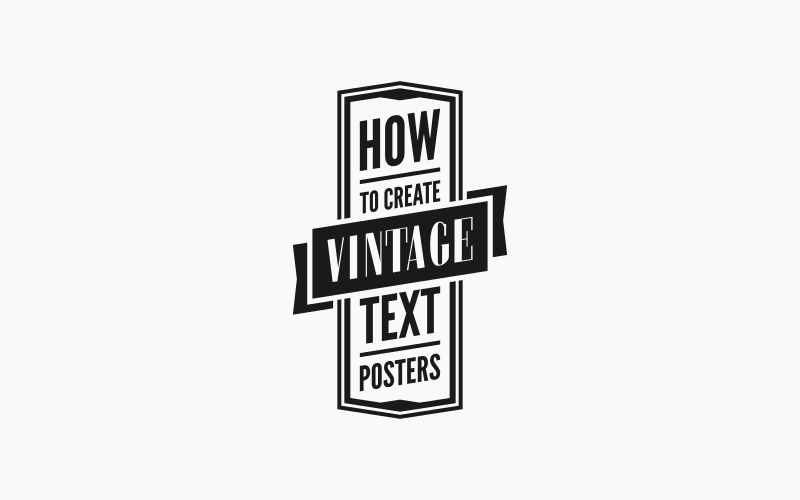
How To Create Vintage Text Posters with inkscape https://logosbynick.com/wp-content/uploads/2020/03/vintage-text-posters-inkscape.jpg 800 470 Nick Saporito https://secure.gravatar.com/avatar/8e31bf392f0ba8850f29a1a2e833cdd020909bfd44613c7e222072c40e031c34?s=96&d=mm&r=gIn today’s tutorial I’ll be demonstrating how to create a vintage-style art deco poster using Inkscape. The text objects will be stacked on top of each other with a banner in the center. We’ll also be doing a bit of texture masking to give the design more of an aged look.
The following is just a brief overview of the steps taken to create these text posters. For complete step-by-step instructions please watch the video tutorial:
Tutorial Resources
The resources we’ll be using for this tutorial are as follows…
Create A Vintage Text Poster
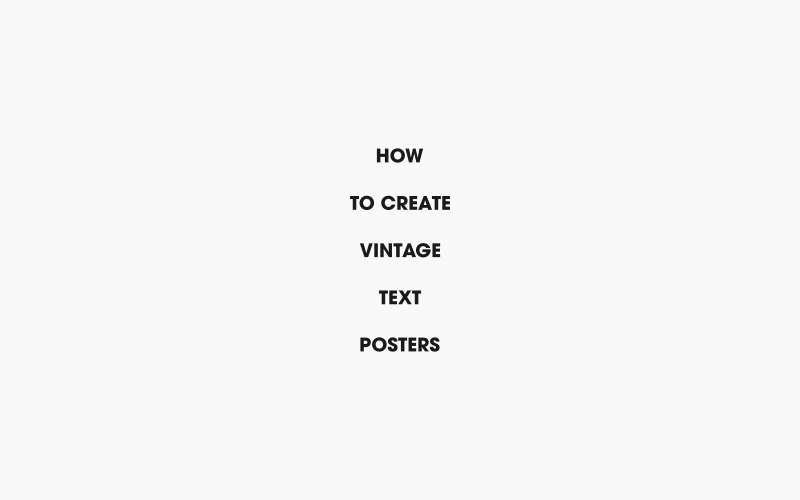
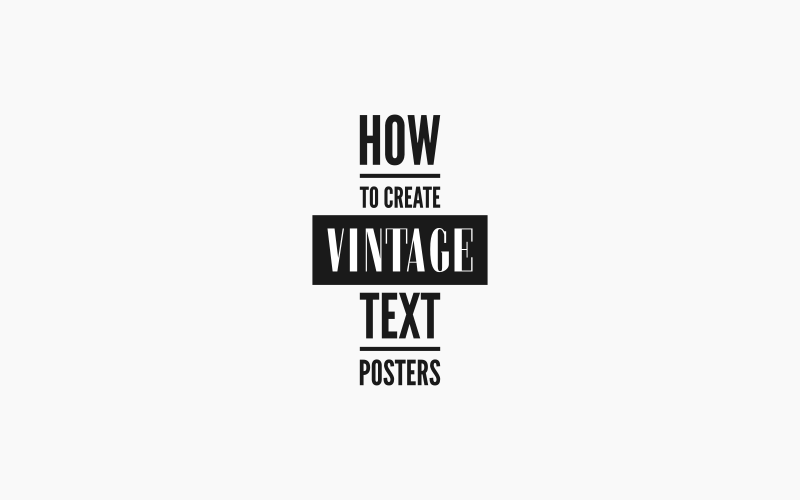
To get us started, the first thing we’re going to do is create separate lines of text for our poster.
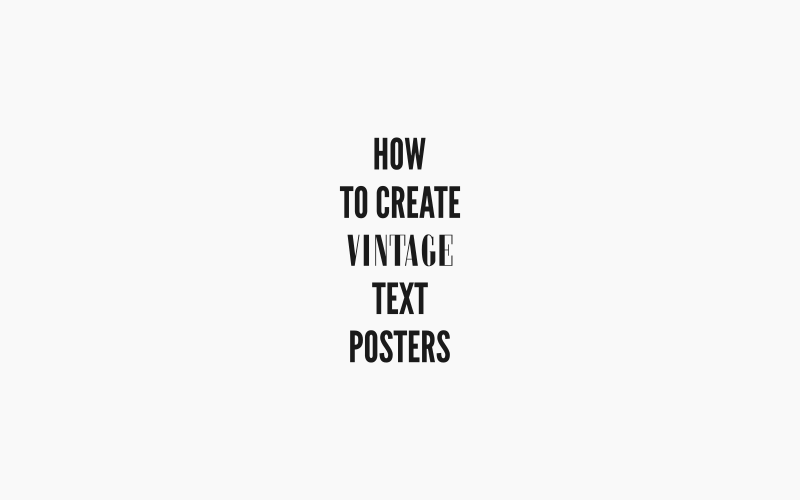
Then we will apply the fonts listed in the resources section above. I’ll be using League Gothic for all of the text objects except the middle text object (“VINTAGE”) which we will use Zabatana for.
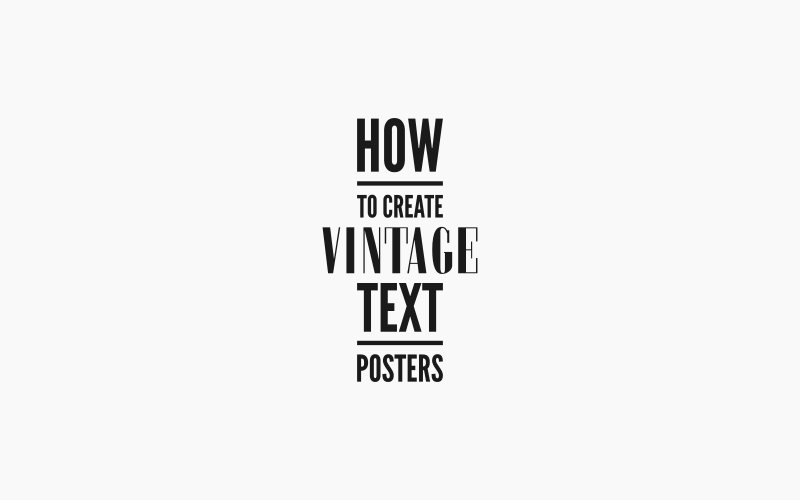
Next we’re going to size up all of the text objects so that they’re all equal in width, except for the middle text which will be fairly larger.
Now we’re going to create a rectangle over the middle text object that will represent a banner.
We’ll add some fish tails to the banner and create a slightly larger red offset.
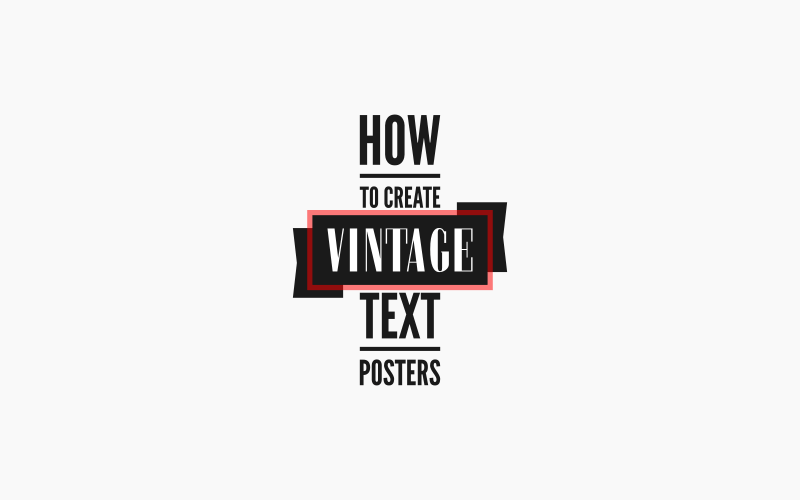
Now we’ll use that red offset to subtract from the fish tails of the ribbon.
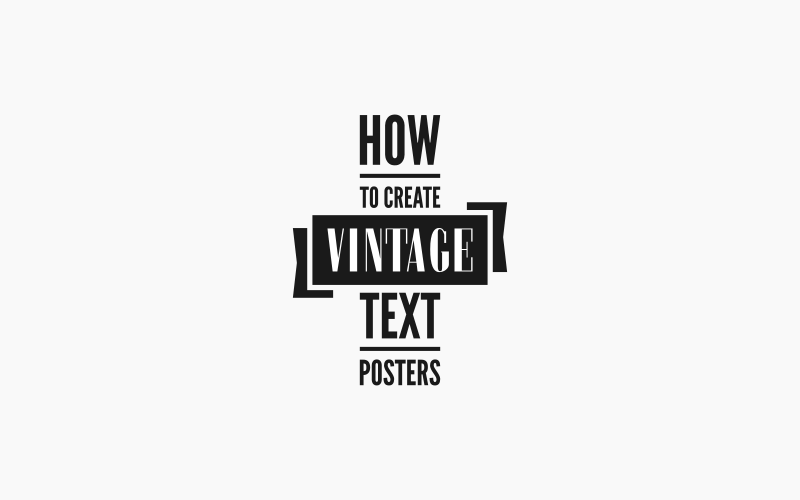
Next we’re going to shear the text up slightly.

Then we’ll create a border going around the outside of the stacked text.
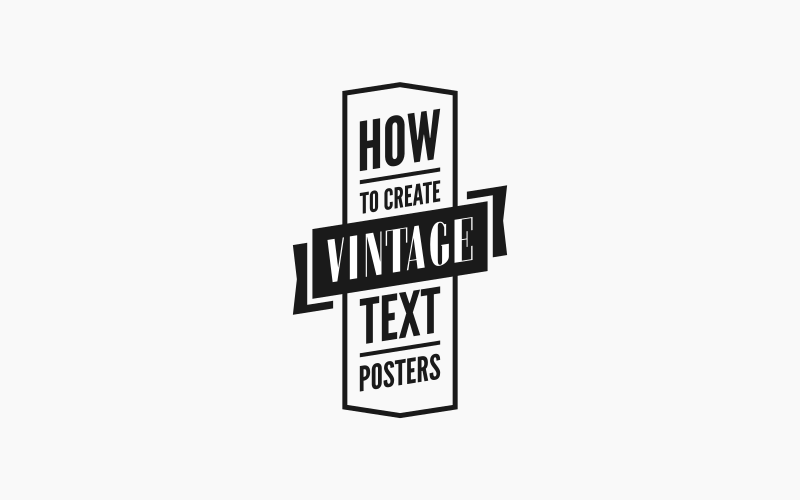
We’ll add another slightly smaller outer border as well.

And then we’ll add little accent pieces to the top and bottom corners of the border.
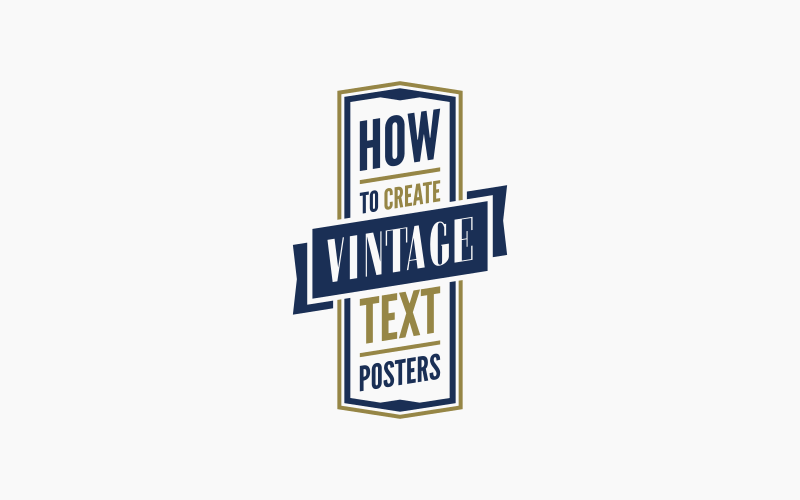
Now we can go ahead and add some color.
And the final step will be to apply our grunge texture as a mask.
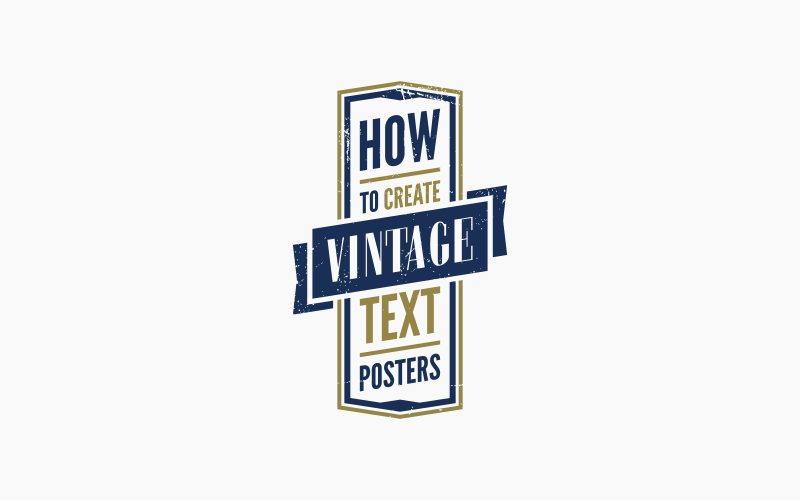
And that should do it for our design. That is is how you can create vintage text posters with Inkscape. If you have any questions simply leave a comment below. As always, thanks for watching!
Learn To Master The SoftwareGain a complete understanding of your favorite design apps with my comprehensive collection of video courses. Each course grants access to our private community where you can ask questions and get help when needed.
|
||||||||||||||||||||||||||||||||


You might also like


7 comments
-
-
-
-
-
-
Harshad
@Nick, How to setup side and top bars that you have arranged? Any file that we can import and we can have the same look and arrangement as yours?
This one;- http://prntscr.com/rcublr
-
rick
i wanna say thank you for a big help and found you in youtube channel.