
How To Create Mazes with Inkscape
How To Create Mazes with Inkscape https://logosbynick.com/wp-content/uploads/2018/09/Inkscape-vector-maze-1024x602.png 1024 602 Nick Saporito https://secure.gravatar.com/avatar/8e31bf392f0ba8850f29a1a2e833cdd020909bfd44613c7e222072c40e031c34?s=96&d=mm&r=gIn today’s tutorial I’ll be guiding you through the puzzling process of creating mazes with Inkscape. The finished result will be the following isometric-style vector icon that can be stacked and repeated infinitely…

The following is a brief outline of the steps taken to achieve this result. More experienced users of Inkscape should be able to duplicate this process quite easily without further explanation. However, if you’re a new or novice user, I would recommend skipping to the bottom of the post to watch the video tutorial. The video tutorial has complete step-by-step instructions that even a first-time user of Inkscape could follow along with.
Creating A Vector Maze with Inkscape
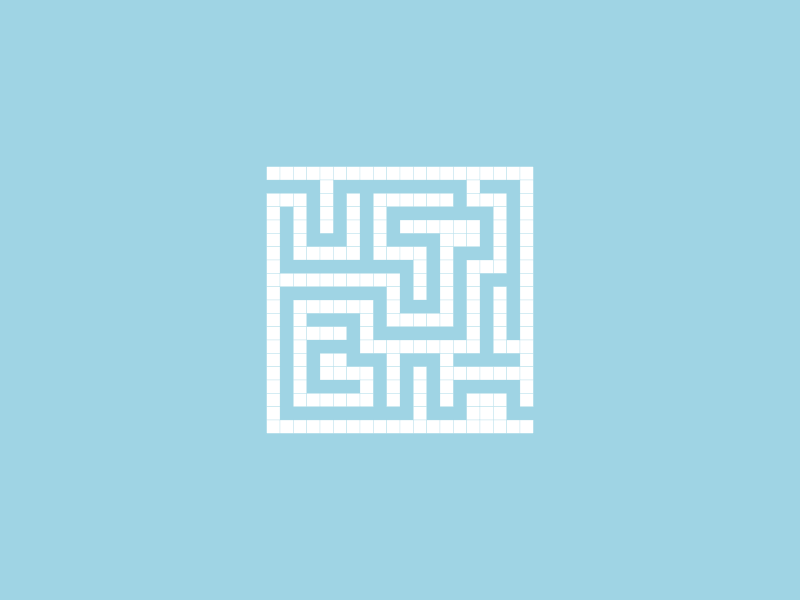
First, we’re going to create a perfectly symmetrical square with the Rectangle tool and generate 400 copies of it, in 20 x 20 rows, using the Clones feature in Inkscape. Please refer to the video tutorial for further instructions on how to use the clone feature.

Next, we’re going to manually delete some of those squares to create the shape of a maze. Be sure to keep the pathways of the maze at a consistent size of 1 unit all around. Don’t worry about making it into an actual puzzle. We’re just going for an aesthetic design here. If you’d like to put the extra time into doing so, then go right ahead. It isn’t necessary though.
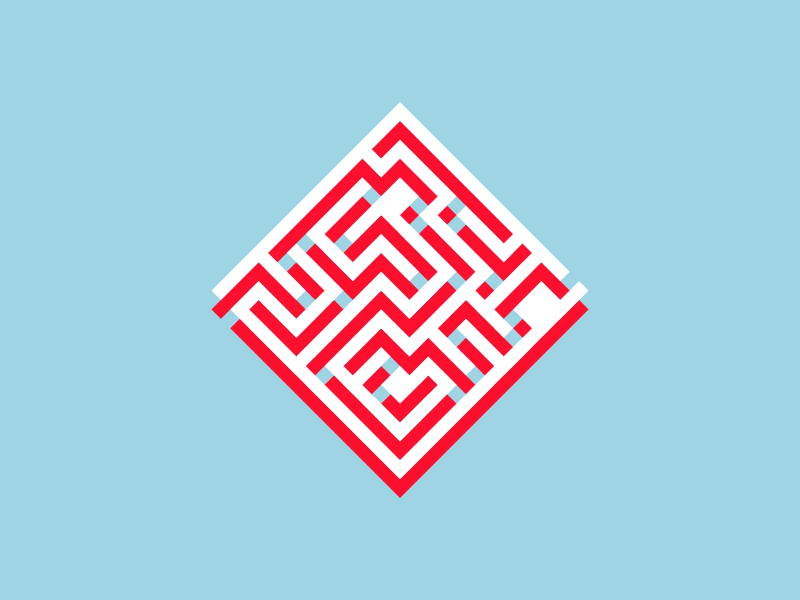
Once we have our maze shape, we’re going to unify all of the squares together and rotate it around so that the corners are pointing vertically and horizontally. Then, we’ll create a duplicate, make it a different color, and stack directly above the original, as depicted below…
This next part is a little tricky and requires a bit of an imaginative eye, but it’s not something that can’t be figured out relatively quickly.
We’re going to take the Bezier Pen and use it to manually create shapes that connect the corners together of both objects and color them in so that they create the illusion of depth.
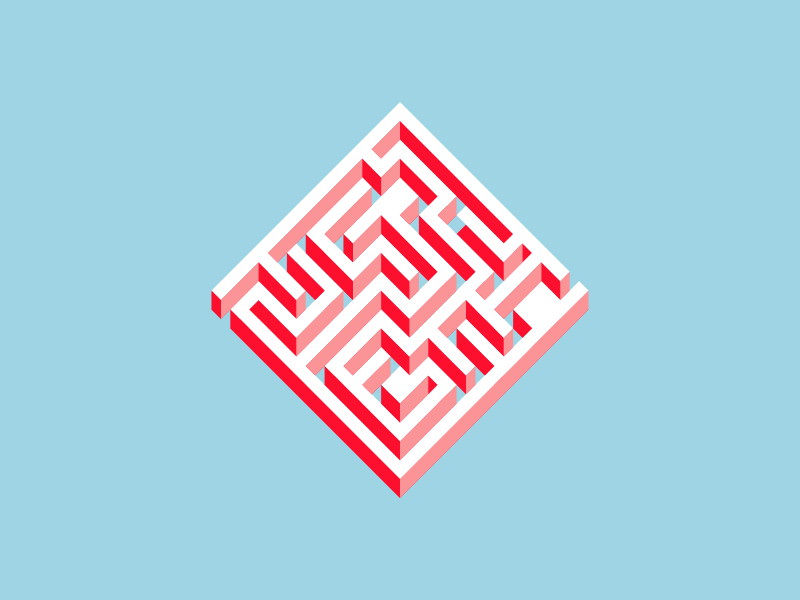
I actually missed a spot. See if you can find it 🙂
All we have to do next is simply use the Select tool to decrease the height a little bit and we will have our finished maze icon…

If you want to increase the depth of the shape, you can simply create duplicate copies and stack them on top of each other…

You can even stack the duplicates next to each other to make the design larger, as if it were a pattern…
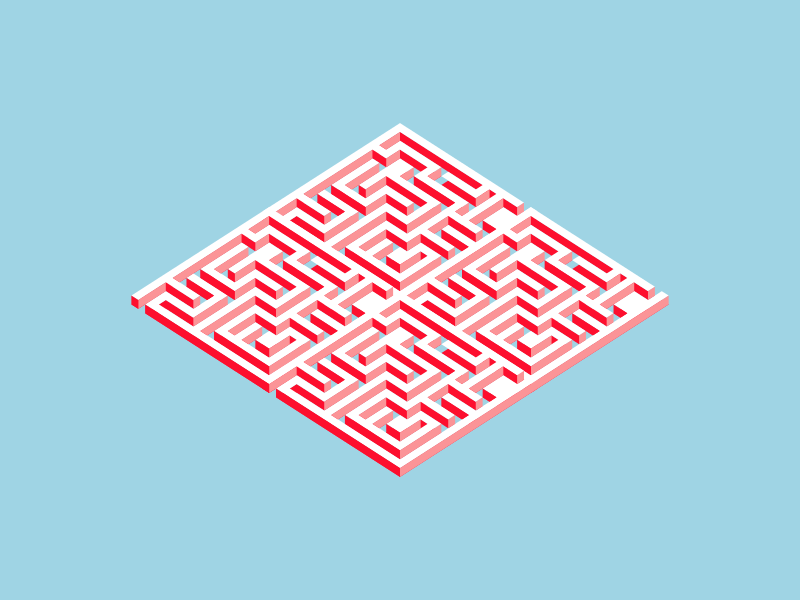
And with that we are finished!
Video Tutorial
Watch the following video tutorial for complete step-by-step instructions with voice narration. If you have any questions, do not hesitate to leave a comment below. As always, thanks for watching!
Learn To Master The SoftwareGain a complete understanding of your favorite design apps with my comprehensive collection of video courses. Each course grants access to our private community where you can ask questions and get help when needed.
|
||||||||||||||||||||||||||||||||


You might also like


7 comments
-
-
-
-
-
West
Nick,
thank you very much for this. I think I have spotted the area in question. Centre, 45 degrees up to the right, second line in. 😉
Going over some of your earlier tutorials at the moment, all very useful and interesting the difference between the older versions of Inkscape and the latest one.
Once again, thank you,
West.
-
Jess
I absolutely love your tutorials. I started learning Inkscape only 3 days ago but learned so much thanks to your lessons and tips. Thanks for them!
In this one there is one tiiiiiiiiiiiny little wall that has the wrong color and it’s driving me nuts. I want to go in and recolor it LOL http://i.grab.la/0a50d-82976f07-349f-4b50-a754-b83b2d3c43d2.png Not that it’s important but hey at least I know I learned the principle of the different colors thanks to that 😀