
How To Use Fonts In Inkscape Without Having To Install Them
How To Use Fonts In Inkscape Without Having To Install Them https://logosbynick.com/wp-content/uploads/2023/07/fonts-inkscape.webp 1000 587 Nick Saporito https://secure.gravatar.com/avatar/8e31bf392f0ba8850f29a1a2e833cdd020909bfd44613c7e222072c40e031c34?s=96&d=mm&r=gIn previous tutorials we’ve gone over how to install fonts in Inkscape by installing them onto your operating system so that they are indexed each time the software launches. However, in this tutorial we’ll be looking at a different method which allows you to use fonts in Inkscape without having to install them.
This can be especially useful if you’re like me and have dozens (maybe even hundreds) of font files on hand that you’ve accumulated over the years. Using them on a new computer would mean having to install them one-by-one. But thanks to a feature in the Inkscape Preferences menu, you don’t have to install your fonts to use them. You can simply tell Inkscape to load them from an external drive or folder of your choosing. Let’s see how it’s done.
Using Fonts In Inkscape: No Installation Necessary
The following video tutorial will walk you through the entire process of setting up Inkscape to reference a folder of your choosing for its font directory:
Continue on for a step-by-step overview.
Table of Contents |
Step 1: Create a folder to place your font files in
To use fonts in Inkscape we must first create a folder or directory to place them in, then we can tell Inkscape to reference that directory.
This can be an external drive or even a single folder on your computer. For this demonstration I am just going to create a new folder on my desktop, name it “Fonts“, and place some font files in it:
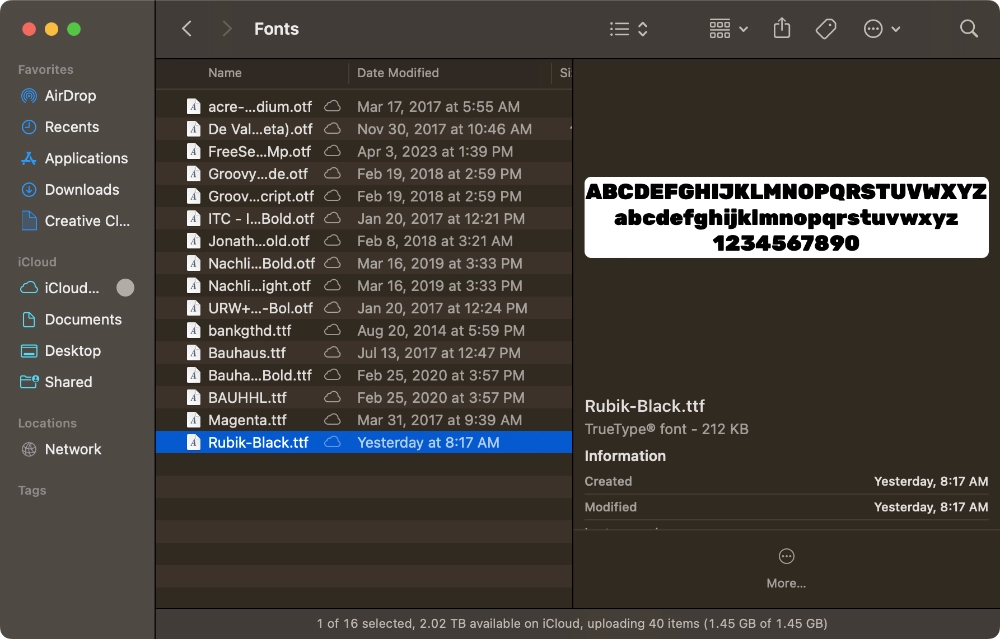
A standard folder with some font files in in.
Step 2: Copy the folder’s path address
Now we must copy the folder’s path address or directory so that we can paste it into Inkscape’s custom directory.
For Windows users, open the folder that contains your fonts and right-click the folder icon where path address bar is, then select “Copy Address“:
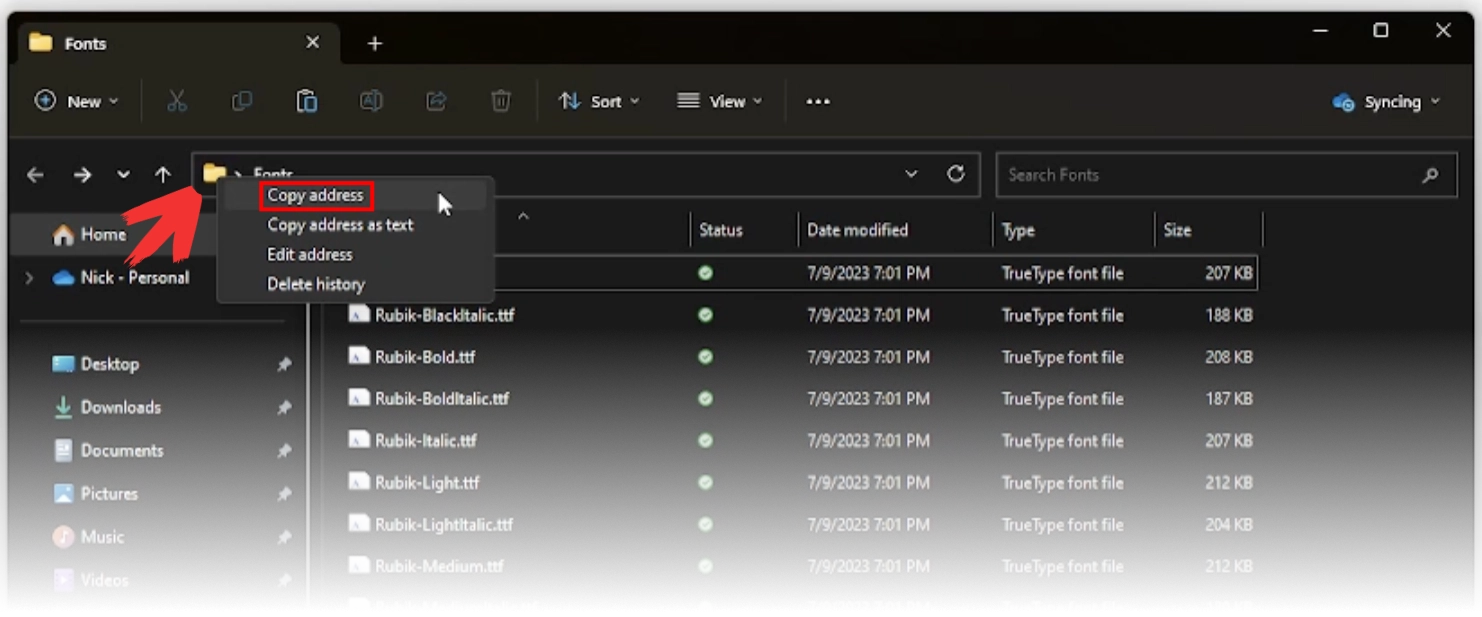
Right-click the folder icon and copy the address (click to enlarge.)
For Mac users, open the folder and make sure the path bar is visible at the bottom of the folder by navigating to:
View > Show Path Bar
Then, right-click the folder that contains the fonts in the path bar and select “Copy [FOLDER NAME] as path name“:
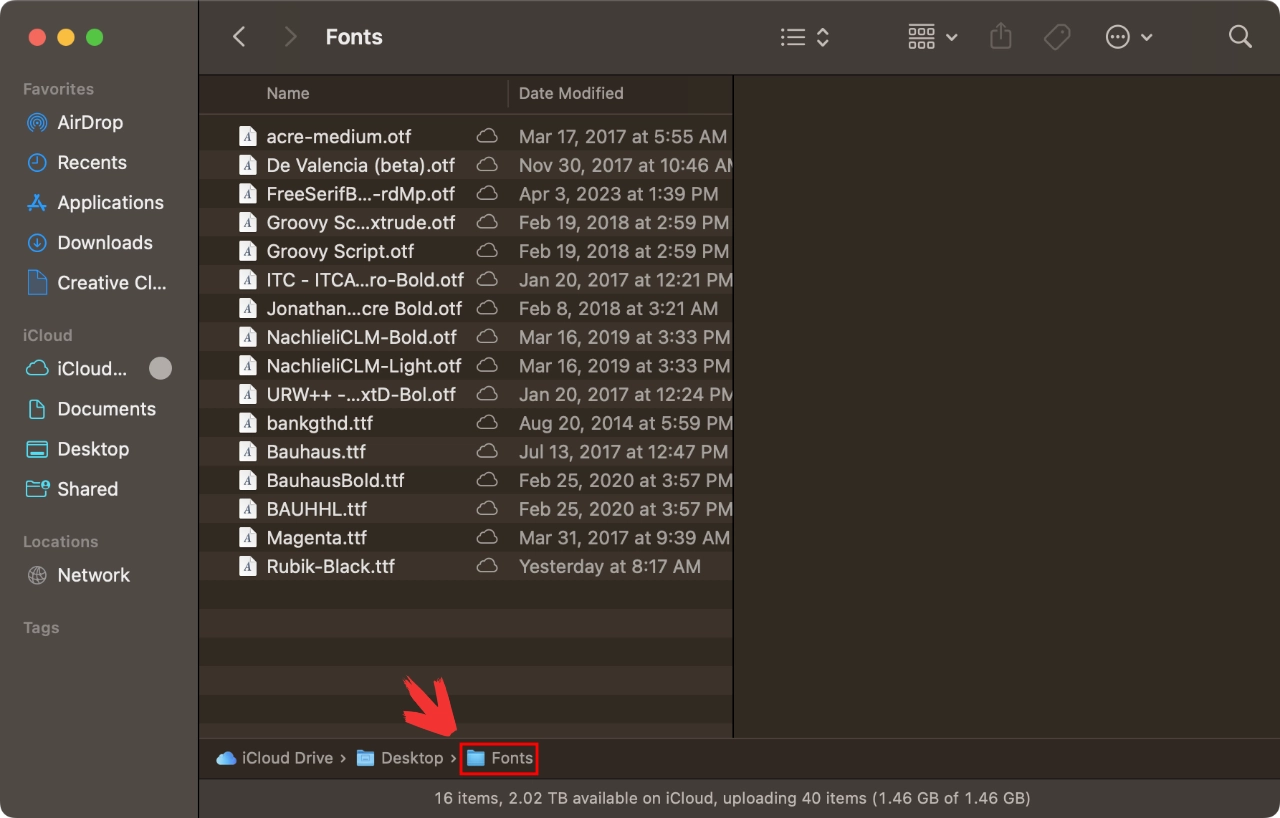
Right-click the folder icon and copy the path/address (click to enlarge.)
Step 3: Paste the path address into the Custom Font directory
Now that you have the folder’s path copied, let’s go back to Inkscape and paste it into the Custom Fonts directory.
To access it, open the Inkscape Preferences menu:
- Windows users: Control + Shift + P
- Mac users: Command + Shift + P
Once opened, select System from the menu on the left, then scroll down to where it says “Custom Font Directories“:

Paste your folder’s path/address into the custom font directories (click to enlarge.)
Now simply paste the path address into the input box (outlined in red above) and close out of the menu. You can paste by pressing Control + V or Command + V if you’re a Mac user.
Step 4: Restart Inkscape
We must now restart Inkscape for the changes to take effect. So save your work and close the application. Once you launch it again, the fonts that were saved in that folder will be indexed in the fonts directory next time you’re working with text.
In Conclusion
Thanks to the Custom Fonts directory, installing fonts in Inkscape couldn’t be more convenient. Now when you want to use a font in Inkscape you can use it only in Inkscape without having to install it system-wide.
Learn To Master The SoftwareGain a complete understanding of your favorite design apps with my comprehensive collection of video courses. Each course grants access to our private community where you can ask questions and get help when needed.
|
||||||||||||||||||||||||||||||||


Anonymous
You can do this in Scribus too. Very handy, point it to the same font folder as you did for Inkscape. =o)