Create A Rocket Logo Design with Inkscape
Create A Rocket Logo Design with Inkscape https://logosbynick.com/wp-content/uploads/2020/09/rocket-logo-inkscape.png 800 470 Nick Saporito https://secure.gravatar.com/avatar/8e31bf392f0ba8850f29a1a2e833cdd020909bfd44613c7e222072c40e031c34?s=96&d=mm&r=gIn today’s tutorial I’ll be demonstrating how to create a simple but illustrative rocket logo design. The design consists of a rocket with clouds of exhaust, all encapsulated within a circular emblem.
The following is just a written overview of the steps taken to create this design. Please watch the video below for the full tutorial:
Create A Rocket Logo Design
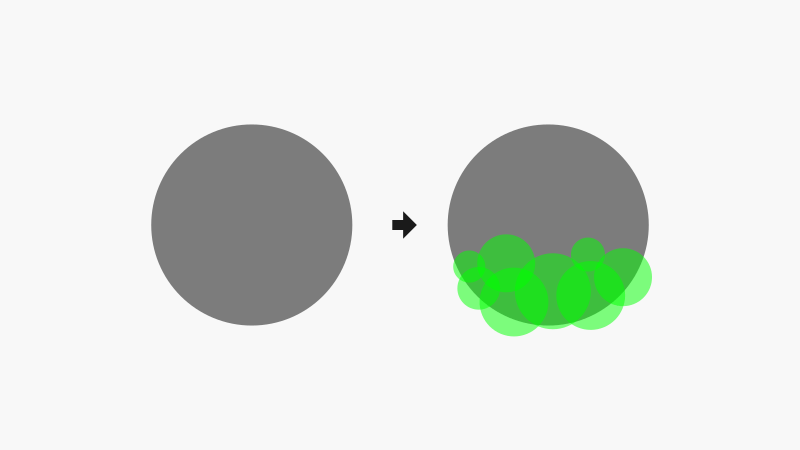
The first thing we’ll be doing is creating a circle that will house the entire design. Then, we’ll be creating a series of smaller circles that overlap each other towards the bottom half of the larger circle. This will represent the plumes of exhaust.
It’s important to make sure that the circles cover the entire portion of the main circle. Do not leave any area sticking out.
Next, we’ll be creating little red crescents at the tops of each circle. These will be used to help make these circles look more like clouds of exhaust from the rocket’s engines.
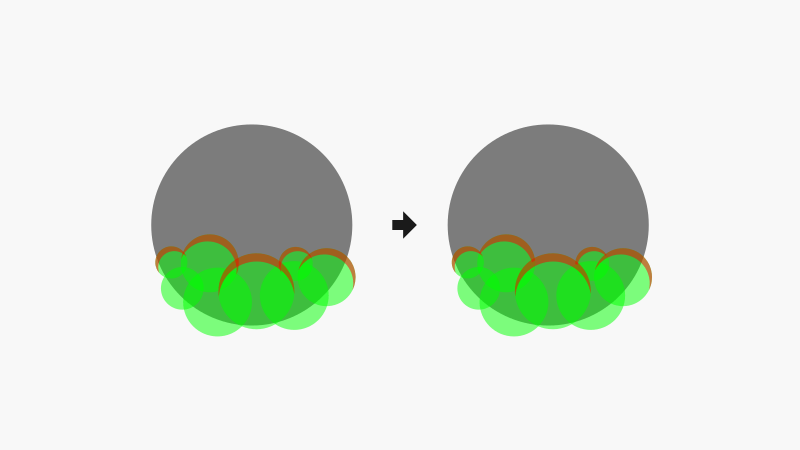
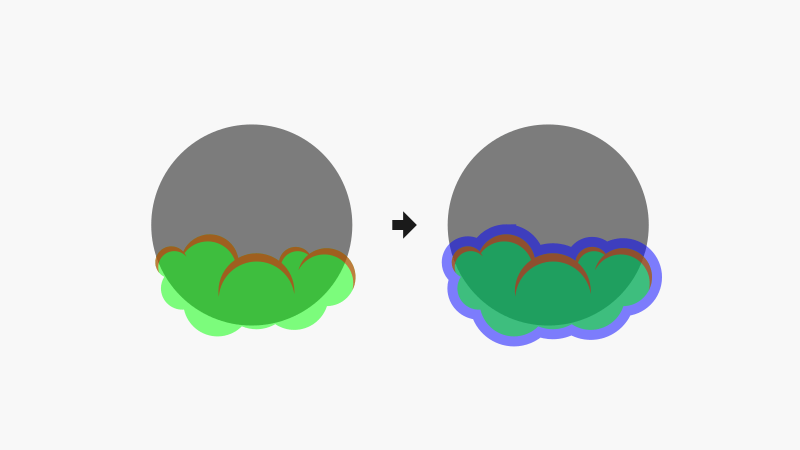
Once that’s done, we’ll create an offset of the cloud for use at a later step. This will eventually be used to separate the cloud plumes from the emblem so that they can have different colors.
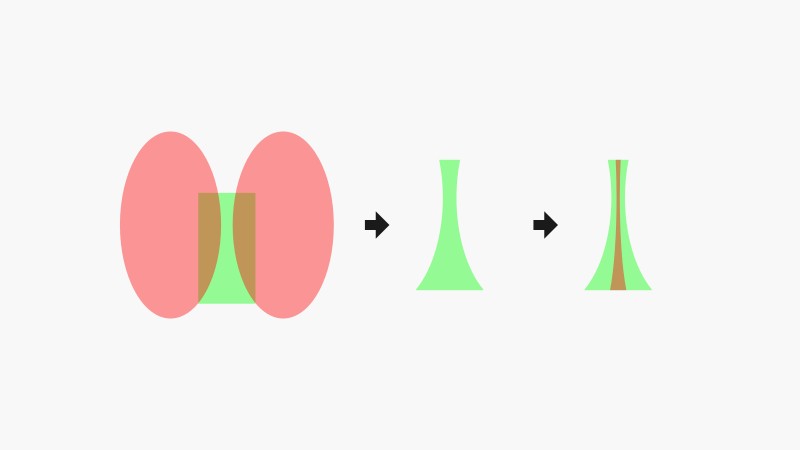
Let’s move what we’ve created so far off to the side and start working on the jet stream that will tail the rocket.
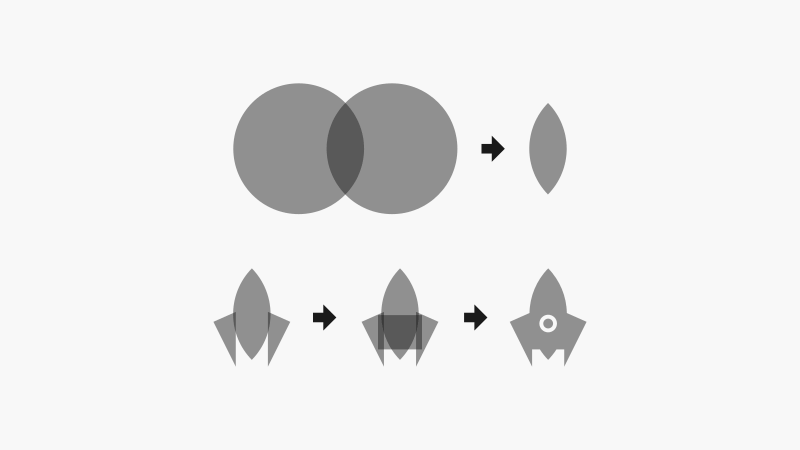
As you can see in the depiction below, we’ll be using a series of overlapping circles and rectangles to create this, then using a path operation to finalize it.
Now we can position the exhaust trail within the design and create an offset using it. Much like the clouds, we’ll want to be able to separate this element from the rest of the design.
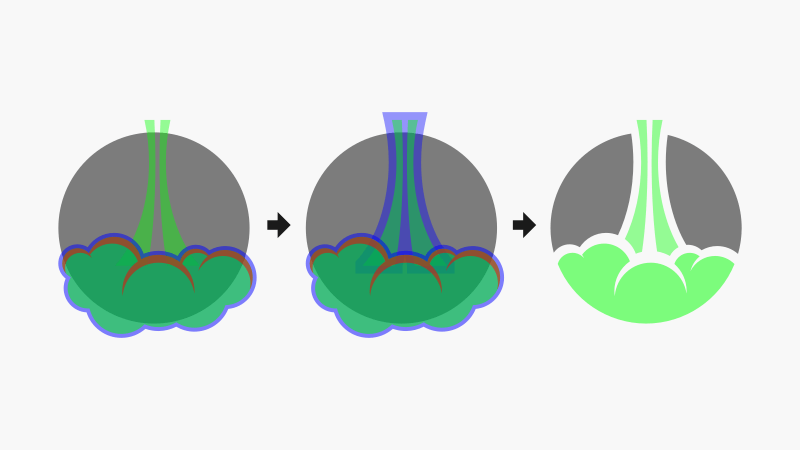
The basis of the design is all set. You can go ahead and add some color at this point. I’ve even added some stars to the backdrop to make it look more like a sky.

All we have to do now is create a simple rocket design to place at the top of the logo. For this, we’ll be using a series of overlapping shapes.
Go ahead and place the rocket at the top of the logo, add some text if you’d like, and we’re all set!

And that is how you can create a rocket logo design using Inkscape! If you have any questions just leave a comment below. As always, thanks for watching!
Learn To Master The SoftwareGain a complete understanding of your favorite design apps with my comprehensive collection of video courses. Each course grants access to our private community where you can ask questions and get help when needed.
|
||||||||||||||||||||||||||||||||


Leave a Reply