
How To Make A Rainbow Gradient In Inkscape | Beginner Tutorial
How To Make A Rainbow Gradient In Inkscape | Beginner Tutorial https://logosbynick.com/wp-content/uploads/2021/03/rainbow-gradient-with-inkscape-1.png 800 470 Nick Saporito https://secure.gravatar.com/avatar/8e31bf392f0ba8850f29a1a2e833cdd020909bfd44613c7e222072c40e031c34?s=96&d=mm&r=gToday’s tutorial will be an exercise in working with gradients in Inkscape. In this lesson we’ll be going over how to make a rainbow gradient in Inkscape. This process involves working with the Gradient tool and using it to add multiple stops (or colors) to your gradient. After completing this lesson you will be equipped with everything you need to create your own multi-color gradients.
Types Of Gradients
As you may already know, a gradient is a transition between two or more colors. Before we can create a rainbow gradient in Inkscape, we first have to determine the type of gradient we’d like to create.
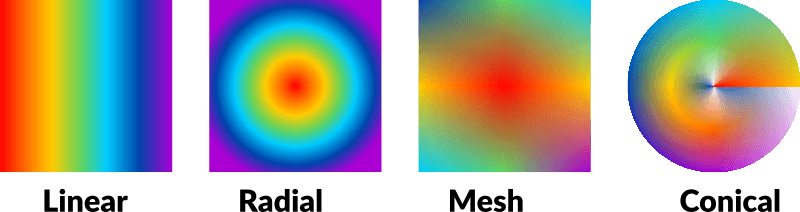
In Inkscape, there are four types of gradients:
- Linear: gradients where the colors follow a straight path
- Radial: gradients where the colors follow a circular path
- Mesh: gradients where the colors are placed on a grid rather than a path
- Conical: gradients where the colors are position in a top-down cone-like shape
Seeing as how mesh gradients and conical gradients are a bit more advanced, and this is a beginner tutorial, we’ll be focusing on linear gradients and radial gradients for this lesson. Once you understand the fundamentals of making multi-color gradients in those formats, it shouldn’t take too long until you’re able to apply them to more advanced gradient types with relative easy.
Make A Rainbow Gradient In Inkscape
To get us started, let’s first determine a shape we’d like to apply the rainbow gradient to. For this demonstration, I will be applying the gradient to a simple square:
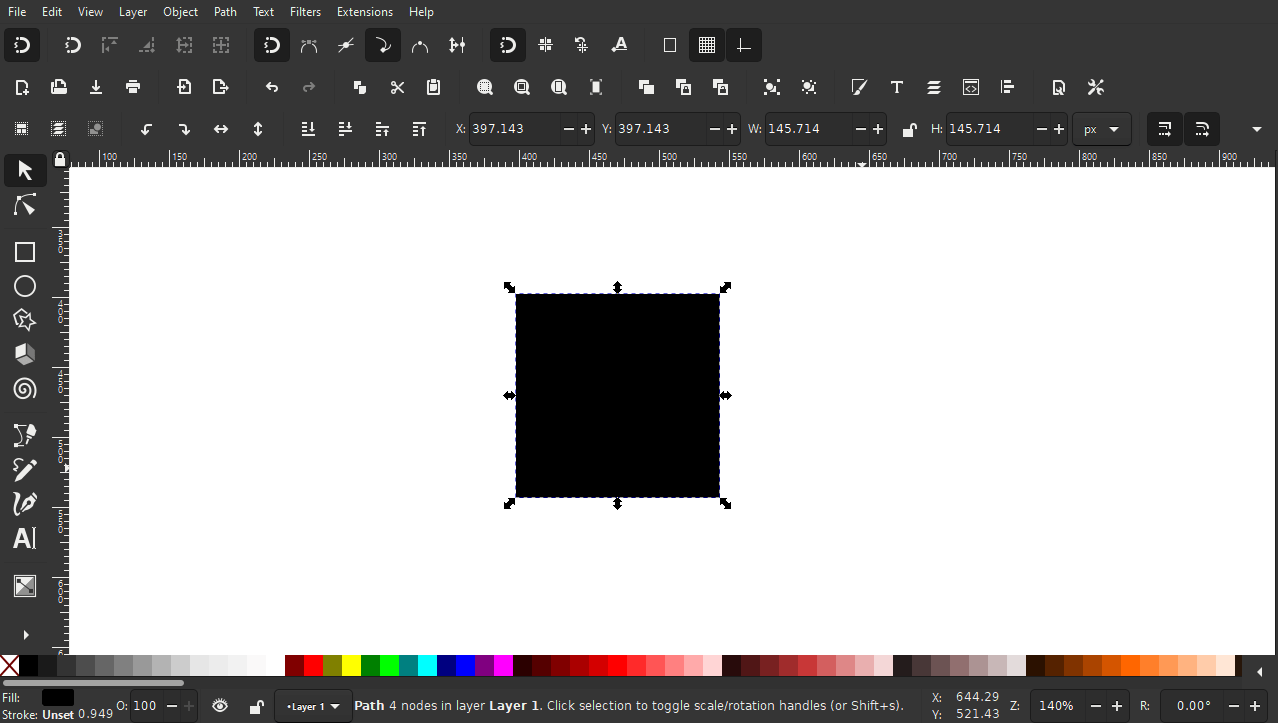
As of right now, this object has a solid fill of black. In order to fill it with a gradient, let’s first open the Fill & Stroke menu by pressing Control + Shift + F.
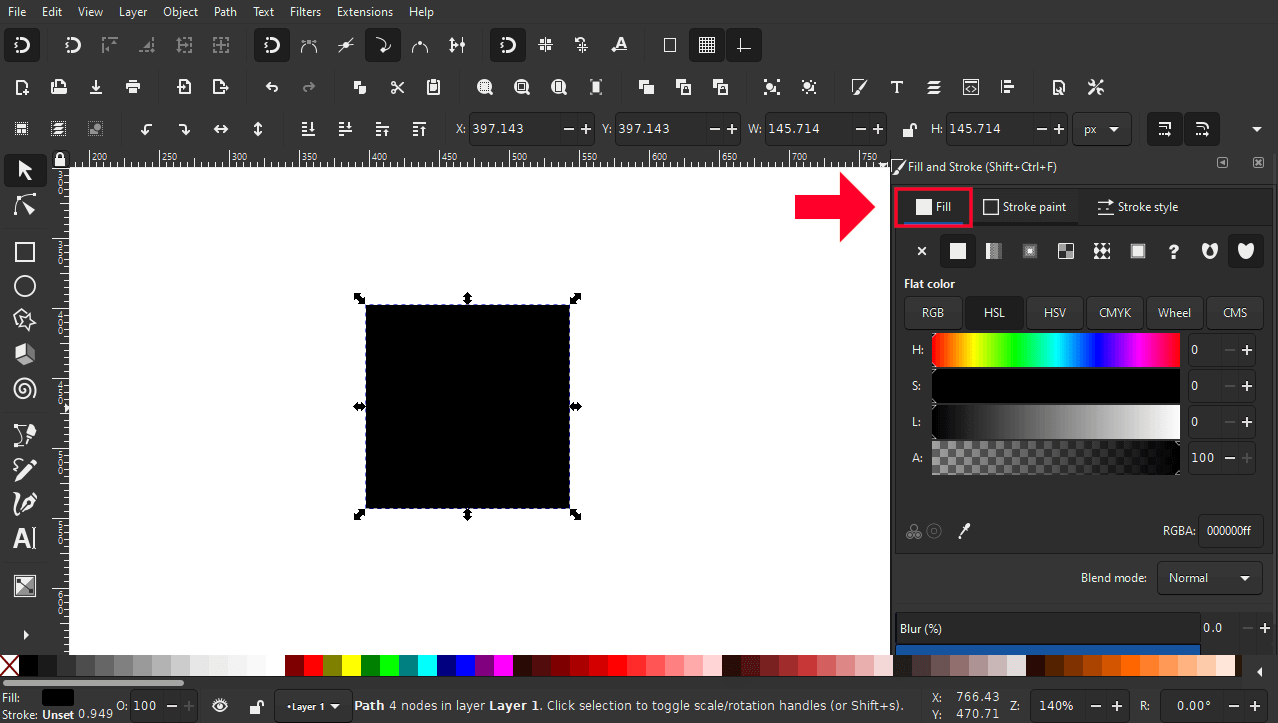
At the top of the Fill & Stroke menu, you will see three tabs: Fill, Stroke, and Stroke Style. For this lesson we will be focusing on the Fill tab, so make sure to have that tab opened.
Linear Gradient
We will create our rainbow gradient as a linear gradient first, then apply it as a radial gradient later on.
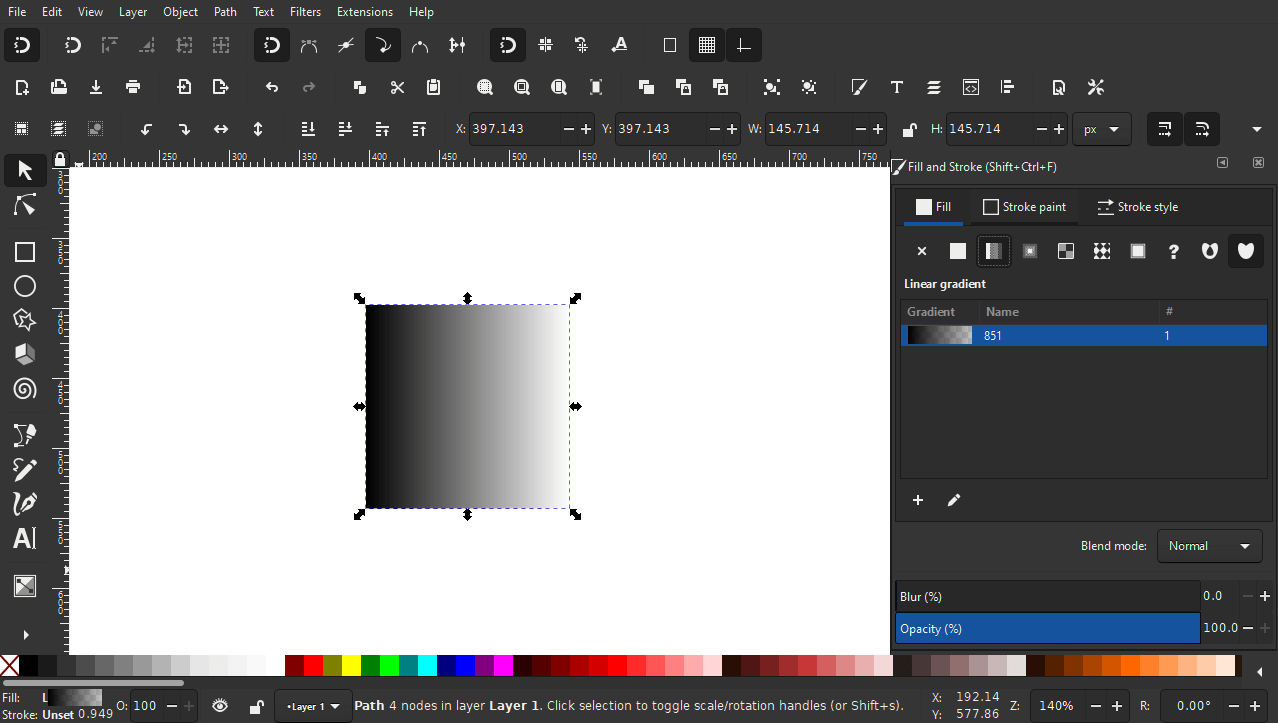
Make sure you have your object selected, then click the Linear Gradient icon in the Fill & Stroke menu:
![]()
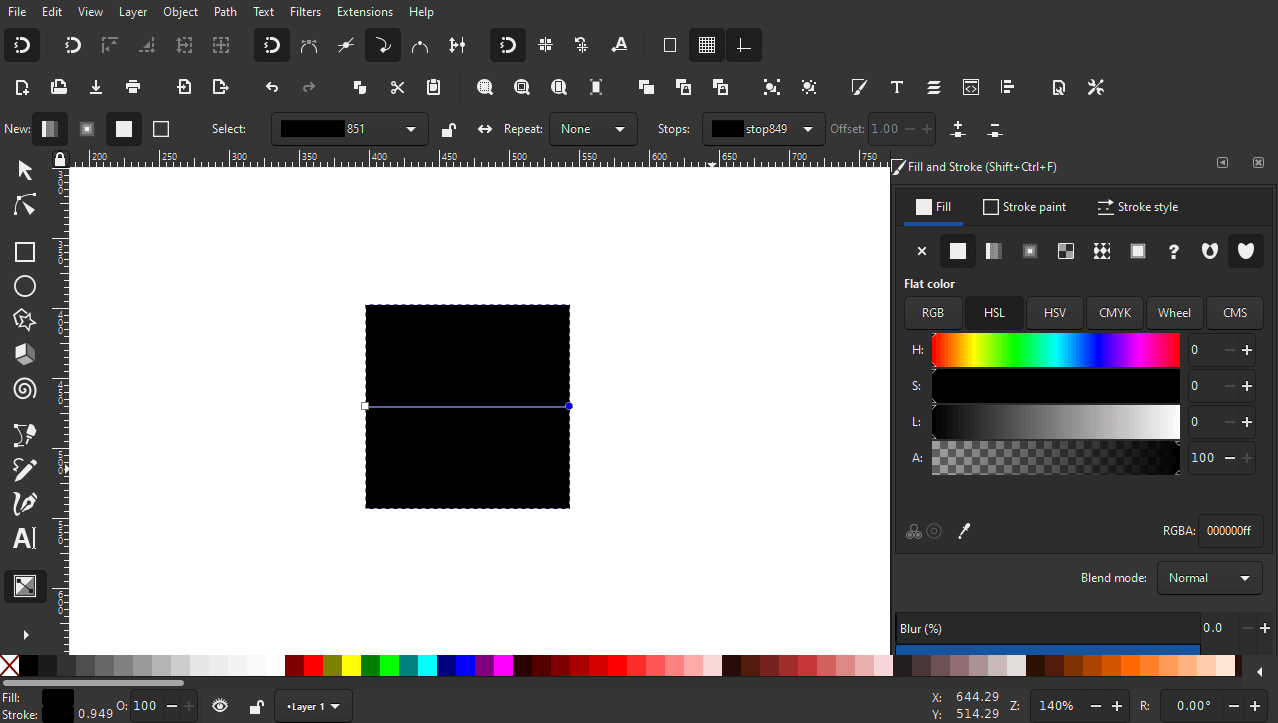
This will apply a linear gradient to your object. The gradient will consist of two stops — the original color (on the left,) and transparency (on the right.)
Now grab the Gradients tool (keyboard shortcut: G) and click on the transparent stop on the right to select it.
With it selected, click on the color black in the color bar at the bottom of your screen. This will give your object a gradient transitioning from black to black:
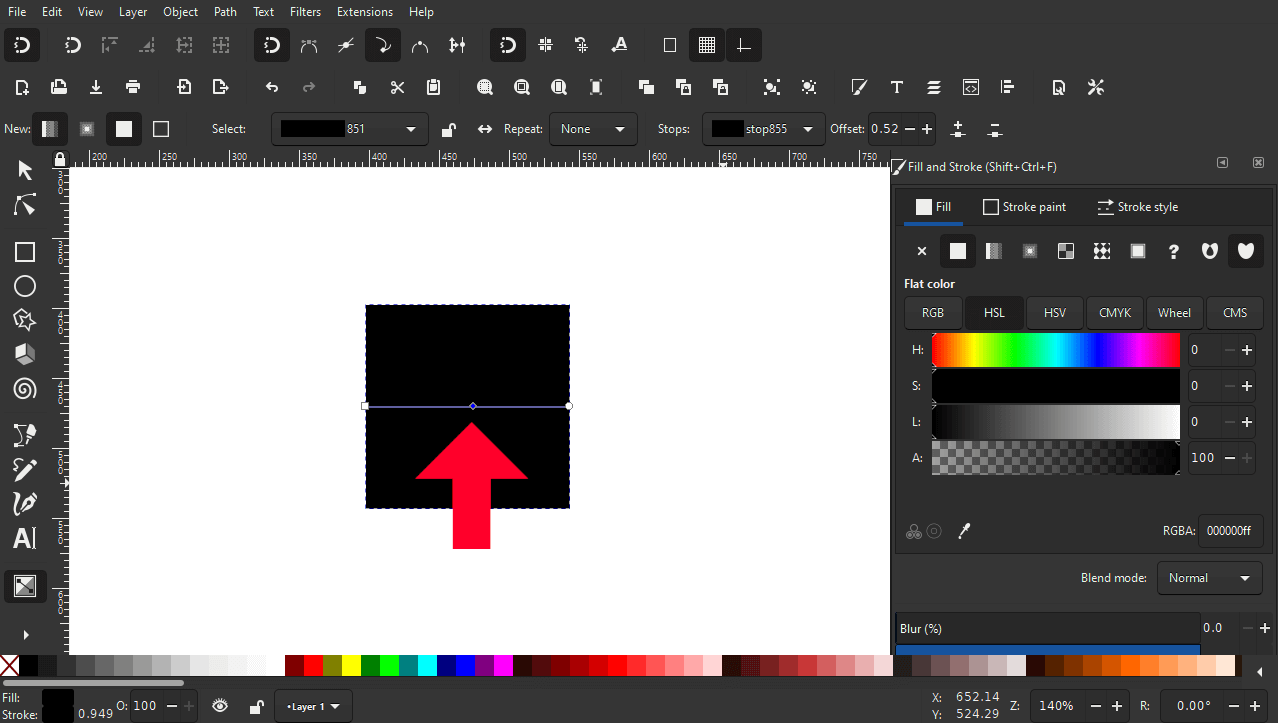
Now it’s time to add new colors (known as stops) to your gradient.
To do this, simply double-click on the blue horizontal line to add a new stop to the gradient. The stop will be added wherever it is that you click:
To make a rainbow gradient, we’re going to need 7 stops to accommodate all of the colors of the rainbow. As of right now we already have 3, so double-click the line 4 more stops (in various spots) to add new stops to the gradient:
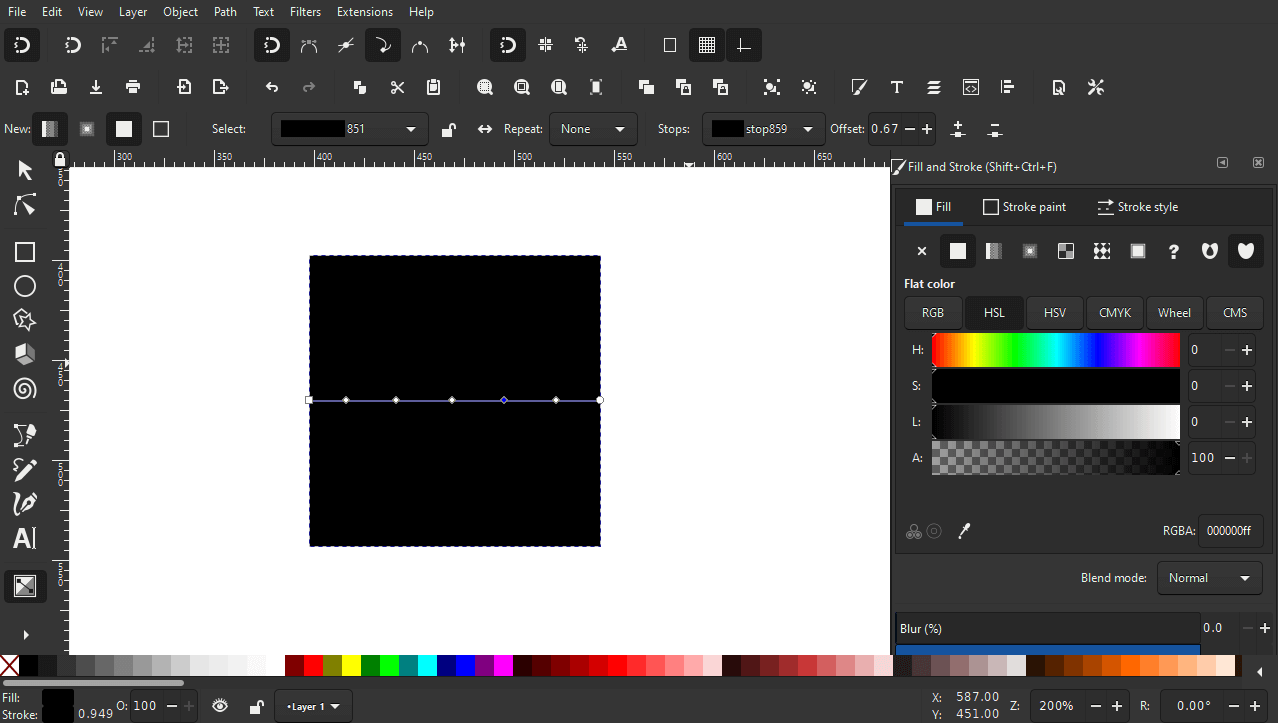
Click and drag each individual stop to move them and space them out evenly, as I’ve done in the above screenshot.
All we have to do now is select each individual stop and apply each color of the rainbow to them, just like we did when we changed the original stop (on the right) from transparent to black.
The colors we’ll be using for this lesson are as follows:
- Red
- Orange
- Yellow
- Green
- Light blue
- Dark blue
- Purple
Once applied, you should end up with something like this:
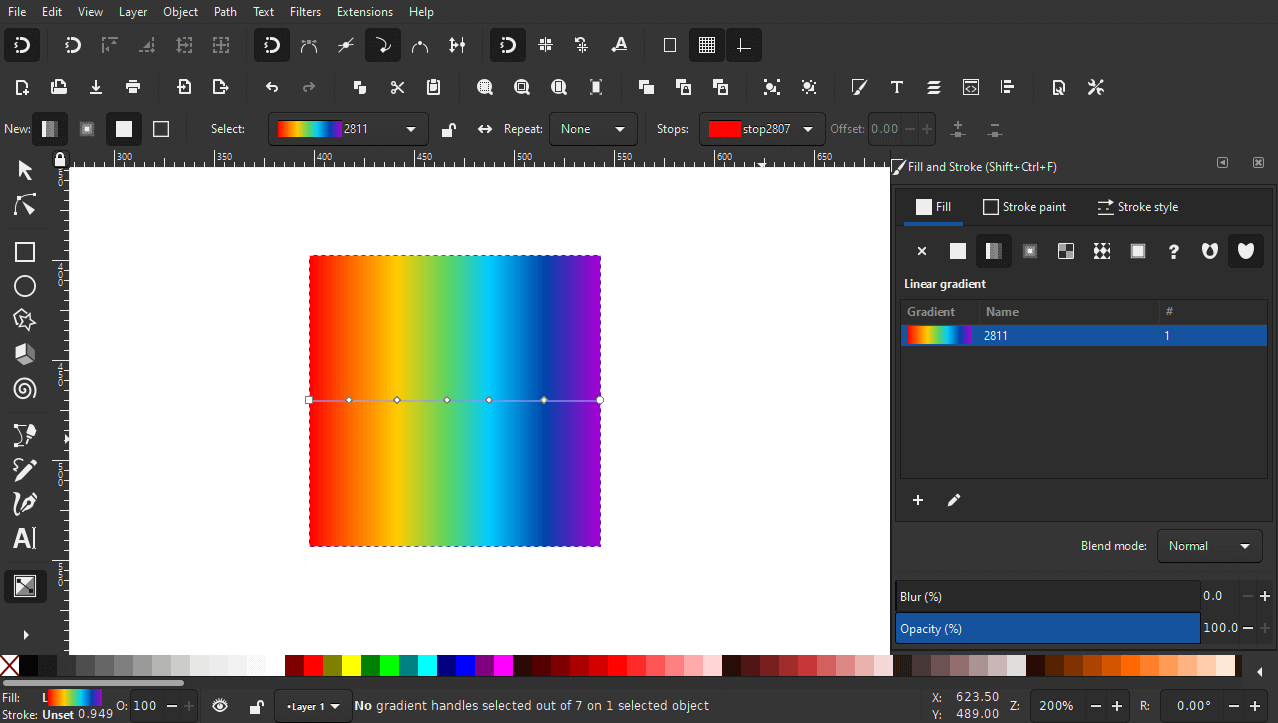
And that’s how easy it is to create a rainbow gradient in Inkscape!
Radial Gradient
Now let’s apply this gradient as a radial gradient.
Fortunately, whenever you create a gradient in Inkscape, it is saved in your Gradients list in the Fill & Stroke menu:
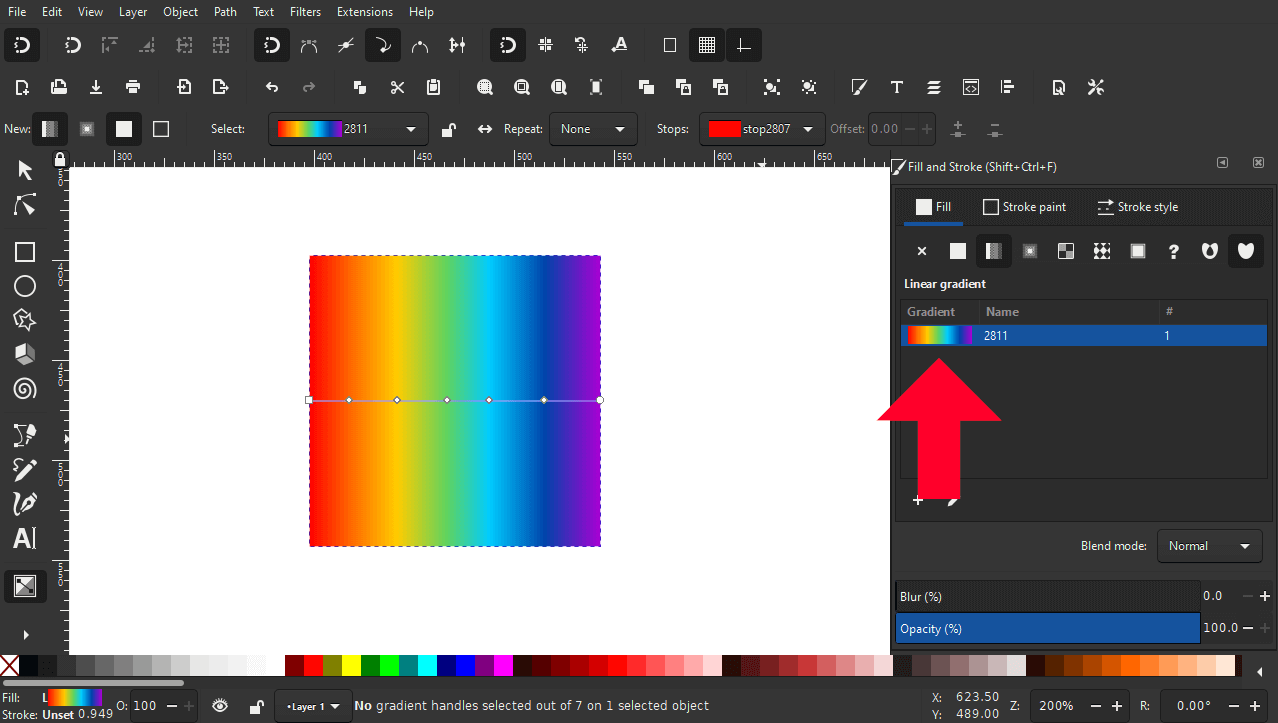
This means that instead of creating the rainbow gradient again, we can simply use the one we just created.
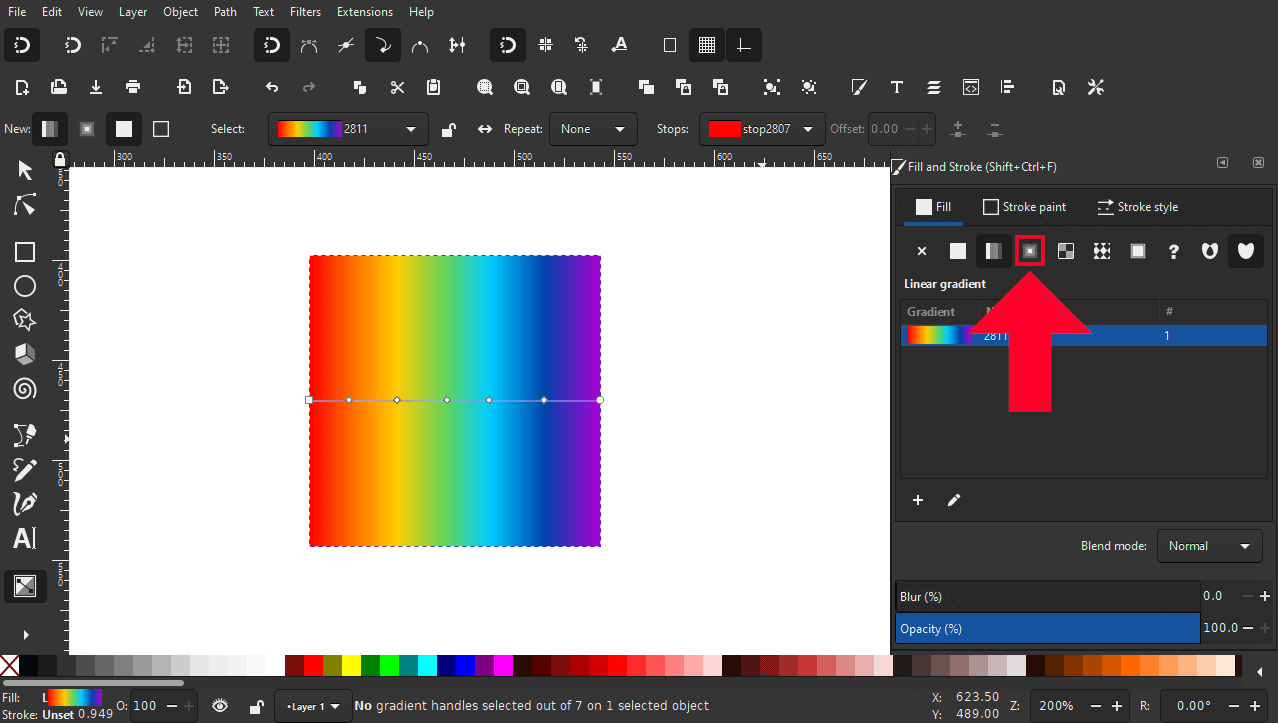
To do this, simply select your object (with it having the linear rainbow gradient already applied) and select Radial Gradient from the Fill & Stroke menu:
Your rainbow gradient will now be applied in such a way that it follows a circular path:
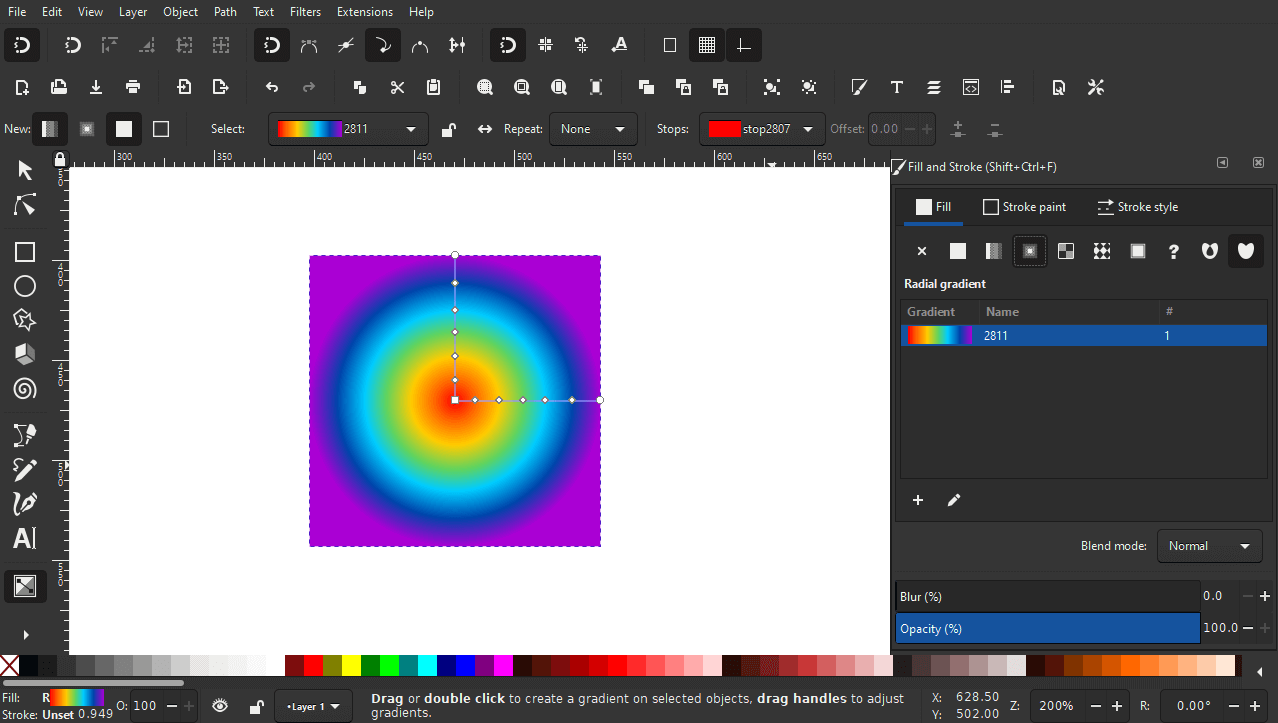
You can revert back to the linear gradient at any point by simply selecting it in the Fill & Stroke menu.
Conclusion
One of my favorite aspects of working with Inkscape — as opposed to other vector design applications — is how easy it is to add and edit gradients. Other programs make it needlessly complicated.
Once you know how to create rainbow gradients in Inkscape, you can then use that same process to create the illusion of shiny gold, silver, chrome, and more!
If any part of this lesson was unclear, or if you have any questions, simply leave a comment below.
Learn To Master The SoftwareGain a complete understanding of your favorite design apps with my comprehensive collection of video courses. Each course grants access to our private community where you can ask questions and get help when needed.
|
||||||||||||||||||||||||||||||||


Leave a Reply