
Outline Text with Affinity Designer Using The New Contour Tool
Outline Text with Affinity Designer Using The New Contour Tool https://logosbynick.com/wp-content/uploads/2021/04/outline-text-with-affinity-designer.png 800 470 Nick Saporito https://secure.gravatar.com/avatar/8e31bf392f0ba8850f29a1a2e833cdd020909bfd44613c7e222072c40e031c34?s=96&d=mm&r=gPlacing an outline around your text is a rather simple task, and there’s various ways of going about doing so. Thanks to a recent update to Affinity Designer though, it’s now easier than ever. The new Contour Tool allows you to outline text with Affinity Designer with a single click of the mouse, and in this tutorial I’ll be demonstrating how to do so.
Earlier this year Serif released version 1.9 of Affinity Designer, and with it came many new and exciting updates. One of those updates is the Contour Tool, which can be used to create offsets and insets of vector objects.
This is a feature that comes standard in other vector editors, like Inkscape and Illustrator, but Serif really knocked it out of the park with this one, because Affinity Designer’s Contour Tool is more convenient and practical than what can be found in either of its rivals. To demonstrate just how handy this tool is, I’ll be using it to outline text in Affinity Designer.
Outline Text with Affinity Designer
| To outline text with Affinity Designer, create a duplicate layer of your text object, lower it beneath the original text layer, then use the Contour Tool to create an offset of it. Be sure to change the color of the offset copy so that it will be visible against the original text layer. |
The following video tutorial will walk you through the process of applying an outline to your text using the new Contour Tool in Affinity Designer:
Read on for the written instructions.
Step 1: Generate Some Text
To get us started, let’s generate some text on the artboard using the Artistic Text Tool (keyboard shortcut: T) and apply your chosen font:
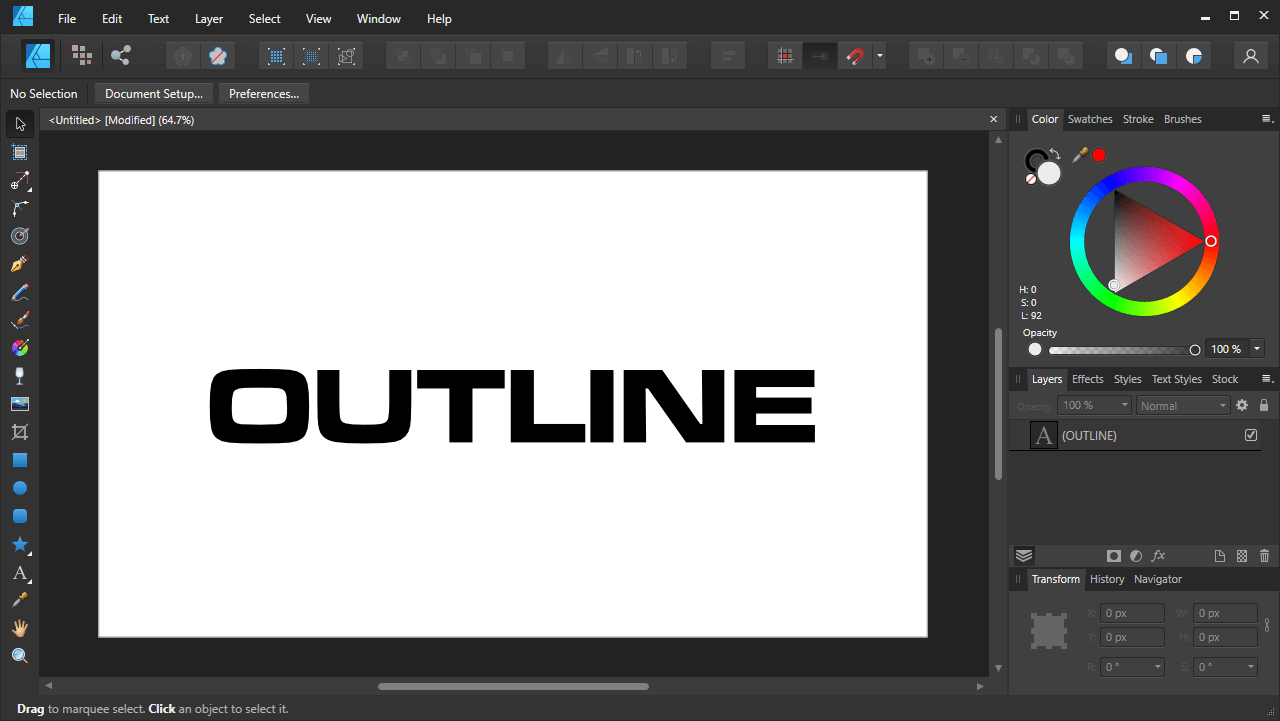
For this demonstration I will be placing an outline around the word “outline”.
For this demonstration I will be using the Microgramma font. The font used for the video thumbnail is Milkshake.
Step 2: Duplicate The Text Layer
In order to outline text with Affinity Designer, we’ll have to use the Contour Tool to create an offset of the text. However, it’ll need to be applied to a duplicate copy of the text that is positioned beneath the original.
Duplicate your text by selecting it and pressing Control + J on your keyboard. Although nothing will visibly change on the artboard, you’ll see that there are two separate copies of the text in the Layers panel:
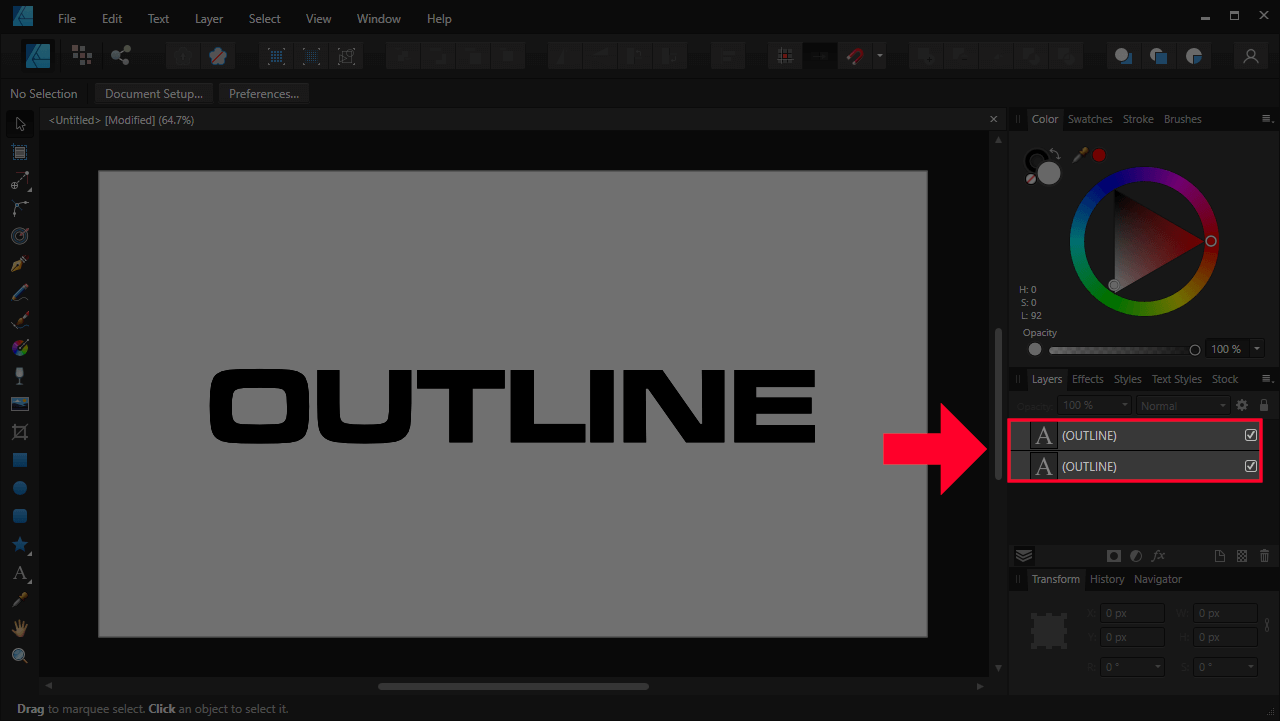
The Layers panel is located in the bottom-right of the screen.
Since the layer on the bottom is positioned beneath the layer on the top, the bottom layers is what we’ll be applying the offset to. Click on that bottom layer to select it:

Make sure you have the bottom layer selected.
Seeing as how we don’t want the outline to be the same color as the text (otherwise it wouldn’t be visible,) change the color of the bottom layer to any other color than the original text layer.
In this example, the text is black and the out is going to be red.
Step 3: Offset The Text with The Contour Tool
With the bottom layer selected, grab the Contour Tool, located in your toolbar:
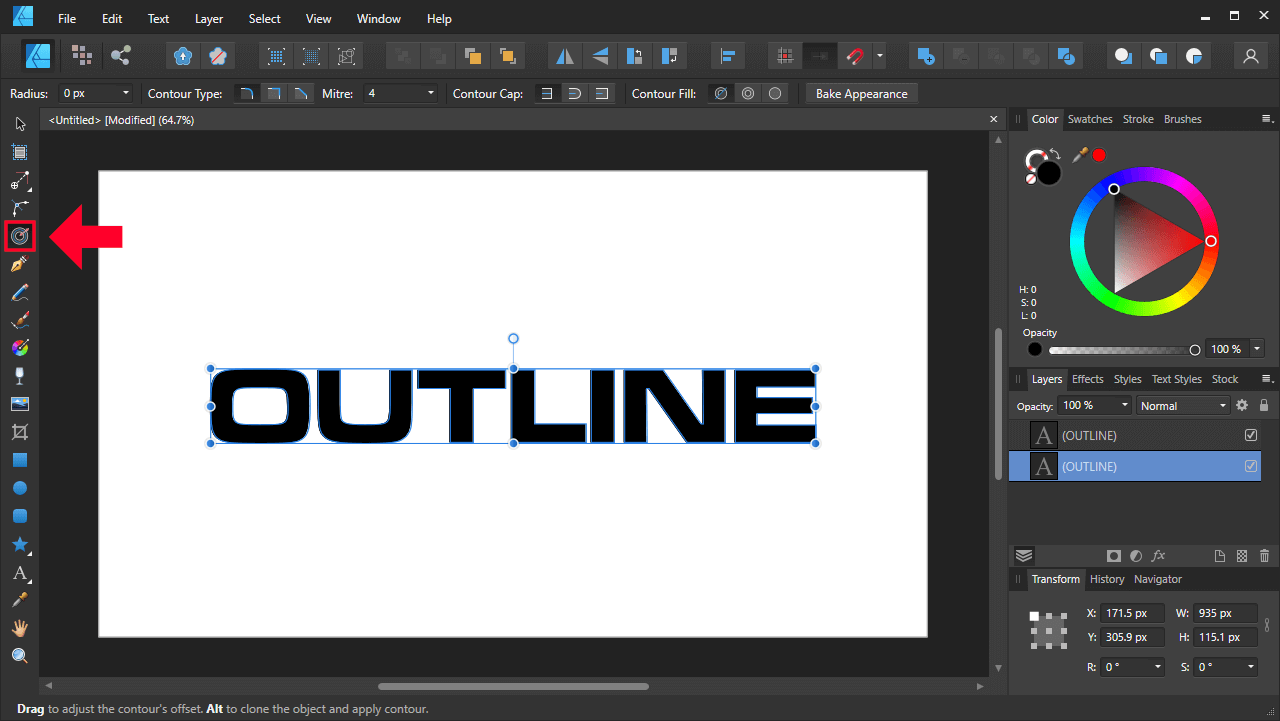
The tool icon for the Contour Tool is a series of circles with a red line going through it.
You can also grab it by simply pressing the letter O on your keyboard.
Once you’ve activated the Contour Tool, you should notice a round white handle in the top-center of your text object:
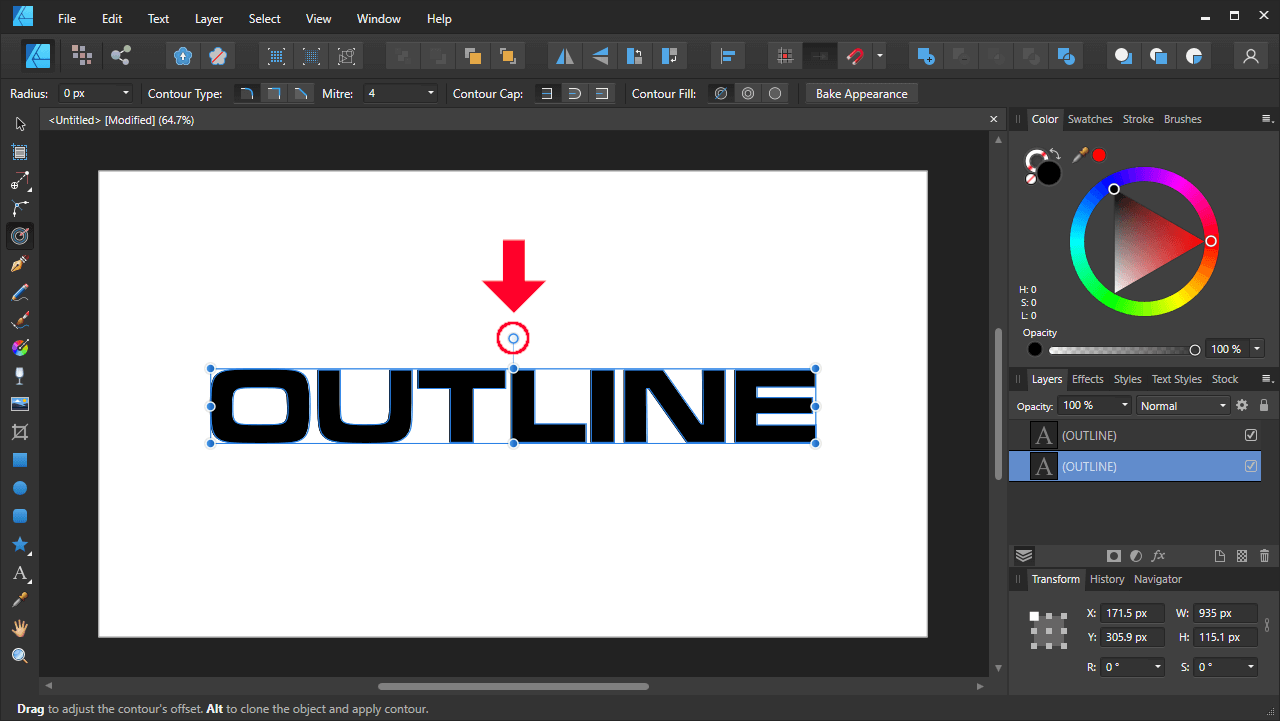
The round handle at the top of the selection box will allow you to offset your text.
Clicking and dragging the handle to the right will create an offset of the text, which will act as its outline:
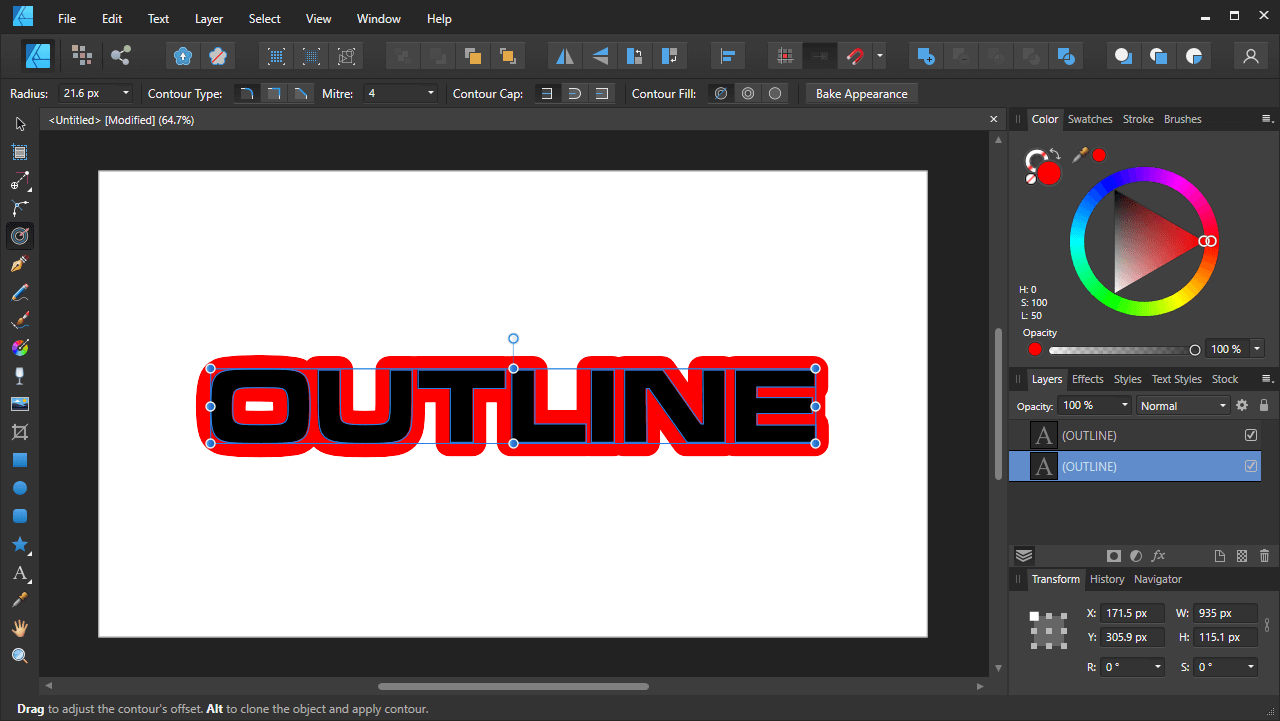
Applying the offset gives the text a red outline in this example.
You can increase and decrease the thickness of the outline around your text by moving the handle left and right respectively. You can also apply a numerical value to the thickness of the outline using the Radius setting in the tool options menu.
By default, the outline around the text will have rounded corners. You can change this by altering the Contour Type setting in the tool options menu at the top of the screen:
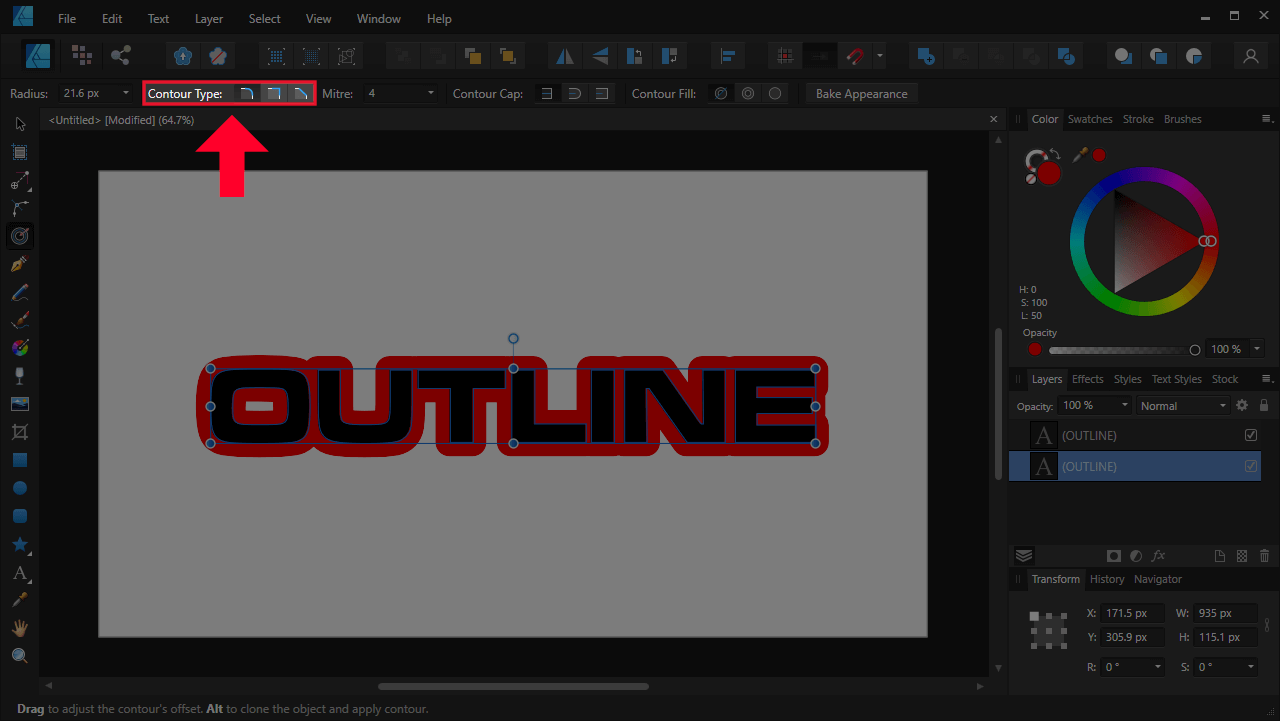
You can change the contour type in the tool settings.
The options to choose from are as follows:
- Round: This setting will give your text and outline with rounded corners.
- Miter: This will make the outline around your text have sharp corners.
- Bevel: With this setting applied, the corners of your outline will appear as if they’ve been sliced off.
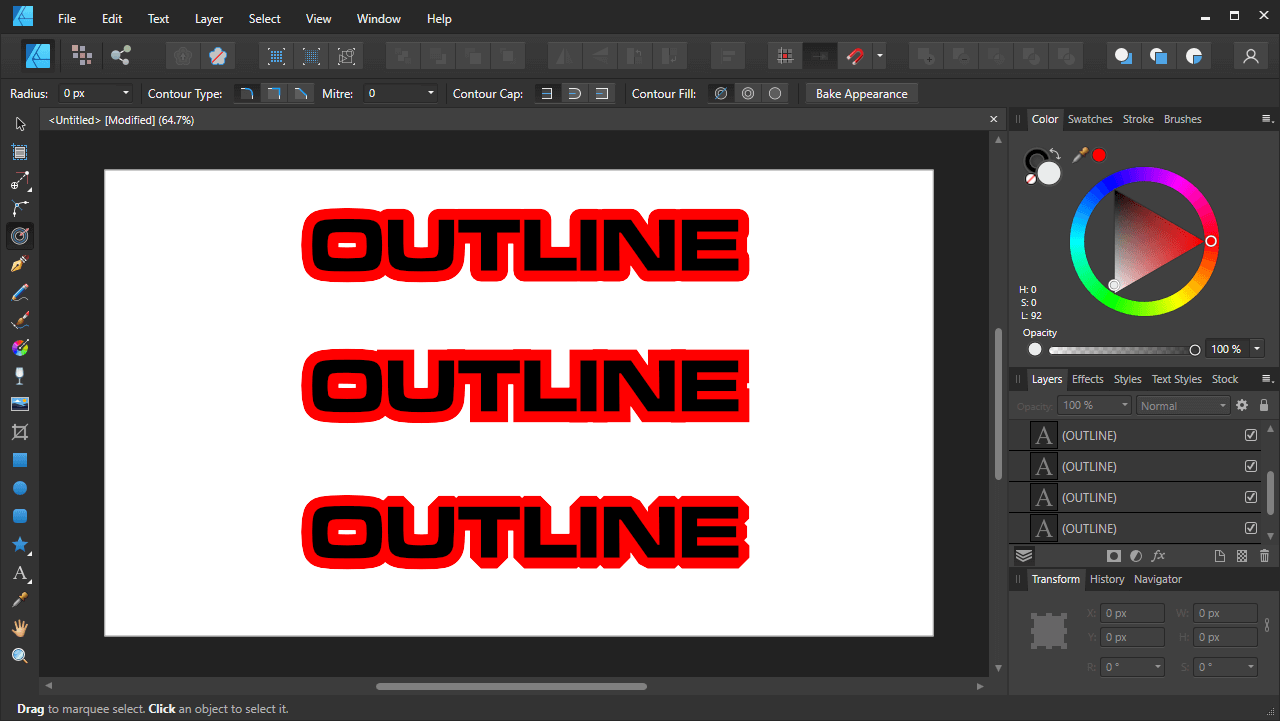
The text on the top has a round outline, the middle text has a miter outline, and the bottom text has a bevel outline.
Choose your desired setting and proceed to the next step.
Step 4: Finalize Using Bake Appearance and Convert To Curves
In this final step we will be finalizing the outline around the text so that you can work with it further and incorporate it into your design work. It’s important that you finalize your outline before proceeding, otherwise you will not be able to scale the text without distorting the outline.
Whether you scale the text up or down, the outline will remain the same size:
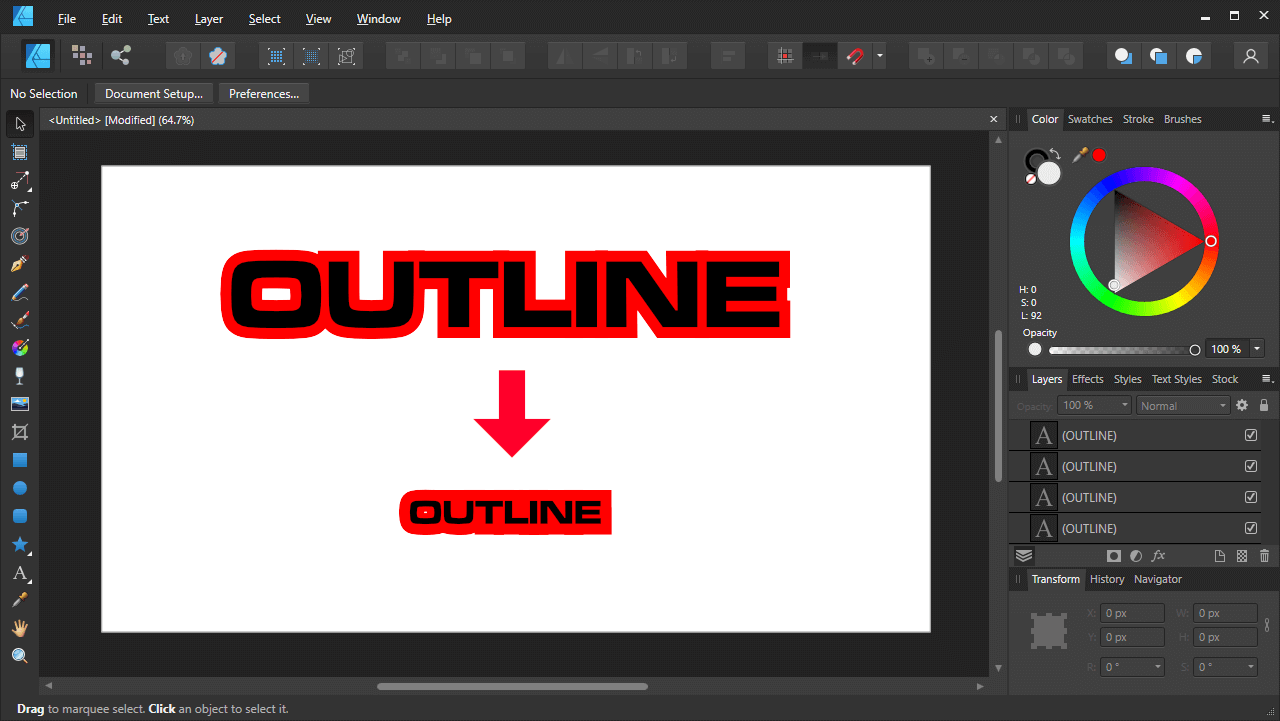
The thickness of the outline will remain the same when scaling the object.
This can be problematic if you’re trying to adjust the size of your text while preserving its appearance with the outline around it.
To fix this, select both layers and click the Bake Appearance button in the Contour Tool menu:

The Bake Appearance icon is located in the tool settings menu.
This will cause your text to be broken down into a group of individual letters, as indicated in the Layers panel:

The text will be released into groups of individual letters.
Now we must convert everything to curves. Before we can do that though, we’ll have to ungroup everything first by navigating to Layer > Ungroup All.
All you have to do now is simply convert it to curves by navigating to Layer > Convert to Curves, or by pressing Control + Enter on your keyboard. To make life easier, you can also select all (by pressing Control + A) and then group everything together by pressing Control + G.
You will then have a single unified text with an outline around it that you can scale up or down while preserving it’s appearance:

Conclusion
Using the Contour Tool isn’t the only way to outline text in Affinity Designer. This can also be done by applying a stroke, which is the same technique used to outline text in Inkscape. This method isn’t necessarily easier though, making the Contour Tool the preferred approach.
As a final note, this technique doesn’t just work on text. It can be used to apply an outline to virtually any vector object you’d like, so let your imagination run wild!
If you have any questions, or if any part of this lesson was unclear, leave a comment below.
Learn To Master The SoftwareGain a complete understanding of your favorite design apps with my comprehensive collection of video courses. Each course grants access to our private community where you can ask questions and get help when needed.
|
||||||||||||||||||||||||||||||||


Leave a Reply