Create A Line Distortion Effect with GIMP
Create A Line Distortion Effect with GIMP https://logosbynick.com/wp-content/uploads/2019/07/gimp-line-distortion-1024x602.jpg 1024 602 Nick Saporito https://secure.gravatar.com/avatar/8e31bf392f0ba8850f29a1a2e833cdd020909bfd44613c7e222072c40e031c34?s=96&d=mm&r=gIn this tutorial I’ll be demonstrating how you can use GIMP to create a line distortion effect where the subject image is comprised of horizontal lines that flow in the shape of the depicted subject.
The following is just a brief overview of the steps taken to achieve this effect. I recommend that you watch the video tutorial at the top of the page for complete step-by-step instructions.
Line Distortion Effect
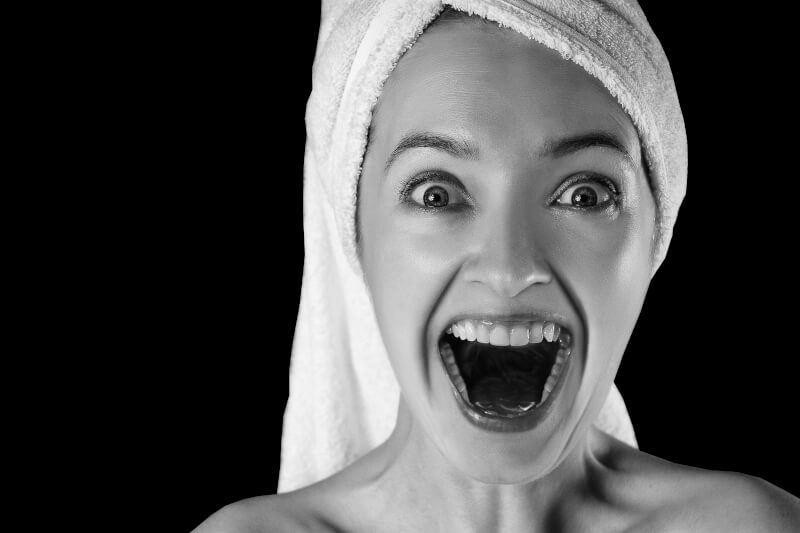
The first thing we have to do is open our subject image with GIMP. For this tutorial, I used the following stock photo from Pixabay…

Click to be taken to the download page
To follow along with this tutorial, please down the copy that is sized at 1,920 pixels wide.
Make sure the subject layer has an alpha channel, then add a new layer to the image, fill it in with black, then position behind the subject layer. Then use the Paths tool to crop the subject from the background of the photo, revealing the black later behind it.

Next, we will remove the color data from the image by going to Color > Saturation and bringing the saturation down to 0.
Now we will use the Curves feature to manually add some contrast to the image.
Then we will give the image a Gaussian Blur of 3%.

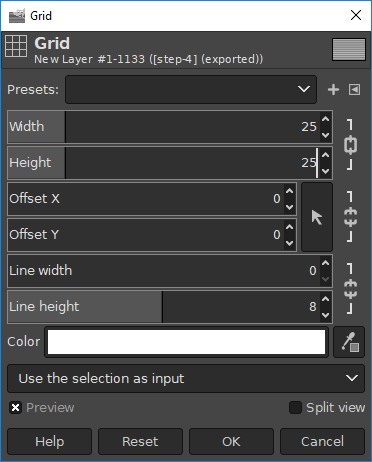
Now we will add a new layer above the subject layer, fill it in with black, and we will add some stripes to this layer by going to Filters > Render > Pattern > Grid. Make sure your presets match those depicted in the screenshot below.
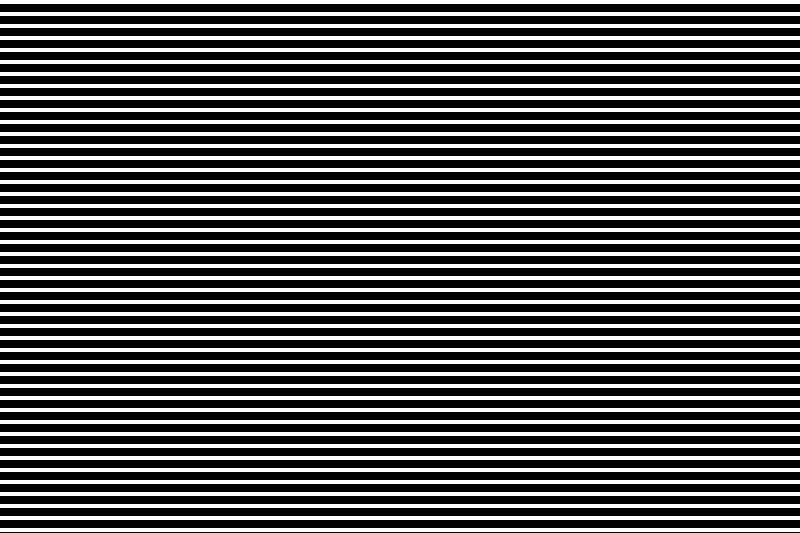
Once applied, you should have a series of alternating black and white horizontal lines…
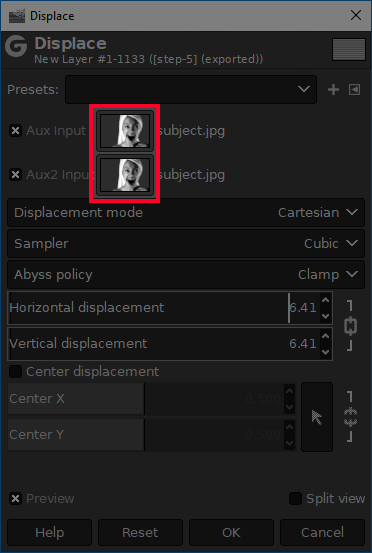
With the stripes layer activated, go to Filters > Map > Displace and match your presets to those depicted below. Make sure you choose the subject layer for both Aux inputs.
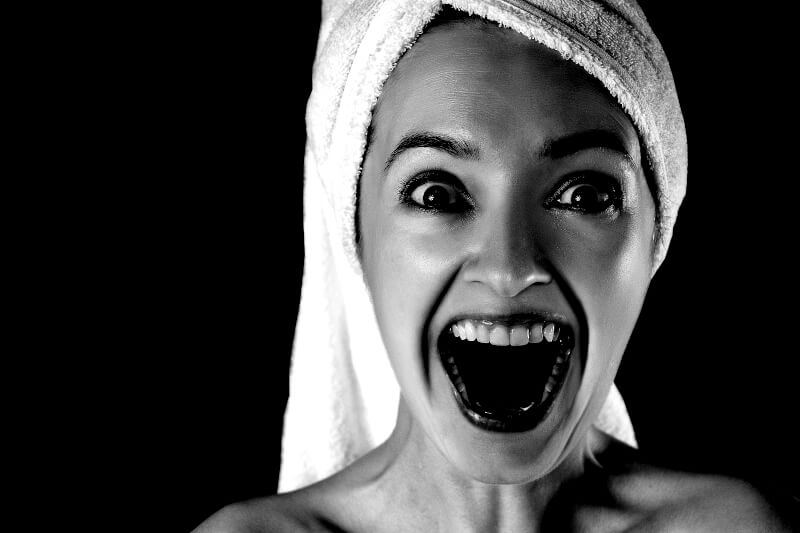
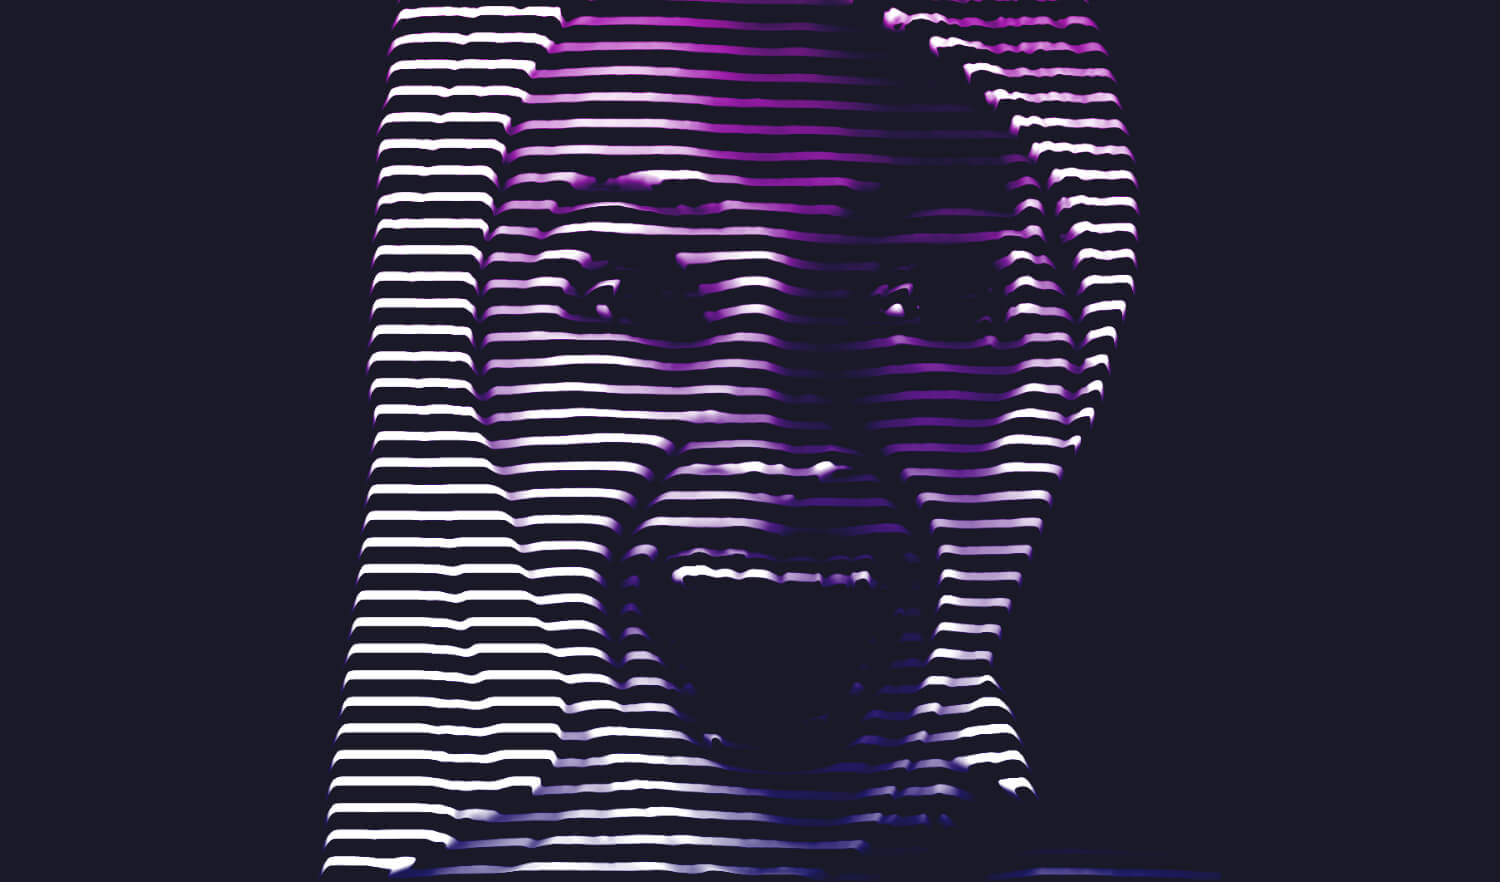
Manually adjust the horizontal and vertical displacement until your image looks something like this…
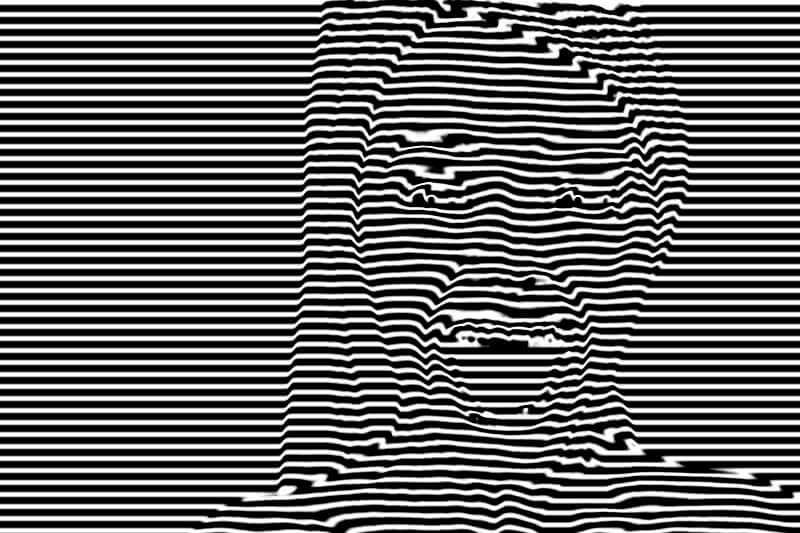
As you can see, the lines have now flowed into the shape of the subject.
Copy the striped layer, then go to the subject layer and add a black layer mask. Paste in the copied stripe layer, anchor the layer, then apply the layer mask.
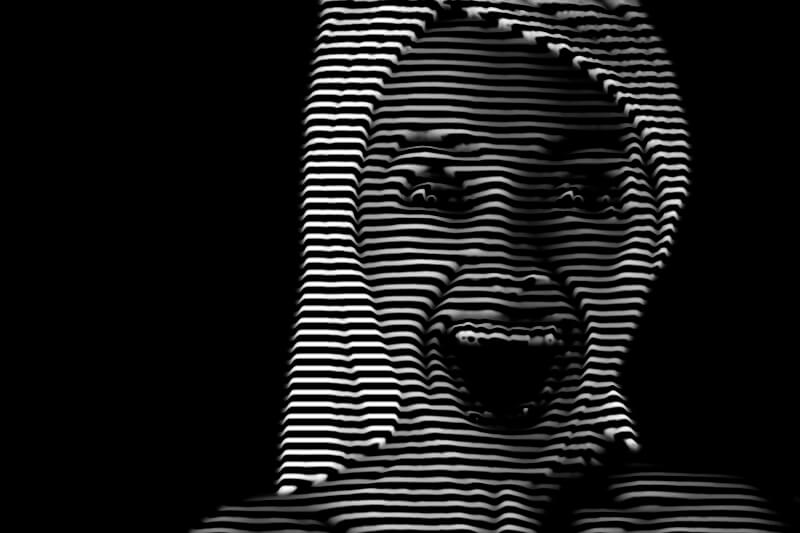
One final tweak we’ll make to the design is to go back to the Curves and manually adjust the contrast some more so that the designs blends into the black background a little better.
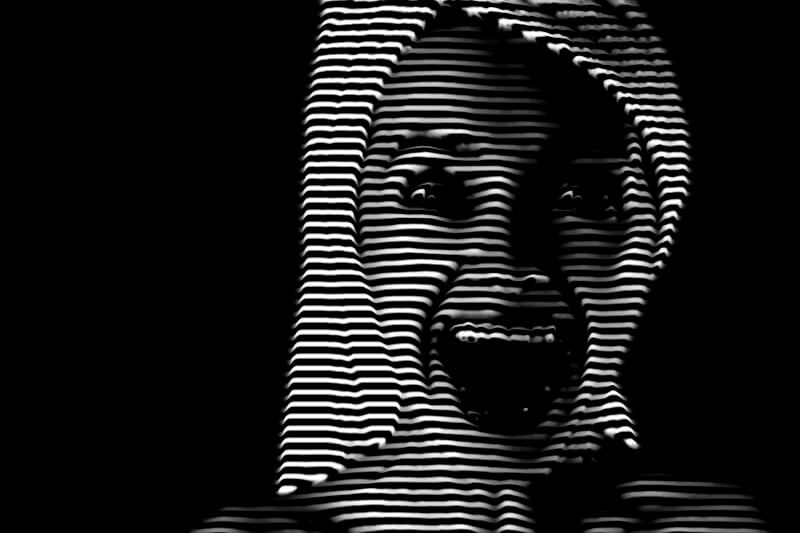
If you’d like to add a hint of color as I’ve done in the thumbnail design, simply add a new layer on top of the image, fill it in completely with your desired color, then set the blend mode to Soft Light.
And with that, we have completed our line distortion effect! If you have any questions or run into any problems, simply leave a comment below. As always, thanks for watching!
Learn To Master The SoftwareGain a complete understanding of your favorite design apps with my comprehensive collection of video courses. Each course grants access to our private community where you can ask questions and get help when needed.
|
||||||||||||||||||||||||||||||||


Leave a Reply