Create Isometric Text with Affinity Designer Using The Isometric Tool
Create Isometric Text with Affinity Designer Using The Isometric Tool https://logosbynick.com/wp-content/uploads/2021/03/isometric-text-with-affinity-designer.png 800 470 Nick Saporito https://secure.gravatar.com/avatar/8e31bf392f0ba8850f29a1a2e833cdd020909bfd44613c7e222072c40e031c34?s=96&d=mm&r=gA really neat feature Affinity Designer has that I haven’t yet seen anywhere else is the isometric tool, which allows you to take flat, 2D objects and place them on one of three isometric planes. In this tutorial I’ll be demonstrating how to create isometric text with Affinity Designer using that handy isometric tool.
Typically, when placing an object on an isometric plane, you either have to draw it isometrically or sheer and rotate it to fit an isometric grid. However, Affinity Designer has a tool built into its grid and axis manager that will do this for you, which will save you so much time if you’re creating isometric designs.
Isometric Text with Affinity Designer
The following video tutorial will walk you through the steps of creating isometric text with Affinity Designer:
Continue on for the written tutorial.
Step 1: Generate Some Text
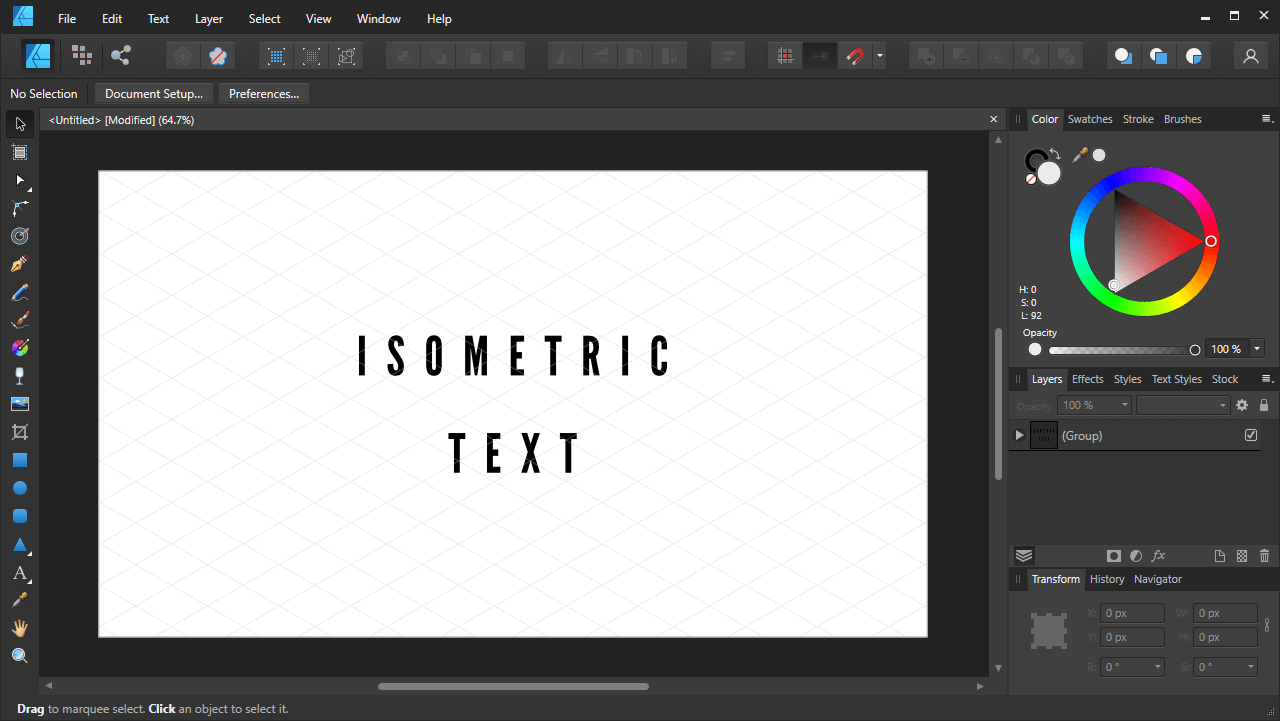
First, we’ll need to generate some text, so grab the Artistic Text Tool and place some text on your canvas:
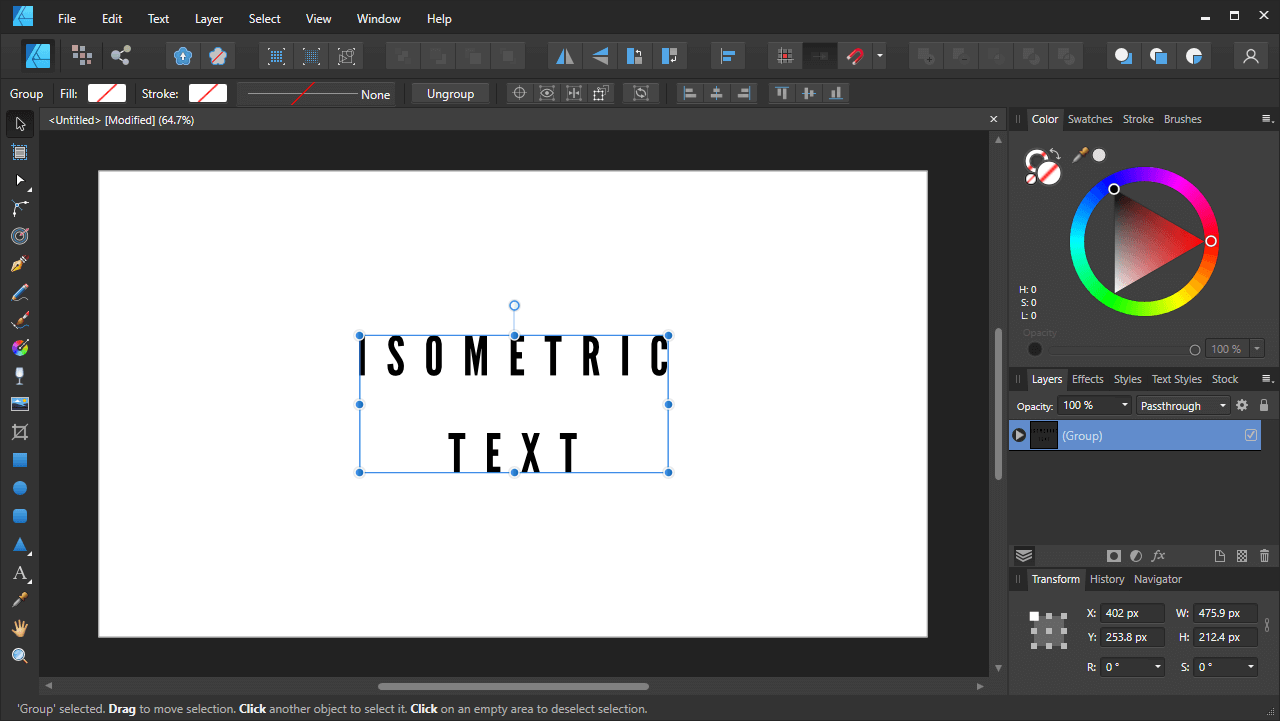
For this demonstration I am using the League Gothic font, but you can use whatever font you’d like.
For this sort of design it is recommended that you place a lot of space between your letters. The effect just looks better when you do it this way, and it’s easy enough to go back and decrease the space between the letters later on if need be.
To add space between your letters, select all of them by pressing Control + A, then press Alt + Right Arrow Key repeatedly.
Once you’ve generated your text, convert it to curves by navigating to Layer > Convert to Curves.
Step 2: Place Text On An Isometric Grid
Now it’s time to place the text on an isometric grid. To do this, we need to open the Grid & Axis Manager by navigating to View > Grid and Axis Manager.
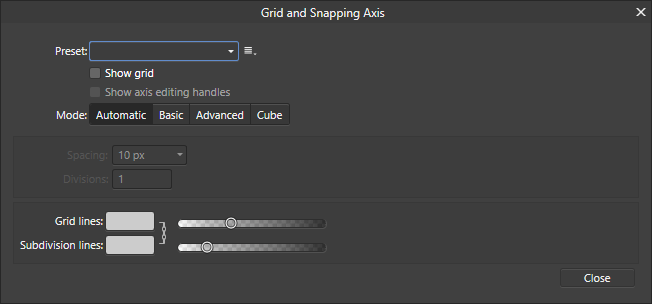
The Grid and Axis Manager allows you to apply isometric grids to your artboard. It also allows you to access the handy Isometric tool.
Select the Advanced tab, and from the Grid Type dropdown, choose Isometric. Then, tick the box at the top of the menu that reads Show Grid.
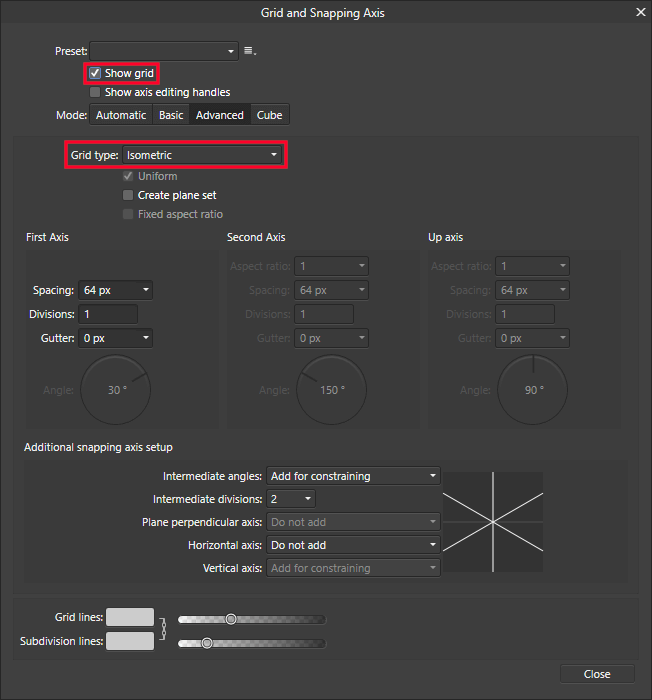
Choose the isometric option from the dropdown, then turn on the visibility of the grid. Both sections are highlighted in red.
An isometric grid will now appear on your artboard:
Once applied, an isometric grid should be visible on your artboard.
Now we need to place the text on this isometric grid. To do so, tick the box that reads Create Plane Set to open the Isometric menu:
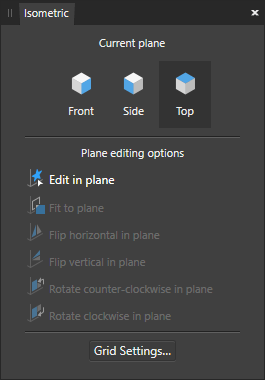
The Isometric Menu allows you to place objects on isometric planes. It also allows you to change the position and orientation of your select object, relative to the grid.
Make sure you have your text selected. Then, in the Current Plane section, select Top and then click the Fit To Plane button below it.
This will place your text on the isometric plane:
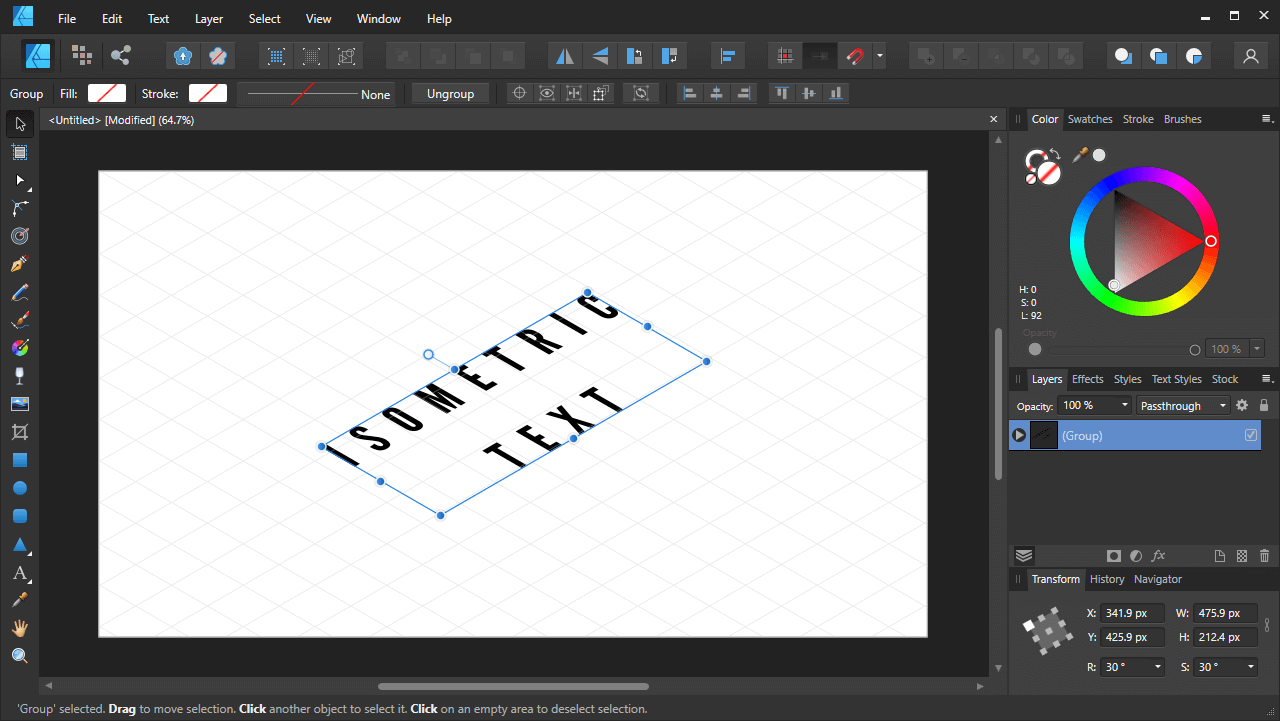
How your isometric text looks once applied to the isometric grid.
The isometric menu makes it easy to create isometric text with Affinity Designer because it allows you to change the position and orientation of your text at any time, which is an enormous time saver. In other applications this needs to be done manually.
Once you are finished adjusting your isometric settings to your liking, you can turn off the visibility of the isometric grid and close out of the Grid and Axis Manager, as well as the Isometric menu.
Step 3: Extrude Text
Now that you’ve created your isometric text with Affinity Designer, it’s time to give it a three-dimensional appearance by extruding it.
Zoom in on your text really close to get a closeup view of it, preferably in one of the corners:
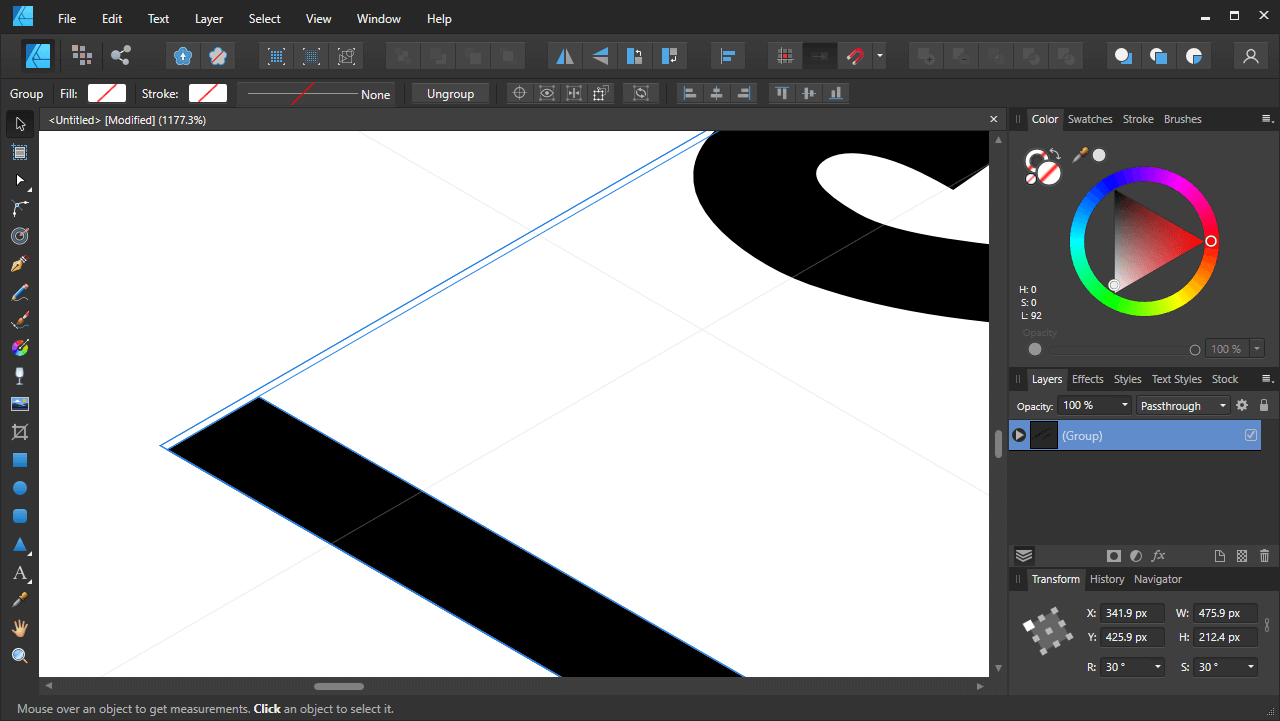
This next step will be easier if the area you zoom in on contains a sharp corner, like in the letter I of this example.
Now, create a copy of your text and position it slightly above the original. To do this:
- Select the text
- Hold Alt on the keyboard
- Click and drag the text upwards vertically
- Hold Shift on the keyboard to lock it onto the vertical axis.
Make sure to move it up ever-so-slightly — maybe a few pixels:

Note the spacing between both copies of the text. It should only be a few pixels at the most.
Now we’re going to repeat this last action a bunch of times. Thankfully, we won’t have to do this manually. Simply press Control + J on your keyboard to repeat the last process, then press it a bunch more times to create many more copies:
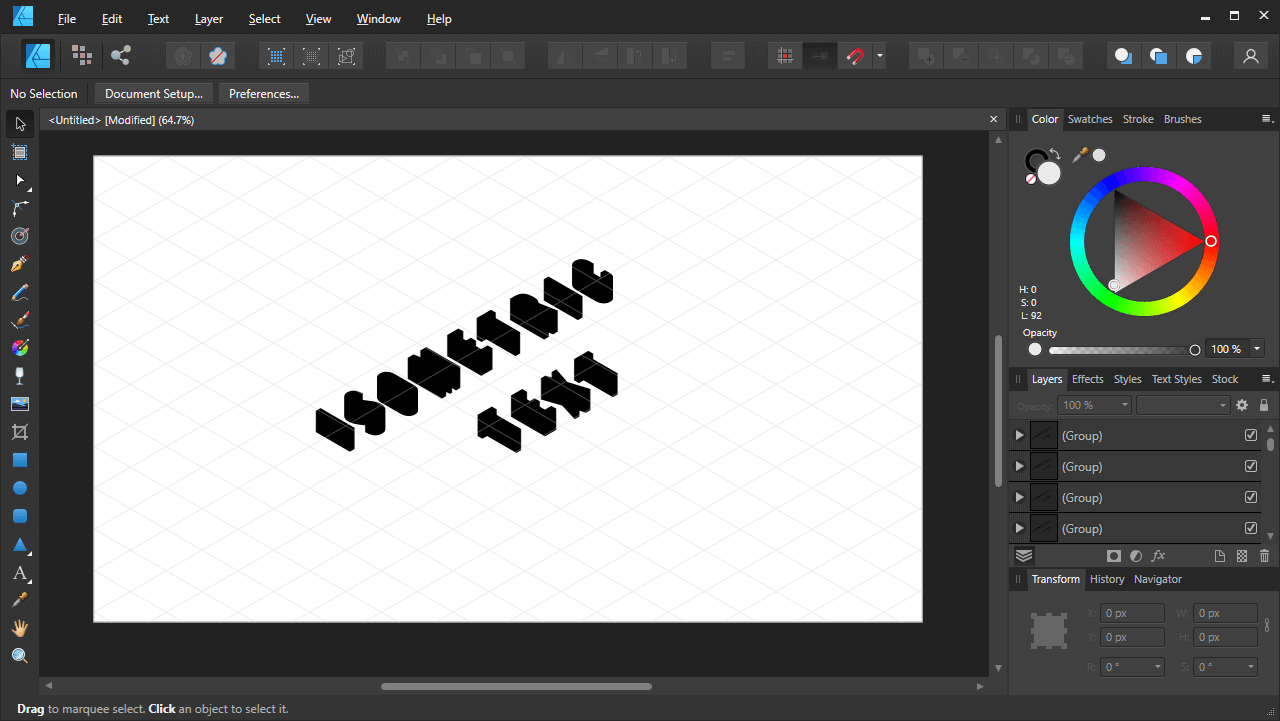
Pressing Control + J repeatedly will allow you to extrude the text, giving it a 3D look.
Create as many copies necessary to create the depth you’re going for.
Step 4: Color As Needed
The final step to creating isometric text with Affinity Designer is to color it in to bring the effect to life.
First, select all of copies of the word and apply whatever color you’d like your isometric text to be. These are the extruded copies, so you would typically use a darker shade when it comes to isometric design.
Then, select only the top copy of the text and apply a different color — preferably a lighter version of the color you just used.
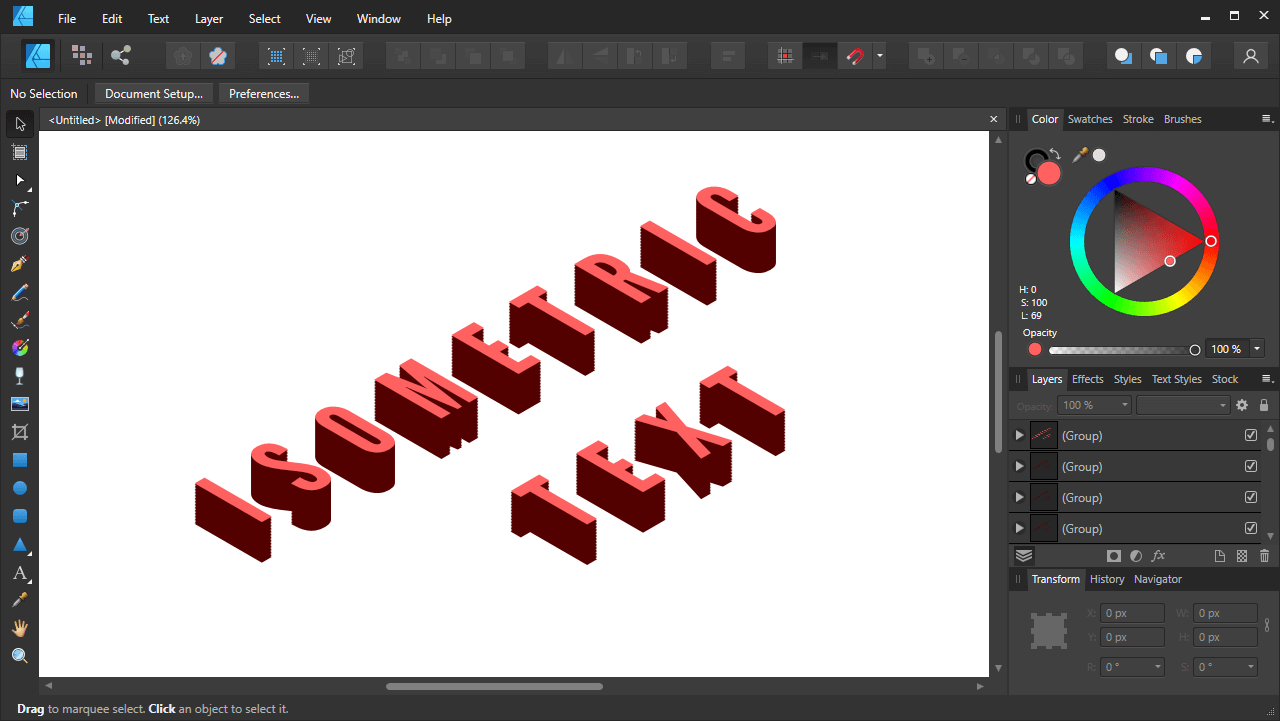
To bring the effect to life, make the top copy a lighter shade, and the rest of the copies a darker shade.
And if you want, you can get carried away and let your creativity take over; sort of like what I did for video thumbnail:
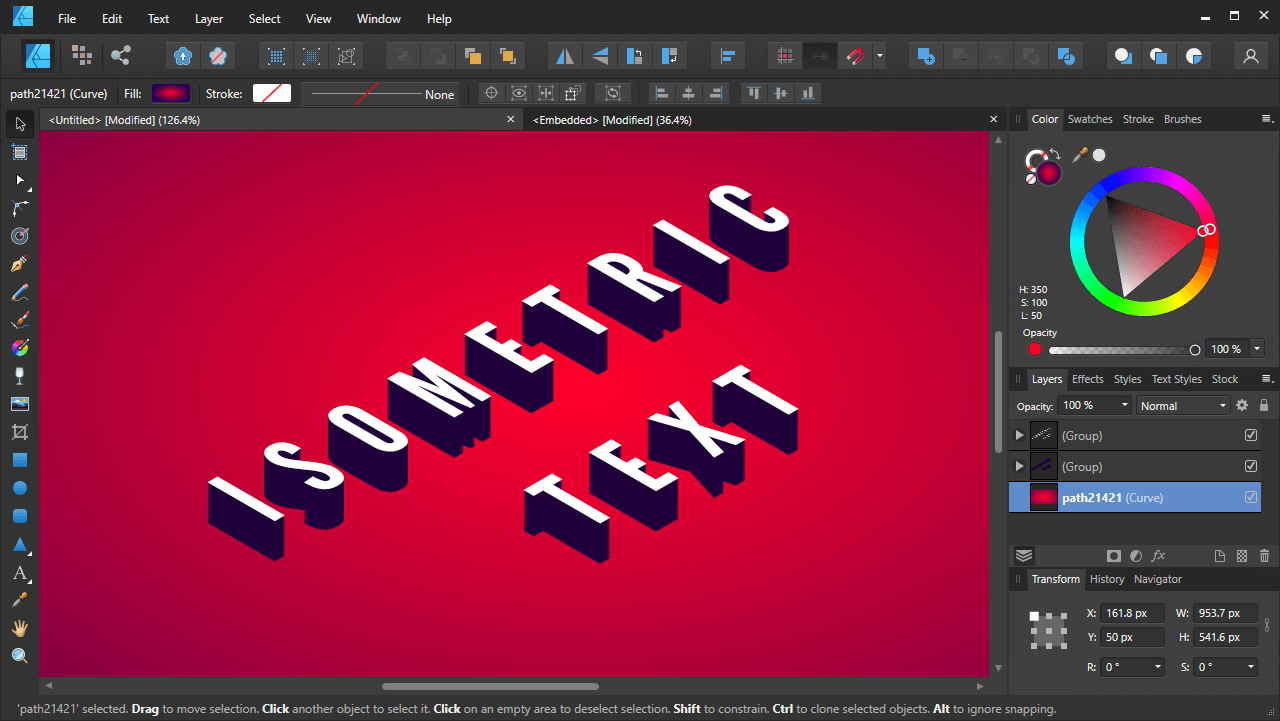
Add your own touch of creativity!
And that is how easy it is to make isometric text with Affinity Designer!
Conclusion
Affinity Designer’s isometric tool is a gamechanger, and it’s just another one of Serif’s welcomed innovations. I have yet to see a tool like this in any other vector graphics editor.
Although Affinity Designer has its share of shortcomings (lack of image tracing and free form editing for perspective, for example,) it’s an absolute rock star when it comes to making isometric art. Designer makes it easier to generate isometric grids and apply objects to those grids than any other application I’ve used.
If you have any questions, or if any part of this lesson was unclear, simply leave a comment below!
Learn To Master The SoftwareGain a complete understanding of your favorite design apps with my comprehensive collection of video courses. Each course grants access to our private community where you can ask questions and get help when needed.
|
||||||||||||||||||||||||||||||||


Leave a Reply