Inkscape Now Has A Shape Builder! Here’s How To Use It
Inkscape Now Has A Shape Builder! Here’s How To Use It https://logosbynick.com/wp-content/uploads/2023/07/shape-builder-inkscape.webp 1000 587 Nick Saporito Nick Saporito https://secure.gravatar.com/avatar/8e31bf392f0ba8850f29a1a2e833cdd020909bfd44613c7e222072c40e031c34?s=96&d=mm&r=g- Nick Saporito
- no comments
The Inkscape team recently released version 1.3 and with it comes lots of new tools and features. One such welcomed addition is the Shape Builder Tool, which allows you to create shapes based on the intersecting areas of overlapping shapes. In this tutorial we’ll be having a look at how to use it to make a yin yang symbol.
The Shape Builder Tool is something that Adobe Illustrator has had for quite a while, and it was introduced to Affinity Designer last year as well. Now we finally have a Shape Builder as well thanks to version 1.3 of Inkscape. Let’s have a closer look.
First Make Sure Inkscape Is Up-To-Date
Before getting started, make sure you’re using at least version 1.3 of Inkscape. You will not have a Shape Builder Tool if you’re using an older version.
If you don’t know which version you’re using, navigate to:
Help > About Inkscape
If you’re on Mac it would be :
Inkscape > About Inkscape
If you need to upgrade to the latest version then you can do so here.
How To Use Inkscape’s Shape Builder
I made a video for YouTube going over some of the new tools and features in version 1.3 of Inkscape– one of which being the Shape Builder Tool. Watch the video below for a brief demonstration of how it works:
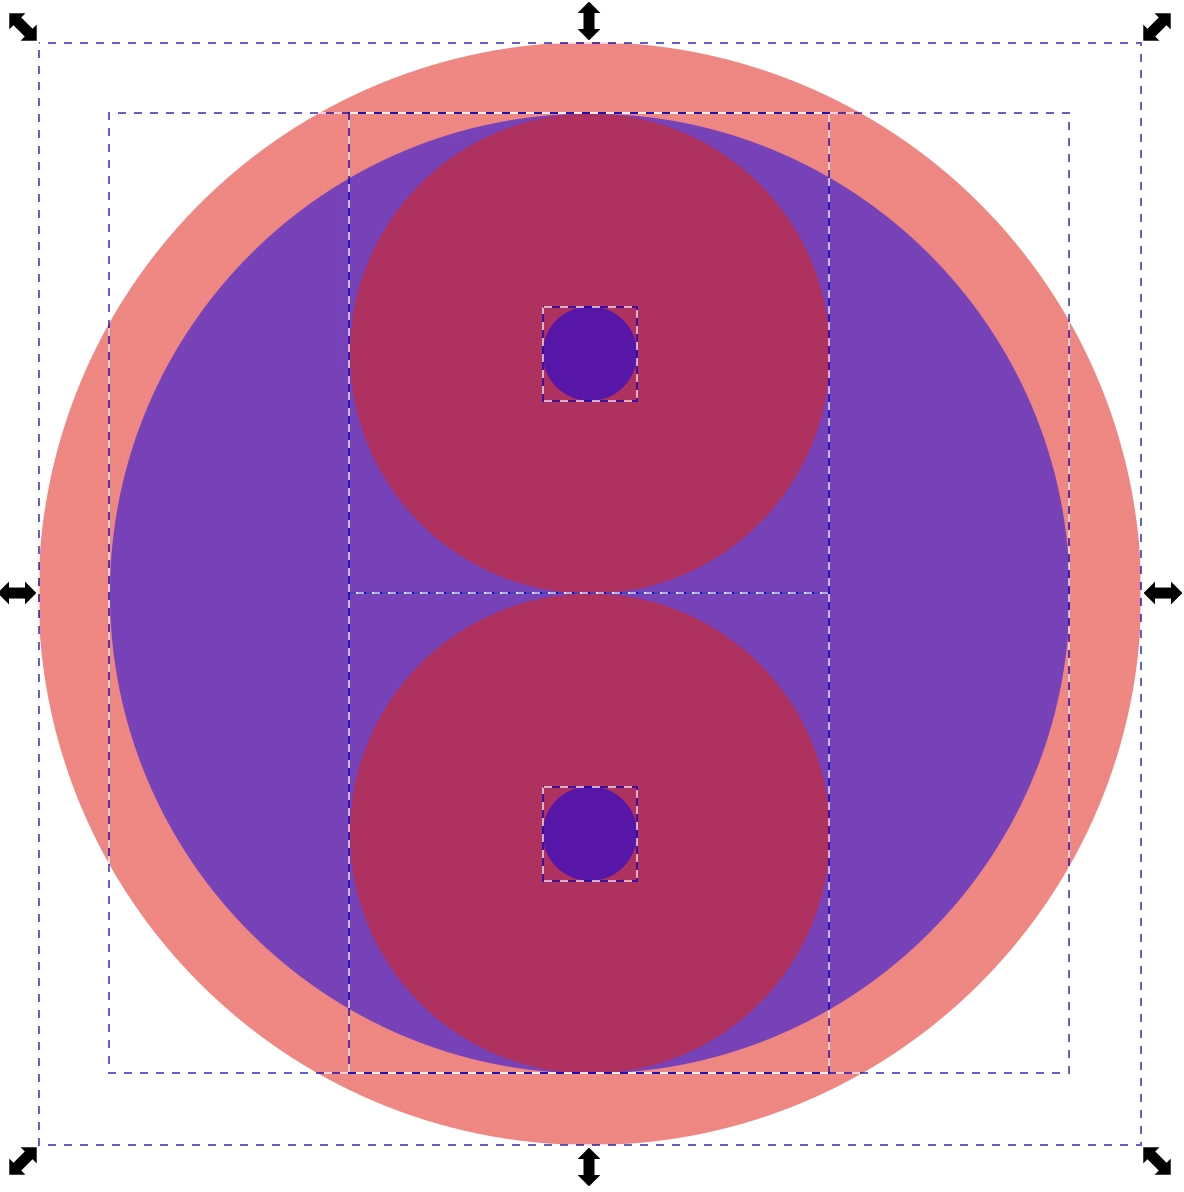
The Shape Builder Tool in Inkscape is a tool that lets you create new shapes based on the intersecting areas of overlapping shapes. The example we’ll be using in this demonstrating is a series of circles that can be turned into a yin yang symbol:

This array of circles wil be shaped into a yin yang symbol.
I have turned down the opacity of the circles so you can see where everything lines up. You can construct this yourself using the Circles & Ellipses Tool to make a series of 6 circles. Simply enable snapping (top-right corner of the screen) to scale their proportions more easily.
Once you have some objects created, click and drag over all of them to select them.
With your objects selected, access the Shape Builder Tool in the toolbar on the left-hand side of your screen (just beneath the Edit Paths By Nodes Tool). It can also be accessed by pressing X on your keyboard.
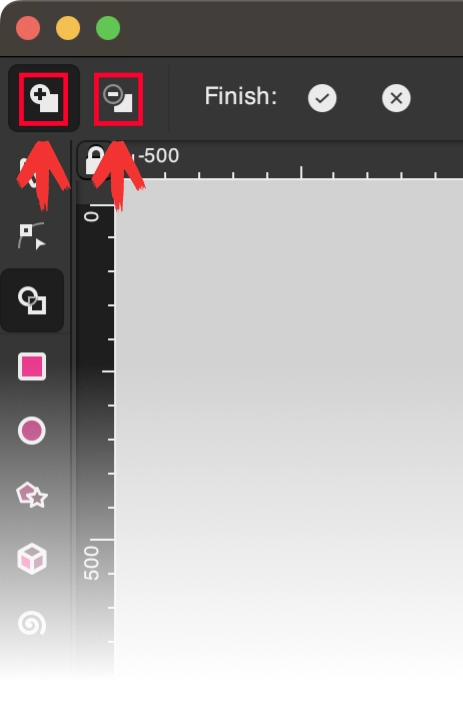
In the tool settings menu in the top-left of the screen you will see the following options:
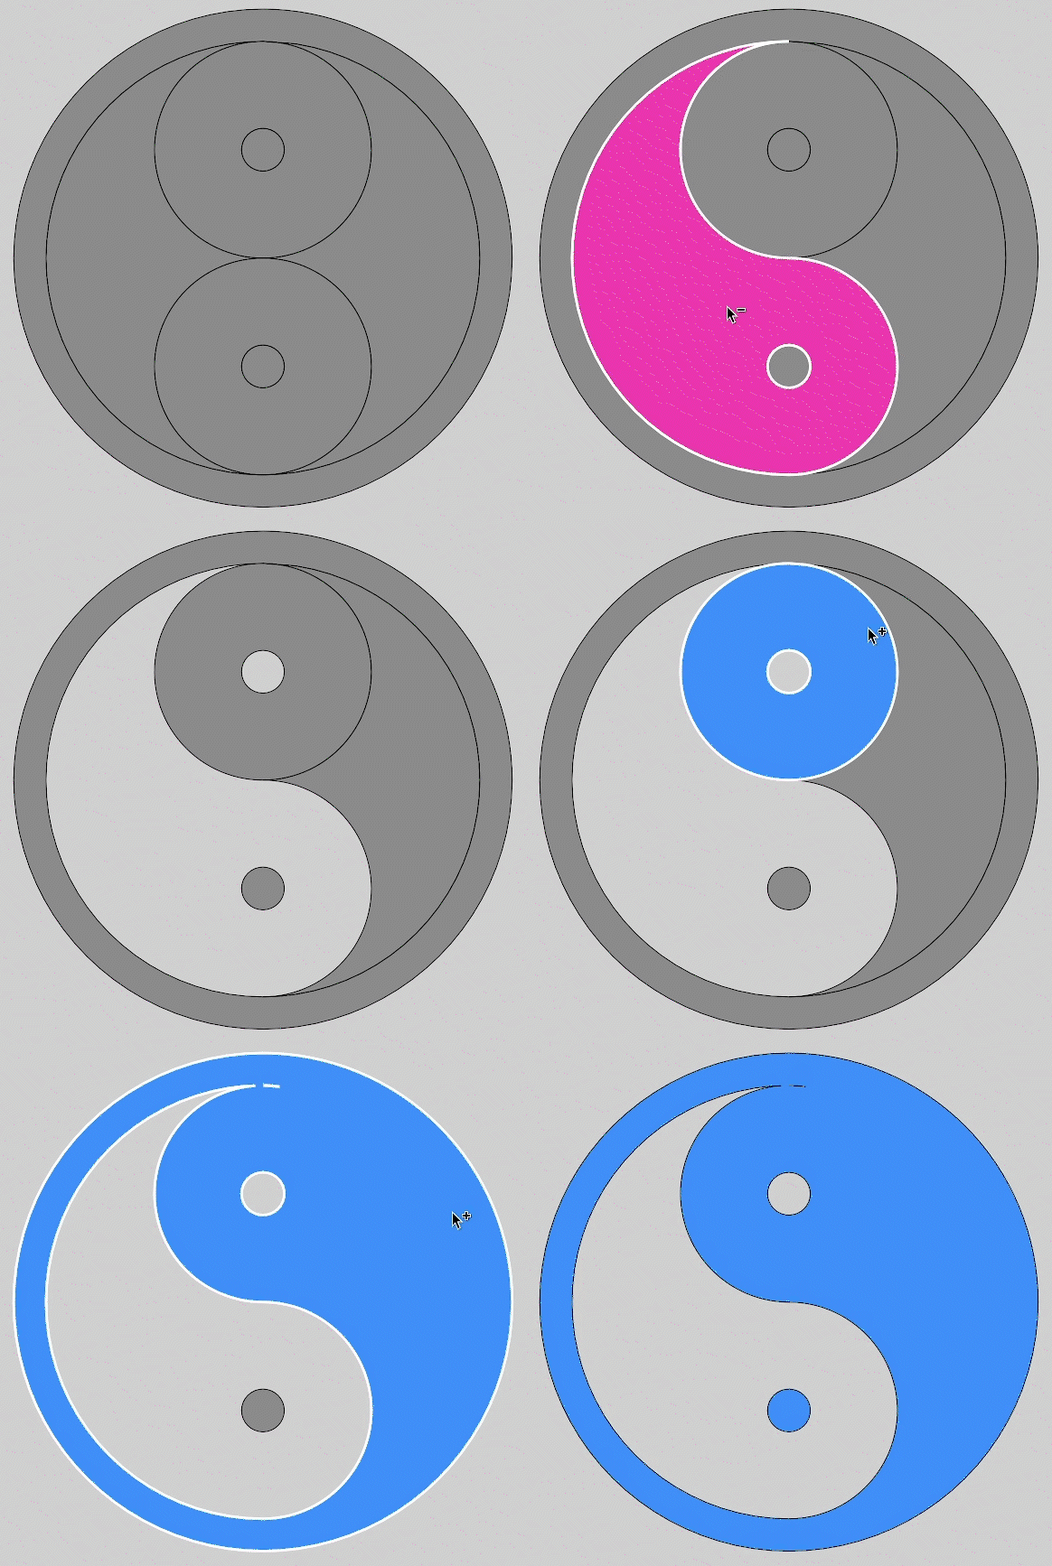
The plus (+) icon puts you in addition mode and then minus (–) icon puts you in subtraction mode. Based on whichever mode you’re in, you can click and drag across areas of the selection to combine and remove segments:

The only shapes that will remain once you’re finished are the shapes that are highlighted in blue, so make sure click on any other areas you want to keep (using addition mode) to highlight them blue as well.
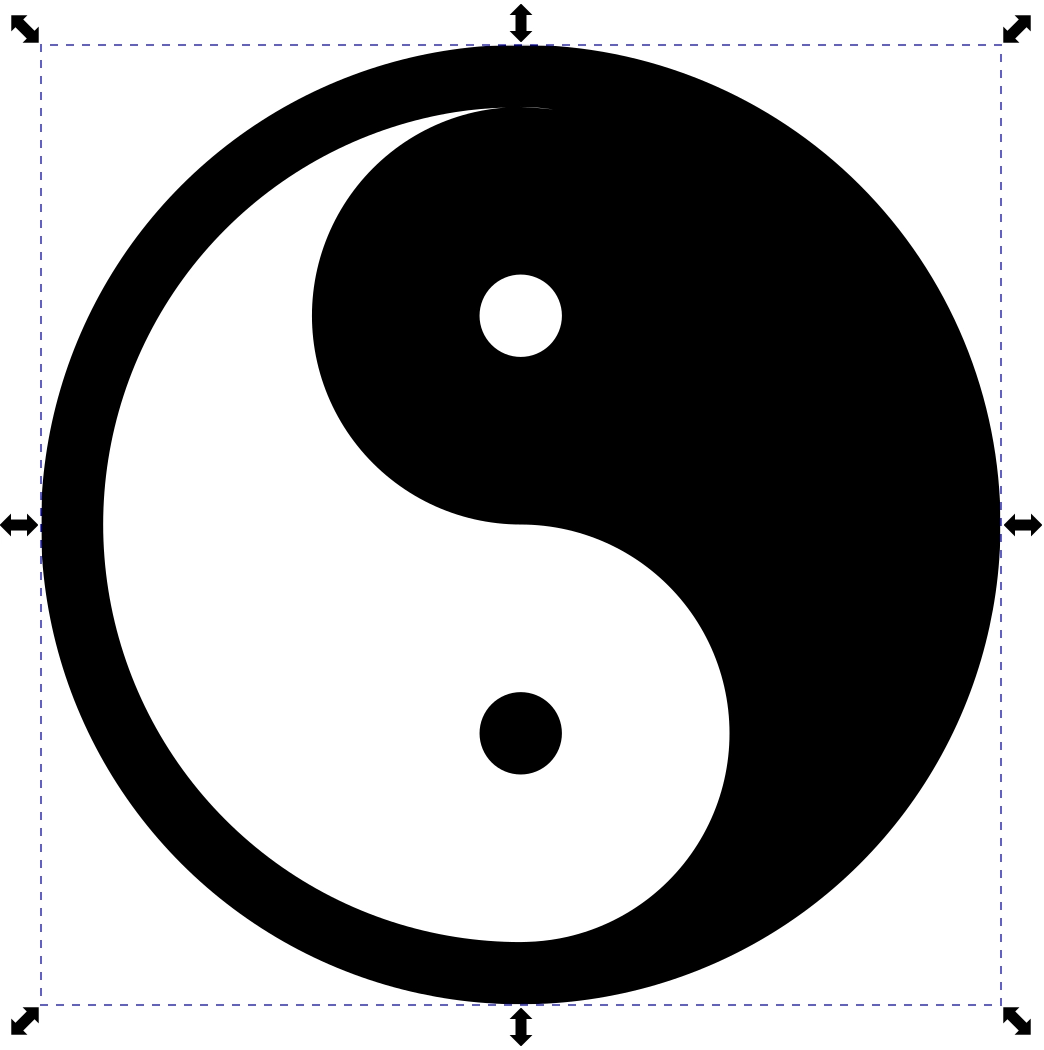
Once you are finished you can click the check button to apply the changes:

You can also discard your changes at any time by clicking the X icon in the tool settings menu.
In Conclusion
I’ve been an Inkscape user since 2009, and in that time the software has evolved and advanced in so many ways. Having a Shape Builder to work with now takes Inkscape to another level. There have been many times in the past where I would launch Illustrator just so I could use the Shape Builder, then import everything back into Inkscape to keep working on it. However, those days are now over. Viva la Inkscape!
Disclaimer: this website does not track you, serve ads, or contain affiliate links.
Learn To Master The SoftwareGain a complete understanding of your favorite design apps with my comprehensive collection of video courses. Each course grants access to our private community where you can ask questions and get help when needed.
|
||||||||||||||||||||||||||||||||
- Post Tags:
- inkscape
- Posted In:
- Inkscape
- Open Source
- Tutorials
Nick Saporito
Hi, I'm Nick— a Philadelphia-based graphic designer with over 10 years of experience. Each year millions of users learn how to use design software to express their creativity using my tutorials here and on YouTube.
All stories by: Nick Saporito


Leave a Reply