Create Wavy Lines Using Lattice Deformation In Inkscape
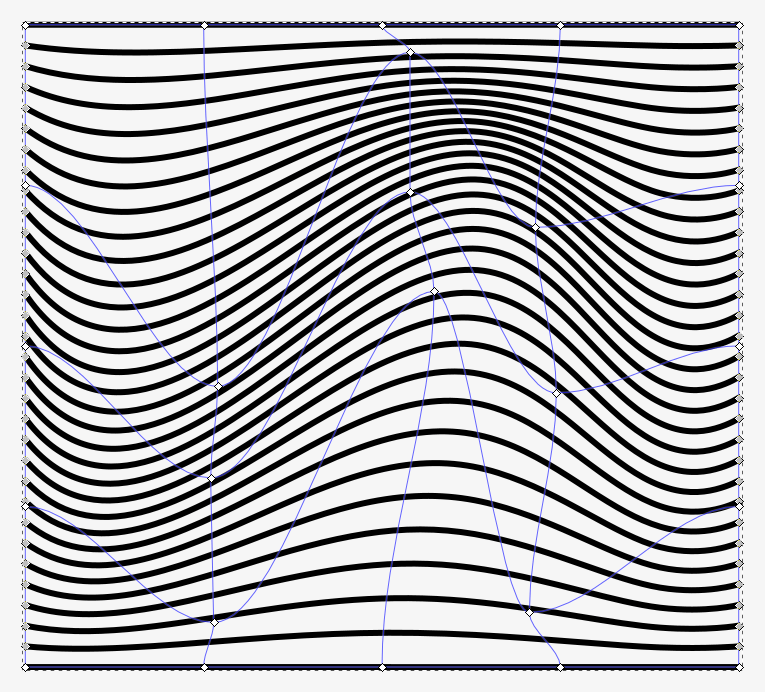
Create Wavy Lines Using Lattice Deformation In Inkscape https://logosbynick.com/wp-content/uploads/2019/07/inkscape-wavy-lines-1024x602.png 1024 602 Nick Saporito https://secure.gravatar.com/avatar/8e31bf392f0ba8850f29a1a2e833cdd020909bfd44613c7e222072c40e031c34?s=96&d=mm&r=gIn this tutorial I’ll be demonstrating how to create these wavy lines using the Lattice Deformation path effect in Inkscape. This would be a great tutorial for a beginner or first-time user of Inkscape.
The following is just a brief overview of the steps taken to achieve the effect. For more in-depth step-by-step instructions, please watch the video tutorial at the top of the page.
Wavy Lines Effect
To get started, we’ll use the Bezier Pen to create a single horizontal line on the canvas.
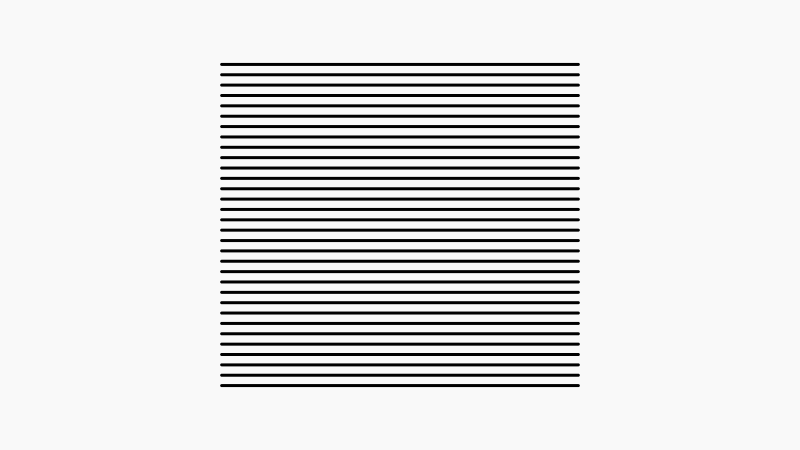
Next we will create a series of duplicate copies of the line and space them out evenly. We will accomplish this with the Duplicate function (control + D) and with the Distribute function in the Align & Distribute menu. Finally, we will combine the lines into a single unit with the Combine function (control + k).
Again, if any part of this explanation sounds ambiguous to you, I would advise watching the video tutorial. It covers everything in detail.
Now we will apply the Lattice Deformation path effect to the design.
Lattice Deformation
Lattice Deformation is a new path effect that was recently added to Inkscape. It allows you to warp objects using individual nodes. The location of the nodes is dictated by a grid.
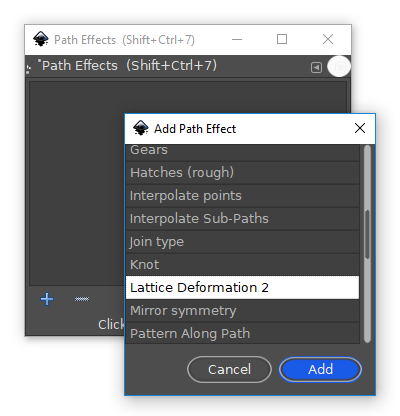
Select the object, then go to Path > Path Effects. Once the path effects menu open, click the plus icon (+) on the menu to add a new path effect. Then, from the list of path effects, choose Lattice Deformation and click Add to apply it.
Now if you grab the Nodes tool, a grid will appear over your lines with a series of individual nodes that you can click and drag. As you move them, you’ll notice the design warping according to wherever you move the cursor.
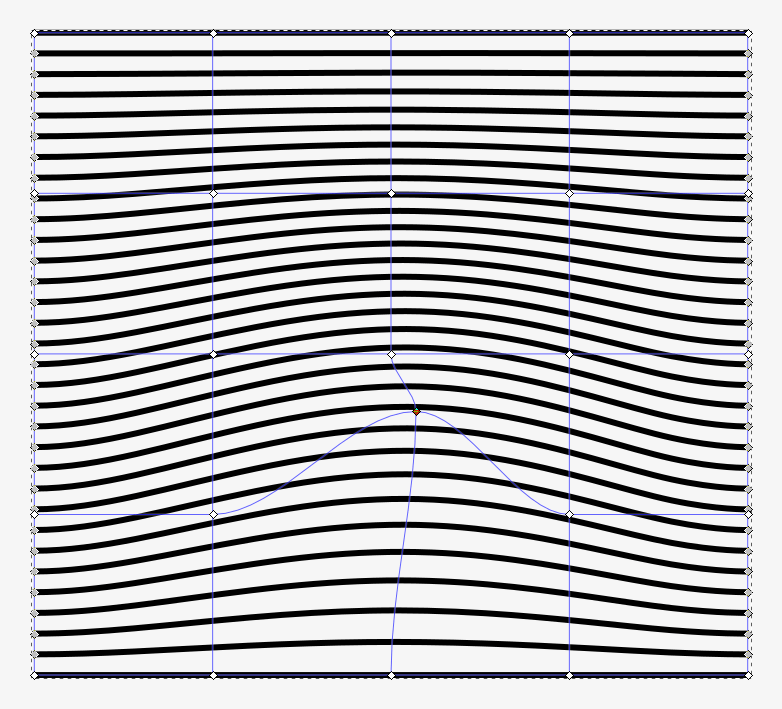
Go ahead and move the nodes around whimsically until your lines have a nice wavy flow to them.
Once you’ve altered your design to your liking, you can finalize it by going to Path > Object to Path. Then you can convert the strokes to paths by going to Path > Stroke to Path. You can now color in and stylize your wavy lines however you’d like.

That should do it for today’s tutorial. If you have any questions just let me know, and as always, thanks for watching!
Learn To Master The SoftwareGain a complete understanding of your favorite design apps with my comprehensive collection of video courses. Each course grants access to our private community where you can ask questions and get help when needed.
|
||||||||||||||||||||||||||||||||


You might also like


6 comments
-
-
Ilka
Hi, Nick, I just started with your mastertutorials about inkscape and I wonder if I can do a spezial 3D lines design with it.
Unfortunatly I don’t know how I can send you a picture from it. So I try to tell what it should look like.
I want to write a word like -HALLO- in massive letters. Then I want to overlay it with horizontal lines, like a thin cloth. At the end I only want to see the lines which are coming up and down over the word.
I know it is not so easy to understand, but I hope you can tell me if there is a possibility to use inkscape or gimp for it. If you tell me how I can send you a sample I will do so.
Thanks a lot for your great tutorials
Ilka -
Chris
I recently started using Inkscape and re-learning GIMP, after dropping PS. You put together great, straight forward and easy to follow tutorials. Thanks for the work that you put into those.
-
Nick Saporito
Thanks Chris, glad to help. Good luck with the transition to Open Source, hope it goes smooth!
-
-
-
John H.
Hey Nick!
I would like to hear your opinion to a problem i got with Inkscape! I though I’d tweet you, but you seem not to be that active in Twitter so this is the way then 😀
So the problem goes like this:
Every time I try to do a Path -> Difference/Intersection/Division act, the shapes just go very weird. Usually the result is way smaller than the area that should be the result of this action, or the shapes just have strange corners or something. For example if I have two colliding circles, and then make the “Intersection”, the area formed by this is not the area where the shapes collide but a smaller one. I tried making making a Celtic knot like in your video about the subject, but every time Intersection is made, all parts seem to be sized differently, this is clearly visible and noticeable when you have duplicate shapes and they are all in the same position.The problem is not about any of the shapes having strokes on them, I’ve checked many times that they don’t have strokes! Also it doesn’t matter if you’re doing the Difference/Intersection/Division to an object or a path, in both cases they act similarly strange! I’ve also tried shutting the program and restarting but no…
I’m an experienced Inkscape user, but this problem has only recently appeared in my works… You’re propably even more experienced than I am, so if you know what could be the problem, please tell me! Thanks!
Fränk
Is there a way to add more control nodes for more precise deformation?