
How To Set Up Autosave In Inkscape
How To Set Up Autosave In Inkscape https://logosbynick.com/wp-content/uploads/2022/07/autosave-ink-inkscape.png 800 470 Nick Saporito https://secure.gravatar.com/avatar/8e31bf392f0ba8850f29a1a2e833cdd020909bfd44613c7e222072c40e031c34?s=96&d=mm&r=gIf you’ve used Inkscape for any extended period of time then you’ve undoubtedly had the application crash on you, and if you haven’t saved your work then it may be gone forever. It’s important to save your work often, but it’s also easy to forget sometimes. This is where a feature like autosave comes in handy, and in this tutorial we’ll be going over how to set up autosave in Inkscape.
Setting up autosave in Inkscape is simply a matter of opening the Inkscape Preferences menu, navigating to the autosave section, and enabling your preferred settings. Let’s have a look at the details.
Set Up Autosave In Inkscape
The following video tutorial will quickly guide you through the process while explaining what the menu options represent:
To enable the autosave feature, you must access the Inkscape Preferences menu. Windows and Linux users can access it by navigating to:
Edit > Preferences
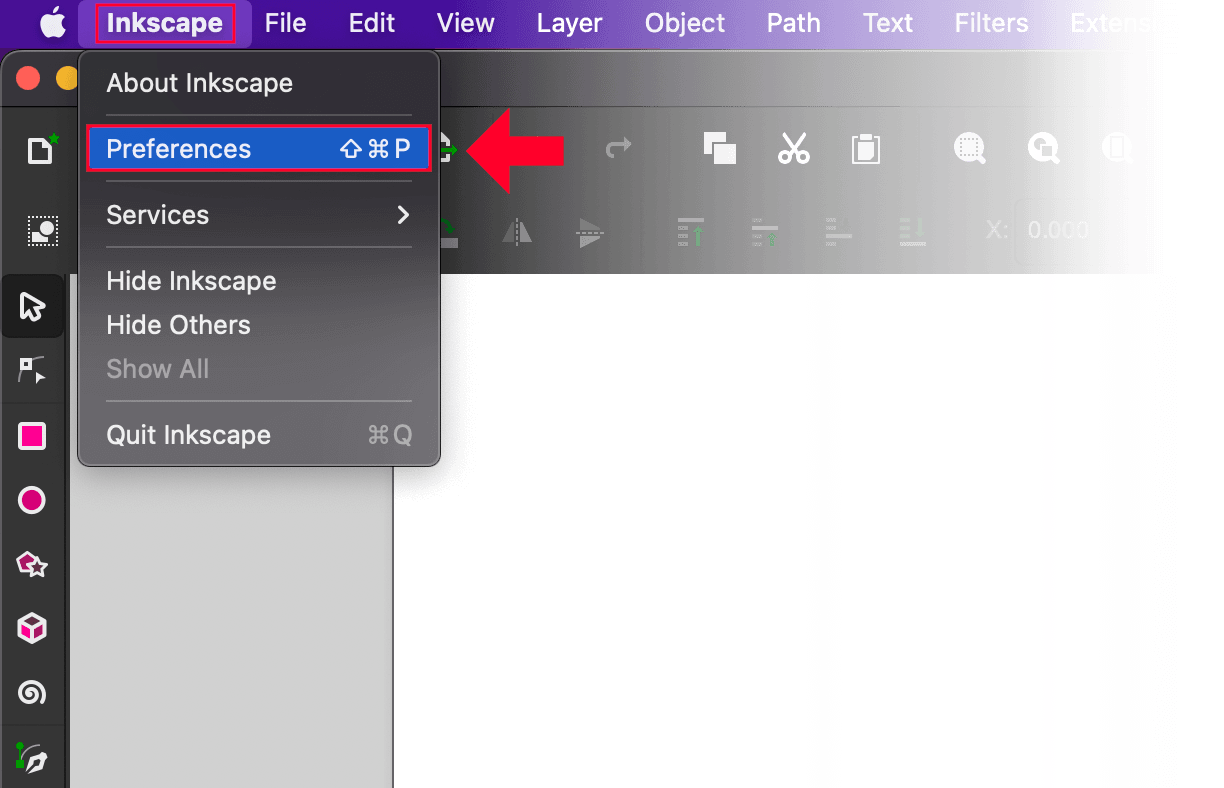
If you’re a Mac user then navigate to:
Inkscape > Preferences
Alternatively, you can access this menu by using the following keyboard shortcuts:
- Windows/Linux: Control + Shift + P
- Mac: Cmd + Shift + P
The Inkscape Preferences menu contains system settings that allow you to change how the software behaves. One such setting would be the autosave feature.
To access the autosave section of Inkscape Preferences, navigate to:
Input/Output > Autosave
The menu and its location should look something like this:

At the top of the menu there should be a checkbox labeled as “Enable Autosave“. Ensure that the box is checked.
Further down in the menu you will see input settings that allow you to dictate the behavior of the autosave feature:
- Autosave directory: this represents the location on your device/hard drive that you’d like autosave files to be kept.
- Interval: this represents how often (in minutes) Inkscape should autosave your document. The default is every 10 minutes.
- Maximum number of autosaves: this allows you to specify a maximum number of times you’d like your document to be autosaved.
Once you’ve input your desired settings you can close out of the menu and autosave should be enabled. Your document will be saved in the specified location and in the specified time intervals.
If you have any questions or need clarification on anything discussed in this lesson then please leave a comment below.
Learn To Master The SoftwareGain a complete understanding of your favorite design apps with my comprehensive collection of video courses. Each course grants access to our private community where you can ask questions and get help when needed.
|
||||||||||||||||||||||||||||||||


