How To Create Watercolor Logos with GIMP
How To Create Watercolor Logos with GIMP https://logosbynick.com/wp-content/uploads/2019/04/gimp-watercolor-logos-1024x602.png 1024 602 Nick Saporito https://secure.gravatar.com/avatar/8e31bf392f0ba8850f29a1a2e833cdd020909bfd44613c7e222072c40e031c34?s=96&d=mm&r=gIn today’s tutorial I’ll be demonstrating how you can use GIMP to create a watercolor logo from a photo of your choosing. The following is just a brief outline of the steps taken to achieve this effect. For complete step-by-step instructions with voice narration, please watch the video tutorial at the top of the page.
Watercolor Logos
The first step is to open the photo you’d like to reference as the outline for the logo. For this tutorial I’ll be using the following dog photo. You can download a copy of the photo if you’d like to follow along with what I’m doing.
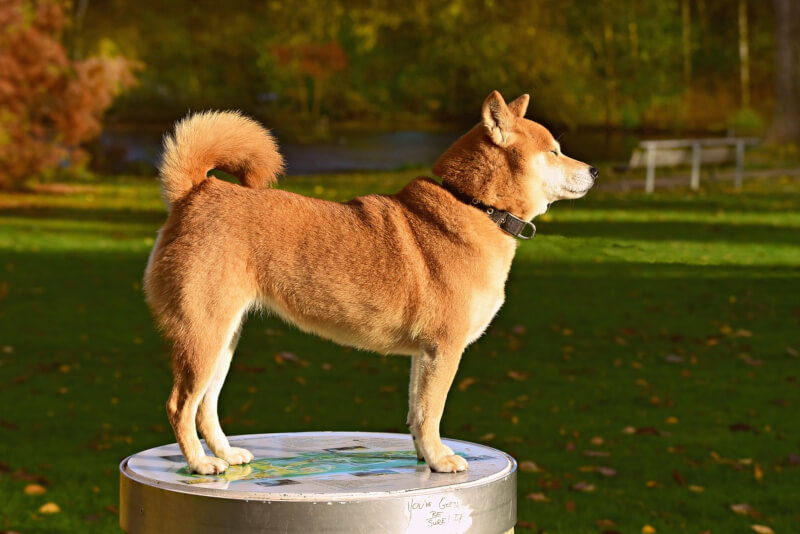
Click the image to be taken to the download page
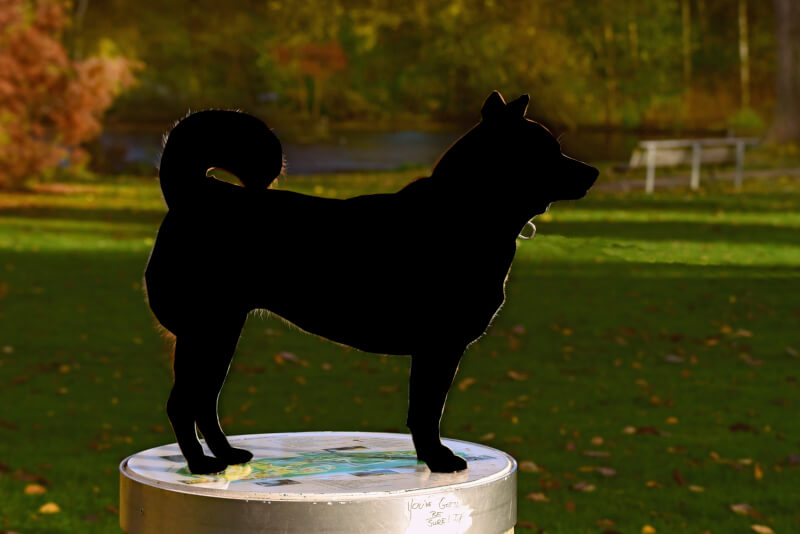
Now we are going to create a new transparent layer on top of the photo and use the Paths tool to create an outline around the subject and fill it in with black.
Next we will open up another image separately for use as the watercolor paint. It is advised that you pick a colorful photo that utilizes all of the colors you’d like included in your logo. The example photo I’m using is linked below.
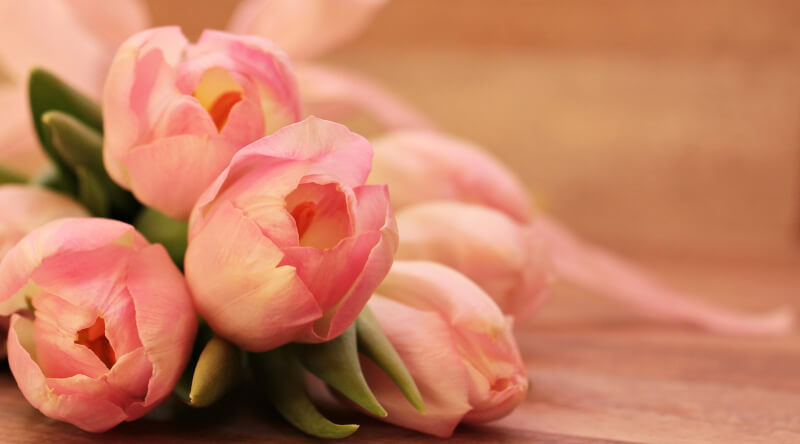
Click the image to be taken to the download page
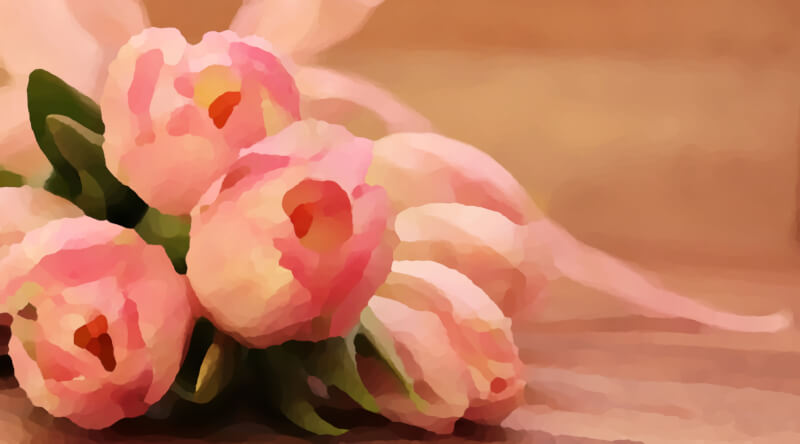
Now we will use the Oilify filter to make the photo appear as if it were comprised of watercolor (or oil) paint. Based on the photo you’re using, I suggest playing with the settings to get the desired effect just right.
Once that’s set we’ll grab our silhouette from the previous image and place it on top of the floral photo. Make sure to place the silhouette in the exact area that contains the colors you’d like included. You might want to bring down the opacity so you can see what’s directly underneath it, and you’ll probably have to scale and move the layer accordingly.
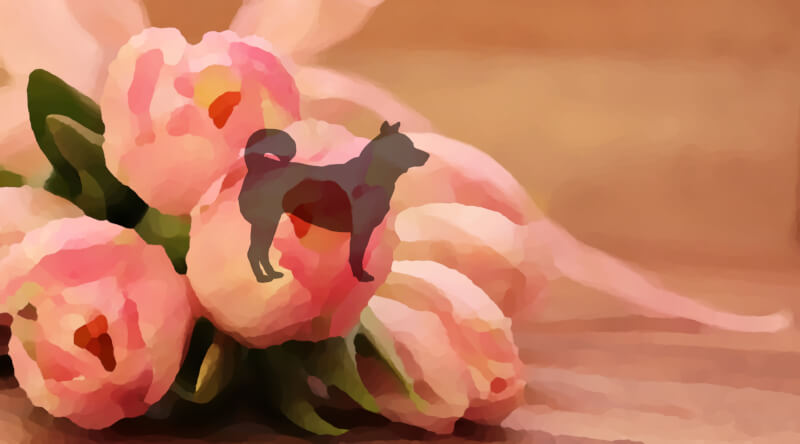
Now we just have a add a black layer mask to the flower image and fill in the silhouette area with white in order to reveal the watercolors behind it.
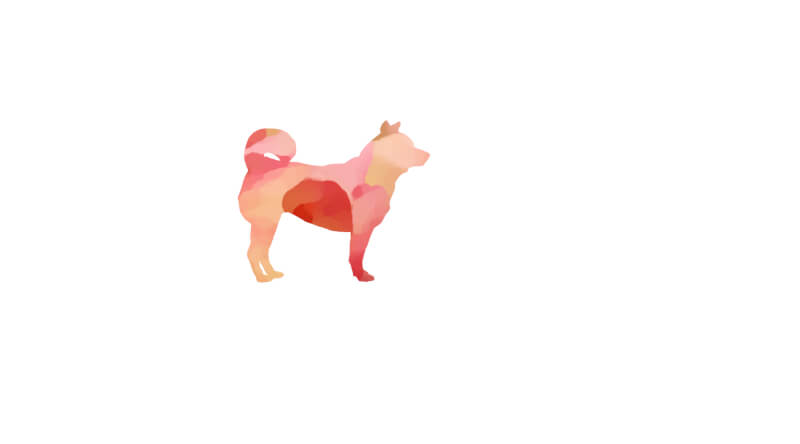
To help sell the effect even more, grab the paintbrush, use the Splats 01 brush, and add a couple of brush strokes onto your layer mask to create some paint drops. Make sure you have your foreground color set to white in order for the watercolors to be used.

Once you’ve done that we are pretty much done. You just have to apply the layer mask to finalize the effect, then you can add some text if you’d like, or export it as a transparent PNG so you can work with it in Inkscape or Illustrator.
![]()
If you have any questions just leave a comment below, and as always, thanks for watching!
Learn To Master The SoftwareGain a complete understanding of your favorite design apps with my comprehensive collection of video courses. Each course grants access to our private community where you can ask questions and get help when needed.
|
||||||||||||||||||||||||||||||||


You might also like


8 comments
-
-
Nick Saporito
Just open up each image with GIMP separately. Then you’ll have the separate tabs at the bottom of the screen that allow you to toggle between both.
-
-
Michelle
It looks like you have hotlinked to the Pixabay site for the free images. This is not permitted according to Pixabay’s FAQ’s page. Not sure if you were aware of this or not, so hopefully you will find a work around for this next time. 🙂
-
Nick Saporito
Hi Michelle, I did not hotlink to the Pixabay site. If you copy the image address you will see that the photo is hosted on my server. I linked to their site to give them credit, but that is not hotlinking. Hotlinking would be if I displayed their image on my site directly from their servers.
-
Anonymous
Sorry. Thank you for clearing it up. Shows how much I don’t know about how hosting works! I’ll just go back to enjoying your videos.
-
-
-
-
Niko Stanford
Hey Nick,
would you mind showing us how to preserve
the collar on the dog after it’s a silhouette and make it white or whatever color we want.
I have been trying to figure this out for a while or you possibly have done this in a video
already and I just haven’t found it, if so could you point me toward it because I missed it.
Thanks
Niko.
-
Nick Saporito
I would just add a new layer on top of everything and manually draw in the color with the Paths tool.
-
tooie
HI,
I was wondering how you have the flower image and the dog image both at the top of your screen and can switch between both on gimp? I’m not too sure how to do that. Also I love your videos, I’m new to all this.
Thanks