GIMP: The Best Photo Correction Software, And It’s Free!
GIMP: The Best Photo Correction Software, And It’s Free! https://logosbynick.com/wp-content/uploads/2017/06/gimp-best-photo-correction-software-header-1024x602.png 1024 602 Nick Saporito https://secure.gravatar.com/avatar/8e31bf392f0ba8850f29a1a2e833cdd020909bfd44613c7e222072c40e031c34?s=96&d=mm&r=gIf you occasionally need to make casuals edits to your pictures, photos and graphics, GIMP may be the best photo correction software for your needs. Not only is it incredibly easy to use, but it’s open source (free) and is compatible with Windows, Mac and Linux.

Best photo correction software – visit gimp.org to download GIMP for free
Although GIMP may not be the best photo correction software when compared to Adobe Photoshop (unlike the Inkscape vs Illustrator debate,) it would be kind of silly to dish out money for it if you’re just a casual user that needs to make the occasional minor edit. In this post I’ll be outlining some basic photo correction techniques and how they can be easily executed with GIMP, even if it’s your first time using the program.
Red Eye Removal
I’m sure we’ve all had pictures taken that made us look like rats because of the camera flash making our eyes appear red. Red eye removal with GIMP is actually quite simple.
Grab the Ellipse Select Tool (E) and click & drag to create an ellipse-shaped dotted border around one of the eyeballs.
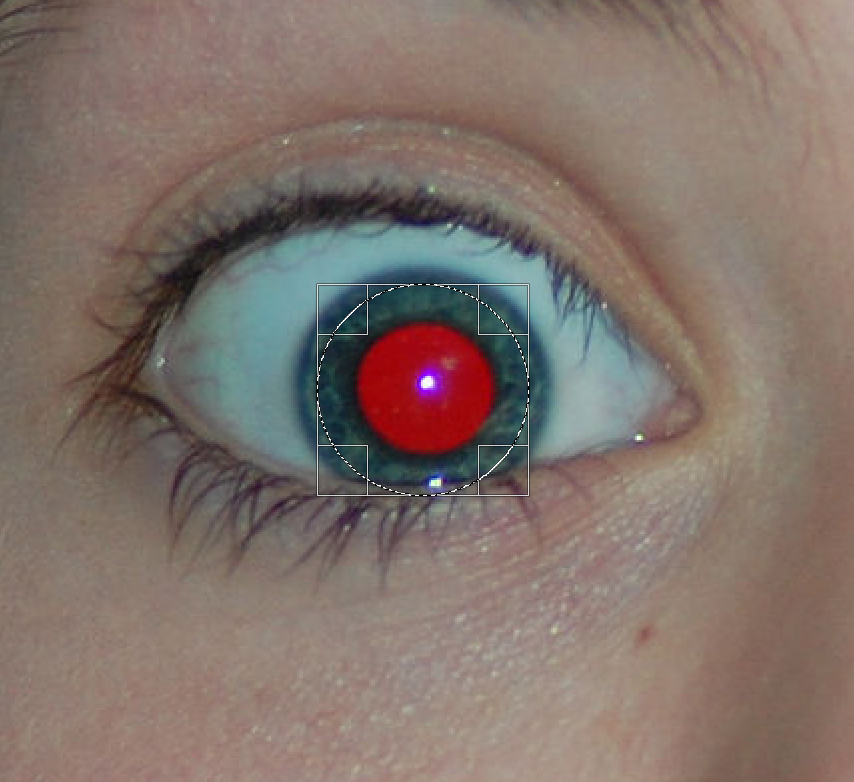
The ellipse tool will create a dotted ellipse around your selection
Now, simply go to Filters > Enhance and select Red Eye Removal. This will bring up a simple menu that will allow you to select the degree at which to apply the filter, as well as a preview window so you can see how it will look once finalized.

Adjust the slider to match the filter to your photo and select OK.
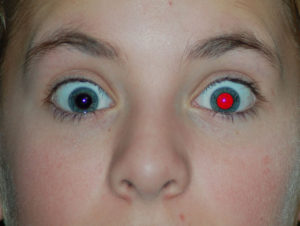
As you can see, we removed the red eye from the camera flash on the left eye. I left the right eye in place for comparison.
All you have to do now is repeat the process on the other eye.
Removing Skin Blemishes
Removing acne, rashes and other skin imperfections with GIMP is quite simple. I like to use the Healing Tool (H).
With the tool selected, hover the cursor over an area of the skin that isn’t blemished, then hold Control and click on that segment. This will place a dotted circle around that segment. You may want to adjust the size of your circle in order to accompany the image/segment size. You can use the bracket keys ([]) to shrink and enlarge the size of the selection.
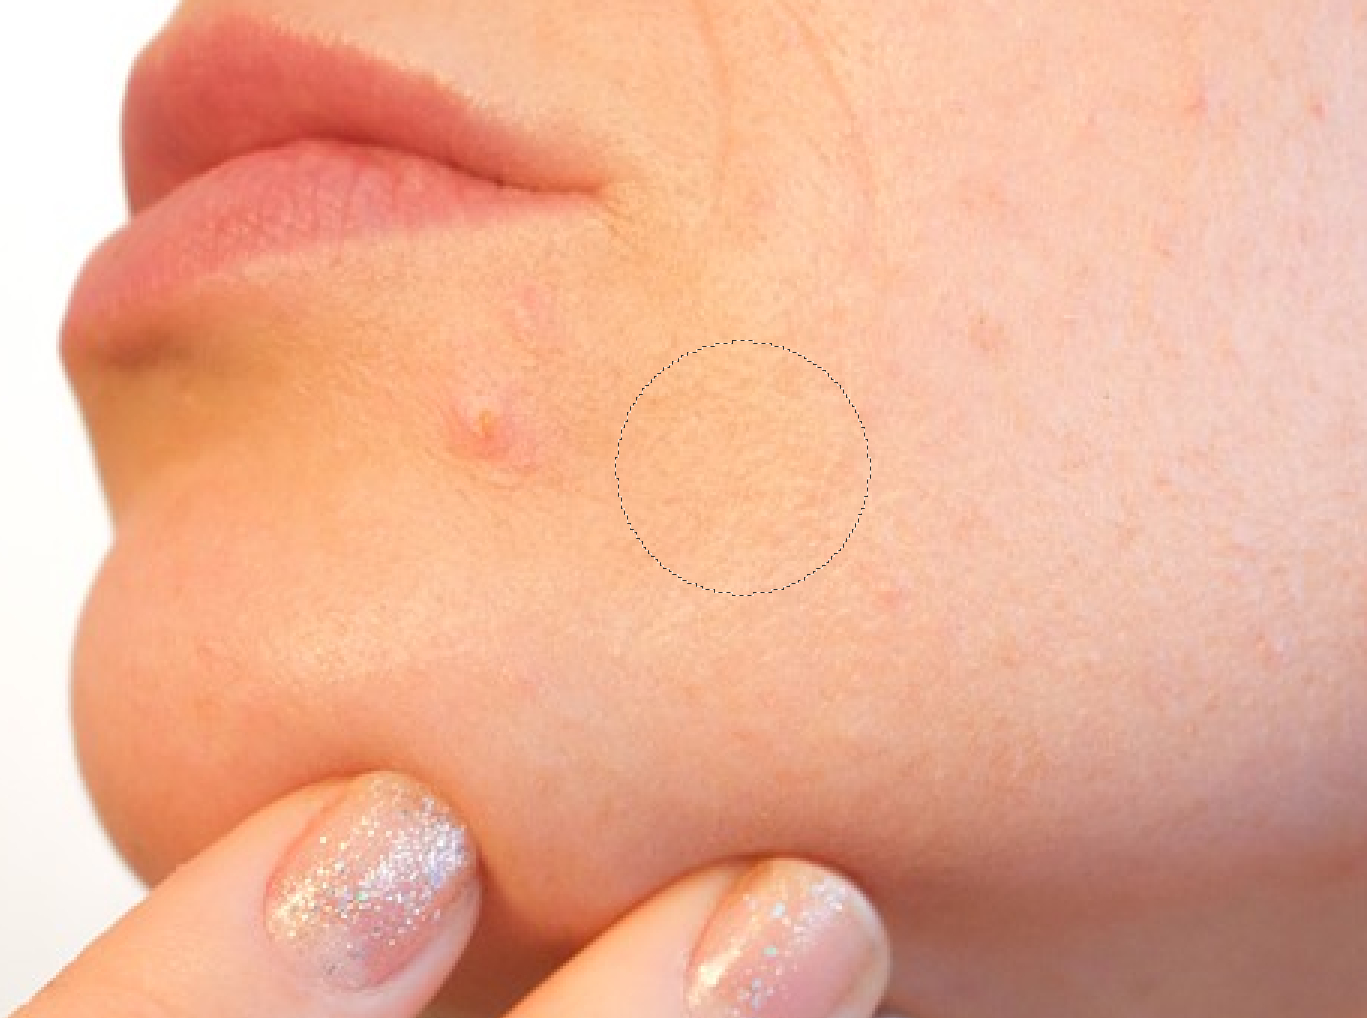
The healing tool will create a dotted circle around your selection
This selection will be used to replace the portion of the skin that is blemished, but GIMP blend blend it in nicely so it doesn’t look cut & paste. Simply bring the cursor over to the imperfection and click on it. Your skin should be all cleared up now.
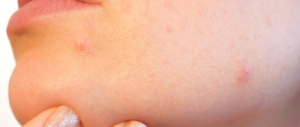
Before
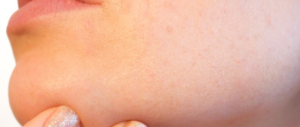
After
Whitening Teeth
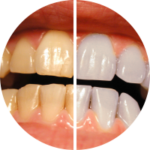
To correct discolored teeth with GIMP, go to Layer and select Duplicate Layer (Shift+Ctrl+D). We’re now going to change the color of this duplicated layer by going to Colors > Hue-Saturation. This will bring up the Hue-Saturation menu.
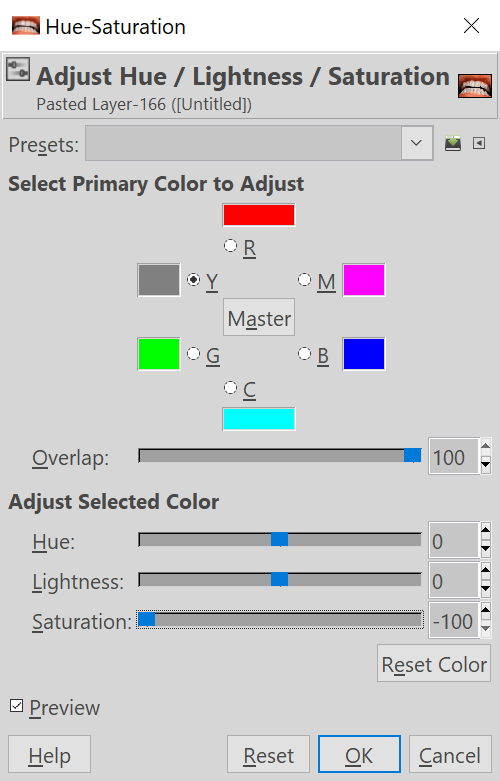
As depicted in the image above, select the Yellow color (Y), then slide the Overlap slider all the way to the right, and bring the Saturation slider all the way to the left and click OK. This will remove all yellows from the image.
Since we only want to remove yellow from the teeth and not the entire image, we’ll now have to grab the Eraser Tool (Shift+E) and erase the entire image except for the teeth. This will reveal the original image on the layer beneath.
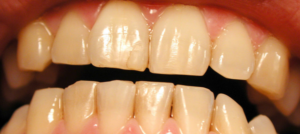
Before
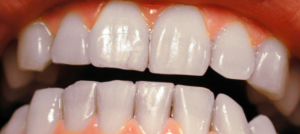
After
Blurring Out Segments Of An Image

Let’s say you’re listing your old car for sale on a site like Craigslist. You obviously want to include pictures, but maybe you don’t want your license plate number publicly visible on the internet. Perfectly understandable. GIMP may be the best photo correction software in this regard — we can easily blur that out.
Simply grab the Rectangle Select Tool (R) and click & drag over the portion of the image you want to blur out. This will create a dotted border going around that segment. Now, from the toolbar at the top of the screen, go to Filters > Blur and select Gaussian Blur.
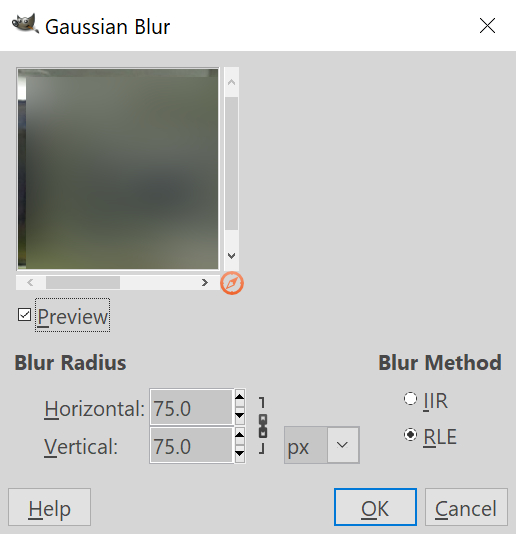
The Gaussian Blur menu
This will bring up a menu that will allow you to select how much of a blur you’d like to apply, as well as a preview window so you can see how it will look. The amount of blur you should apply will depend on the size of your image, but it’s generally safe to use 75 pixels when blurring out segments of a photo. Go ahead and click OK and you’re all set!
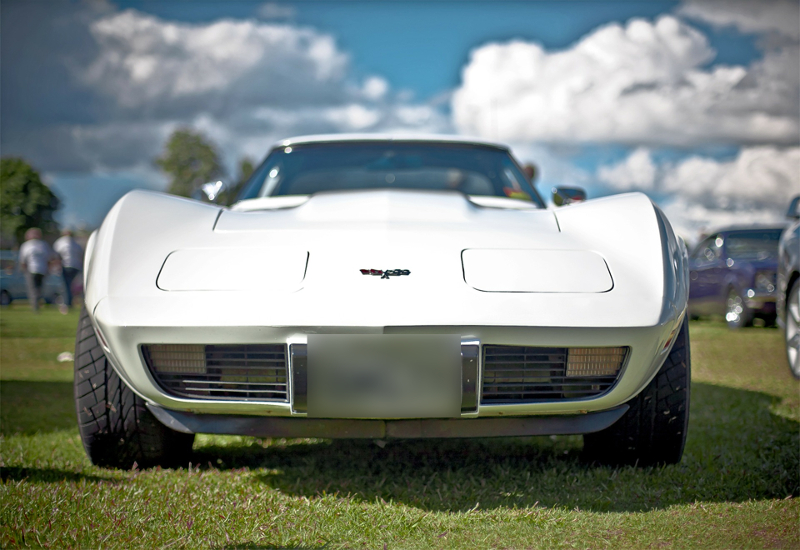
We’ve successfully blurred out the license plate with GIMP
And More…
There’s a lot more that can be accomplished with GIMP; these are just the basics. Those of you who follow my Youtube channel know that I recently started creating GIMP tutorials earlier this year, and they’ve been a hit so far. Be sure to subscribe to my channel for weekly GIMP tutorials for beginners and to further understand the software.
Learn To Master The SoftwareGain a complete understanding of your favorite design apps with my comprehensive collection of video courses. Each course grants access to our private community where you can ask questions and get help when needed.
|
||||||||||||||||||||||||||||||||


You might also like


14 comments
-
-
-
-
-
-
-
Lautaro
Thanks for the free lesson, always a great and clear work from you. Greetings from Venezuela.
-
-
Boris
Hi Nick!
Nice tutorial, especially for beginners who try to make their first steps with GIMP.
But, GIMP is a very powerful tool that allows you to achieve very professional results when you know how to use the right techniques. Here is an example of the method which is very often used by professional photographers for skin retouching:
https://pixls.us/articles/skin-retouching-with-wavelet-decompose/
Thx.
Boris -
-
Lautaro
Thanks for the free lesson, always a great and clear work from you. Greetings from Venezuela.
-
-
Boris
Hi Nick!
Nice tutorial, especially for beginners who try to make their first steps with GIMP.
But, GIMP is a very powerful tool that allows you to achieve very professional results when you know how to use the right techniques. Here is an example of the method which is very often used by professional photographers for skin retouching:
https://pixls.us/articles/skin-retouching-with-wavelet-decompose/
Thx.
Boris -
Jakob
U r amzing designer man. Simply awesome.